Knitting Patterns

Free Knitting Pattern: The Linzer Throw

linzer throw

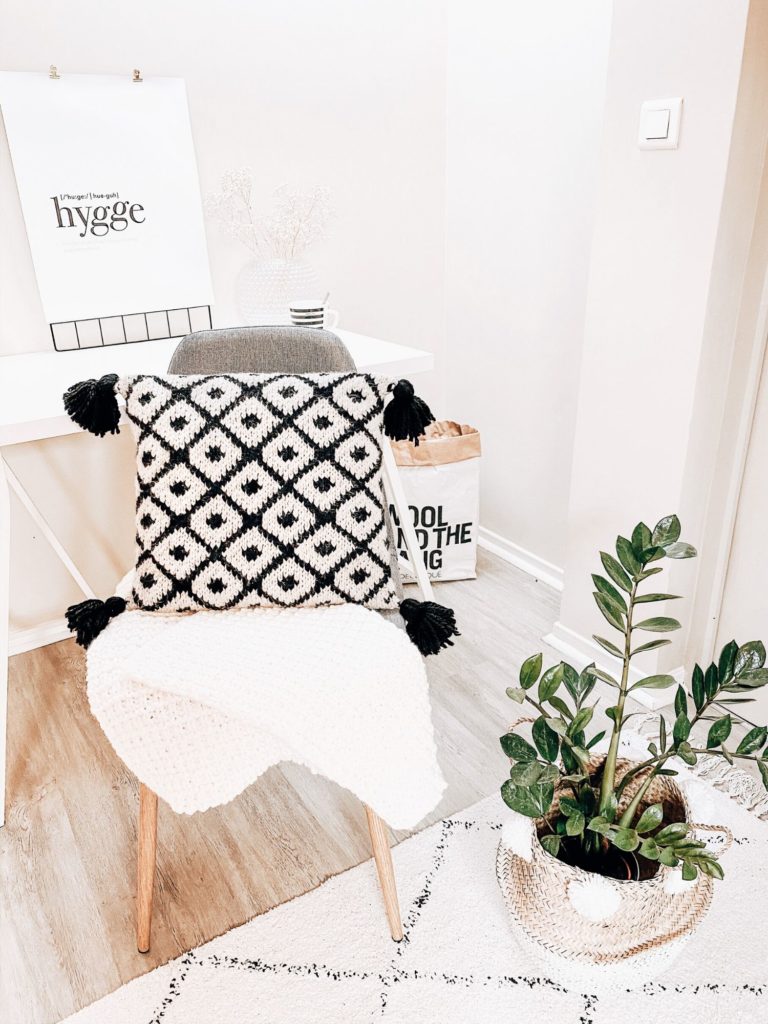
Hi friends! When I say this design has been in the making for the past forever, forever being exactly one year, I’m definitely not joking. So after one year of originally writing and even having the pattern tested, I’d like you to finally meet the Linzer Throw Pillow!

linzer throw

This bohemian pillow is knit with bulky weight (category 5) yarn, 8mm/US 11 circular needles and it’s worked in the round which means you’ll be knitting stockinette stitch throughout the work and only seaming two openings (a big yes to this right)! The pattern also comes with two alternatives: a fair isle version with 2 colors, and a textured version with 1 color!

linzer throw

Should you have any questions about the pattern, you can always send me a message on Instagram or an email at kati@katimaaria.com

Use the hashtag #linzerthrow and tag me @katimaariaknits if you share a picture of the design on Instagram – this way I won’t miss it!

So without further ado, get your needles & yarn ready and happy knitting!

MEASUREMENTS
One size: 40x40cm / 16×16 inches

MATERIALS

  • 8mm/US 11 circular needles (60cm/24″) OR any needles to obtain the gauge
  • Approximately 163m/178 yards (main color) and 98m/107 yards (contrast color) of bulky weight (category 5) yarn
  • Yarn recommendations:
  • Gauge: 10x10cm/4×4″ of stockinette stitch in fair isle with 8mm/US 11 needles = 14 stitches, 14 rounds
  • Tapestry needle
  • 40x40cm/16×16″ pillow
  • Optional: extra yarn for tassels

ABOUT THE PATTERN
This pillow is knit in the round and only consists of stockinette stitch (all stitches are knit). Knitting in the round makes the seaming a breeze – you’ll only need to seam together the cast-on edge and the bind-off edge!

The fair isle pattern is a 14-stitch, 14-round repeat. The 14-stitch chart is knit 8 times per round, adding up to a total of 112 stitches in the pillow. The 14 rounds are knit for a total of 4 times, which means you’ll be knitting 56 rounds.

The longest floats in the pattern are 8 stitches so make sure you catch them and don’t make floats longer than 5 stitches! Personally, I catch floats already every 3rd stitch – I’ve found it to be a good “rhythm” for my tension while working with two different colors.

Pattern alternative: you can also make this throw pillow using only one color and, instead of working the chart with two colors, purling all the contrast color stitches. This version of the pattern was created by one of my amazing testers, Tara from Knits by Tara, and it’s absolutely brilliant!
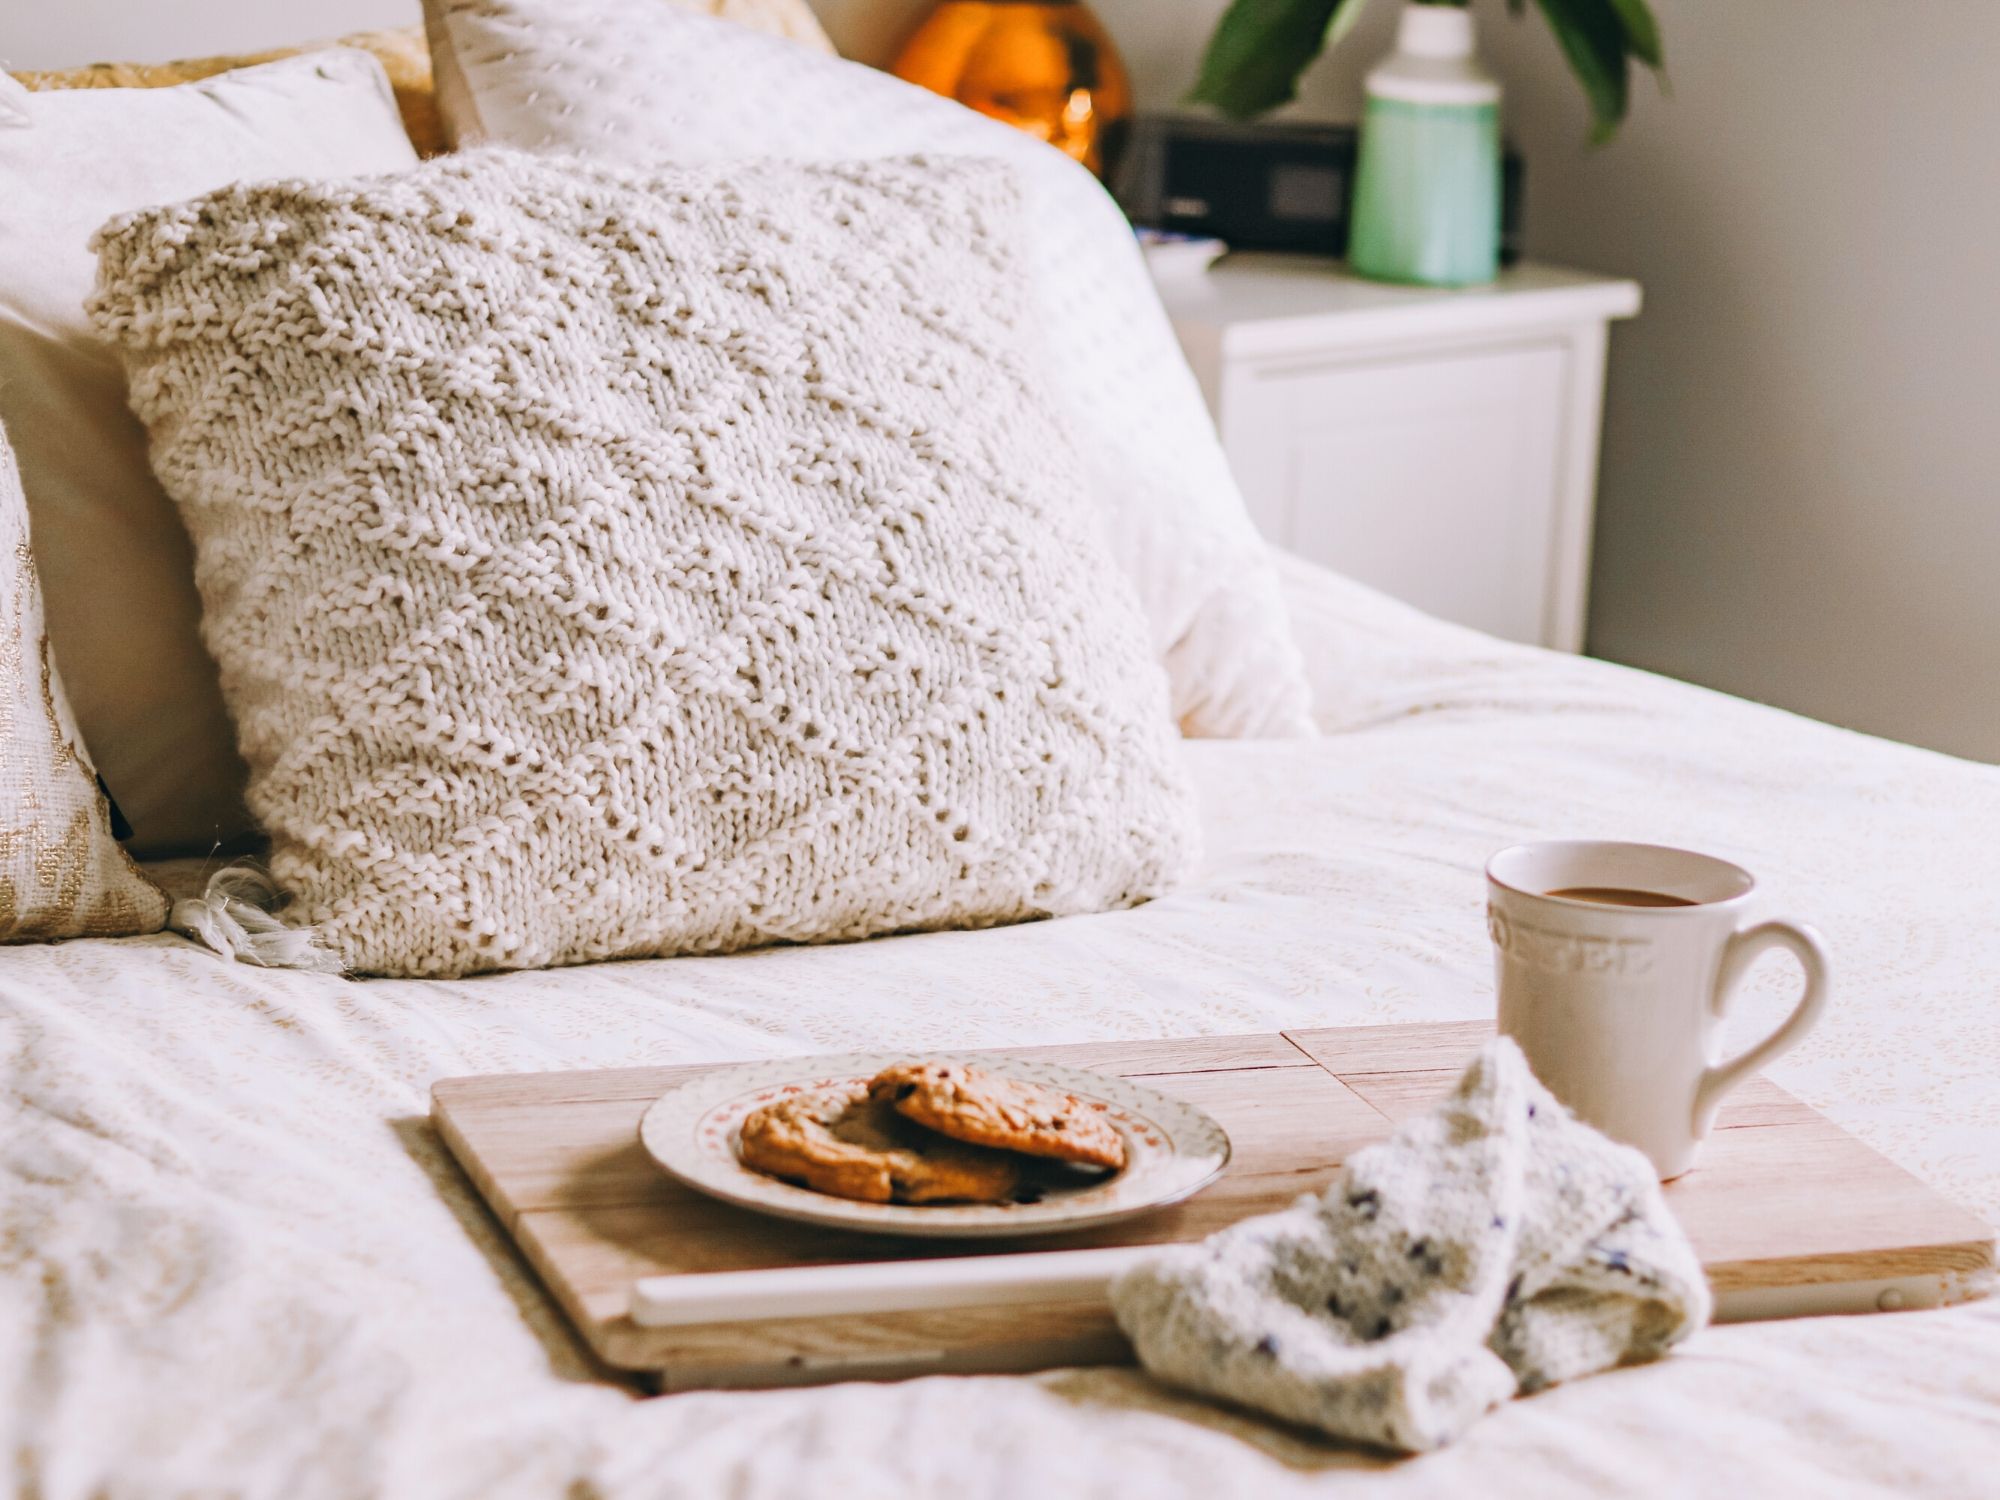
Image credit: Knits by Tara

CHART OVERVIEW
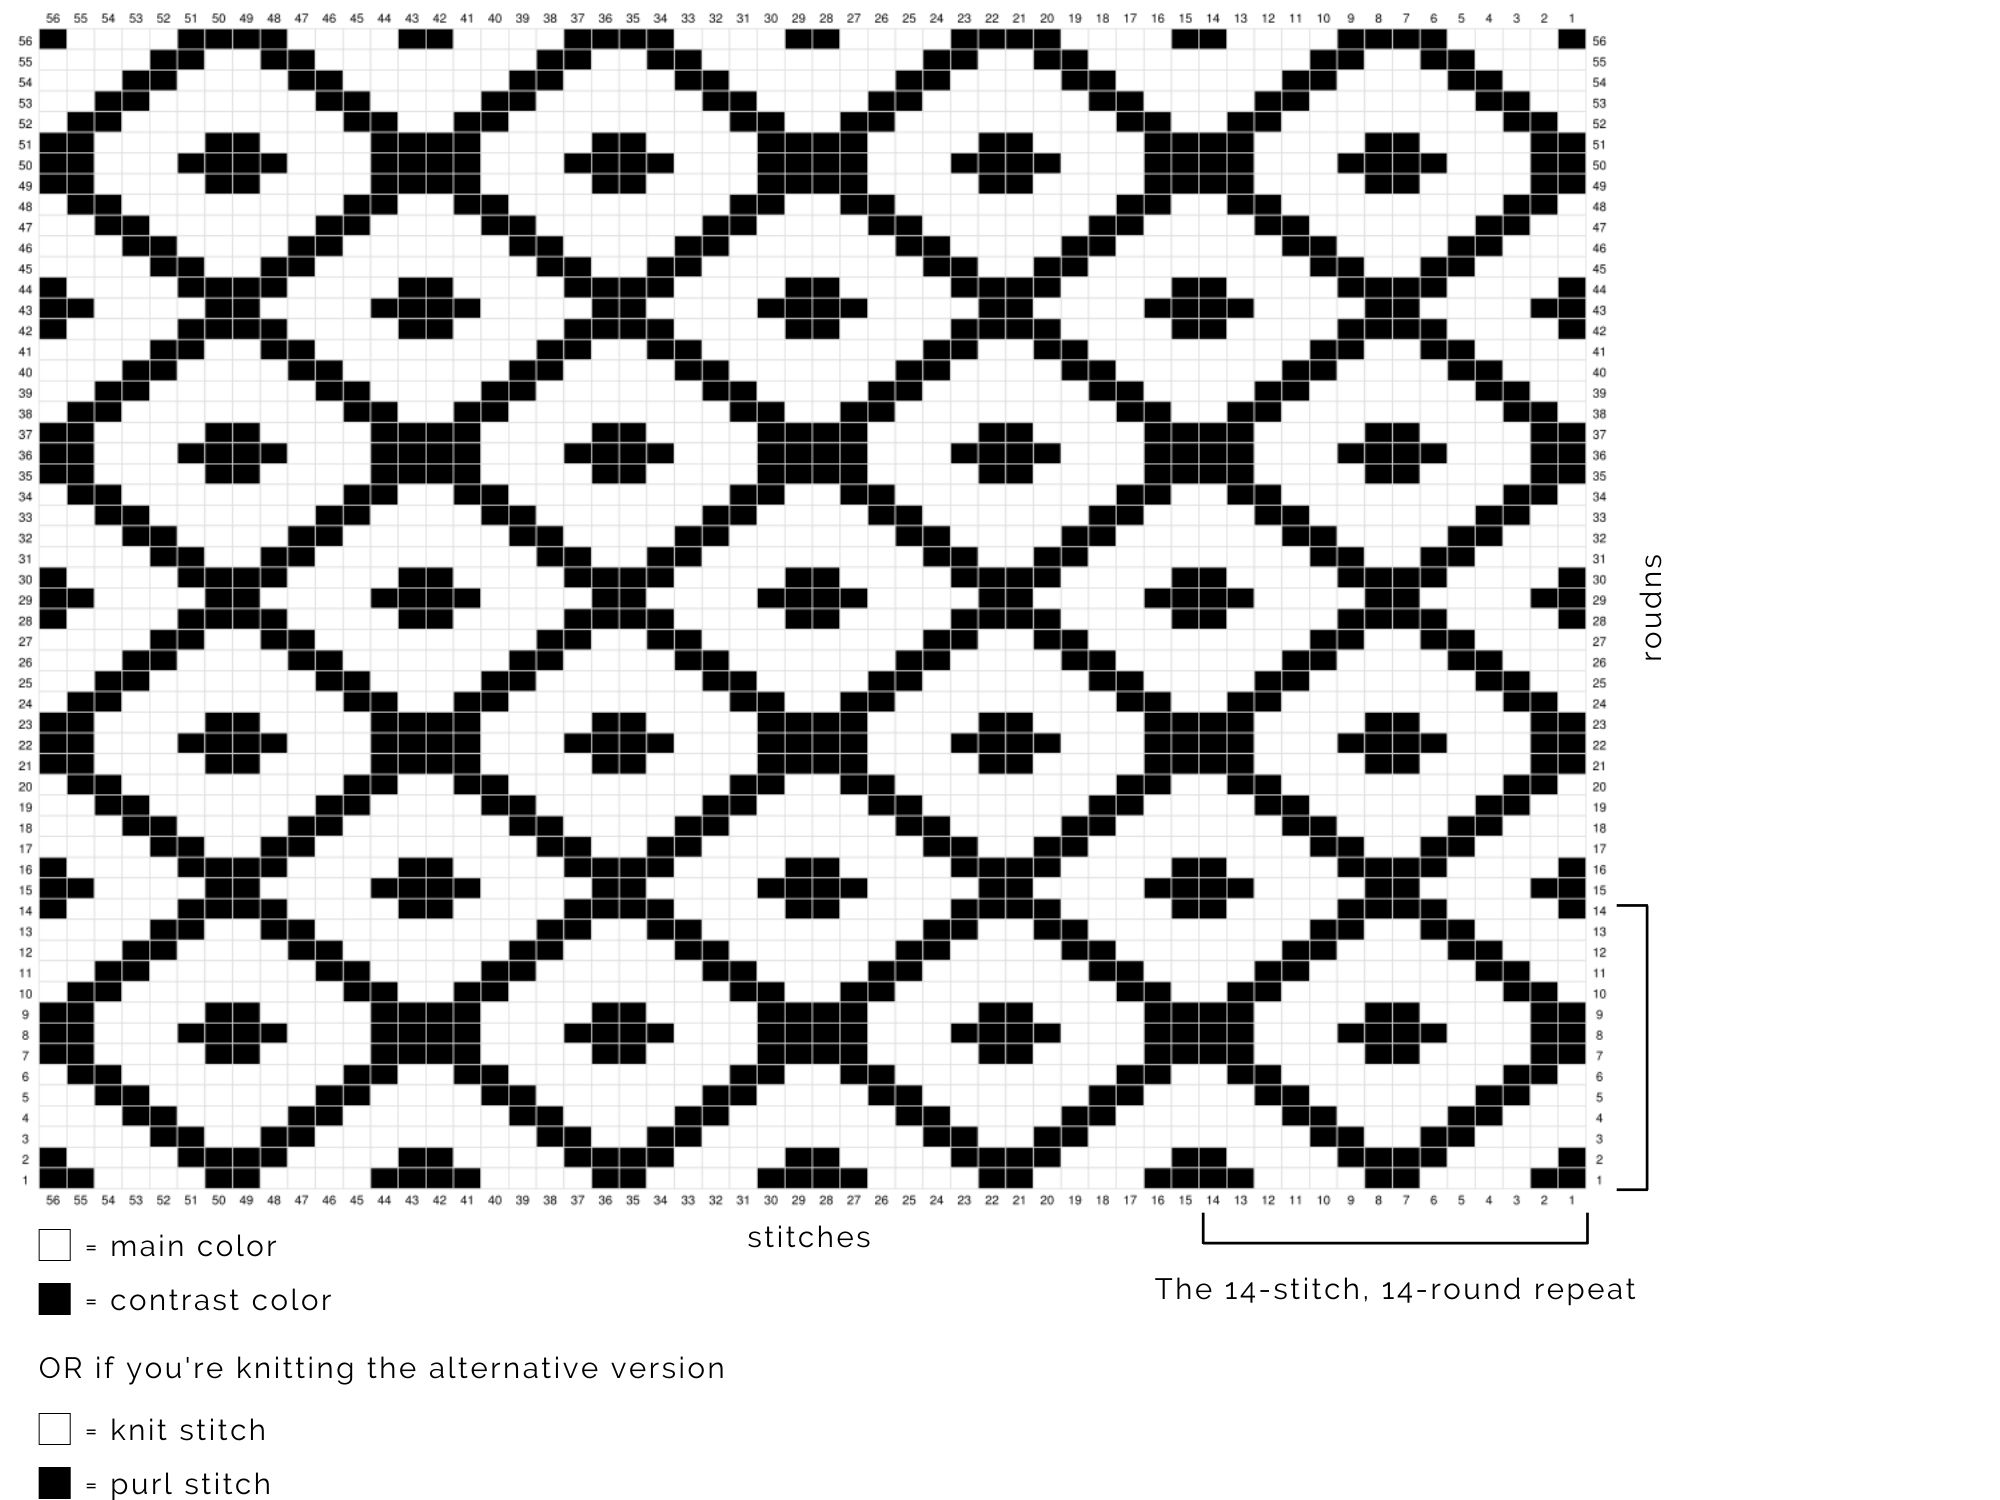
Here’s a 56-stitch x 56-round overview of the pattern – I think it gives a better overall idea of how the fair isle is going to look like once the pillow is finished! The stitch count in this chart is half the stitches of the work and the round count is complete, including all 56 rounds.

Click the image to open it bigger!

INSTRUCTIONS
Cast on 112 stitches on your 8mm / US 11 circular needles (60cm/24”) using the main color. Make sure you leave a long tail; you’ll be using it to close the opening.

Join the work in the round and knit 1 round in stockinette stitch with the main color before starting the fair isle pattern.

Click the image to open it bigger!
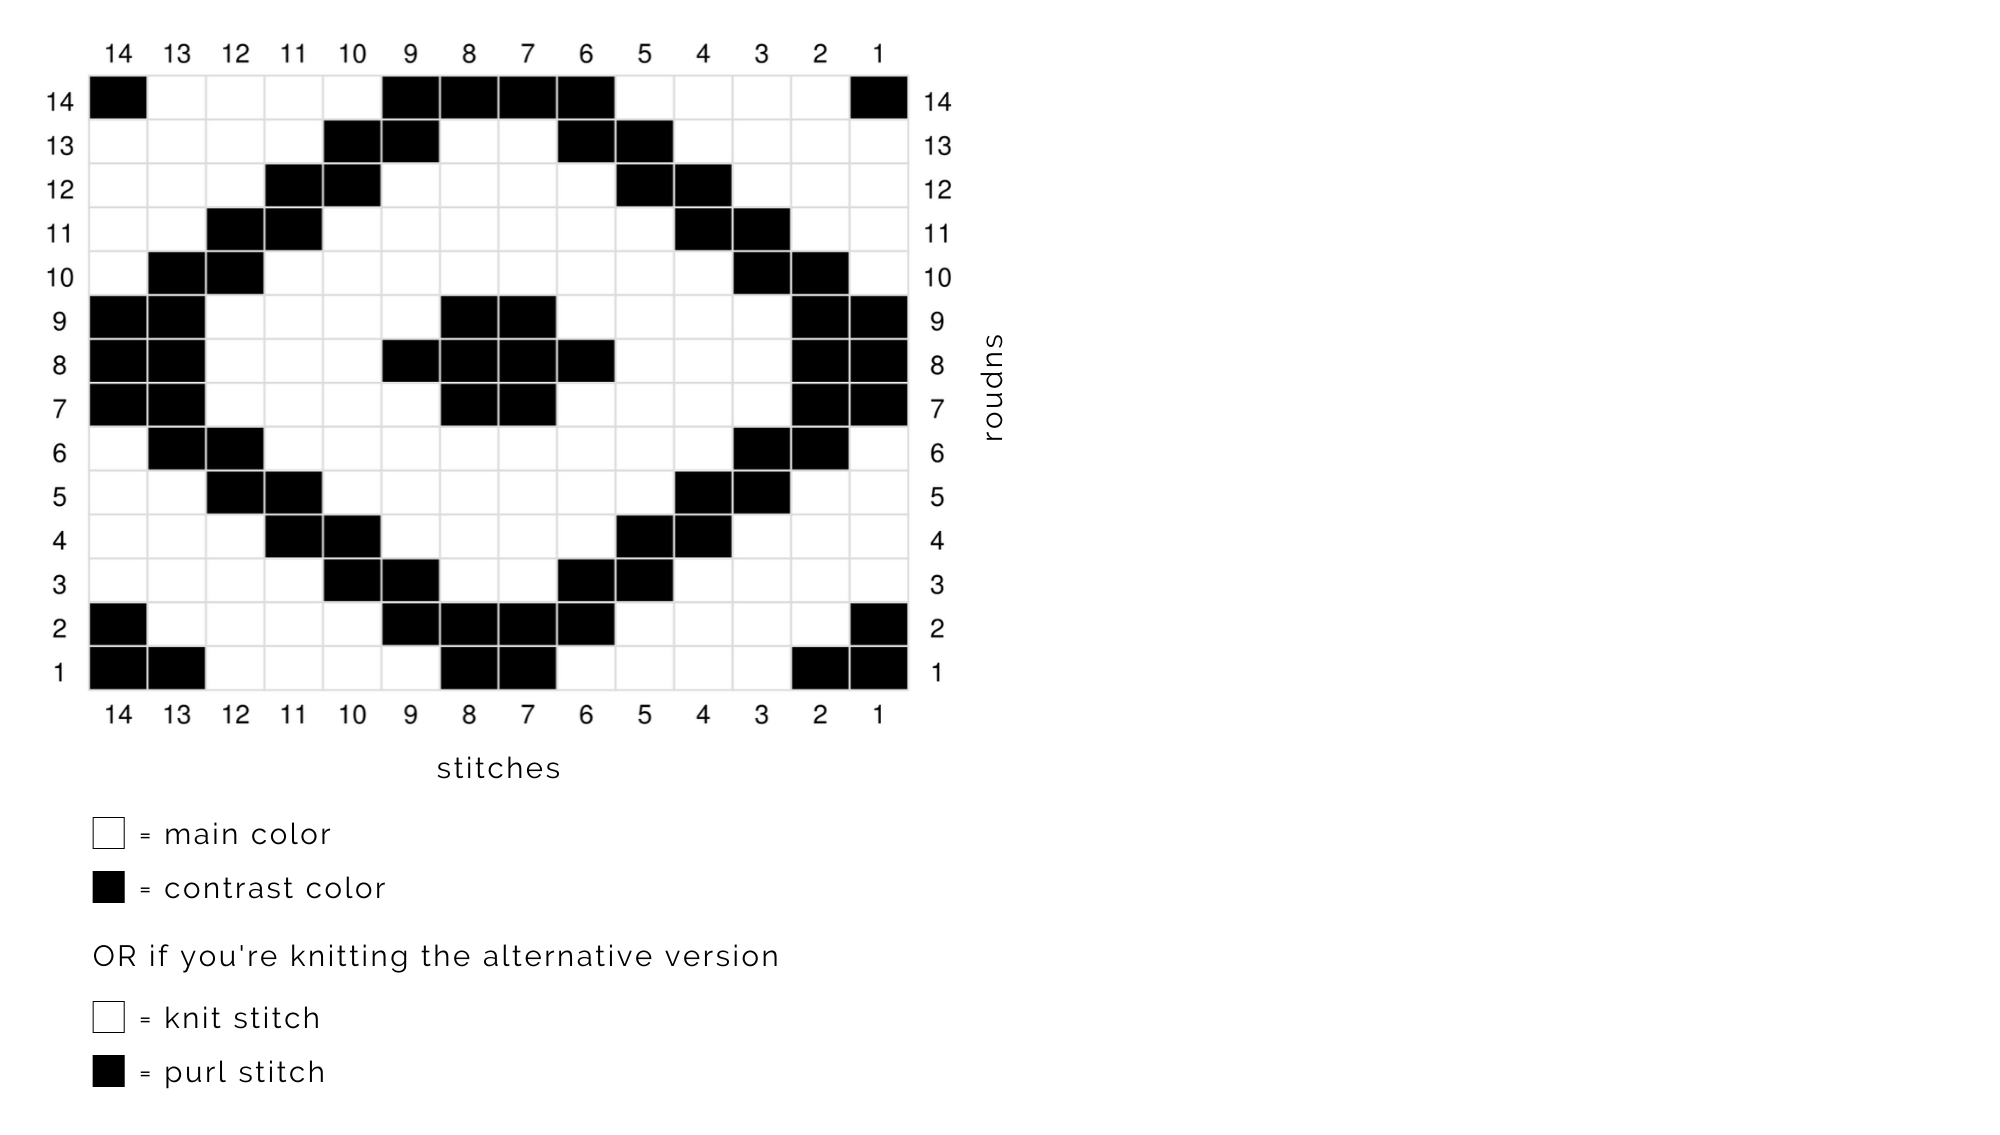
Follow the 14-stitch knitting chart (the chart is knit 8 times per round, 8 x 14 sts = 112 sts), and knit rounds 1-14.

Repeat the chart rounds 1-14 another 3 times, knitting them a total of 4 times for the pillow (56 rounds).

Finish by knitting 1 round of stockinette stitch using the main color before binding off.

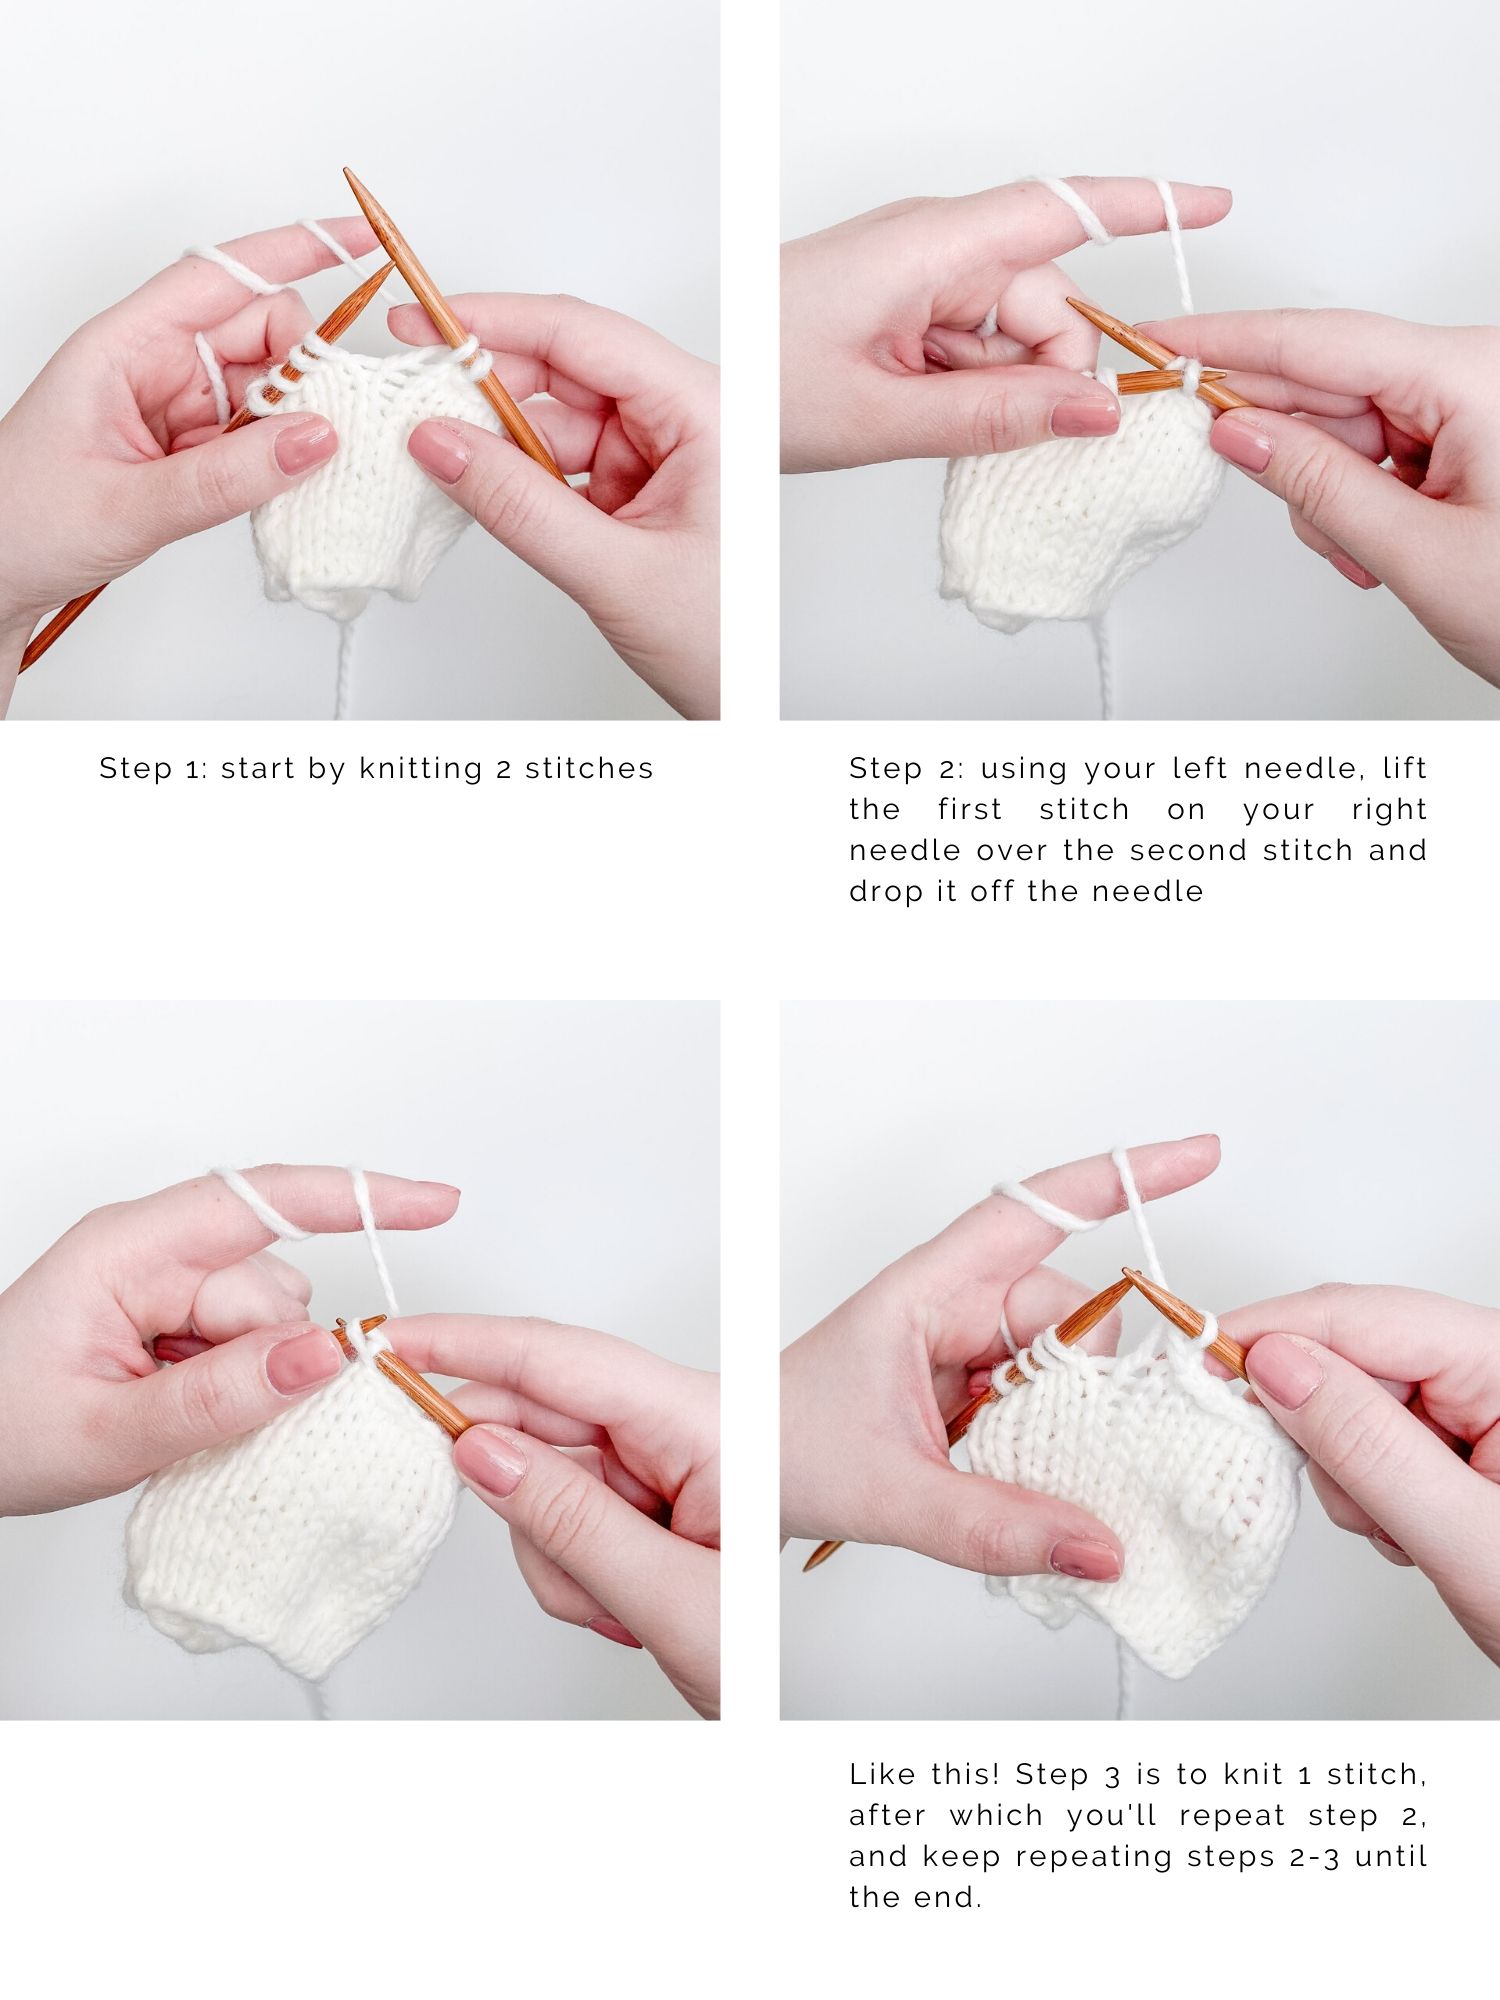
BINDING OFF
Step 1: Knit 2 stitches
Step 2: Using your left needle, lift the first stitch on your right needle over the second stitch and drop it off the needle
Step 3: Knit 1 stitch

Keep repeating steps 2-3 until 1 stitch remains.

Cut the yarn leaving a long tail (you’ll use this tail to seam together the bind-off edge), pull the tail through the remaining stitch, thread through the very first stitch that was bound off in the beginning to close the round and pull gently to secure the work.

In these tutorials, I’m using a small test piece just to show you the techniques!

Click the image to open it bigger!

SEAMING
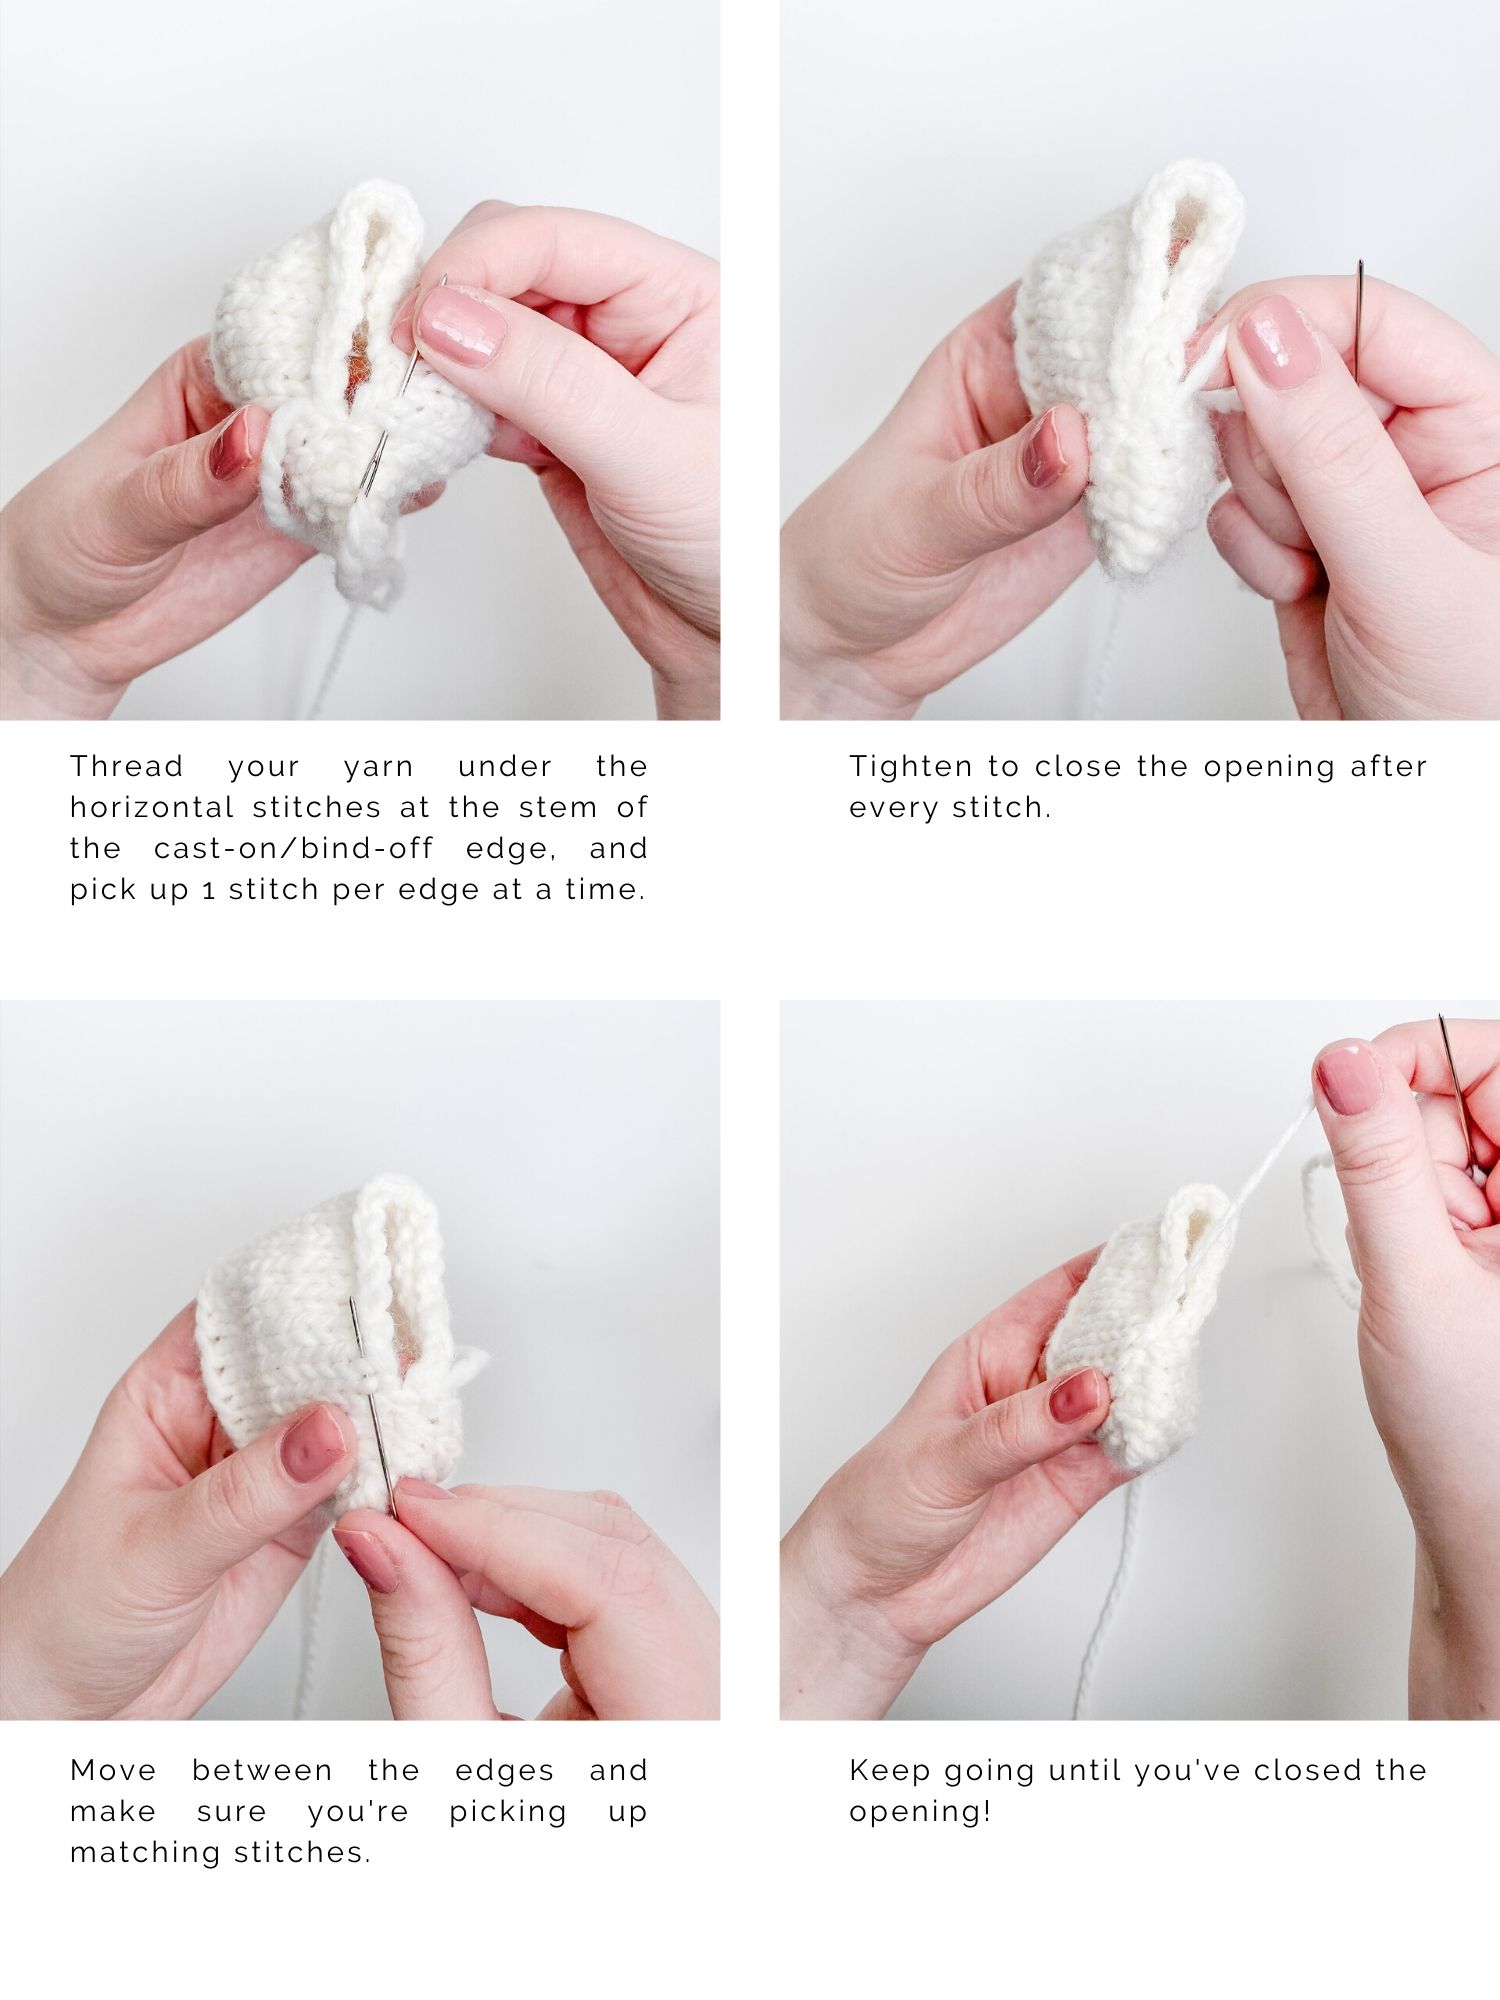
To seam your pillow, you’ll be using the mattress stitch that creates an invisible horizontal seam.

Before starting, make sure the right side of your pillow is facing up (and that it’s not inside out).

The part where your round changed should be on the side of the pillow: this way, it’ll be less visible and you’ll be able to seam with the long tails that were left after casting on and binding off.

Align the pillow so that the fair isle pattern matches on both sides.

You can start either at the cast-on or bind-off edge.

The mattress stitch: thread the yarn under the horizontal stitches that you’ll find at the stem of the cast-on/bind-off edges. Pick up one stitch per edge at a time and move between the edges, always threading under matching stitches. Continue until you have seamed the opening and secure the tail by weaving in on the wrong side.

Click the image to open it bigger!

If you want to add tassels, attach them at this point before inserting the pillow (this way you can still secure the tassels by weaving in the ends on the wrong side).

Find a tutorial for making tassels here!

Insert a 40x40cm / 16×16” pillow and seam together the second opening using the mattress stitch.
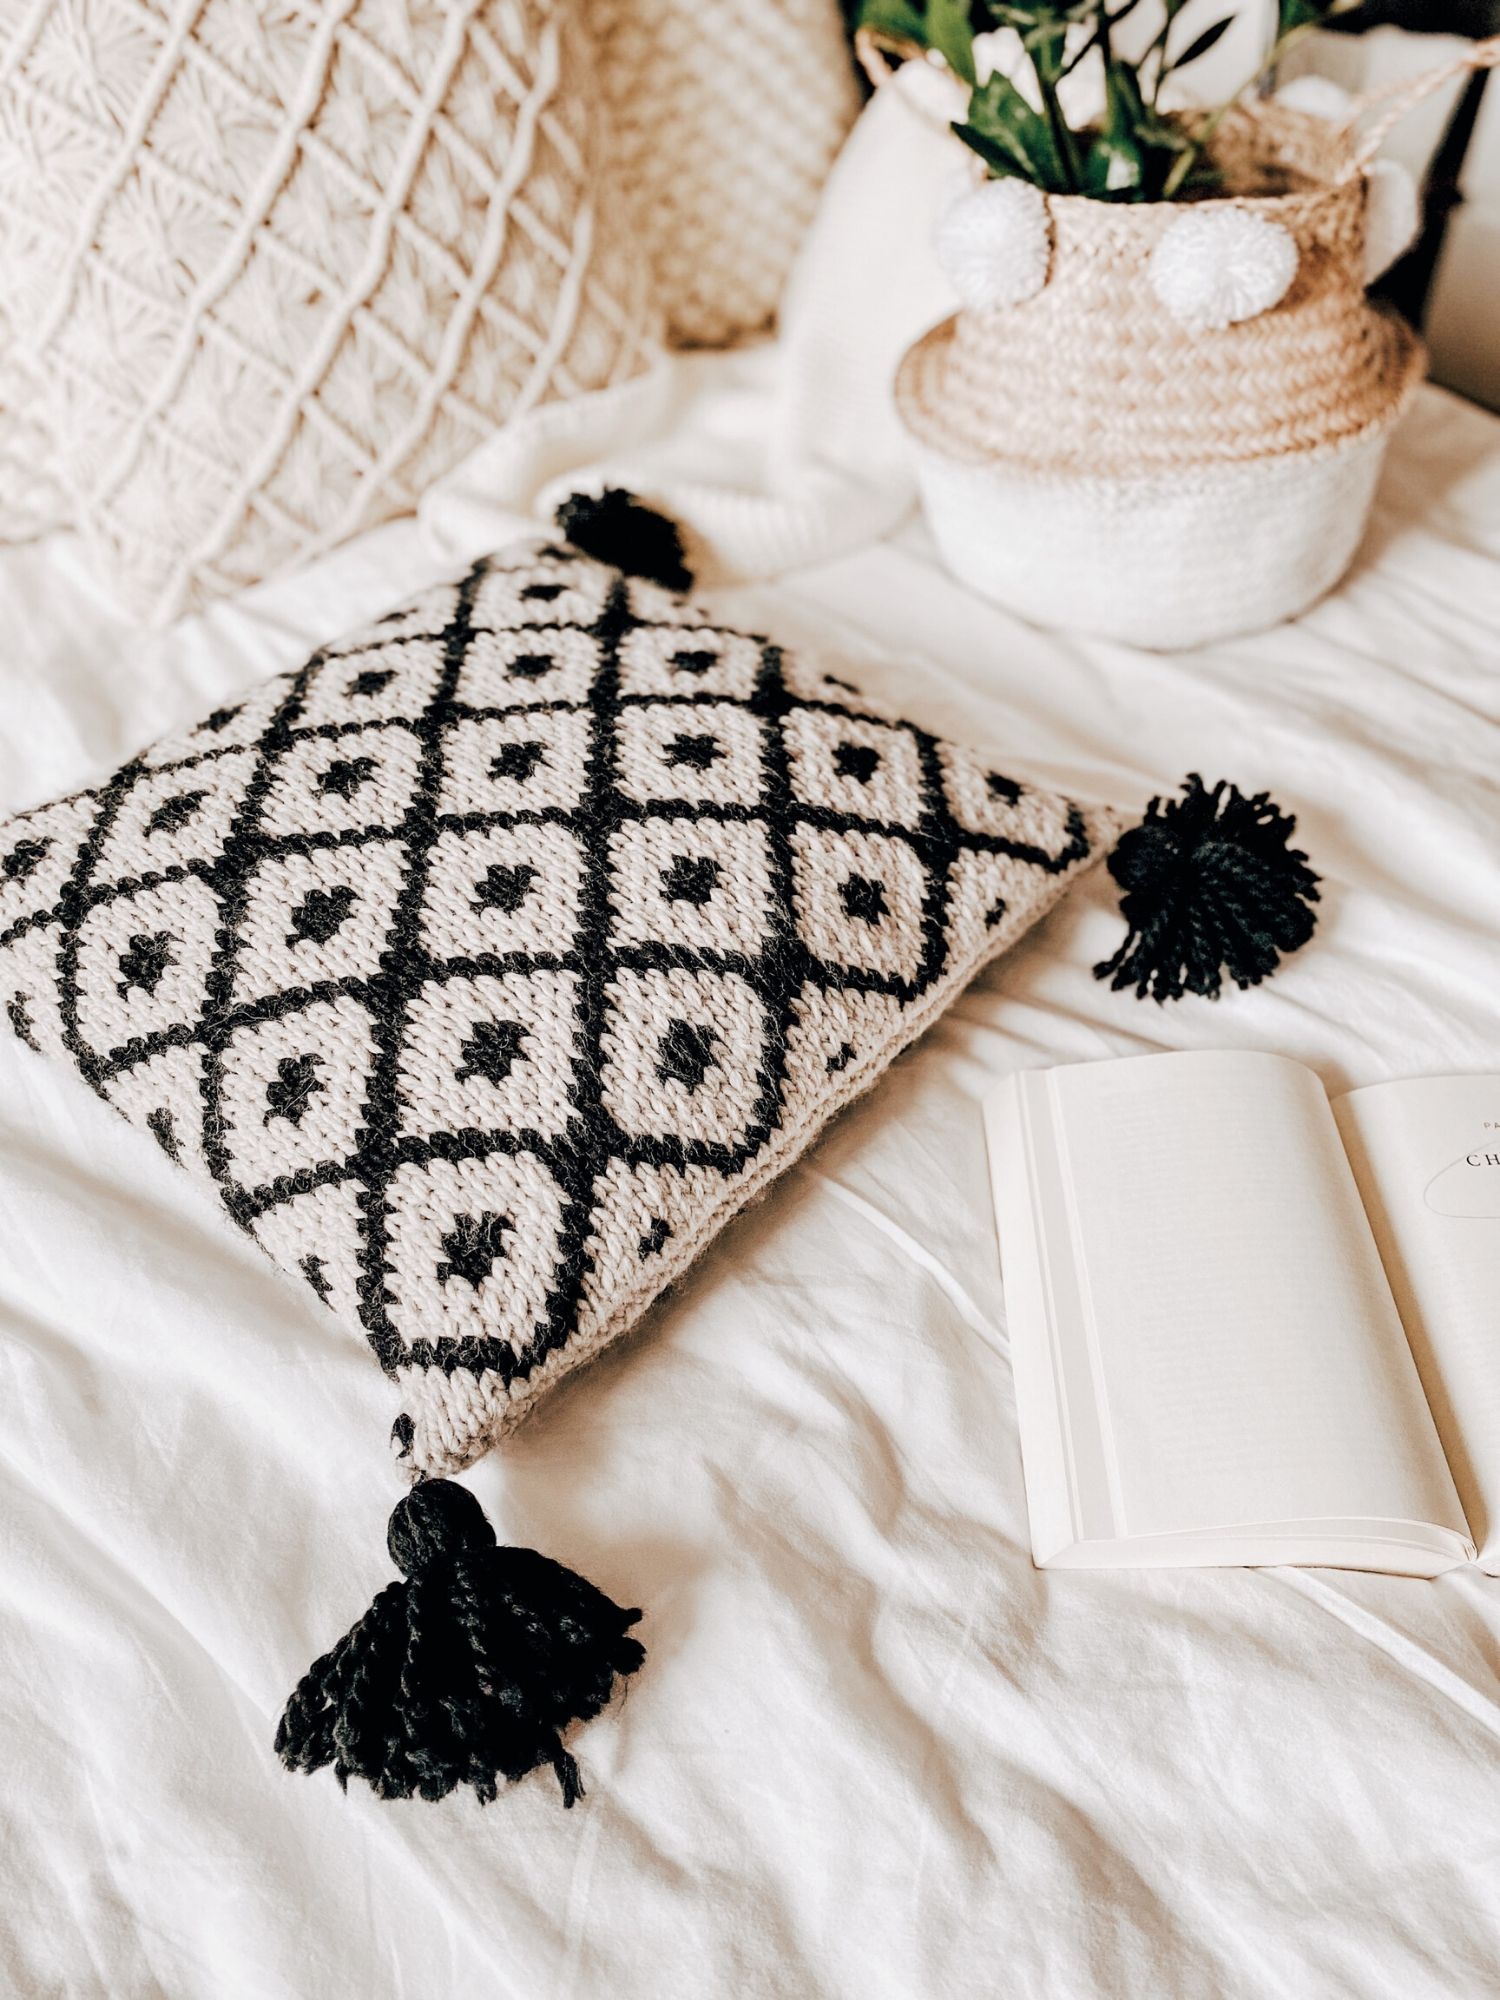
And voilà, your new throw pillow is now ready to make your home even cozier! I hope you enjoyed this pattern and will be returning to it in the future as well!
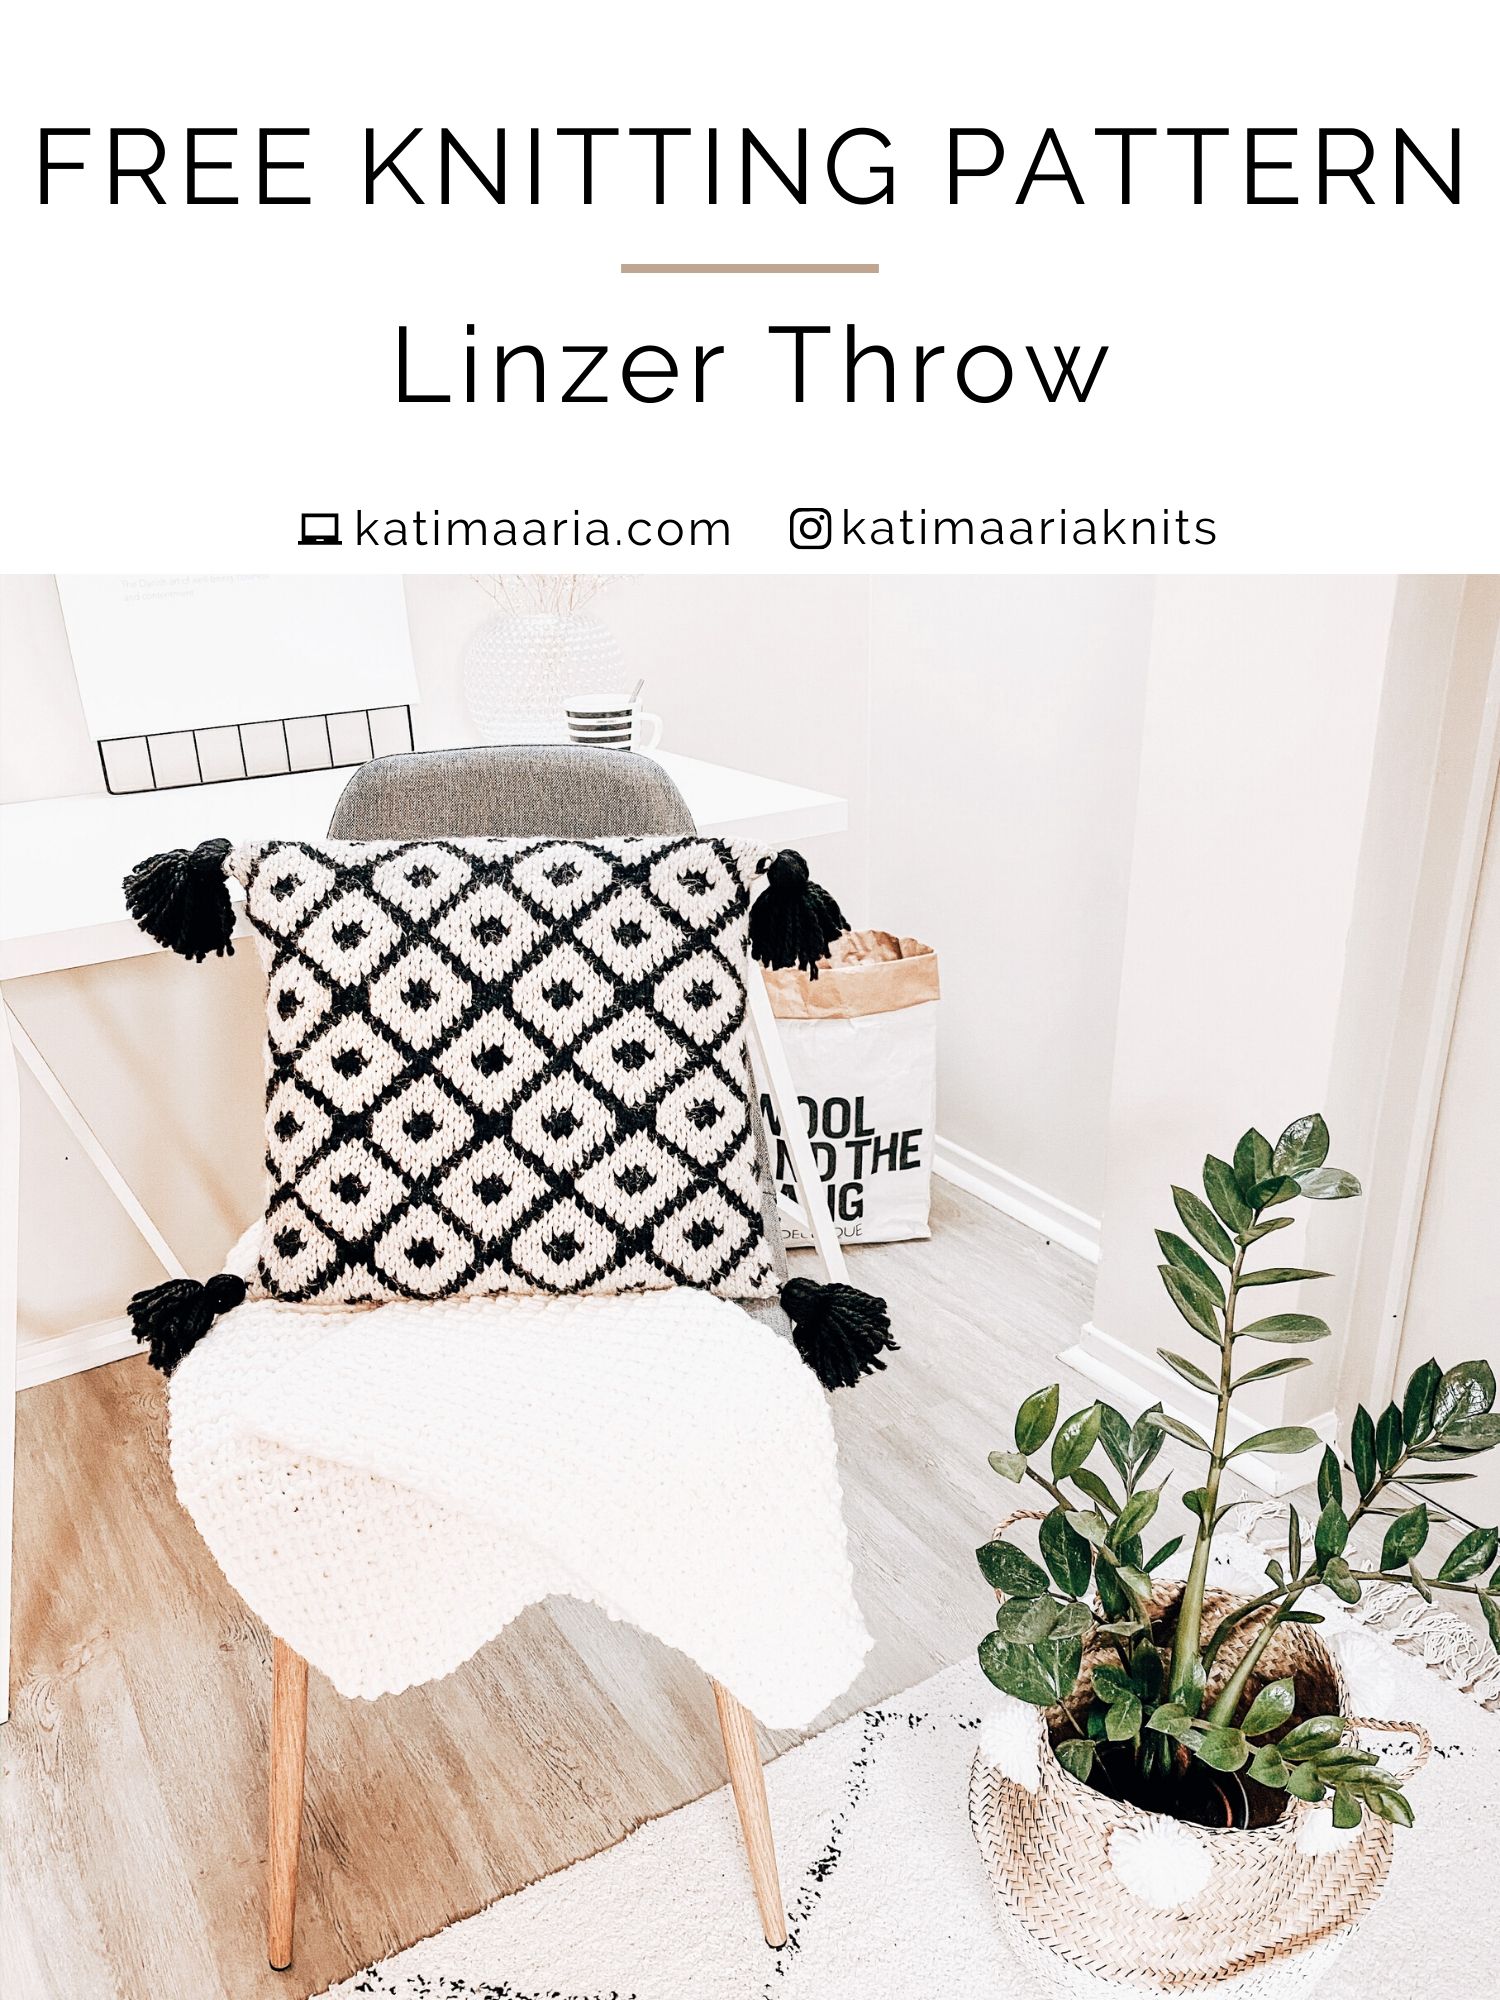
linzer throw

Knit Lookbook Knitting

Madeline Beanie by Kneedles and Love

madeline beanie

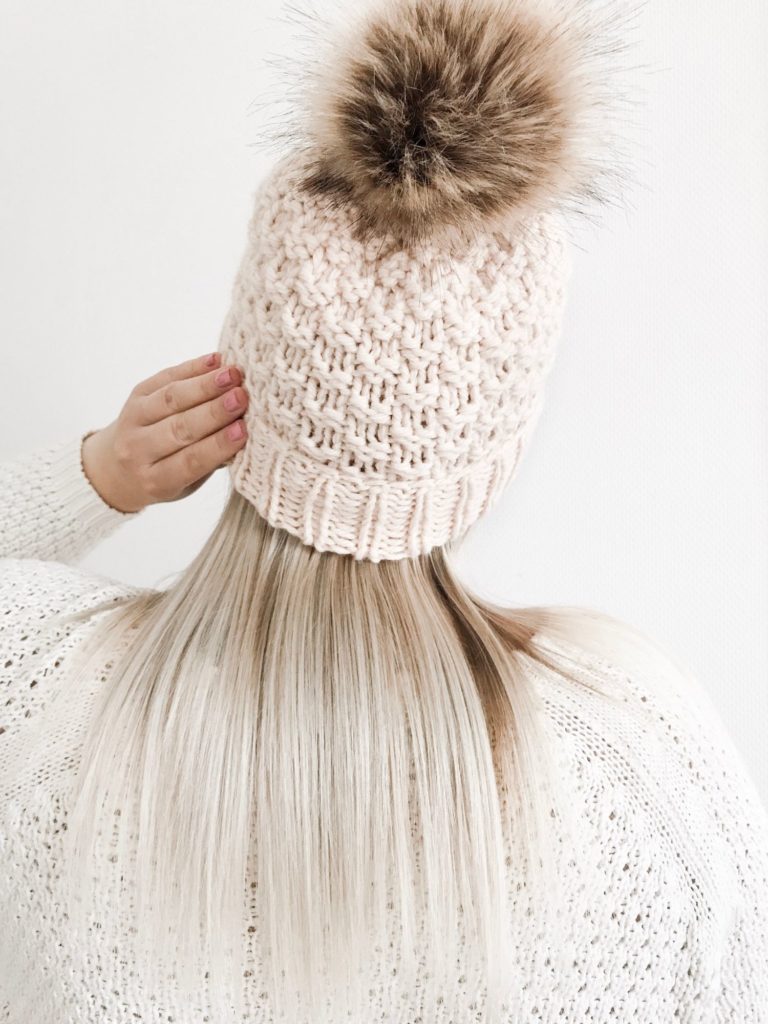
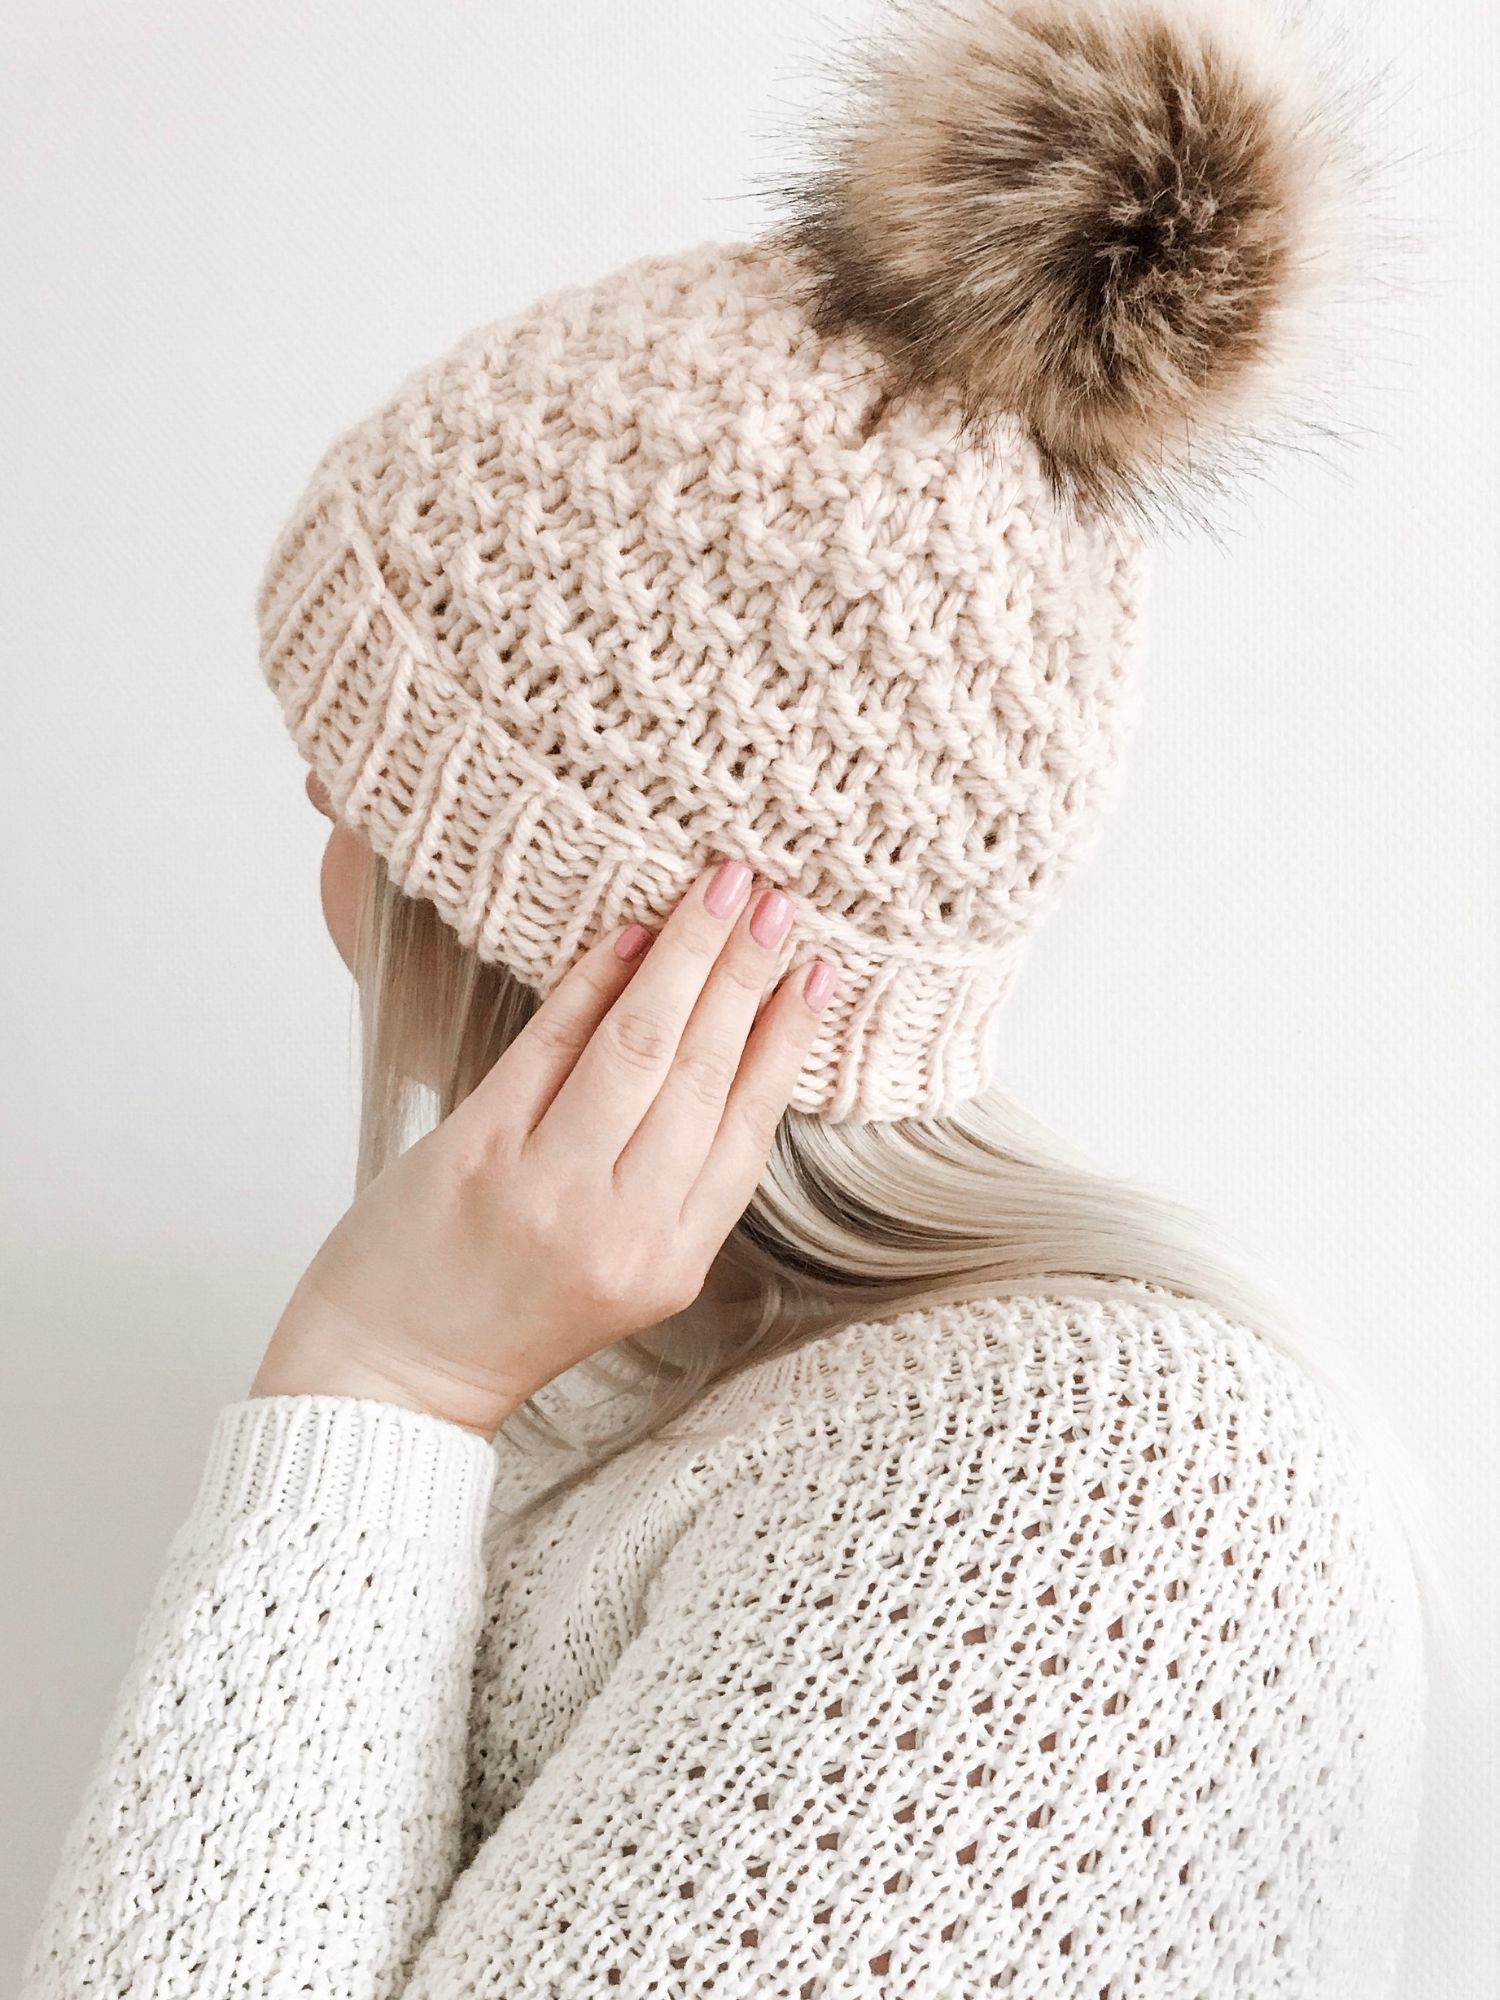
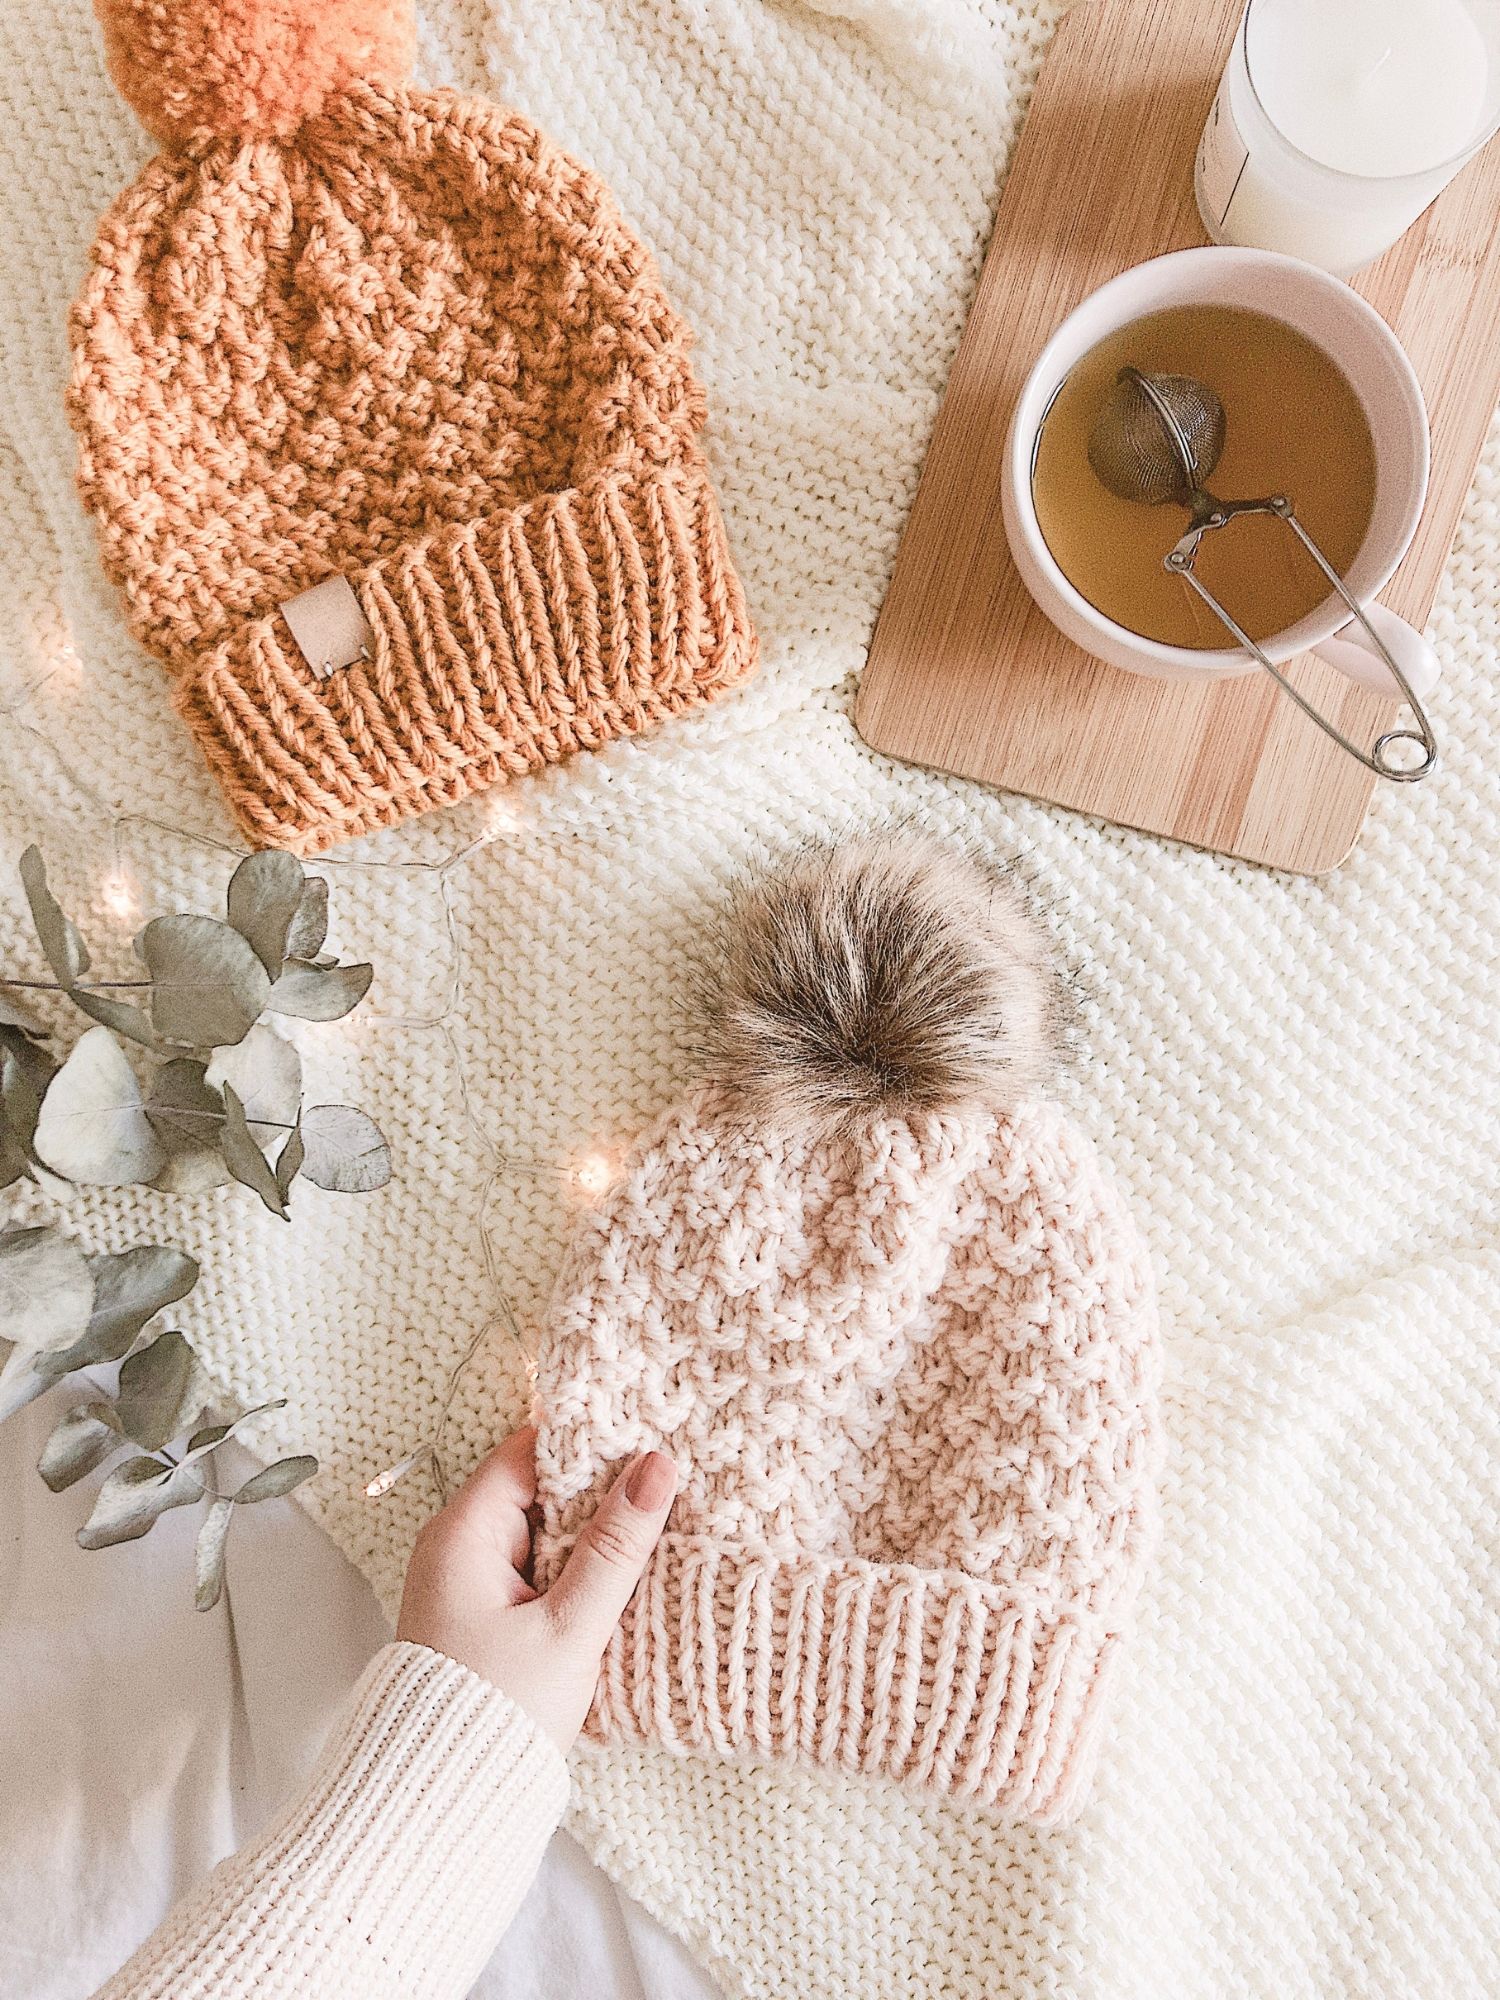
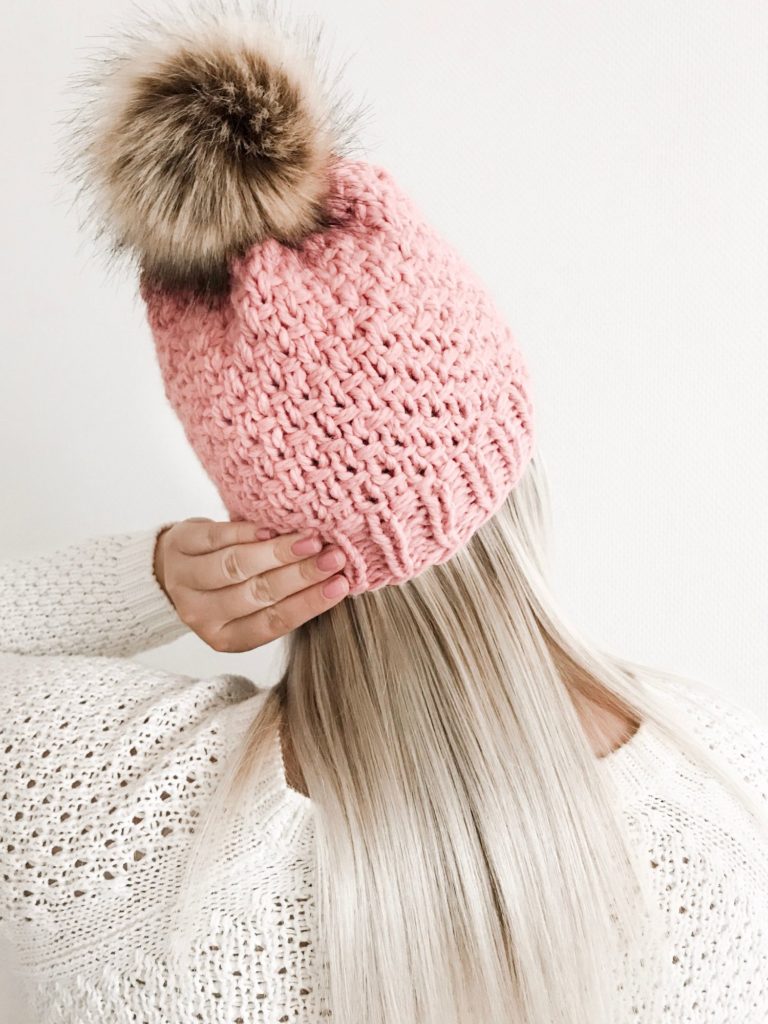
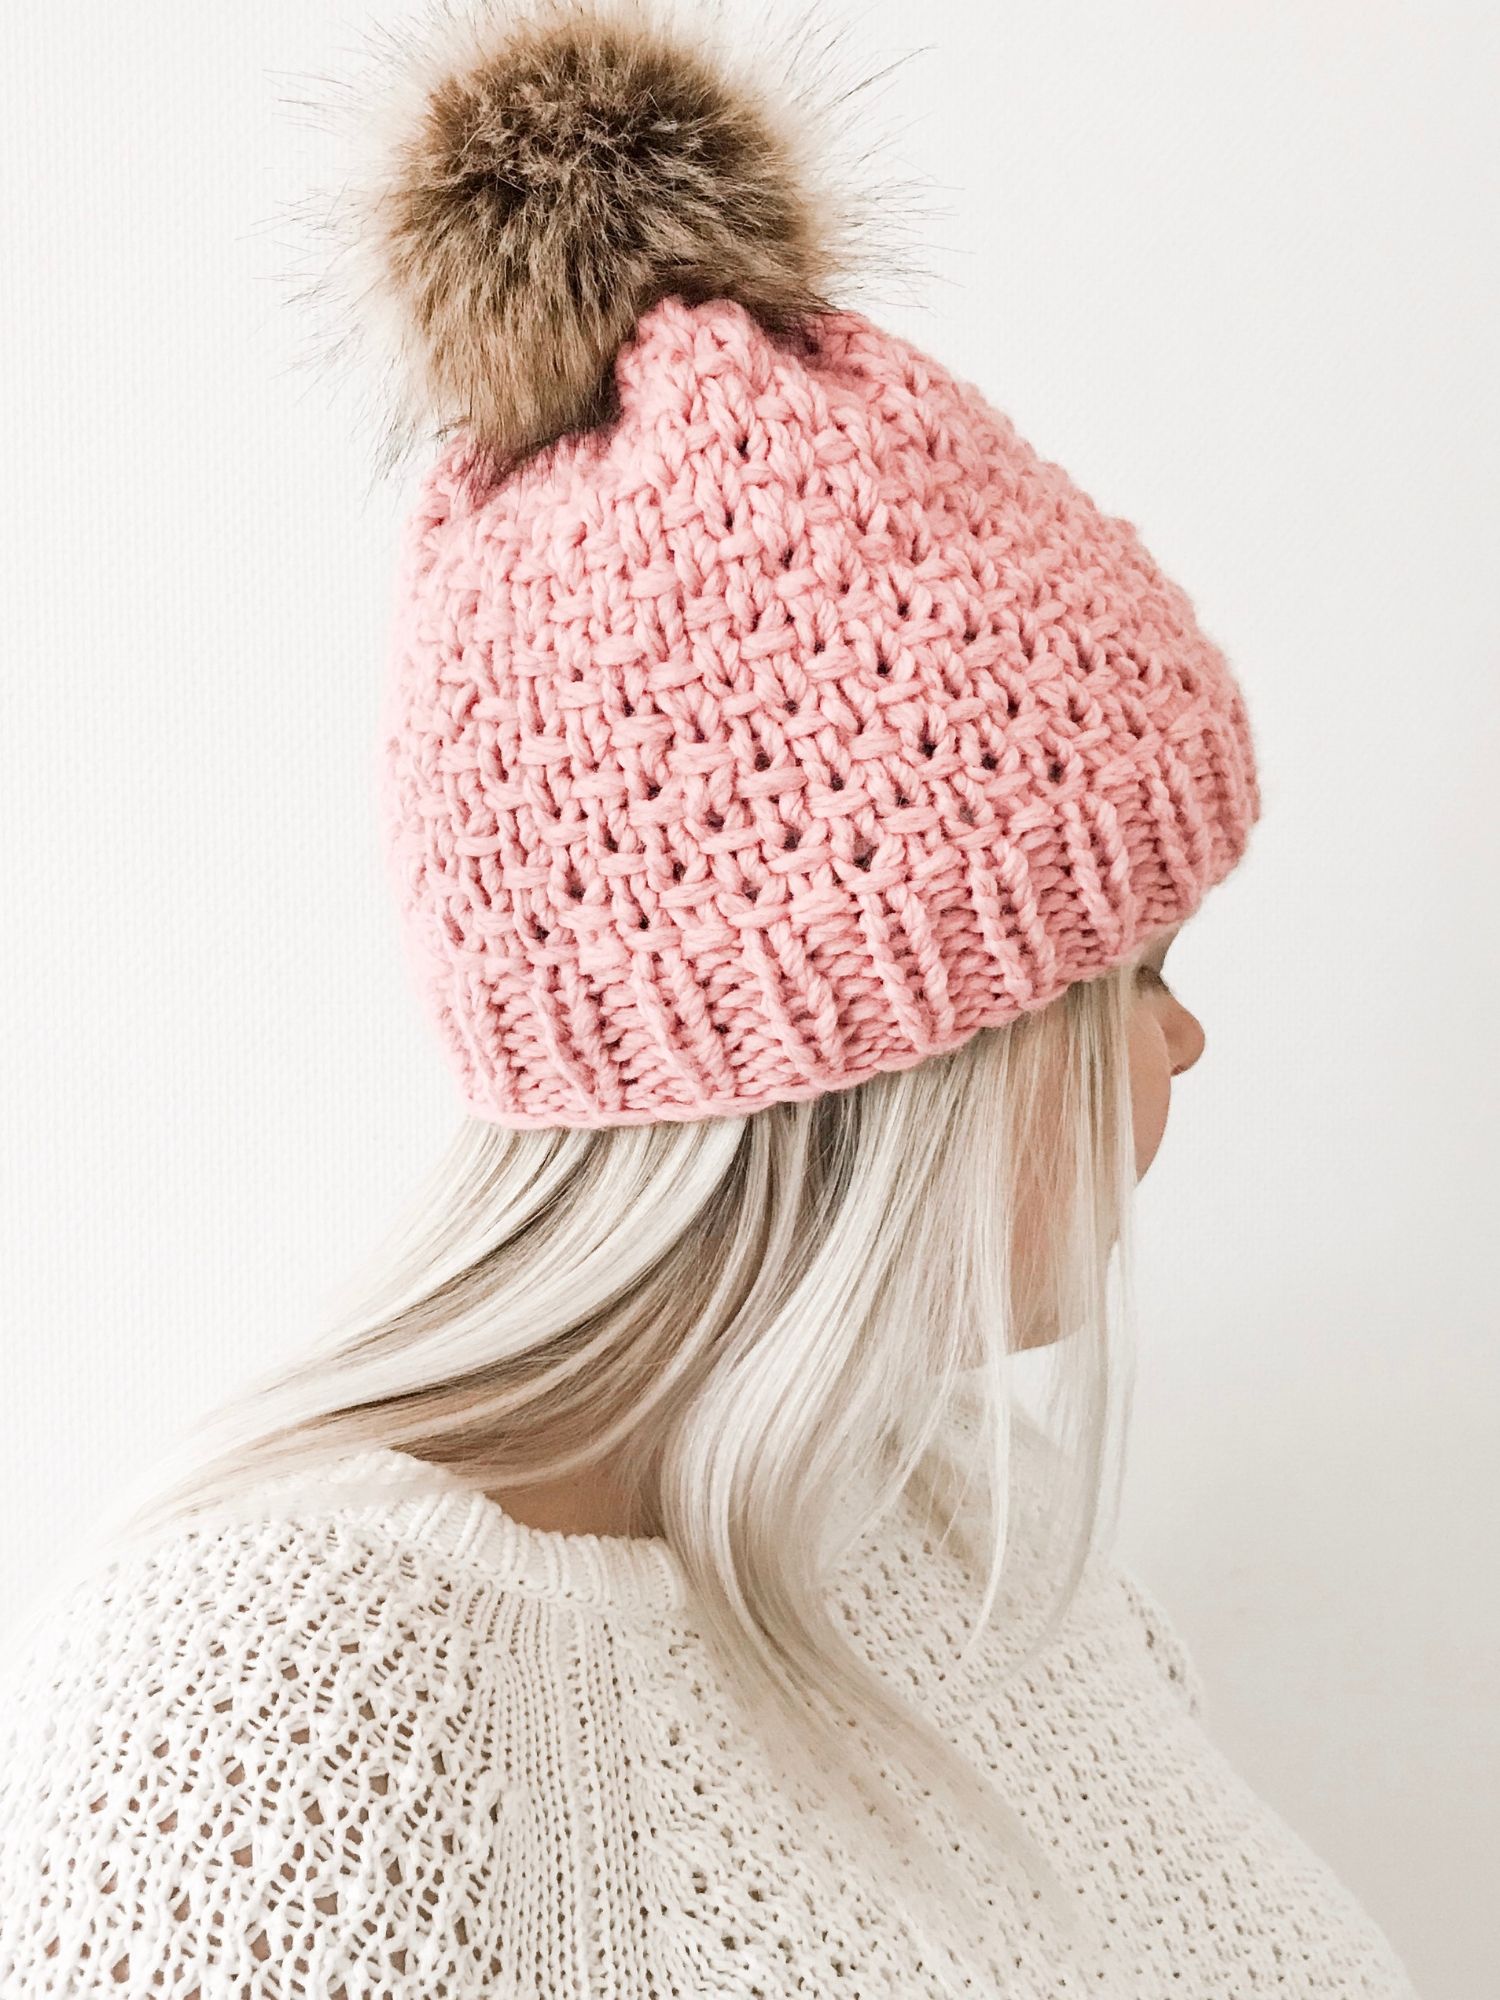
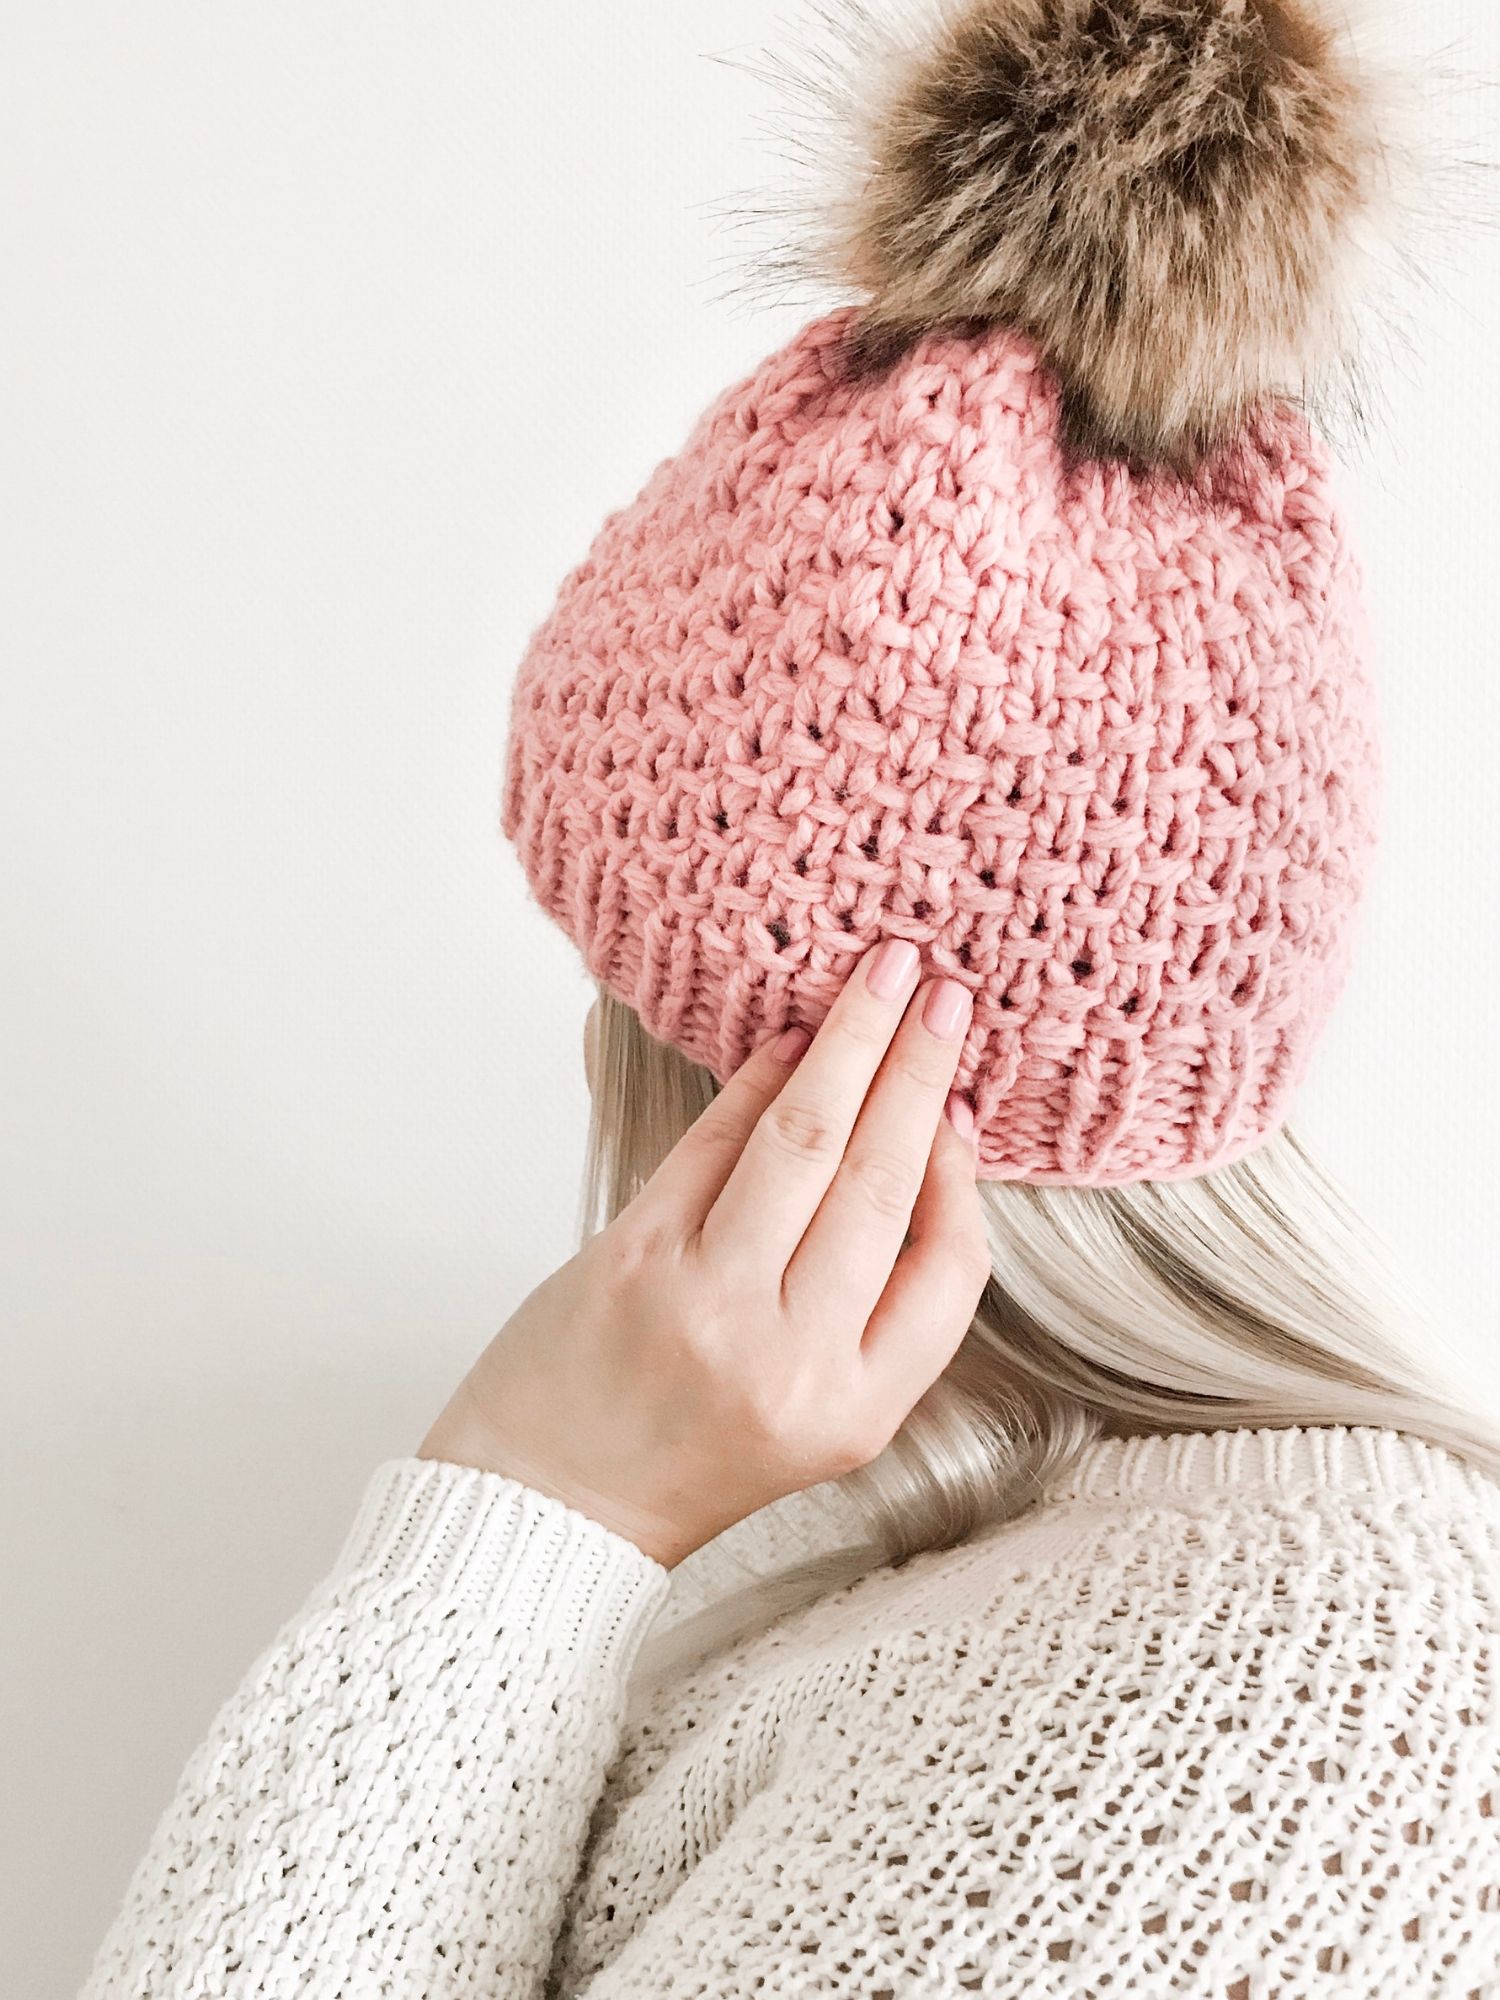
This past spring I had the opportunity to test knit Kneedles and Love Kalley’s knit hat pattern, The Madeline Beanie, and it felt like the perfect design to continue my knit lookbook posts! It’s another beginner friendly knitting project full of texture, squish and simple stitches that combine into an amazing beanie. This one too knits up in no time and I made two hats in like one sitting!

madeline beanie

Yarnwise I went with Phil Rapido by Phildar, which is a bulky #5 yarn and so soft it feels like a hug. Lately I’ve noticed that my knitting tension has gotten a lot tighter than before, so I opted for my 8mm needles and they ended up being the perfect choice for this project (the pattern calls for 6,5mm)! I often knit bulky designs with double stranded Phil Looping, but it’s such a nice change to use a yarn that’s bulky enough as it is (that is, single stranded). The yarn also comes in some seriously delicious colors so it always takes an afternoon to choose the shade you want to take home with you!

madeline beanie

But back to the pattern! Like the two previous patterns I’ve introduced, The Pinecrest Beanie by Aspen Leaf Knits and The Linen Texture Hat by Steffer Knits Studios, this one is definitely an instant gratification project as well and once you get started, you could just keep knitting forever! The finished beanie is fun, the knit and purl stitches create a beautiful texture & feel, and it’s just beautiful in all its simplicity. I would 100% recommend this pattern for beginners and for anyone who’s looking for a cute and quick ready-in-an-afternoon project!

In other beanie-related-news, I bought a new pattern this morning and  couldn’t be more excited! I’ll be making the Favorite Cable Beanie by The Chesapeake Needle – absolutely can’t wait to get started already and show you guys the finished hat!

Love, Kati

Knit Lookbook Knitting

Linen Texture Hat by Steffer Knits Studio

linen texture hat

Another day, another beautiful beanie! I can’t tell you enough how much I love quick and simple knits full of texture and fun stitch ideas. One of my maker BFF’s Stef from Steffer Knits Studios sent me her newest beanie design, The Linen Texture Hat and as soon as I’d finished Ginny’s Pinecrest Beanie I knew I couldn’t wait to get started on Stef’s gorgeous pattern! Luckily I had enough Phil Looping left and after last night’s classic just one more row situation I finally finished the hat this morning and ughhh is it a beauty!

linen texture hat

The Linen Texture Hat uses super bulky (#6) yarn that I, as usual, substituted with double stranded Phil Looping. I made the brim a little shorter than in the original pattern and used a *k1, p1* ribbing, and went for my 8mm needles for the brim. THIS was a total game changer! I feel like my brims stretch out far too much for my liking with the 10mm needles, so after knitting the brim with the 8mm needles I changed into the 10’s for the body of the beanie and it was smooth sailing from start to finish.

linen texture hat

I absolutely love the texture of this hat – it’s elegant, beautiful and despite the super bulky yarn it doesn’t have a heavy feel or overall look. The beanie is super soft, it fits nicely and feels soooooo comfy! It’s another beginner friendly design that knits up in no time and, if necessary, can in my opinion be easily adjusted to fit different size circumferences. The pattern comes with two sets of instructions for 2 different yarns which is always a big plus!

So to wrap up today’s beanie, you should definitely get a copy of the pattern and get knitting because you’ll absolutely love it!

Happy Monday!

xx, Kati

Knitting Patterns

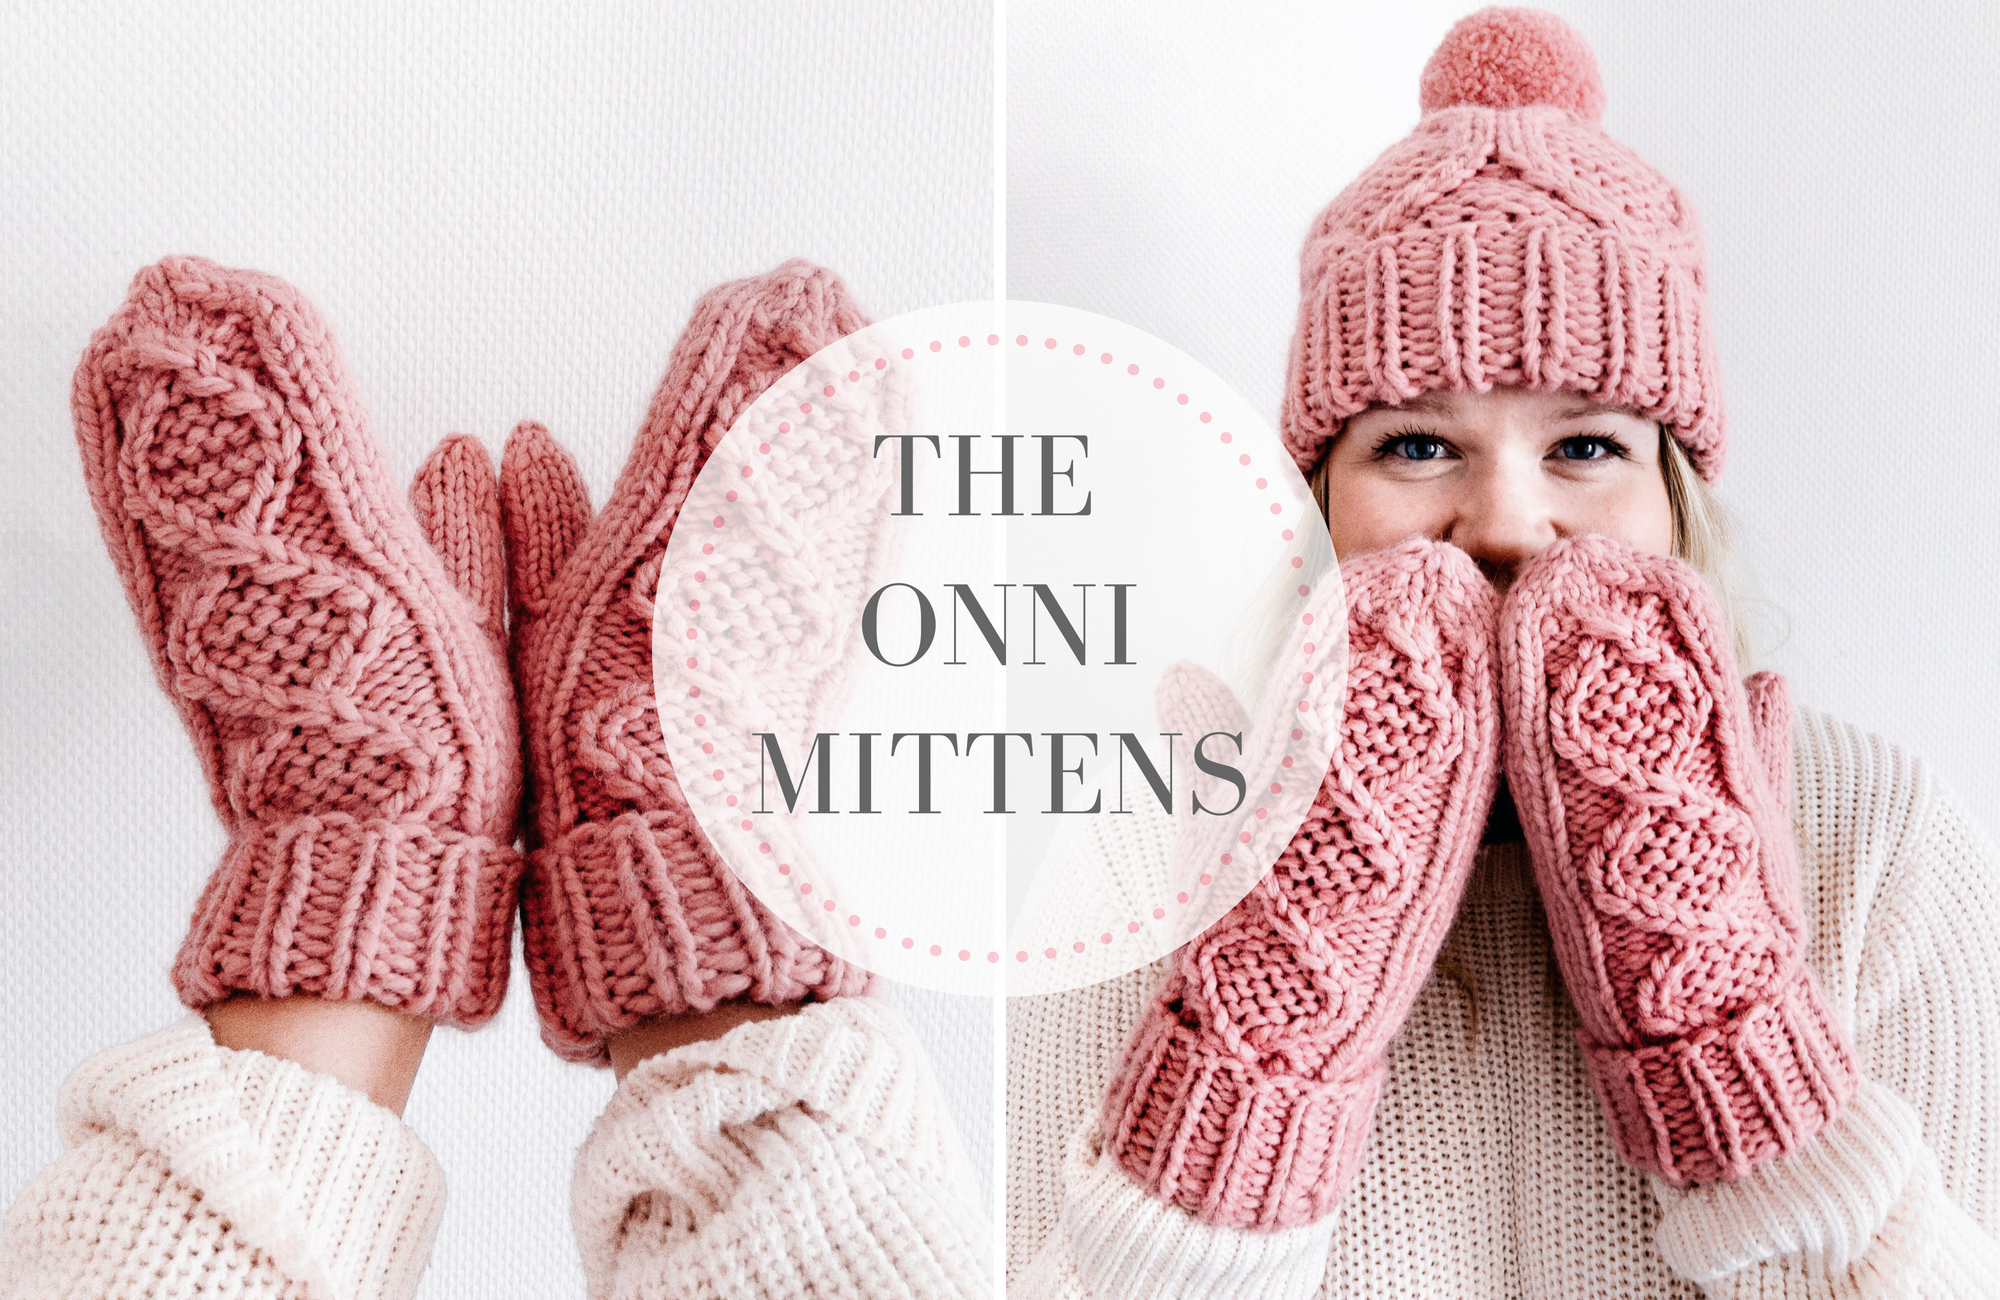
Free knitting pattern: The Onni Mittens

mitten pattern

Hi there folks, so glad to see you’ve found your way to this free mitten pattern so let me present to you: The Onni Mittens! Onni is the Finnish word for happiness and if you ask me, keeping your hands warm when the first snow falls and  you’re drinking hot chocolate from a take away cup while enjoying the cool, crisp air should definitely be the dictionary definition of comfy (might’ve gotten a little poetic there but let me have my delusions about the perfect winter that doesn’t include rain, wind that makes the snow hurt your face and gloomy skies!). But anyway, back to the mittens. They have an intermediate cable pattern, a double cuff and thanks to the bulky yarn, they work up in no time!

mitten pattern

In this free pattern you’ll find full written instructions on how to make the mittens from start to finish and a knitting chart for the pattern as well. The pattern is actually worked like any other cable pattern or chart would be (even if it doesn’t really look like traditional cables…) but don’t let the cables scare you – once you get the hang of the pattern you’ll be knitting the mittens up in no time! In this mitten pattern, by slipping stitches onto the cable needle you’re actually changing the places of the knit and purl stitches and this way creating the diamond like shape.

mitten pattern

If at any point you have any questions don’t hesitate to leave a comment on this post or send me an email at kati@katimaaria.com!

Also if you share a picture of the mittens on Instagram, please tag me @katimaariaknits and use the hashtag #onnimittens – I can’t wait to see your designs! You may also sell the finished product but please give credit to the designer.

So let’s get knitting!

mitten pattern

Measurements

One size, will fit an average woman. Length with the cuff folded: approximately 24cm/9.4 inches

Yarn & needle variations

First things first: if you identify yourself as a tight knitter, opt for bigger needles!

The pattern is designed for bulky yarn (weight category #5) and 6mm/US 10 needles. If you wish to make the mittens more chunky you can choose a  bulkier yarn or for example knit with double stranded bulky yarn (like I did with the pink mittens) but keep the needle size at 6mm/US 10 or any needle size to obtain the gauge. I’ve found that this way, you’ll get more texture to the work but as the needle size remains the same and rather small for chunkier yarn, the gauge doesn’t radically change and you can still follow this pattern from start to finish.

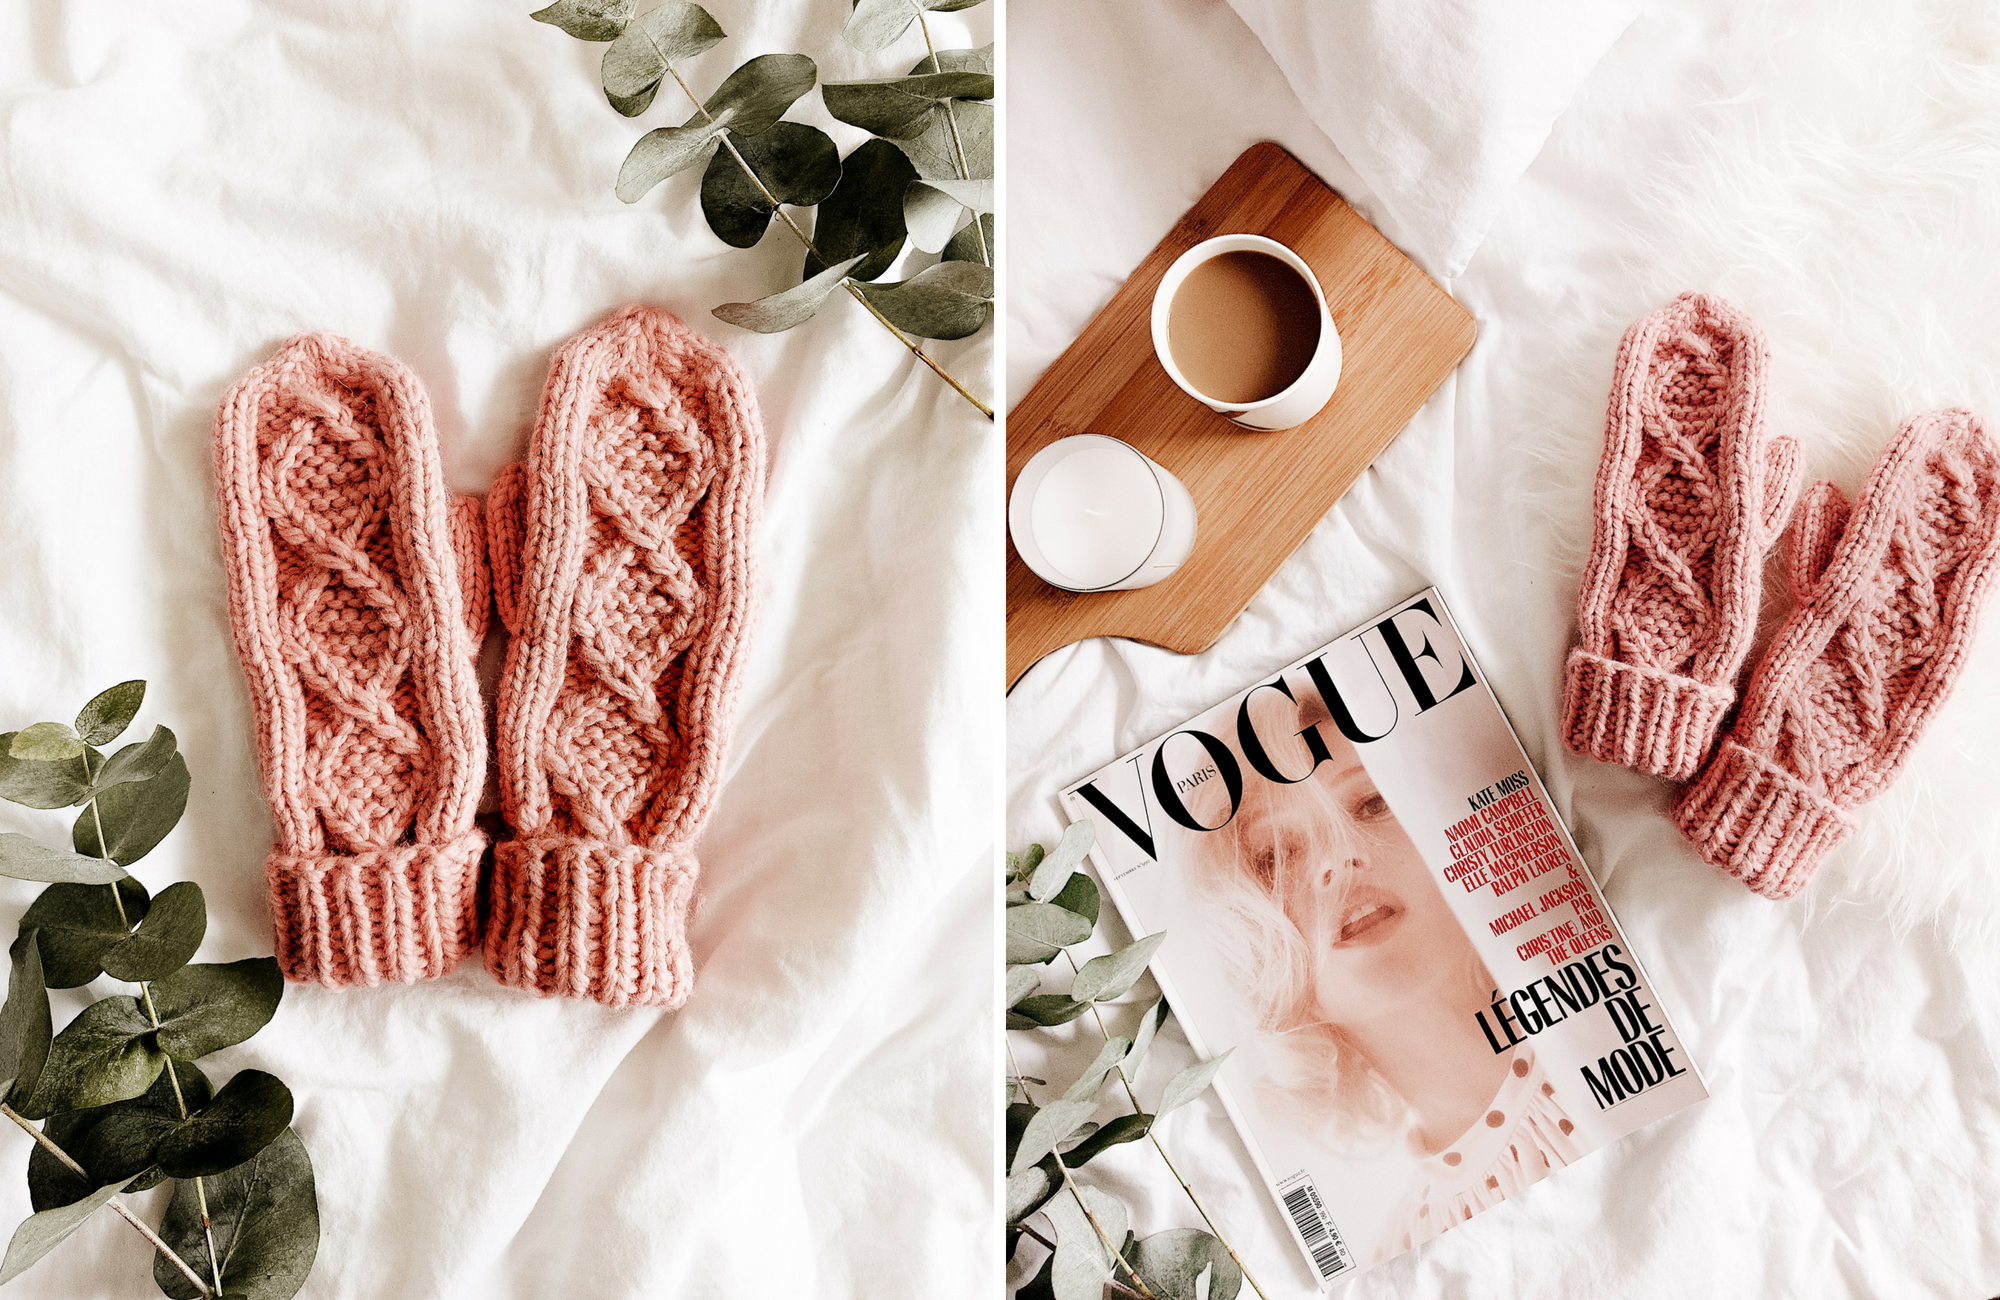
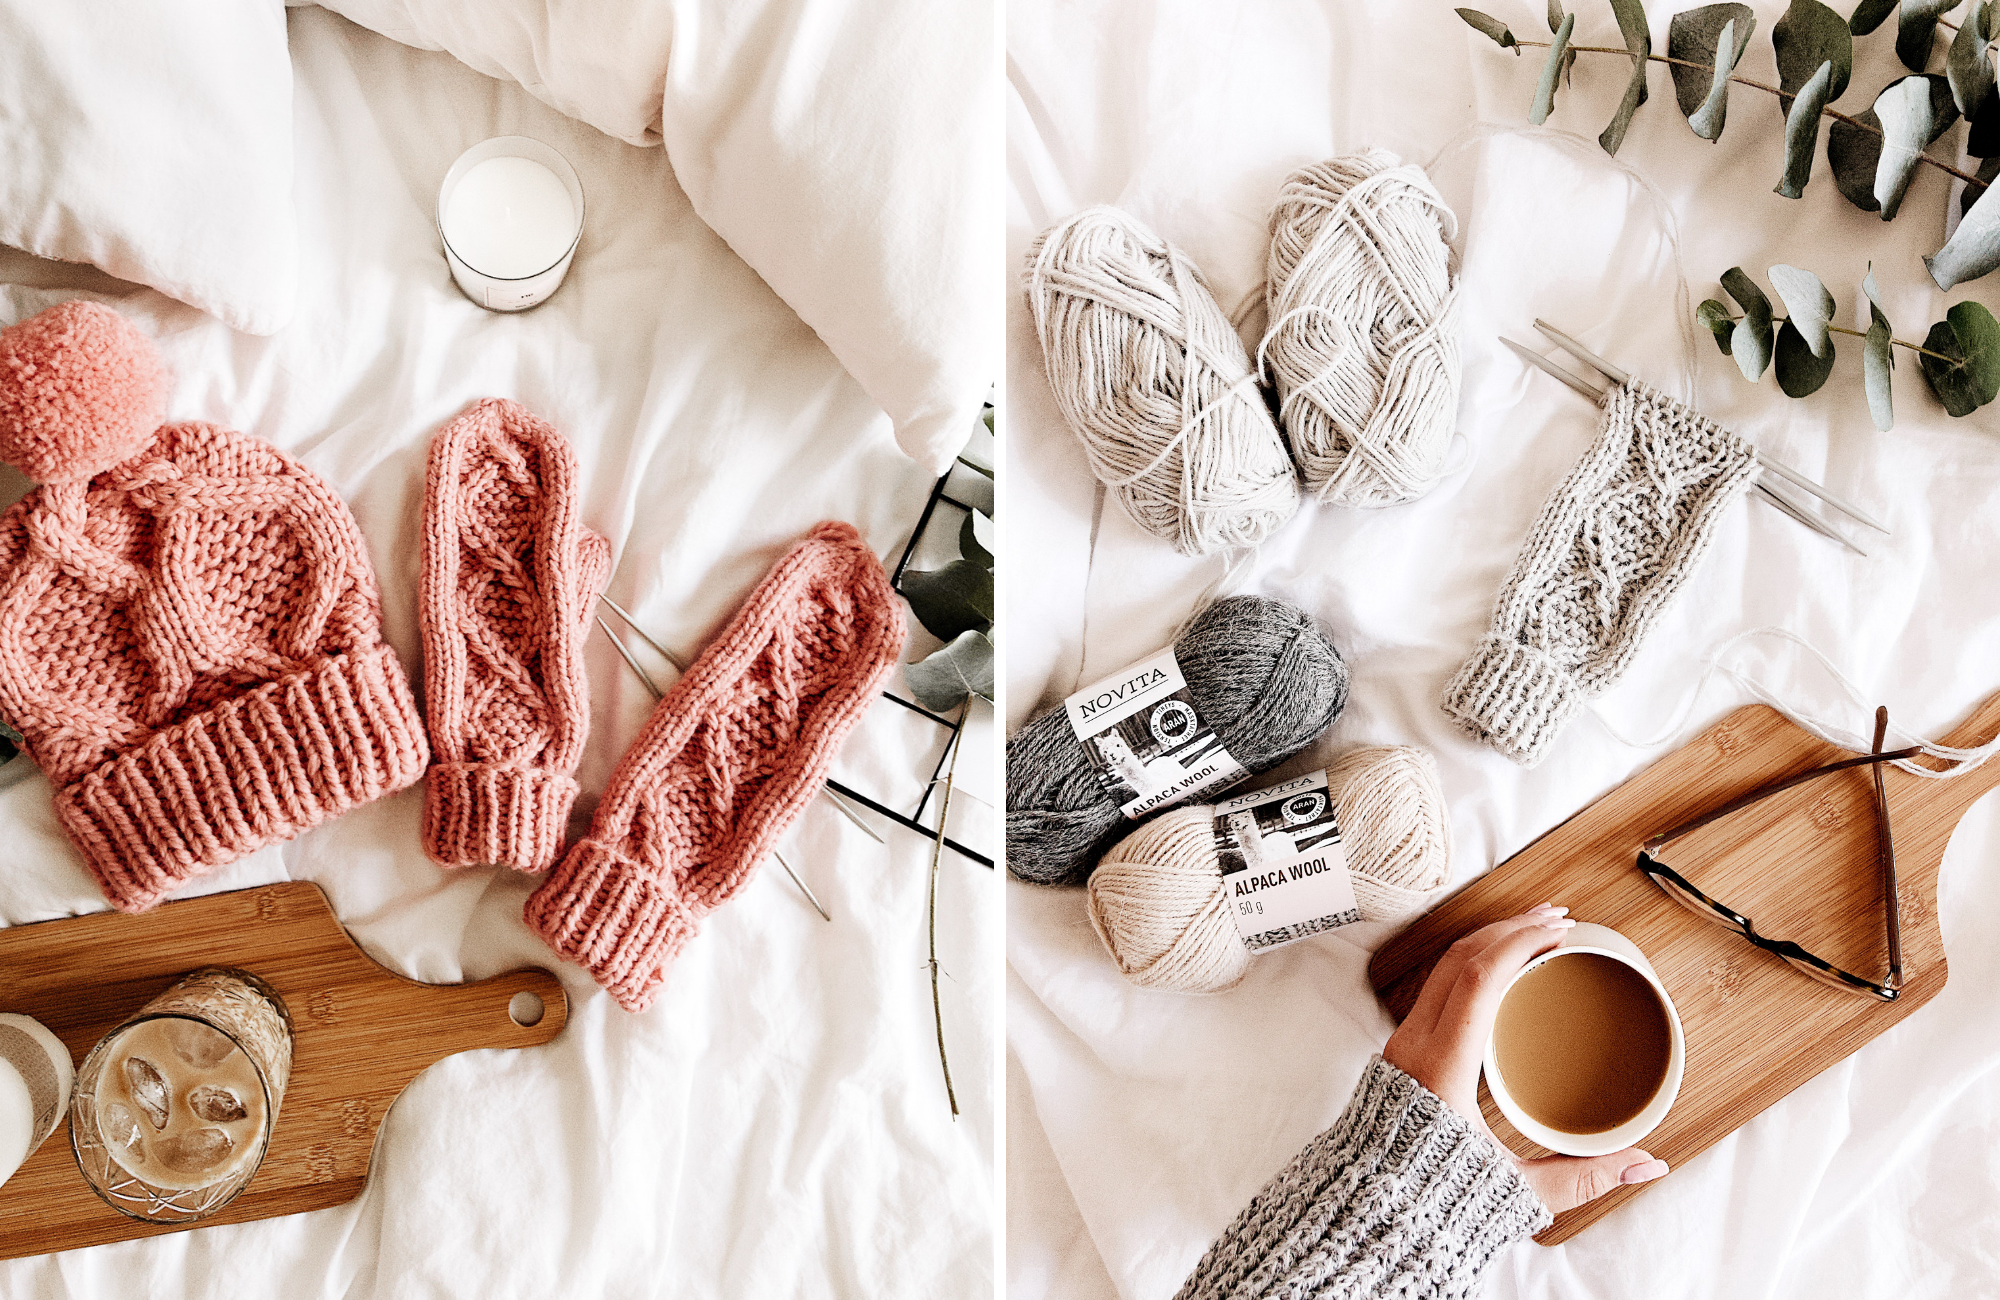
For example, the chunky pink mittens in the pictures are knit with double stranded bulky yarn (Phil Looping by Phildar, find it here!) using 6mm/US 10 needles.

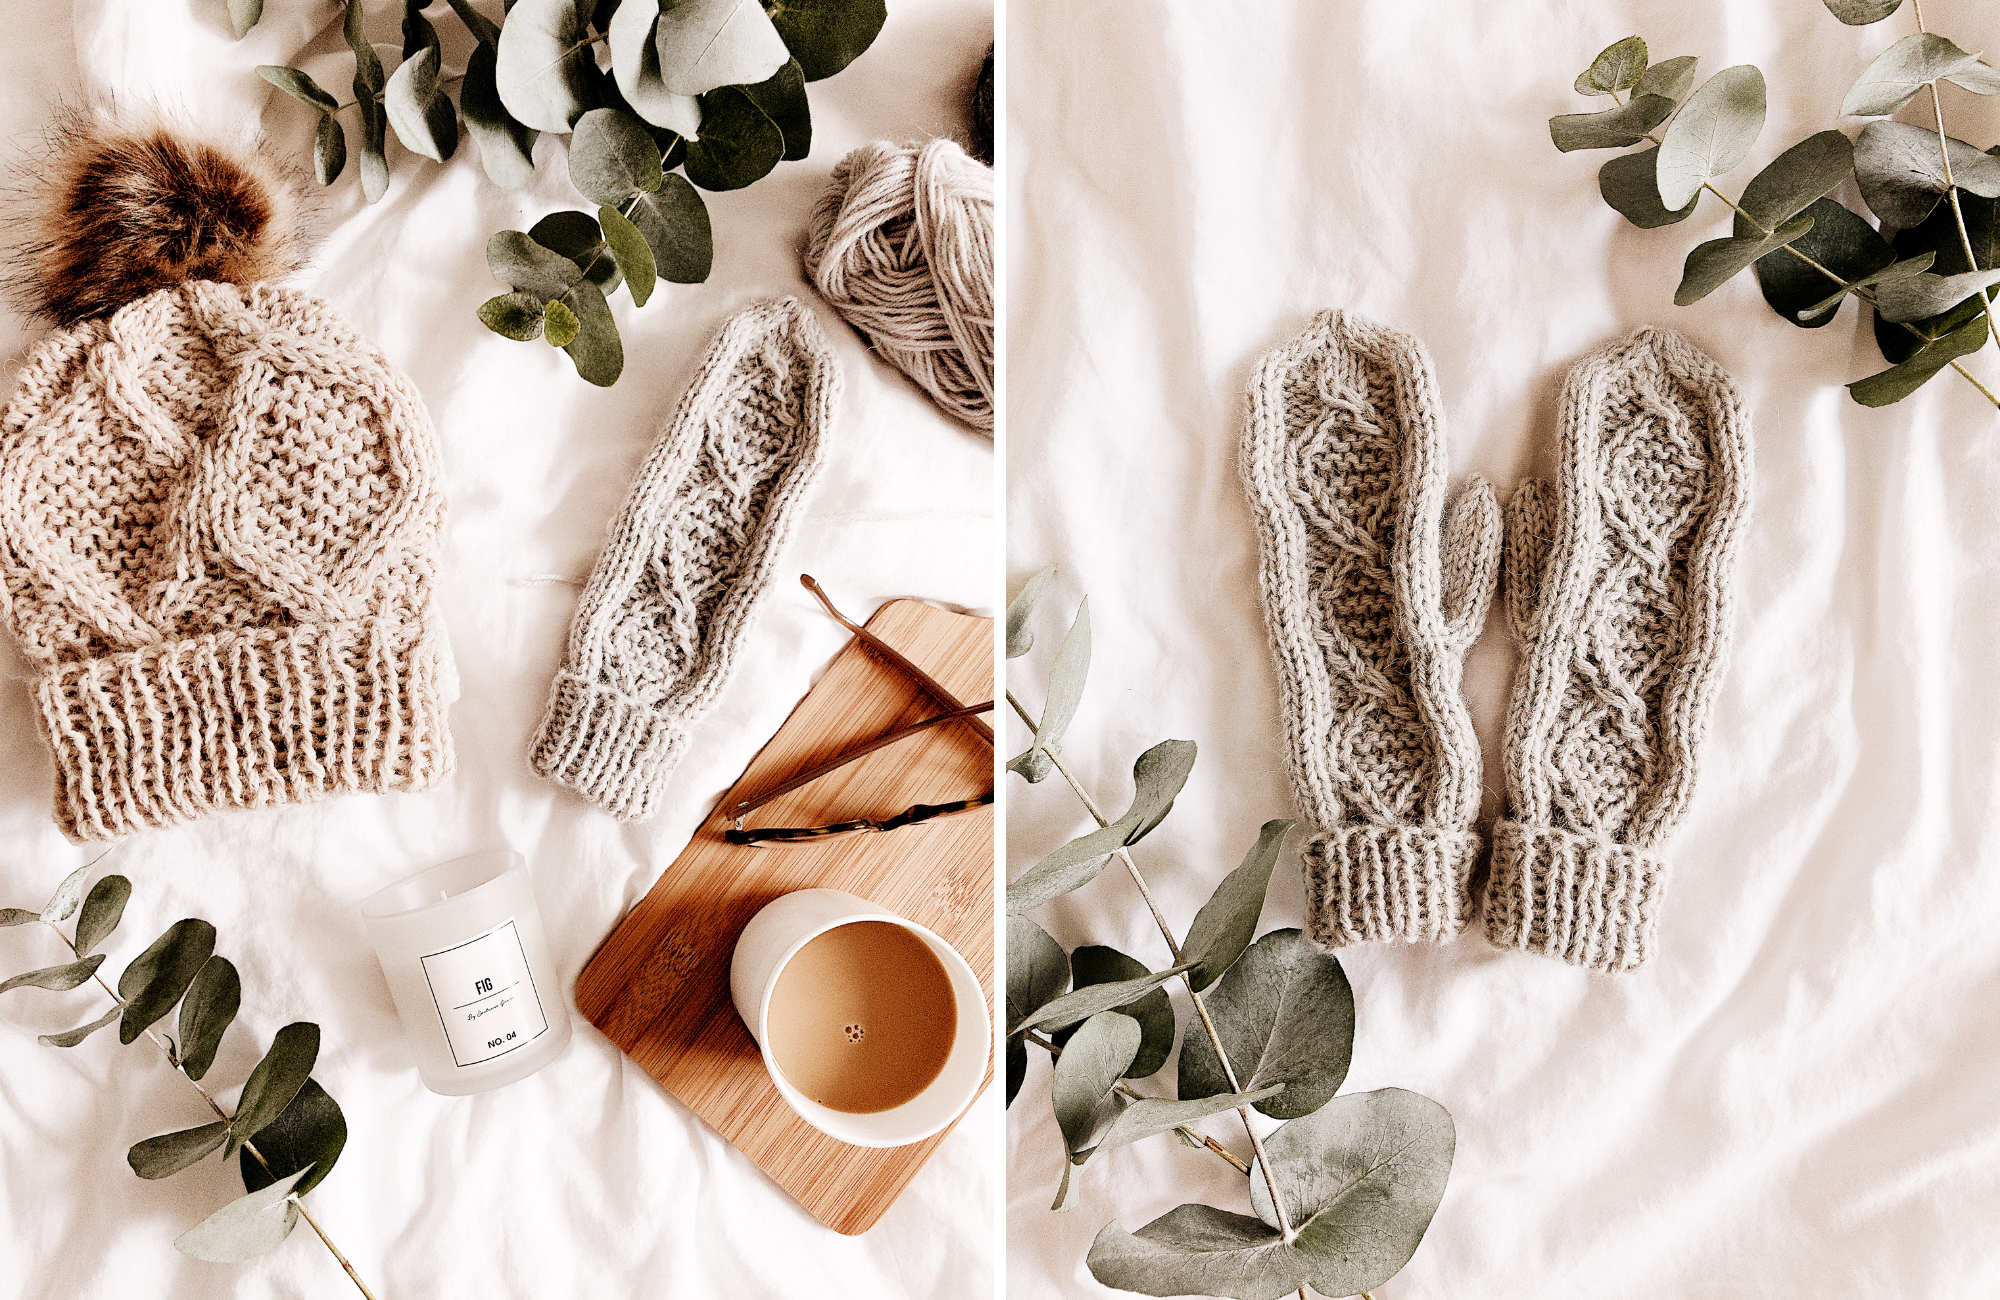
The grey mittens are knit with double stranded worsted yarn (Alpaca Wool by Novita, find it here!) using 6mm/US 10 needles, making the yarn an equivalent to a category #5 yarn.

Materials

  • 6mm/US 10 DPNs or any needles to obtain the gauge (if you’re a tight knitter, give 8mm/US 11 needles a try for example!)
  • Approximately 100m/109 yards of bulky yarn (weight category #5) with the following gauge: 10x10cm/4×4″ of stockinette stitch with 6mm/US 10 needles = 14 stitches, 22 rows
  • Cable needle or extra DPN
  • A little piece of contrasting color yarn for the thumb hole
  • Tapestry needle

Abbreviations

K = knit
P = purl
M1 = make one stitch by picking up the yarn in between two stitches with your left needle and knitting it through the back loop
C3F = slip 1 stitch onto cable needle and leave in front of work. Knit 1 stitch, purl 1 stitch and then knit 1 stitch from cable needle.
C2B = slip 1 stitch onto cable needle and leave in back of work. Knit 1 stitch and then purl 1 from cable needle.
C2F = slip 1 stitch onto cable needle and leave in front of work. Purl 1 stitch and then knit 1 from cable needle.
K2tog = knit 2 stitches together
Skp = slip 1 stitch, knit 1 stitch and pass the slipped stitch over the knit stitch

Cuff

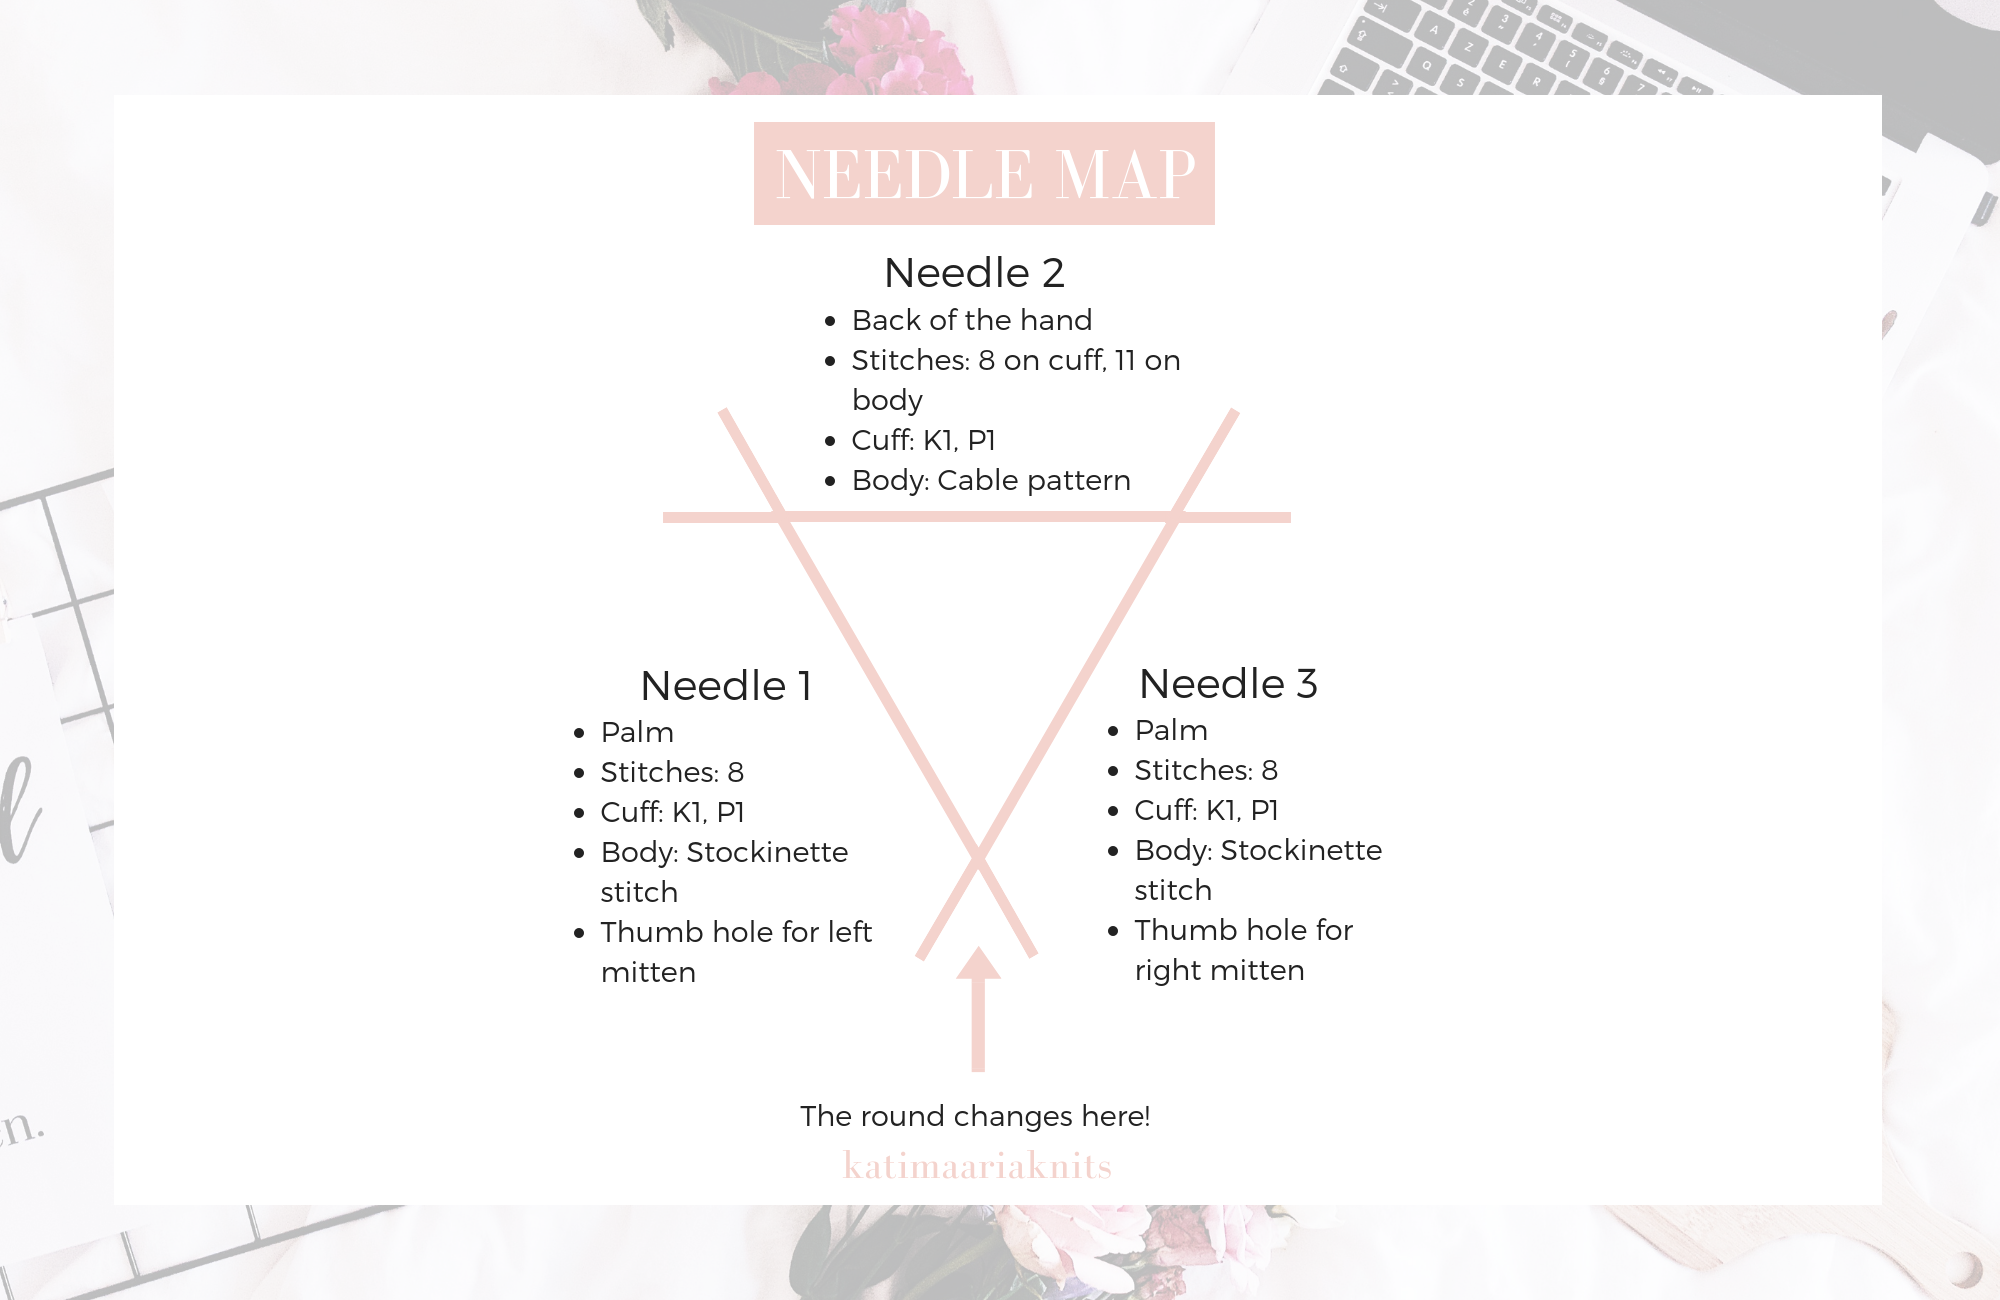
Cast on 24 stitches on your 6mm/US 10 needles. Work the mittens with 4 needles: keep the work on 3 needles in a triangle shape and knit with the fourth one. Share the stitches evenly so that you have 8 stitches per needle. The beginning of the round is between the 1st and the 3rd needle (see needle map below!).

mitten pattern

Click the image to open it bigger!

Join the work in the round and *K1, P1* all around (round 1) and repeat round 1 for another 17 times, knitting a total of 18 rounds for the cuff or until it measures 10cm/4 inches.

Increase round

1st needle: no increases, knit 8 stitches
2nd needle: increase 3 stitches evenly, for example in the following way:

  • K1, M1, K3, M1, K3, M1, K1

3rd needle: no increases, knit 8 stitches

Body

After the increases, you’ll have 27 stitches on the work: 8 stitches on needle 1, 11 stitches on needle 2 and 8 stitches on needle 3. You’ll knit stockinette stitch on the 1st and the 3rd needle until the end of the mitten and work the cable pattern on the 2nd needle.

The following written instructions are only for the 2nd needle, knit stockinette stitch on the 1st and the 3rd needle.

Round 1: K1, P3, C3F, P3, K1
Round 2: K1, P3, K3, P3, K1
Round 3: K1, P2, C2B, P1, C2F, P2, K1
Round 4: K1, P2, K5, P2, K1
Round 5: K1, P1, C2B, P3, C2F, P1, K1
Round 6: K1, P1, K7, P1, K1
Round 7: K1, P1, K1, P5, K1, P1, K1
Round 8: K1, P1, K7, P1, K1
Round 9: K1, P1, C2F, P3, C2B, P1, K1
Round 10: K1, P2, K5, P2, K1
Round 11: K1, P2, C2F, P1, C2B, P2, K1
Round 12: K1, P3, K3, P3, K1

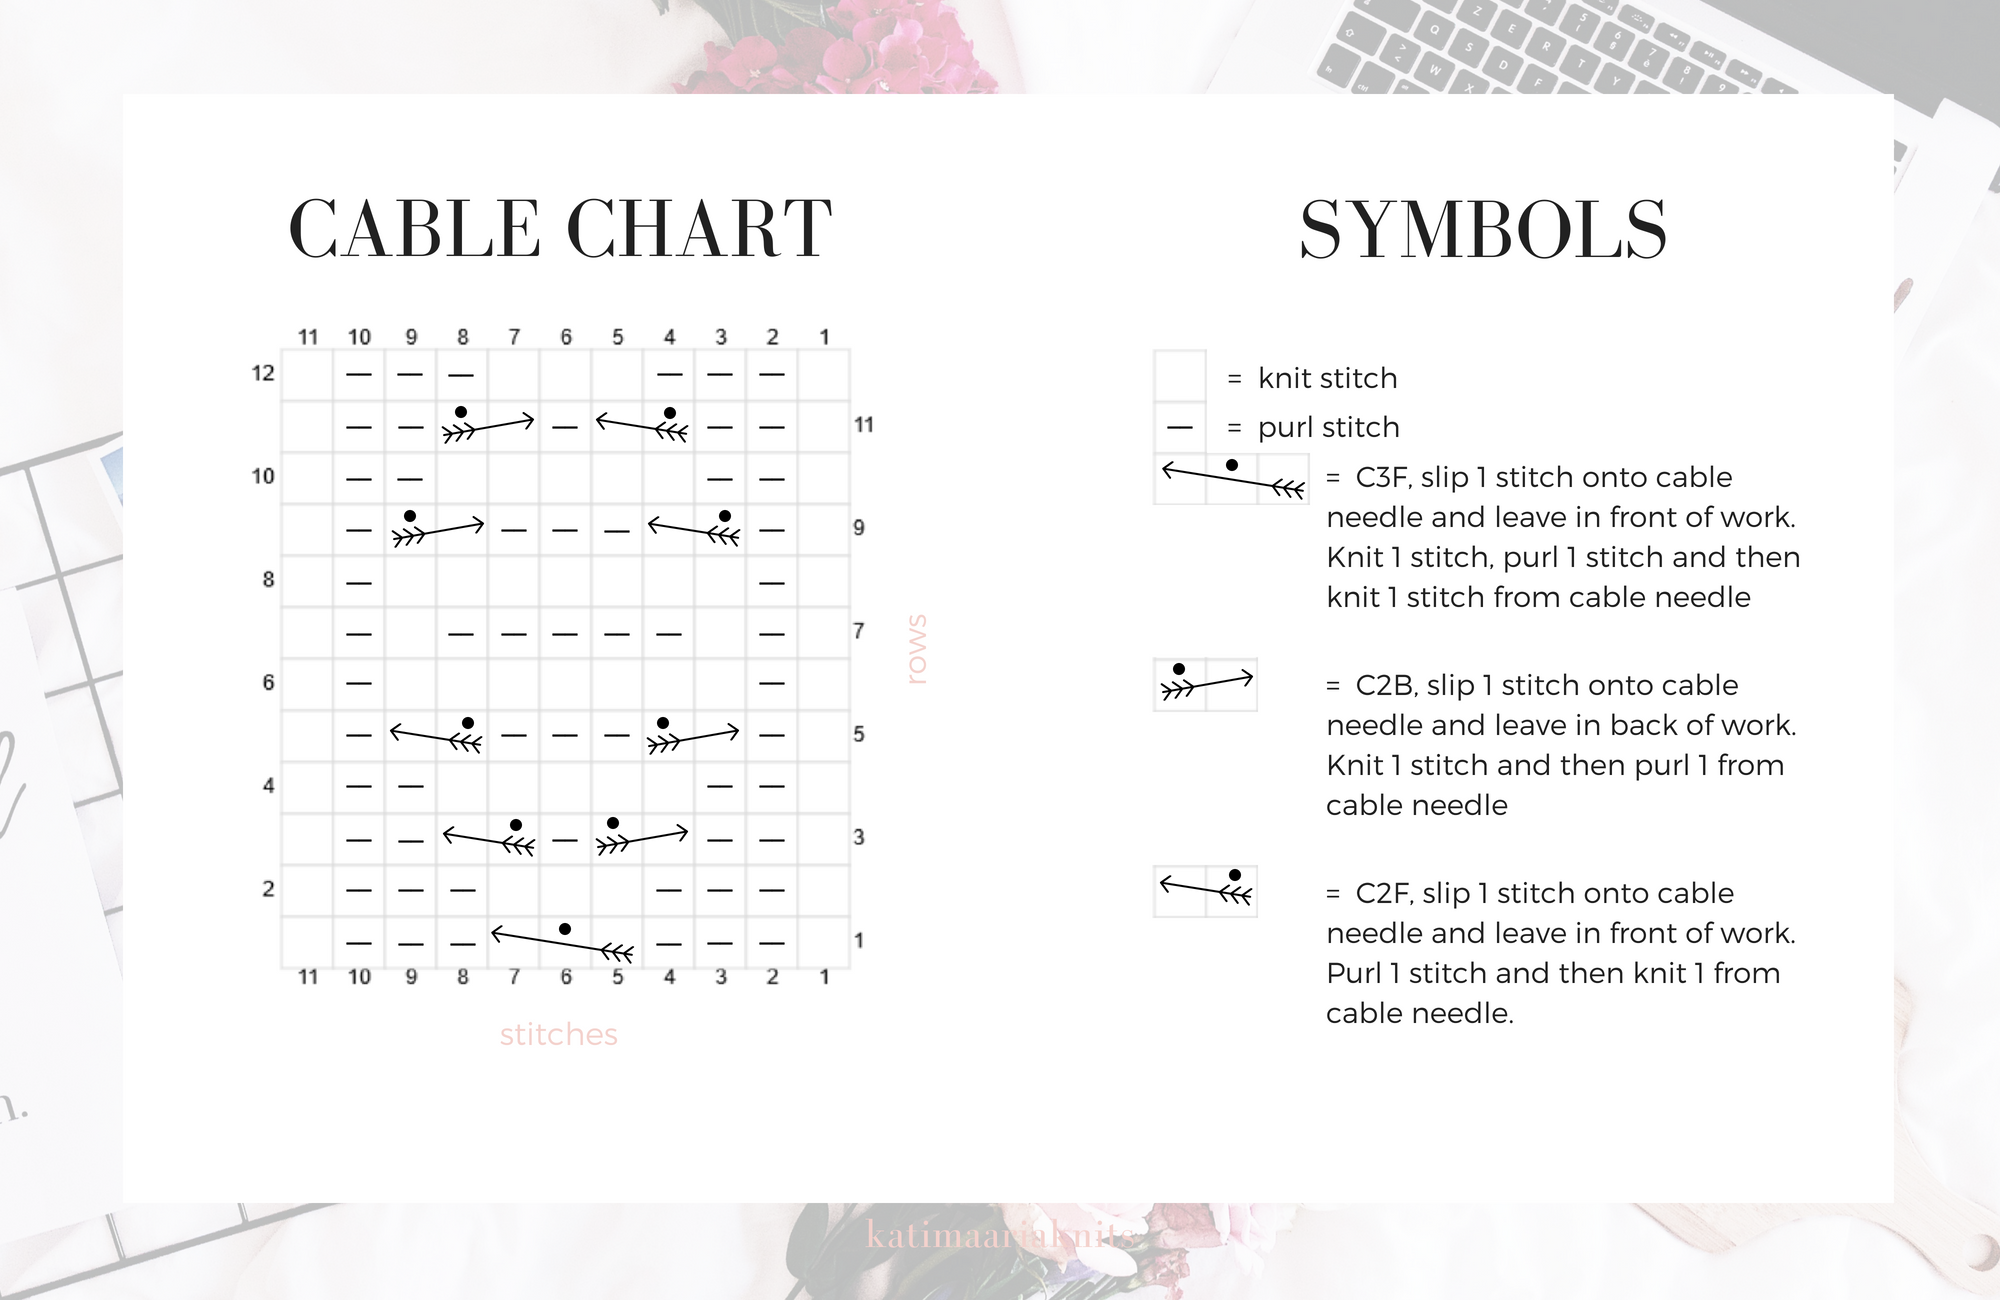
The knitting chart for the cable pattern can be found at the end of the post!

Repeat rounds 1-12 twice more (you’ll knit the rounds three times total) and finish by knitting round 1 once more before starting the decreases.

When you’re knitting rounds 1-12 for the second time, make the thumb hole on round 4 (round 16 on the total row count after starting the cable pattern).

  • For the right mitten, make the thumb hole on the 3rd needle: knit 2 stitches, then knit 4 stitches with a contrasting color yarn and move these 4 stitches back to the left hand needle. Finish the needle by knitting stockinette stitch and continue onto round 5.
  • For the left mitten, make the thumb hole on the 1st needle: knit 2 stitches, then knit 4 stitches with a contrasting color yarn and move these 4 stitches back to the left hand needle. Finish the needle by knitting stockinette stitch and continue the round normally.

Decreasing

Round 1:

  • 1st needle: K5, K2tog, K1
  • 2nd needle: skp, K7, K2tog
  • 3rd needle: K1, skp, K5
  • stitch count after the round: 23

Round 2:

  • 1st needle: K4, K2 tog, K1
  • 2nd needle: skp, K5, K2tog
  • 3rd needle: K1, skp, K4
  • stitch count after the round: 19

Round 3:

  • 1st needle: K3, K2tog, K1
  • 2nd needle: skp, K3, K2tog
  • 3rd needle: K1, skp, K3
  • stitch count after the round: 15

Round 4:

  • 1st needle: K2, K2tog, K1
  • 2nd needle: skp, K1, K2tog
  • 3rd needle: K1, skp, K2
  • stitch count after the round: 11

Round 5:

  • 1st needle: K1, K2tog, K1
  • 2nd needle: K3
  • 3rd needle: K1, skp, K1
  • stitch count after the round: 9

Cut yarn and pull through remaining 9 stitches, tighten and secure the end well by weaving in on the wrong side of the work.

Thumb

Remove the help yarn and pick up the 7 stitches the yarn was holding. Pick up 5 extra stitches from around the thumb hole adding the total amount of stitches to 12 (if you want to make a bigger thumb you can pick more stitches from around the thumb hole). Share the stitches evenly on 3 needles so that you have 4 stitches per needle. To avoid stretching the stitches and making holes at the core of the thumb, knit all the stitches through the back loop on the first round. After the first round, continue knitting stockinette stitch until the thumb covers approximately half of your thumb nail.

Decrease by knitting 2 stitches together at the end of every needle (repeat on every round) until you have a total of 6 stitches left on the thumb. Cut yarn and pull through remaining 6 stitches, tighten and secure the end well by weaving in on the wrong side of the work.

Knitting chart

And here’s the visual for the cable pattern! After knitting the cuff, you’ll repeat rows 1-12 for a total of three times and then knit row 1 once more before starting the decreases (no chart for the decreasing part so head back up a little to see the written instructions!).

mitten pattern

Click the image to open it bigger!

And there you have it, your Onni mittens are now ready (you see, I told you they would work up in no time)!

I hope you’ve enjoyed this pattern and will be making all the mittens for the winter!

xx, Kati