Knitting

FREE PRINTABLE Pattern Planner

pattern planner

Hi fellow makers, and happy 2020! My goal for this new year was to be more organized, and I’m starting with patterns! I love the process of bringing patterns to life but with multiple designs and ideas, life can get a little messy if you’re not on top of things…which is exactly why I made this little planner!

The planner comes in 3 color options and prints out perfectly onto an A4, and it includes a to do -list, space to write down your testers, materials and more!

Scroll down to download your own copy and happy knitting/crocheting/whatever your craft happens to be!

pattern planner

// DOWNLOAD THE FULL COLOR VERSION HERE //

pattern planner

// DOWNLOAD THE COLOR FRAME VERSION HERE //

pattern planner

// DOWNLOAD THE BLACK & WHITE VERSION HERE //

xx, Kati

Crochet

The Isla Scarf by Darling J’Adore

isla scarf

After coming back from our little holiday in Finland this August, I was desperately looking for a new CROCHET project to change things up a bit and challenge myself. I had thought about a crochet scarf pattern for a while but felt like I hadn’t yet found the right one for me. I had scrolled through Pinterest and multiple blogs until it finally hit me – why am I not looking through my favorite designers on Instagram?! So I found my way to the beautiful feed of Darling J’adore and knew instantly I’d come to the right place! Sierra is such an amazing maker and designer, and ALL her patterns are like pieces of art.

isla scarf

So I decided to grab myself a copy of the Isla Scarf crochet pattern, and it was SO GOOD I finished my first scarf in a few days and have already started a second one. The different textures look incredible together and nothing was too difficult for an adventurous beginner like me!

isla scarf

Yarnwise I went with Phil Rustique by Phildar – I had already used the yarn for a knit shawl I made earlier this spring and knew it worked perfectly for projects like this. It’s a mixture of cotton, linen and viscose, and super easy to work with. The texture of the finished product is airy and light, and the yarn really brings out all the different details of the scarf!

isla scarf

I’ve taken my time with the second scarf as I find crocheting it exceptionally relaxing and soothing, and I secretly wish I could keep this project forever. Or I guess I’ll just start a third one once I’m finished! I often find myself knitting instant gratification projects that take an afternoon to finish, so reaching out to the world of crochet and really enjoying the process have definitely been some of the best things with the Isla scarf!

Xx, Kati

Knitting Tutorials

Knitting Tutorial: 10-stitch Left Leaning Cable

left leaning cable

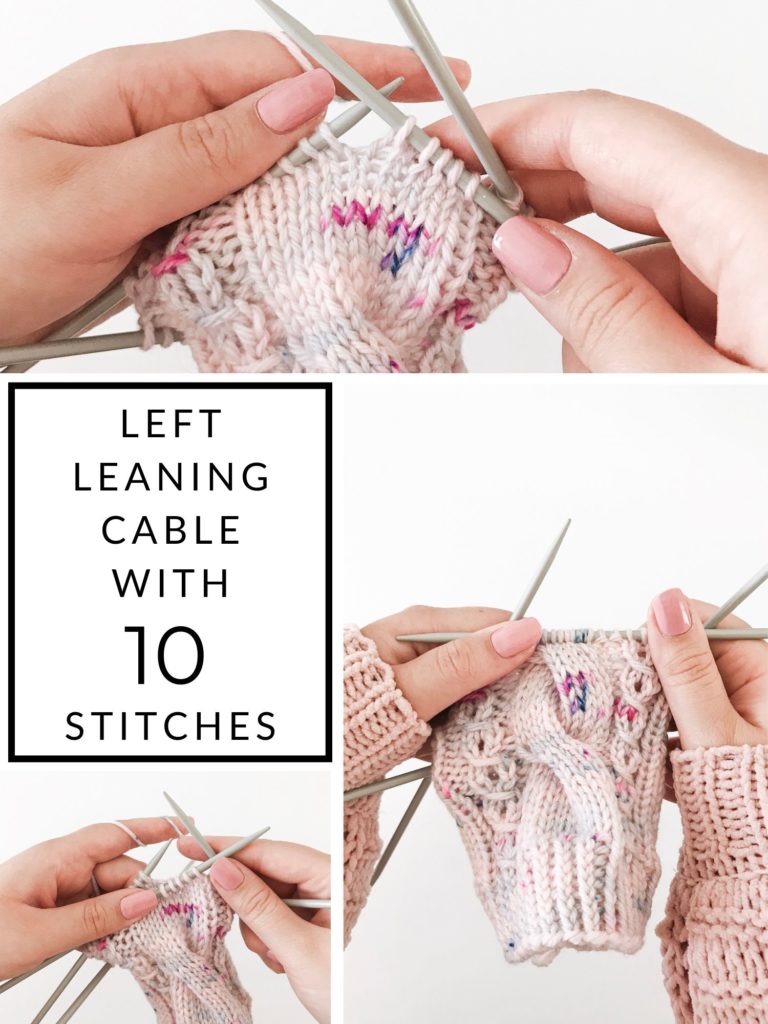
If I had to pick one knitting technique/texture to use for the rest of my life, that’d definitely be cables. I absolutely LOVE cables! They’re easy, quick to learn and add amazing texture and detail to any knit piece. I’ve used them in all my beanie designs and have a few cable sock designs coming out as well. This big, 10-stitch cable will be used in one of them so let’s get to the instructions!

A left leaning cable is made by slipping stitches onto a cable needle in front of the work. All simple cables work the same way and these instructions can therefore be used for any sized left leaning cable: by adjusting the number of stitches slipped onto the cable needle you’ll be able to vary the size of the cable! For example if you’d like to make a 6-stitch cable, you’d slip 3 stitches onto the cable needle, knit 3 and then knit the stitches on the cable needle and so on. But in this one, we’re slipping 5 stitches onto the cable needle, leaving them in front of the work, knitting 5 stitches and then knitting the stitches on the cable needle. In my patterns, I’d name this C10F: the cable is 10 stitches in size and the cable turn is made in the front.

My beautiful yarn is Worsted Superwash Merino in the colorway Peony by Unicorn Yarn Co, find all her amazing yarns here!

So let’s get to the pictures!

left leaning cable

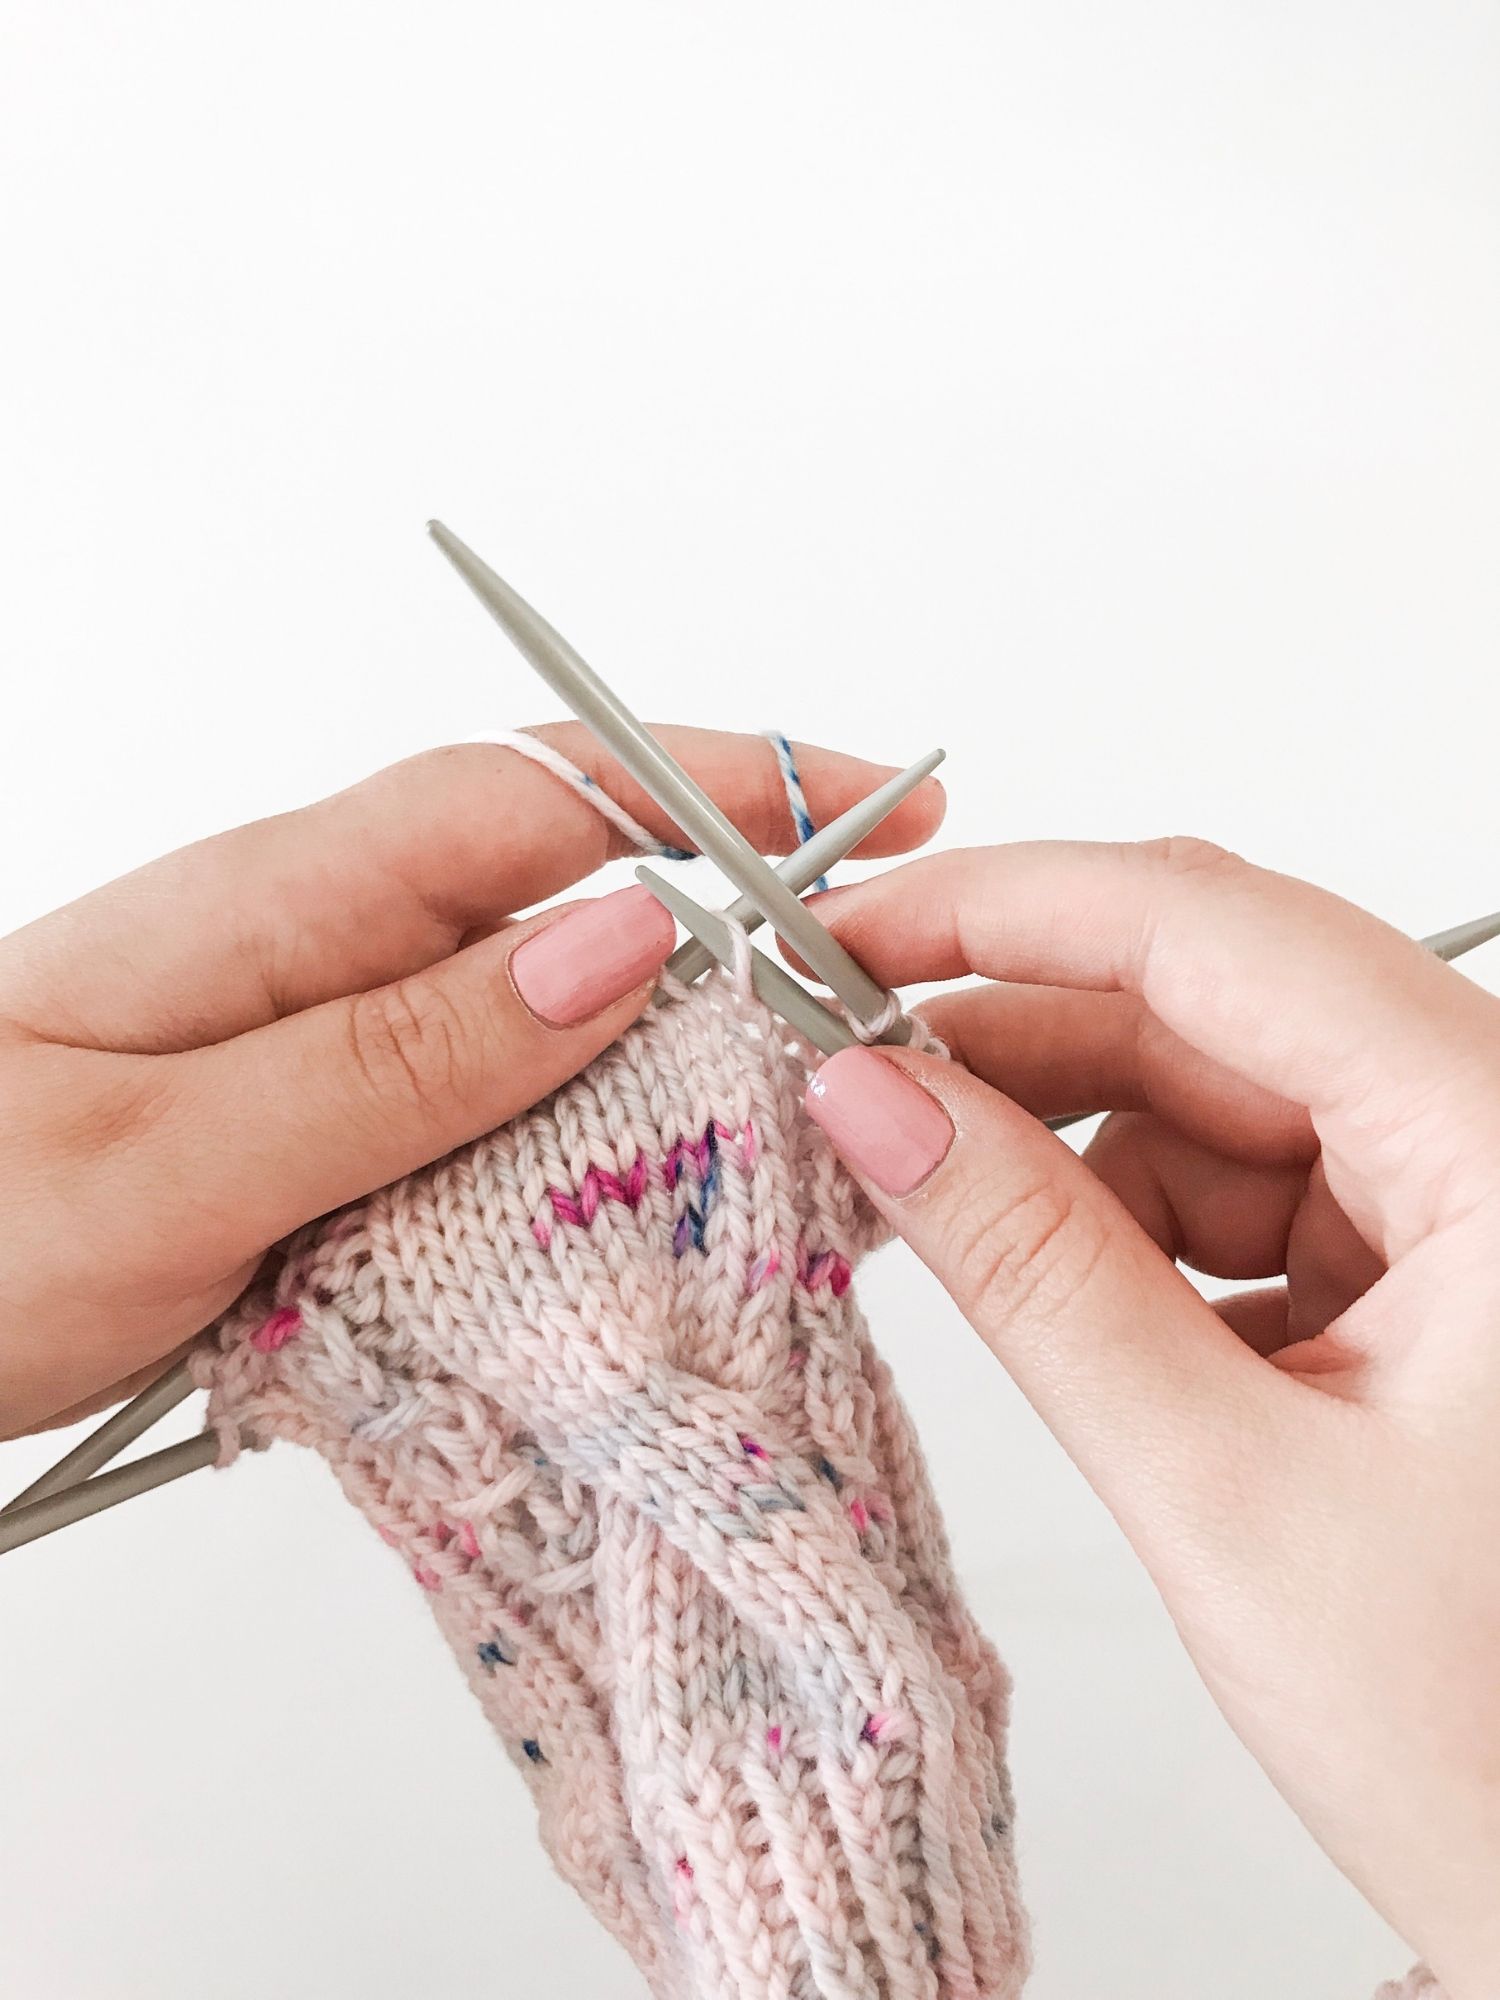
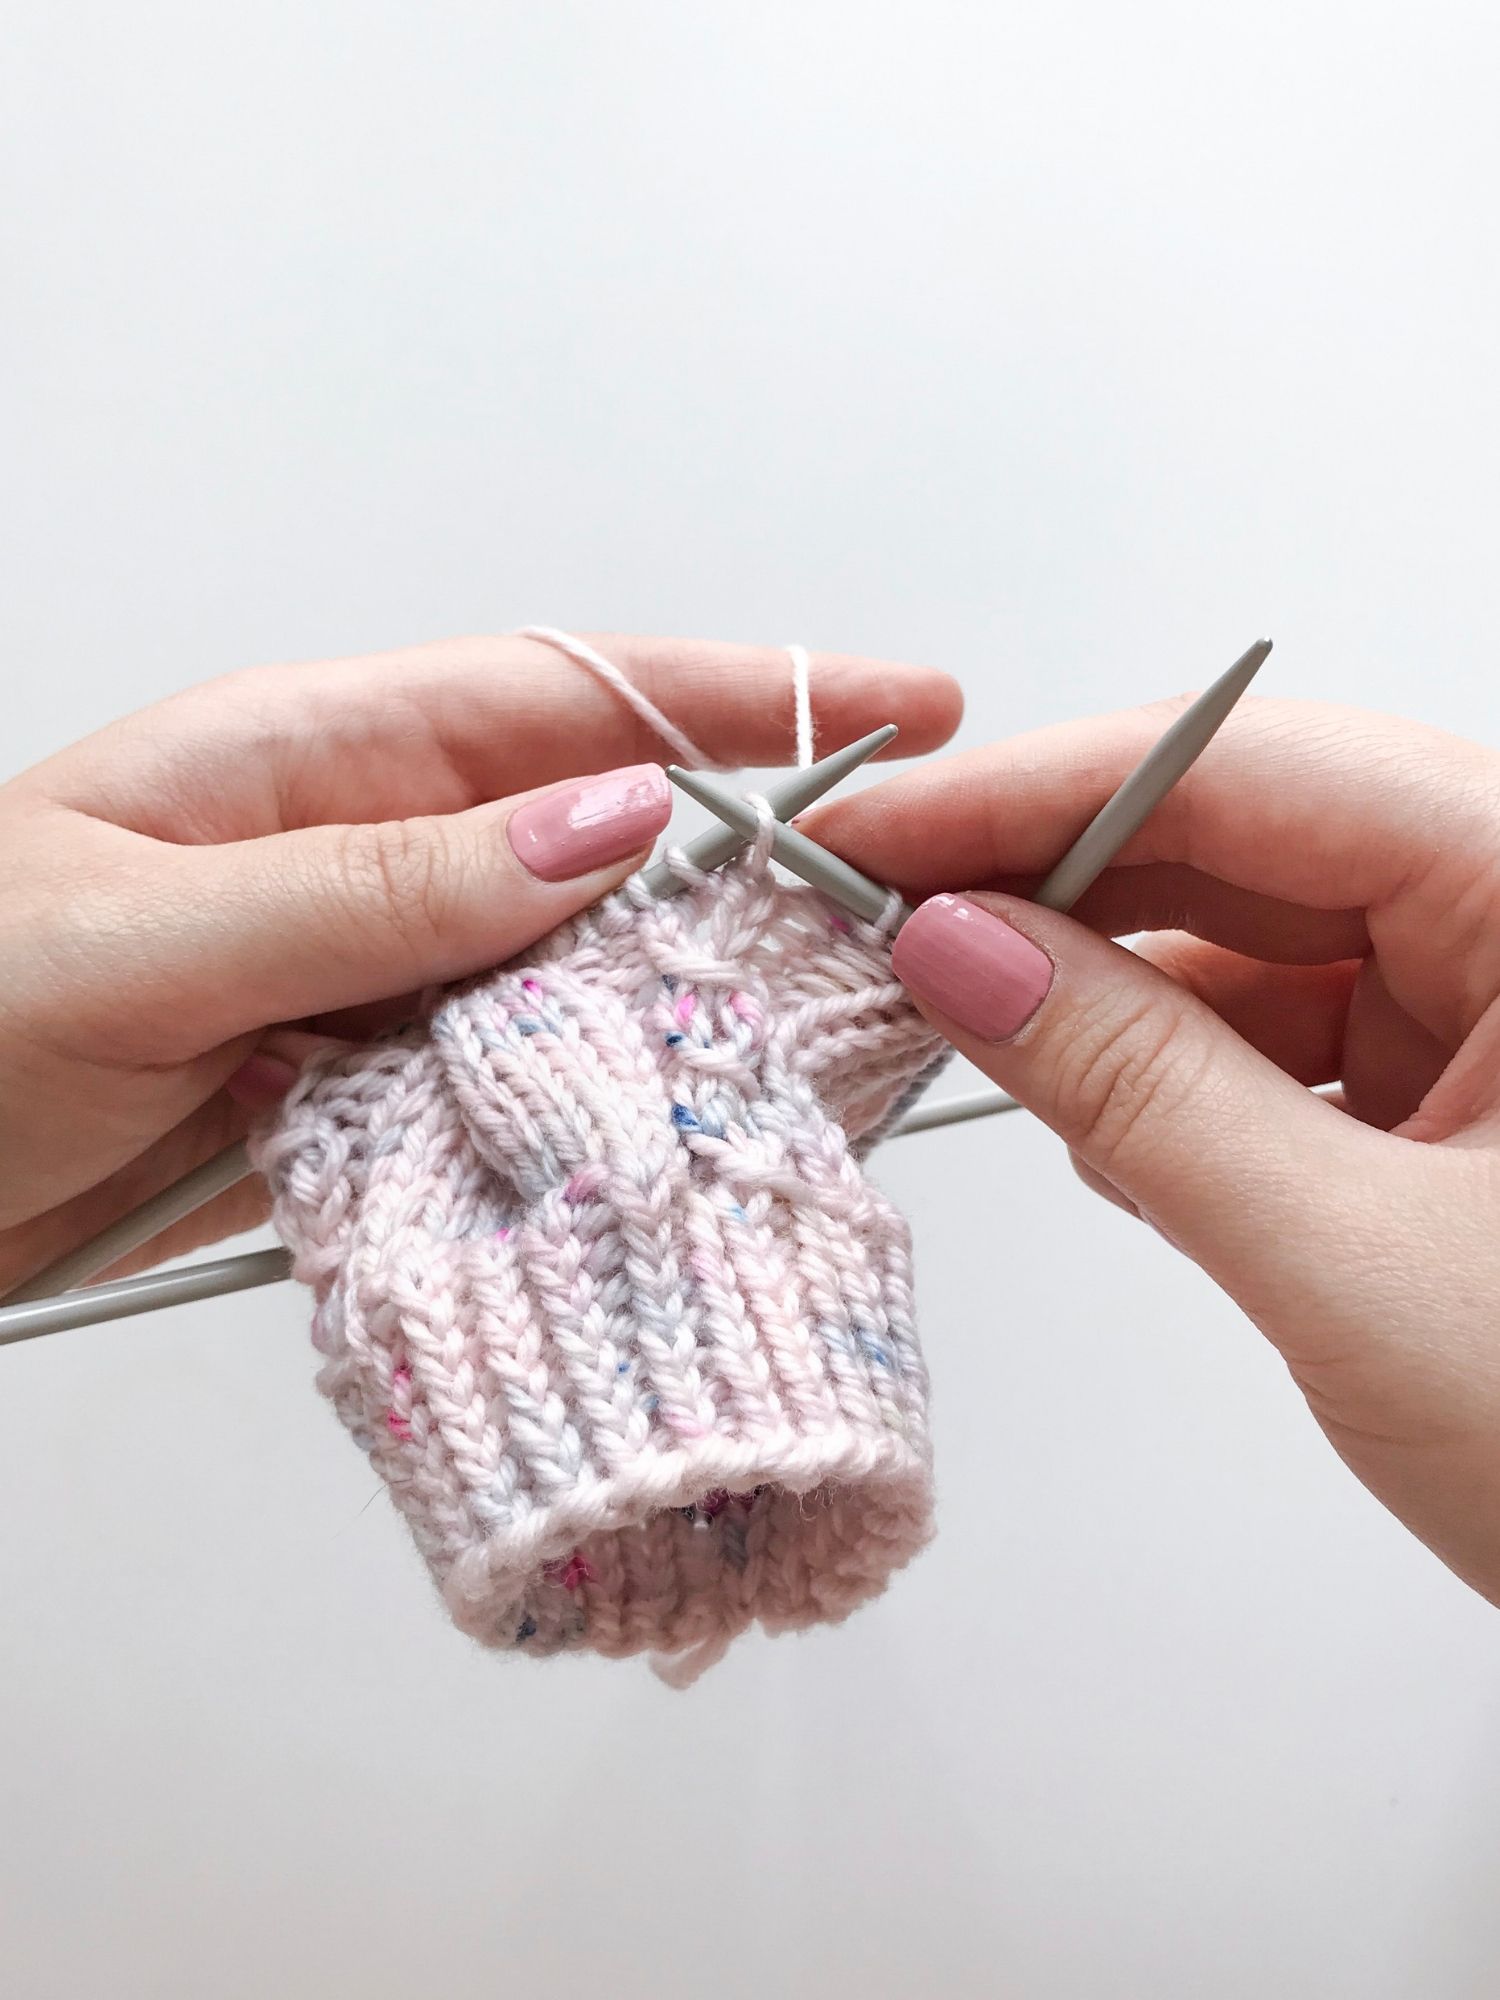
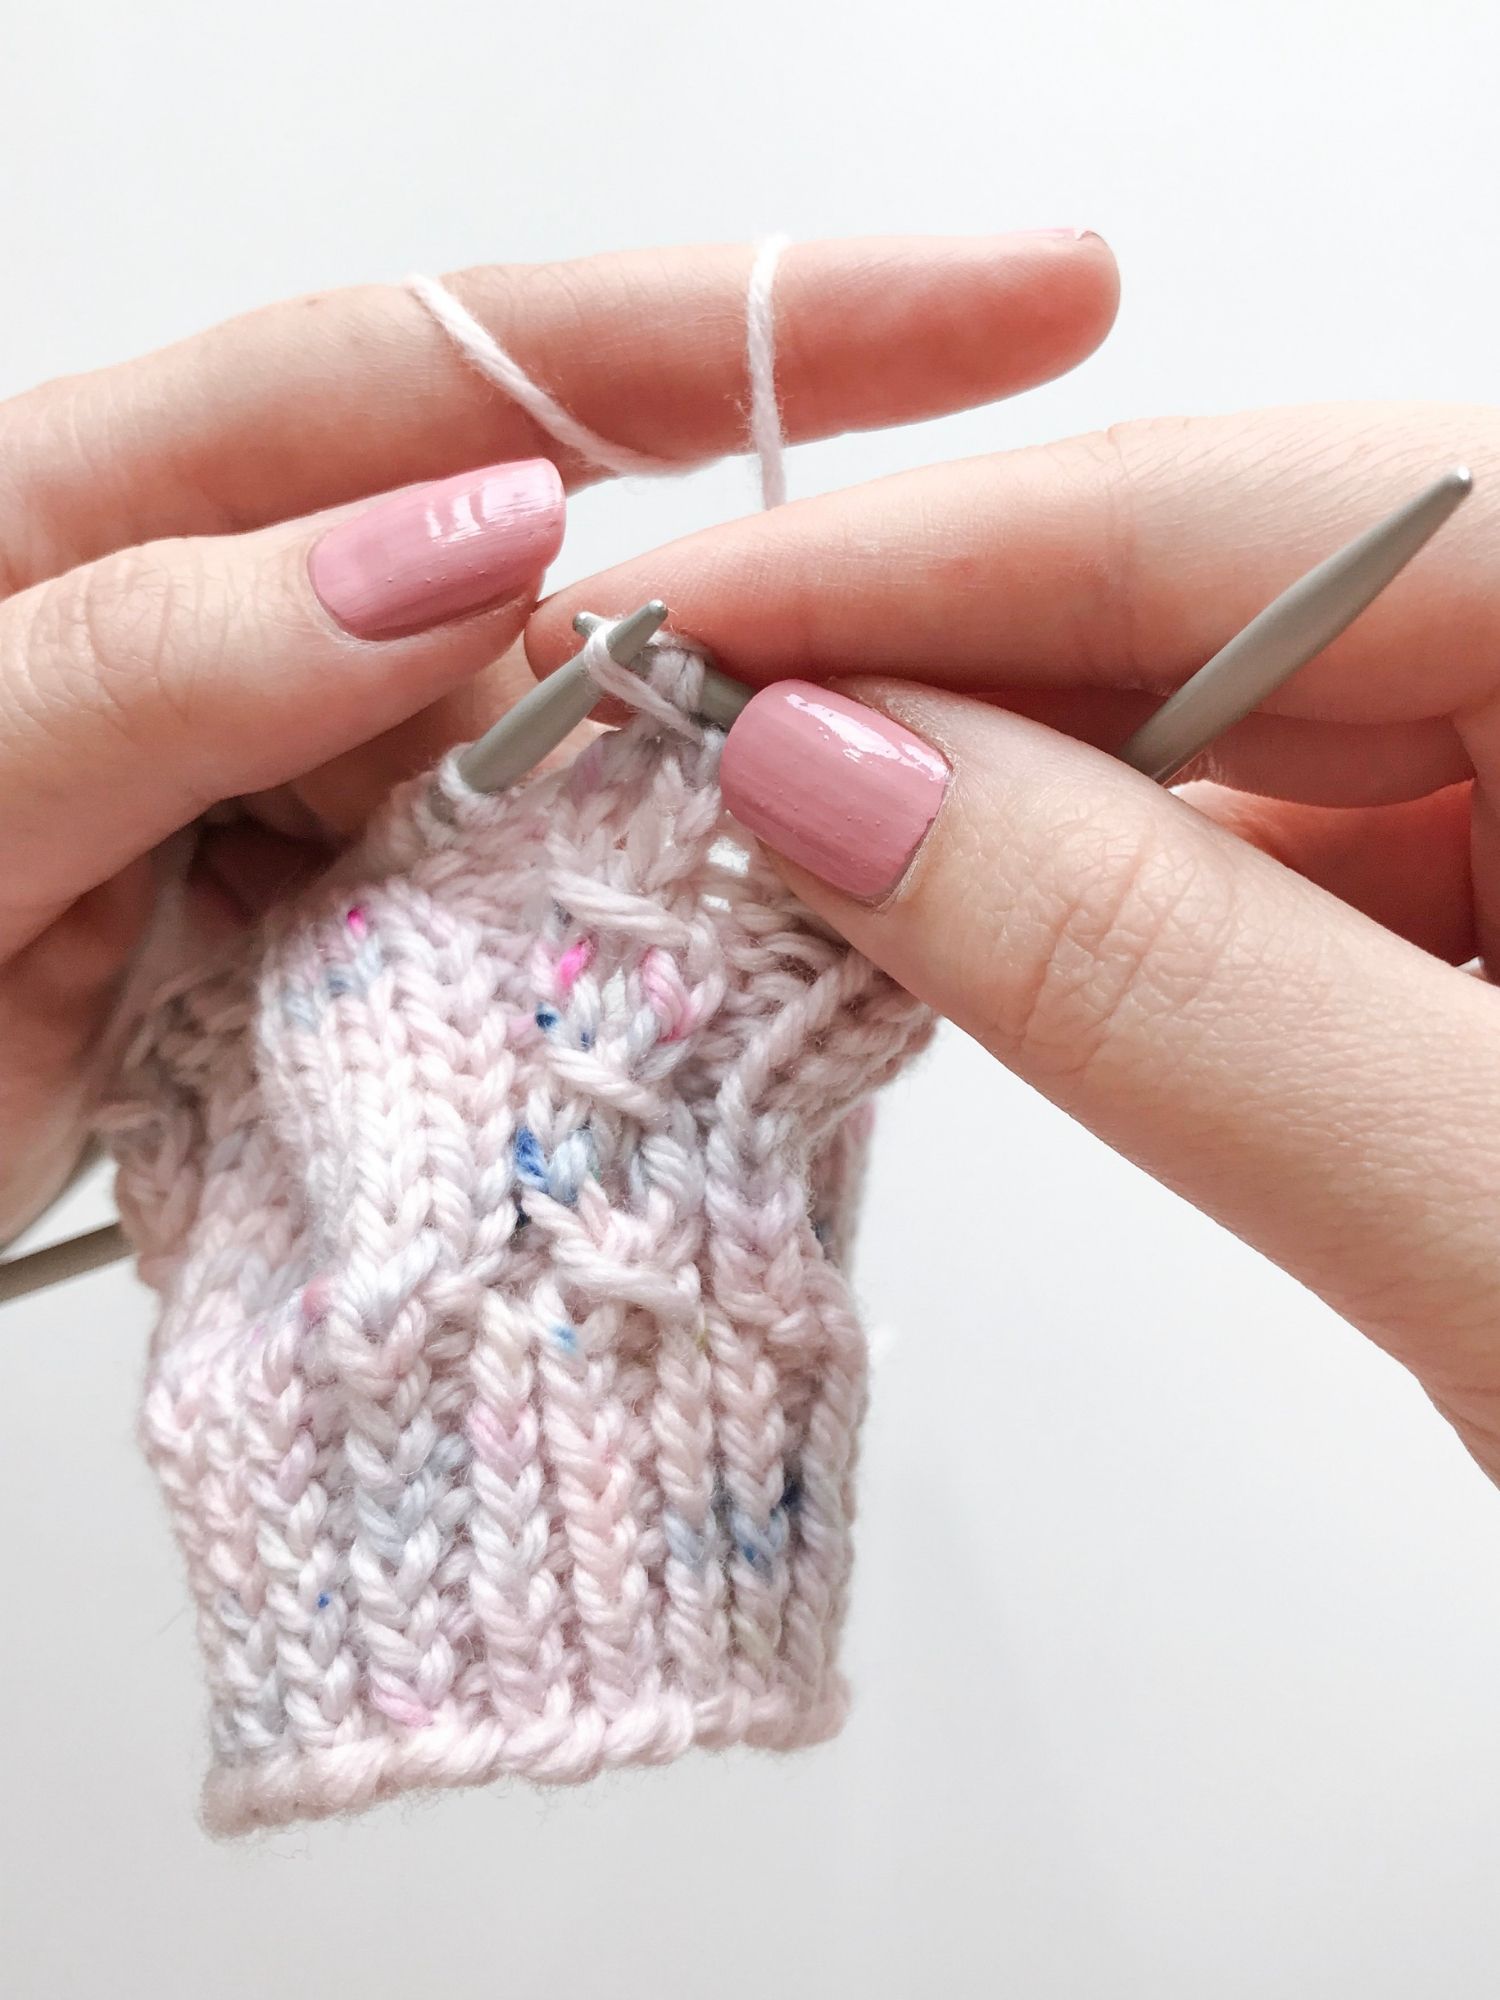
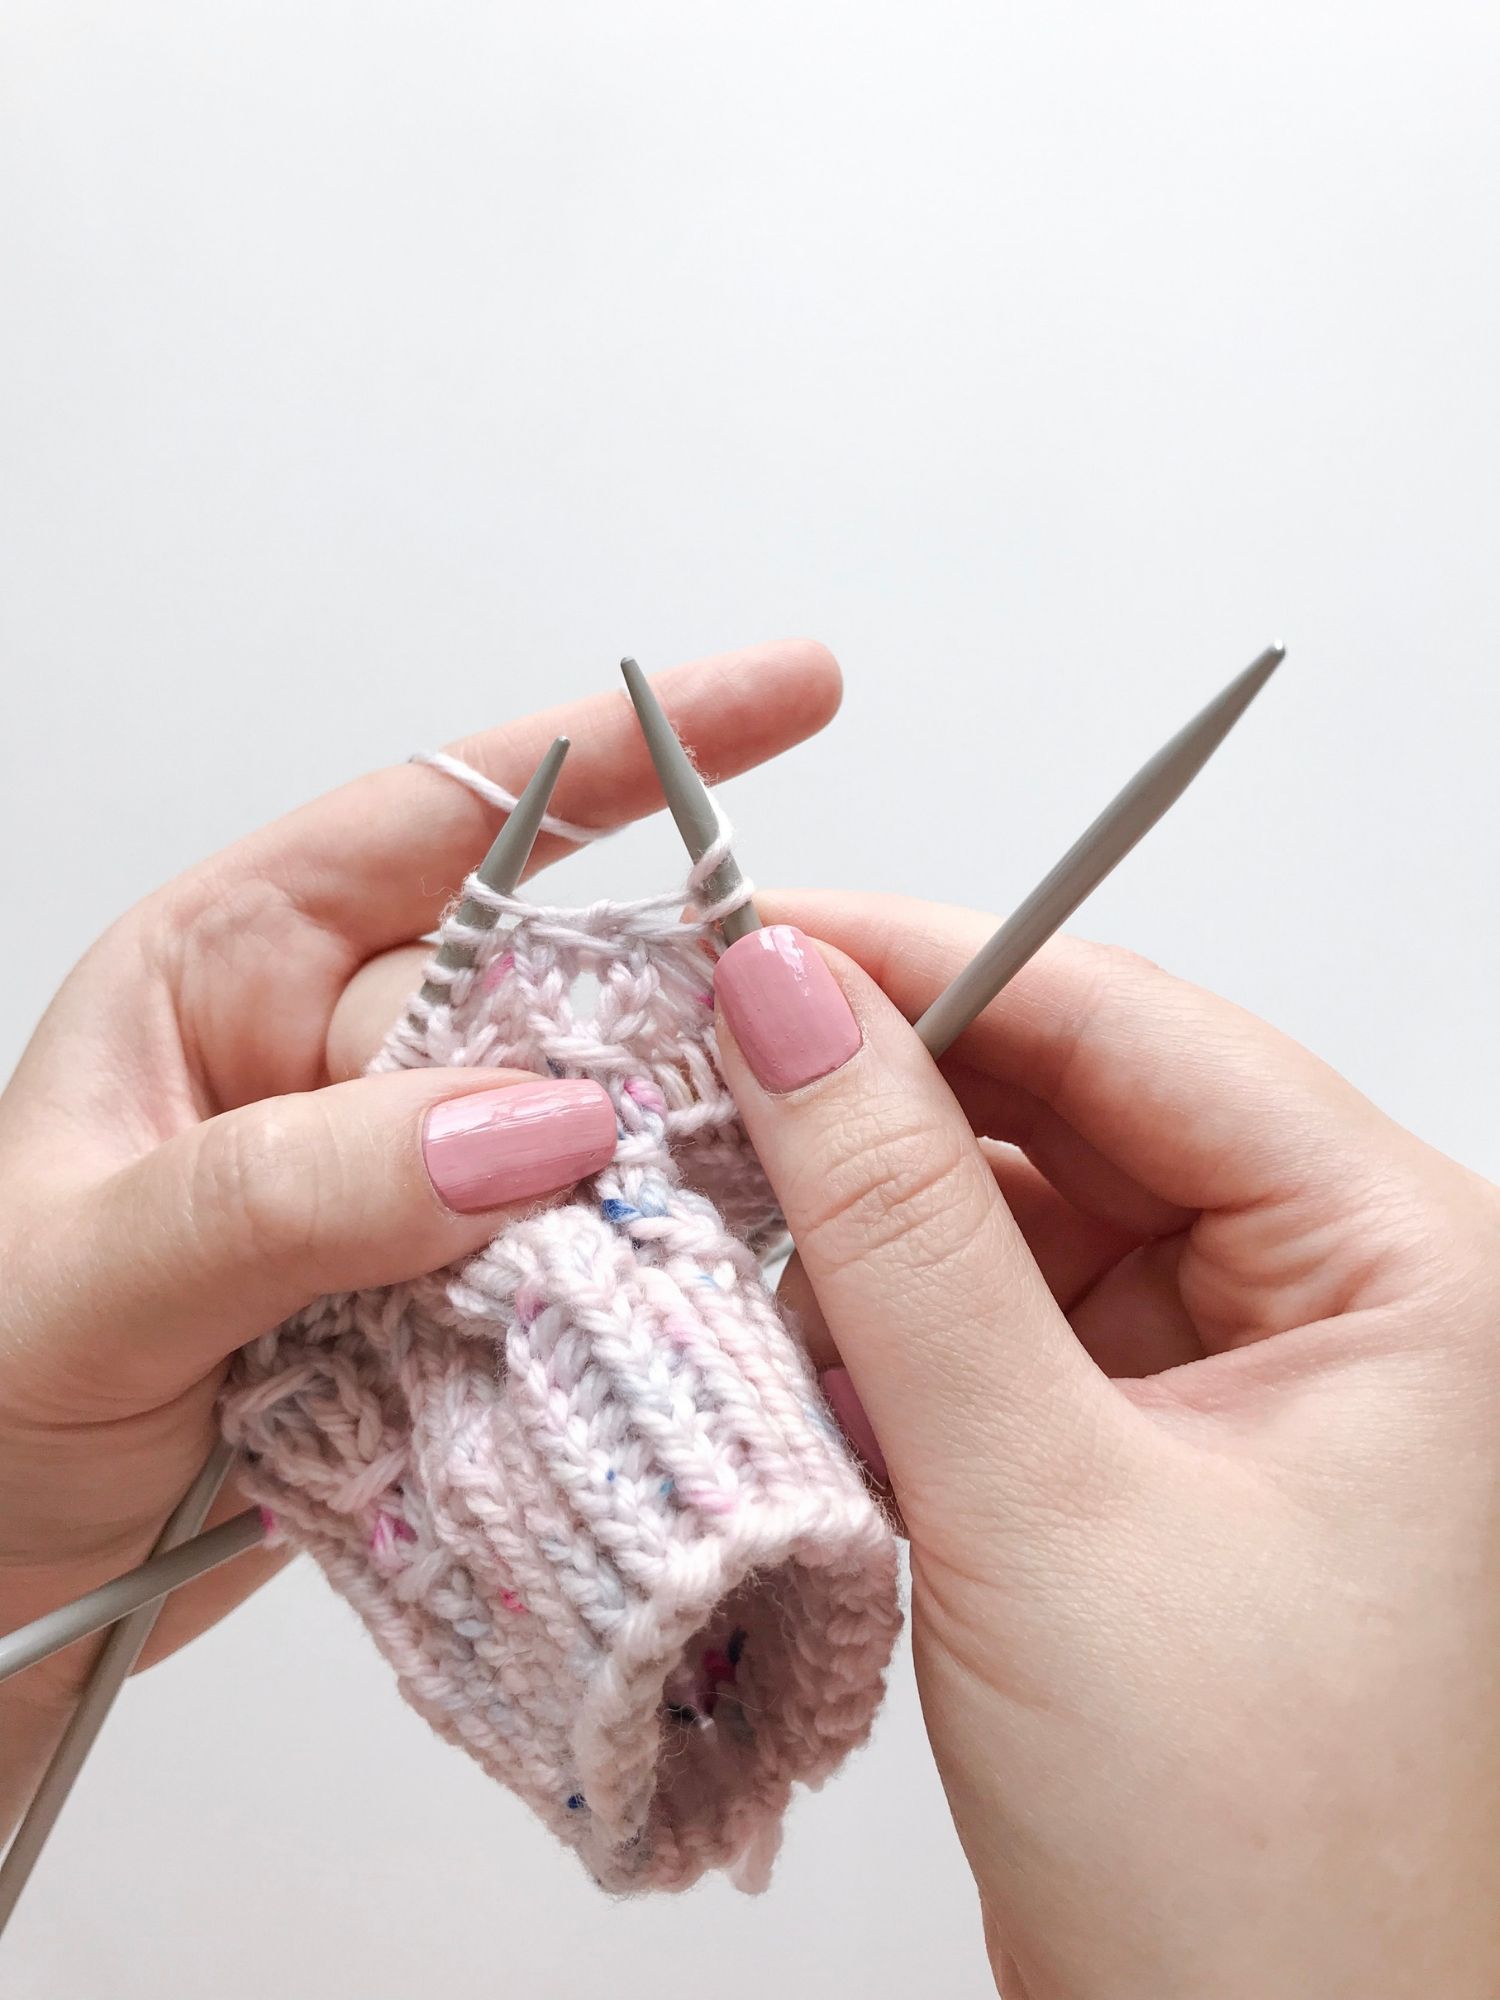
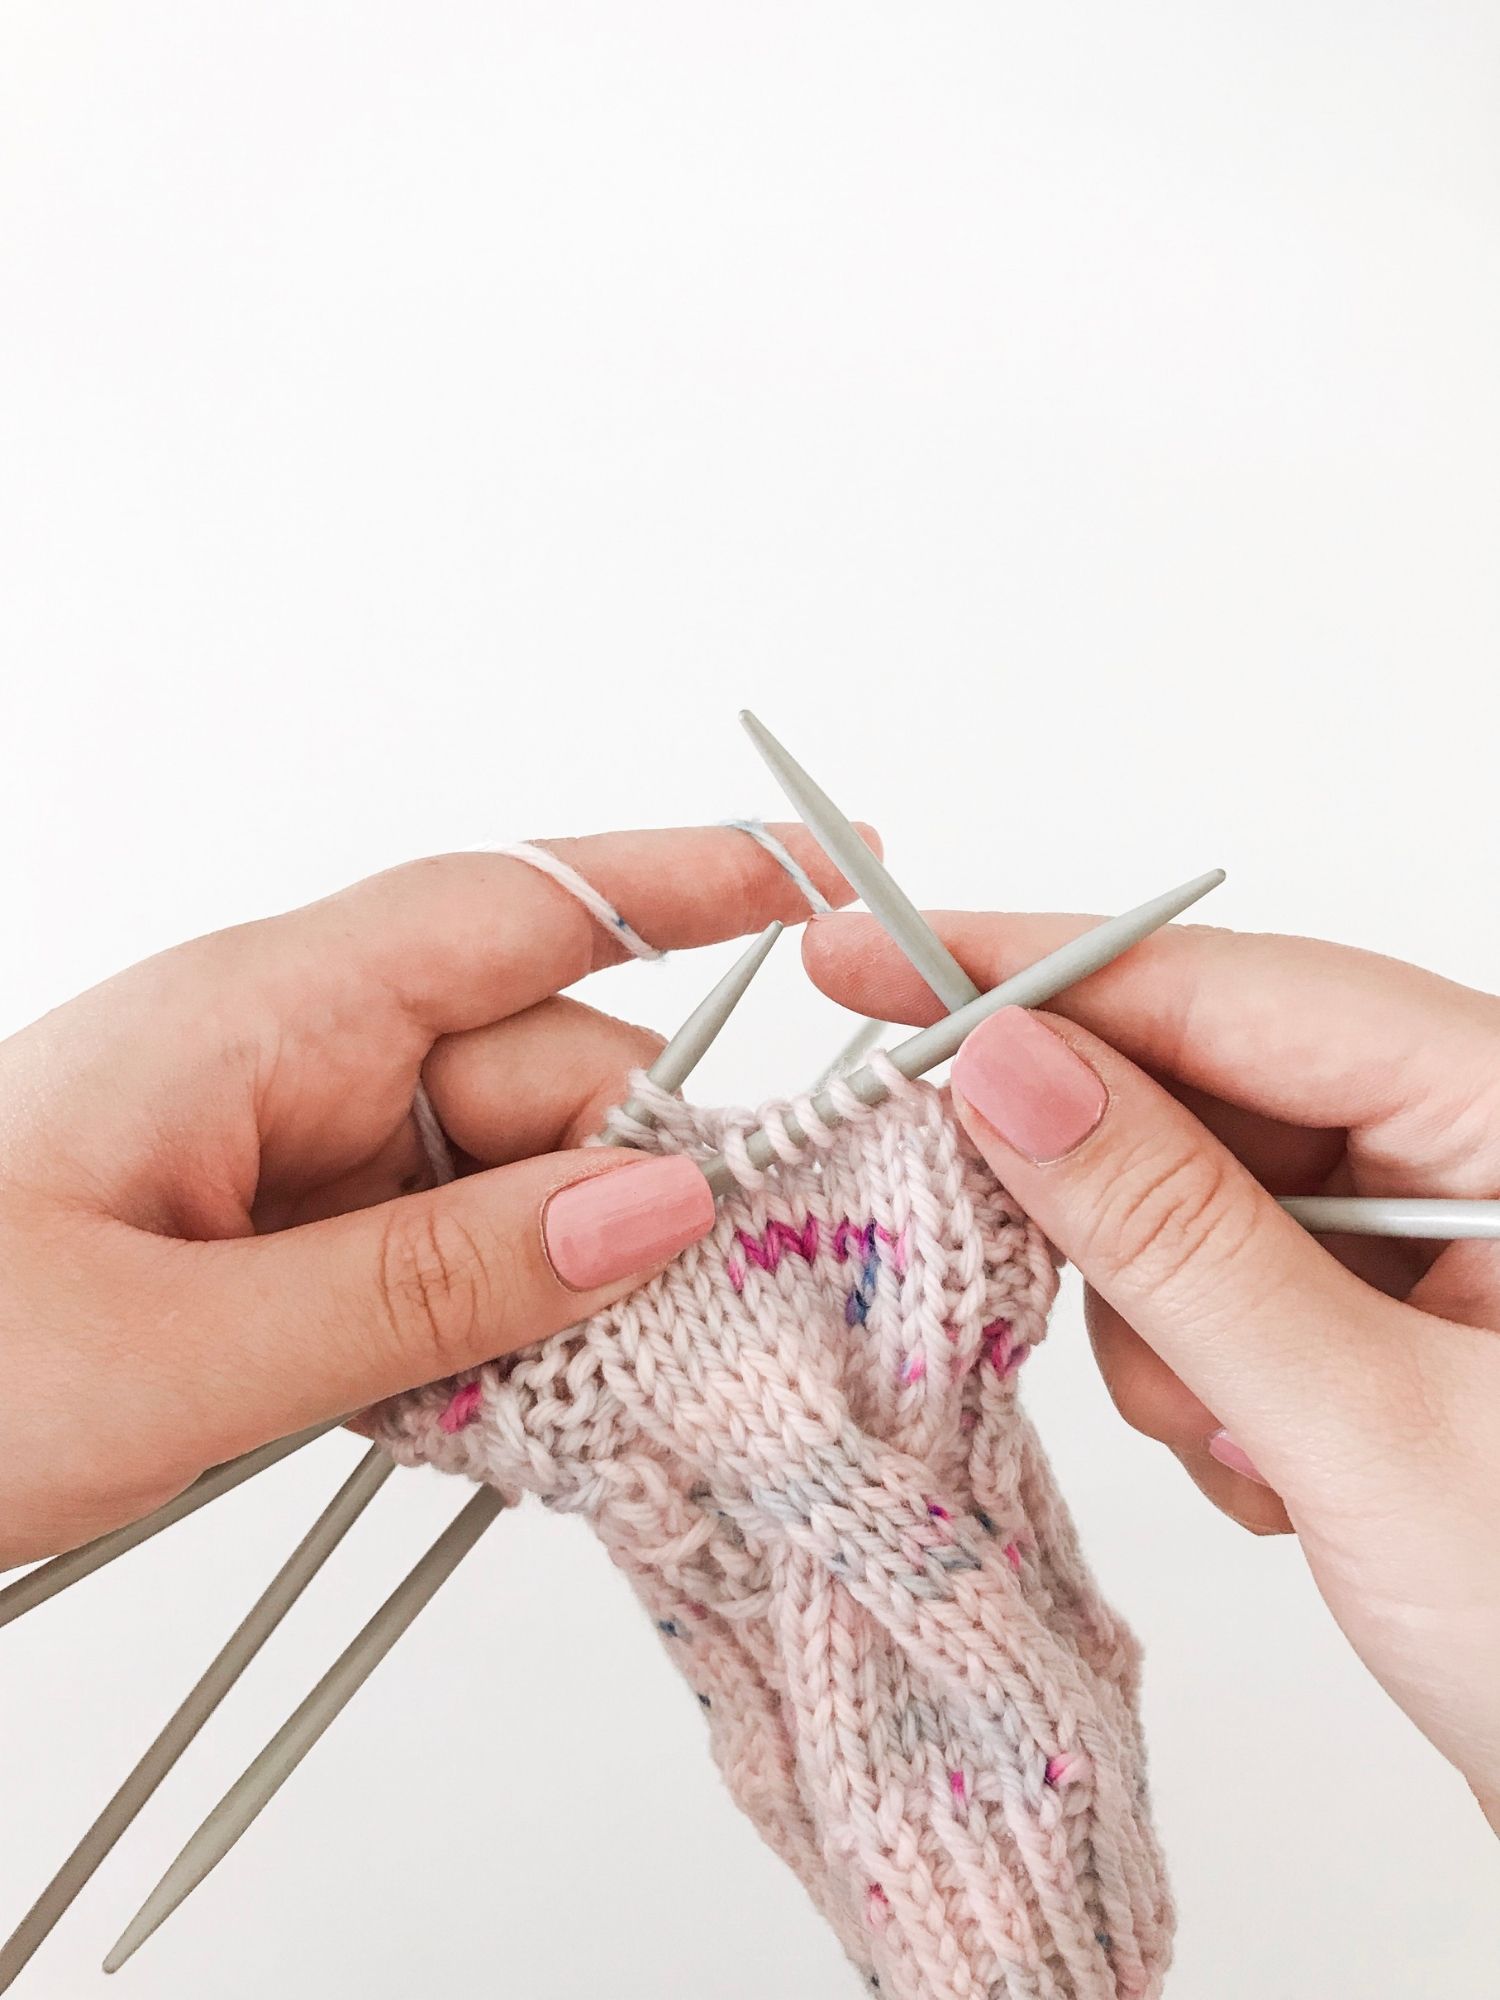
Step 1: slip 5 stitches purlwise (one by one) onto the cable needle in front of the work. Slipping the stitches purlwise is essential – you don’t want to twist them!

left leaning cable

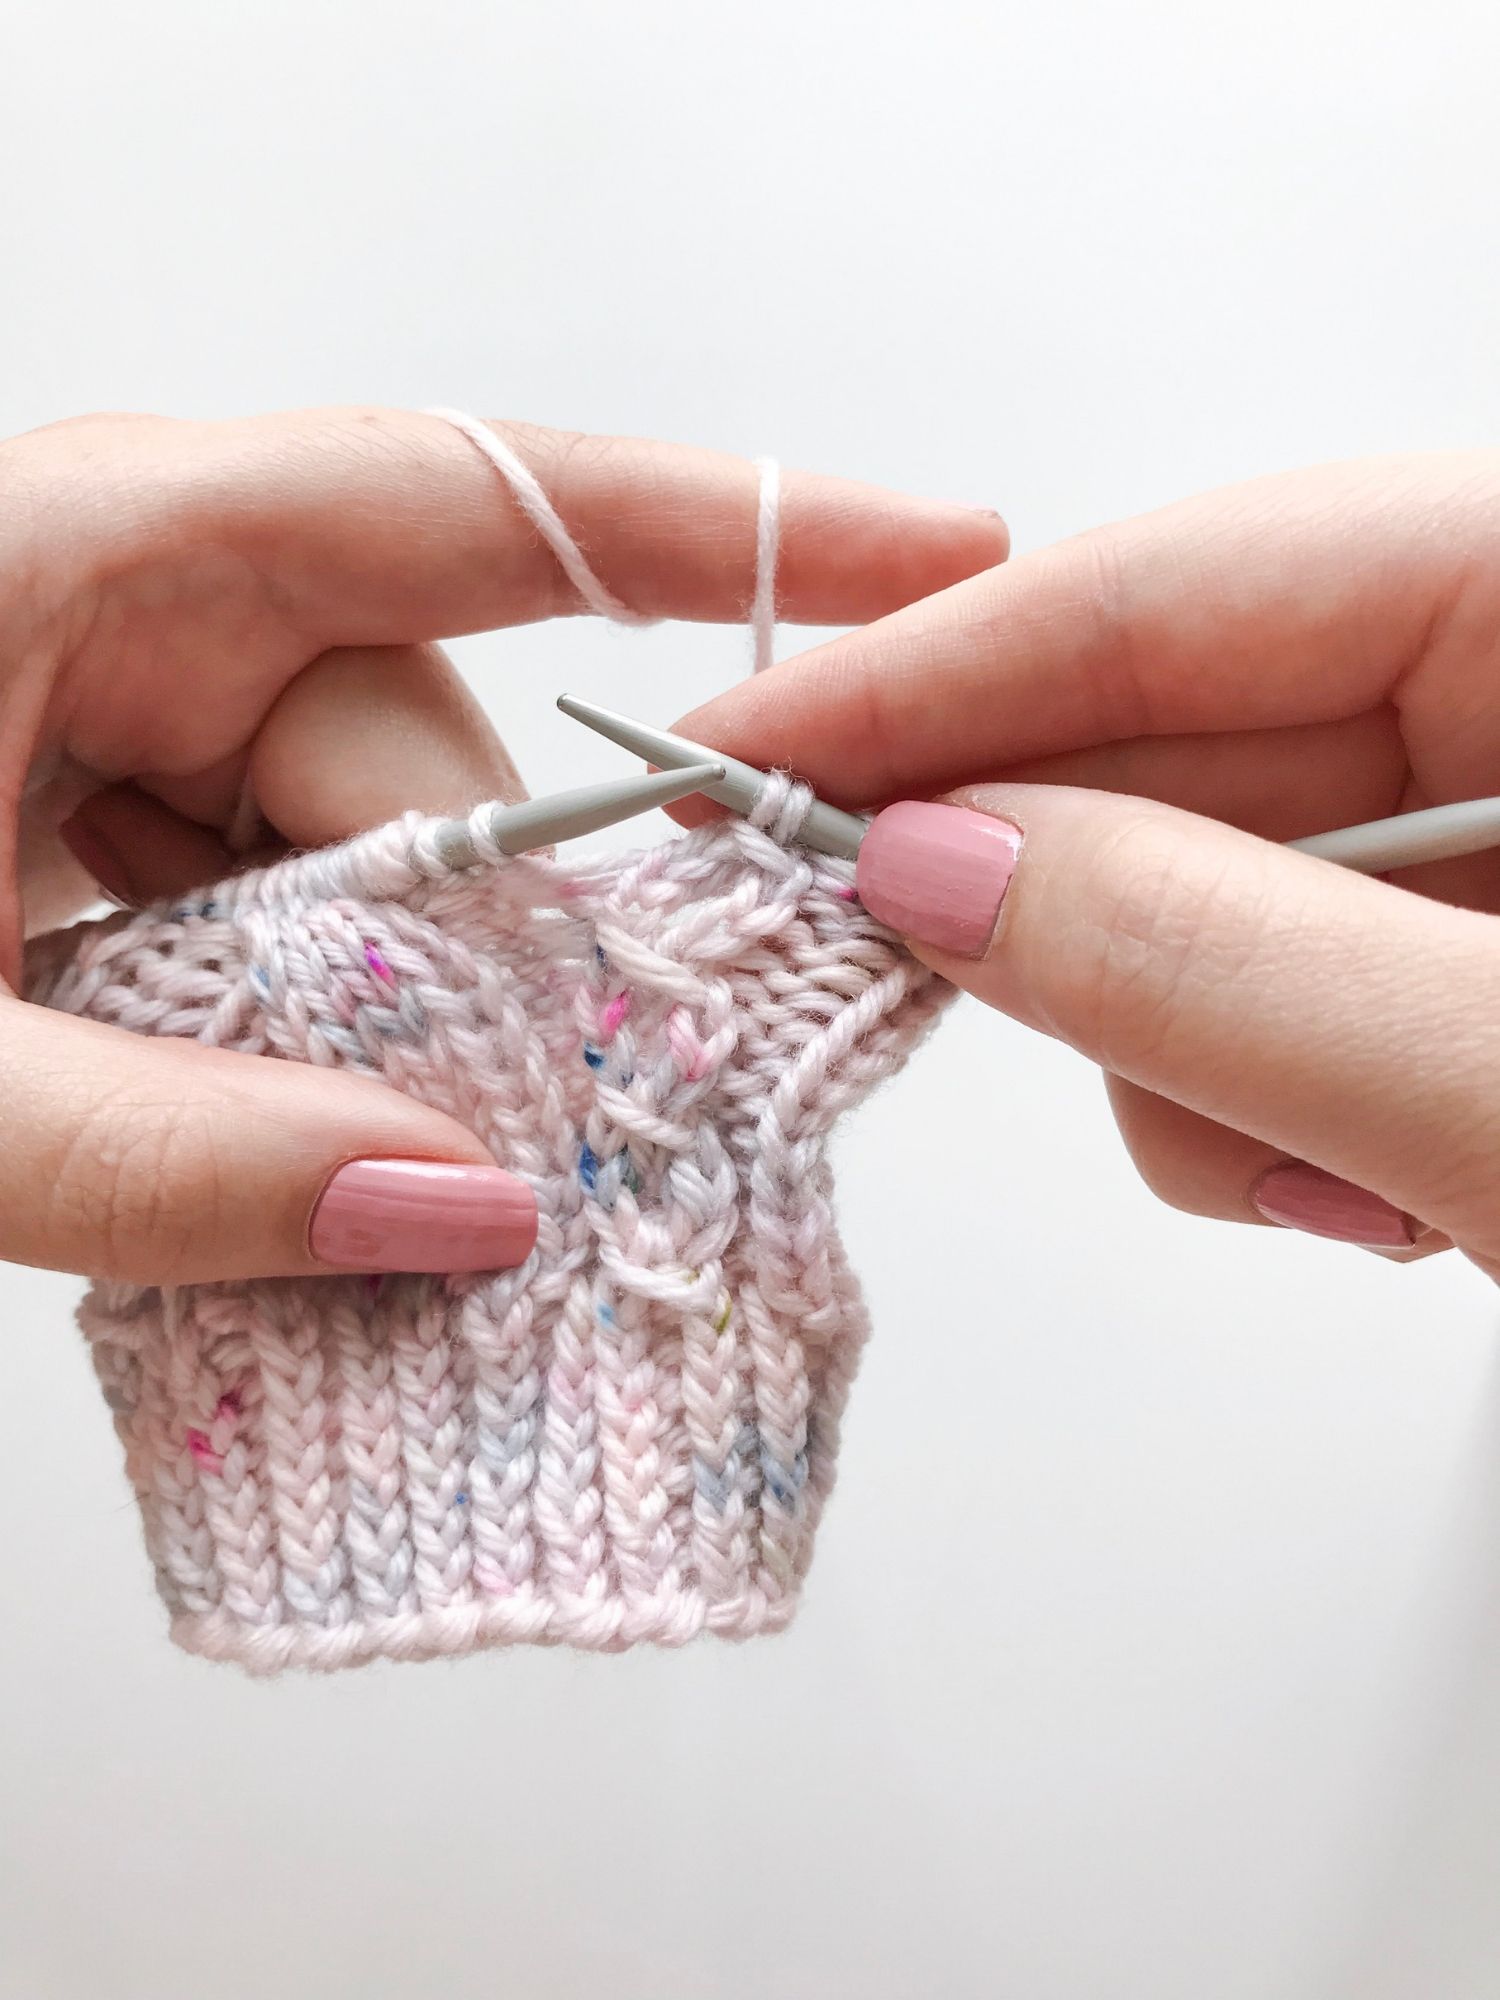
After step one, your cable needle or extra DPN should look like this!

left leaning cable

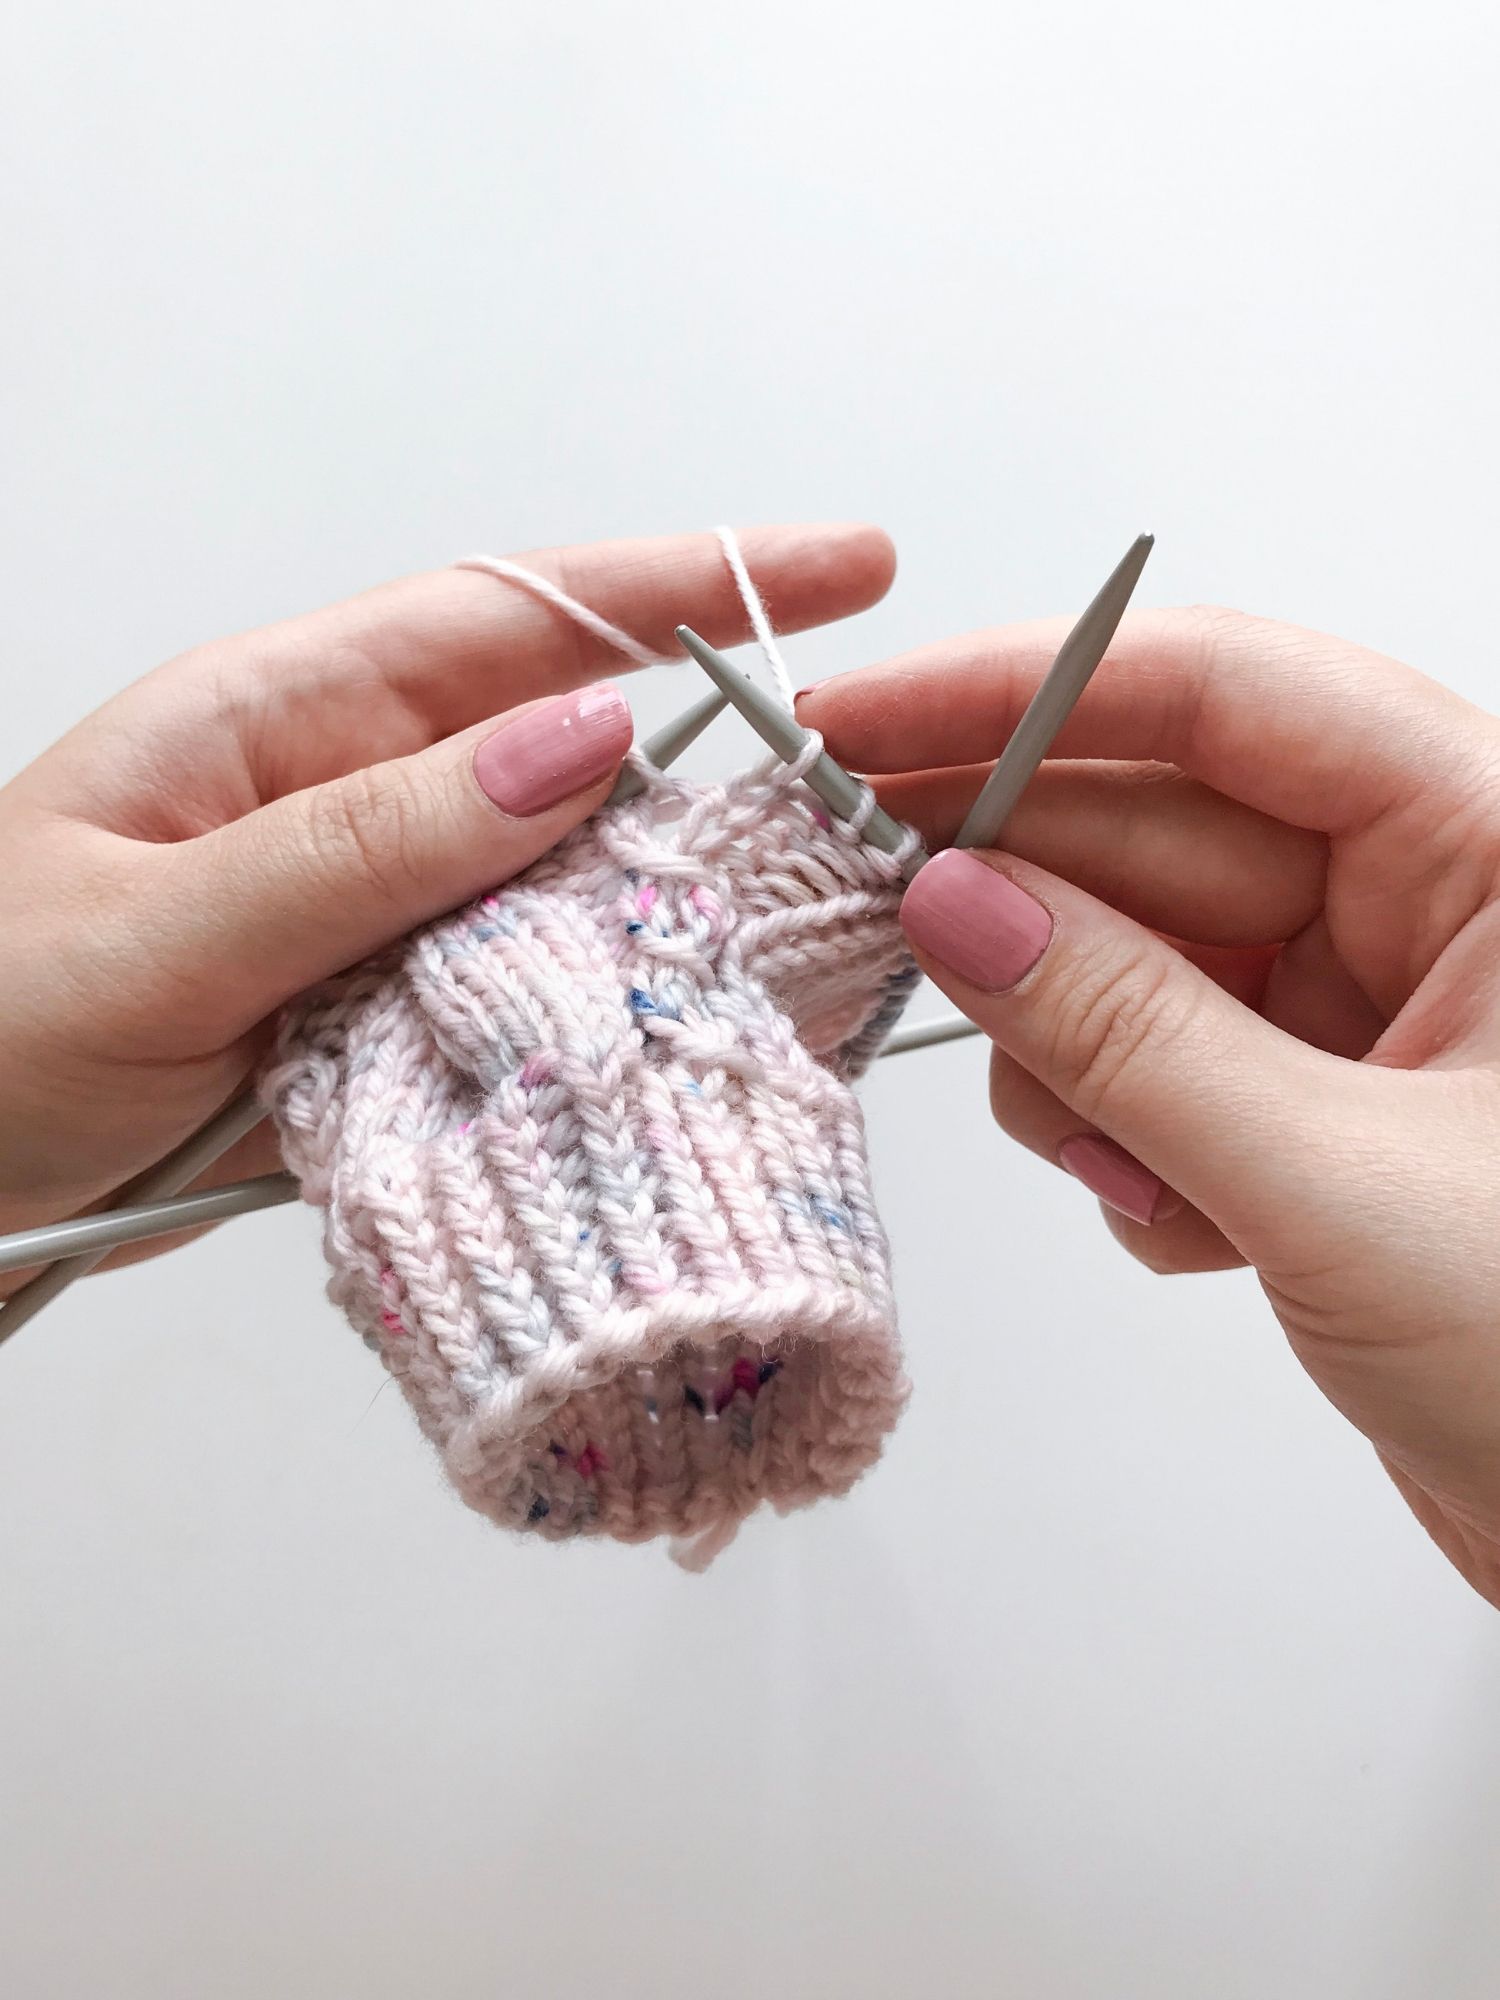
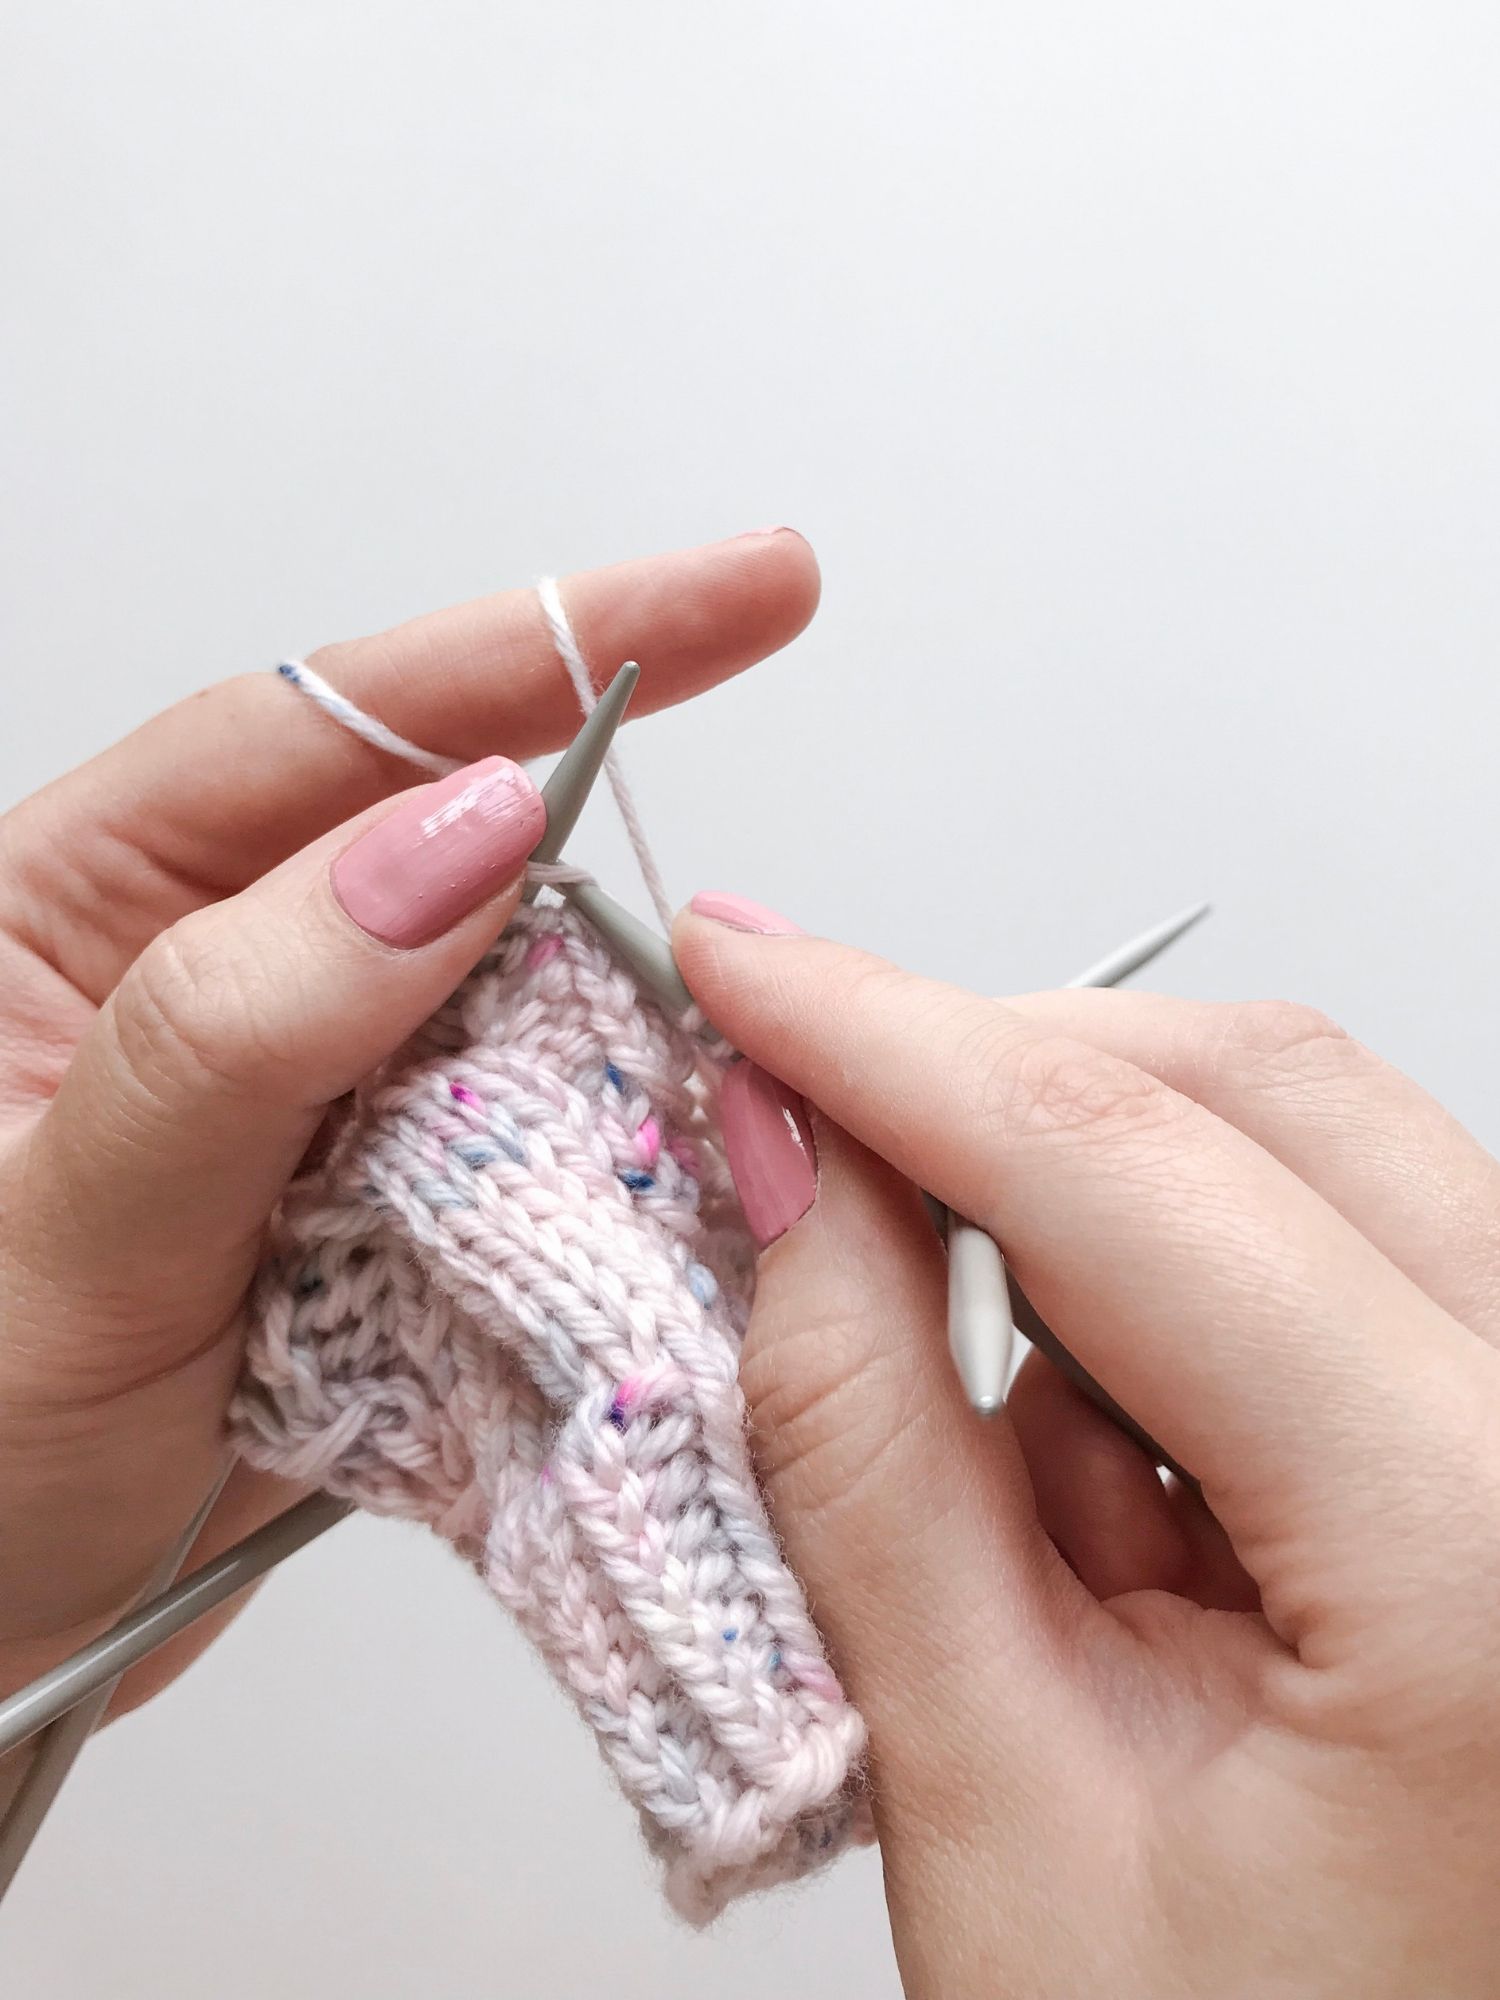
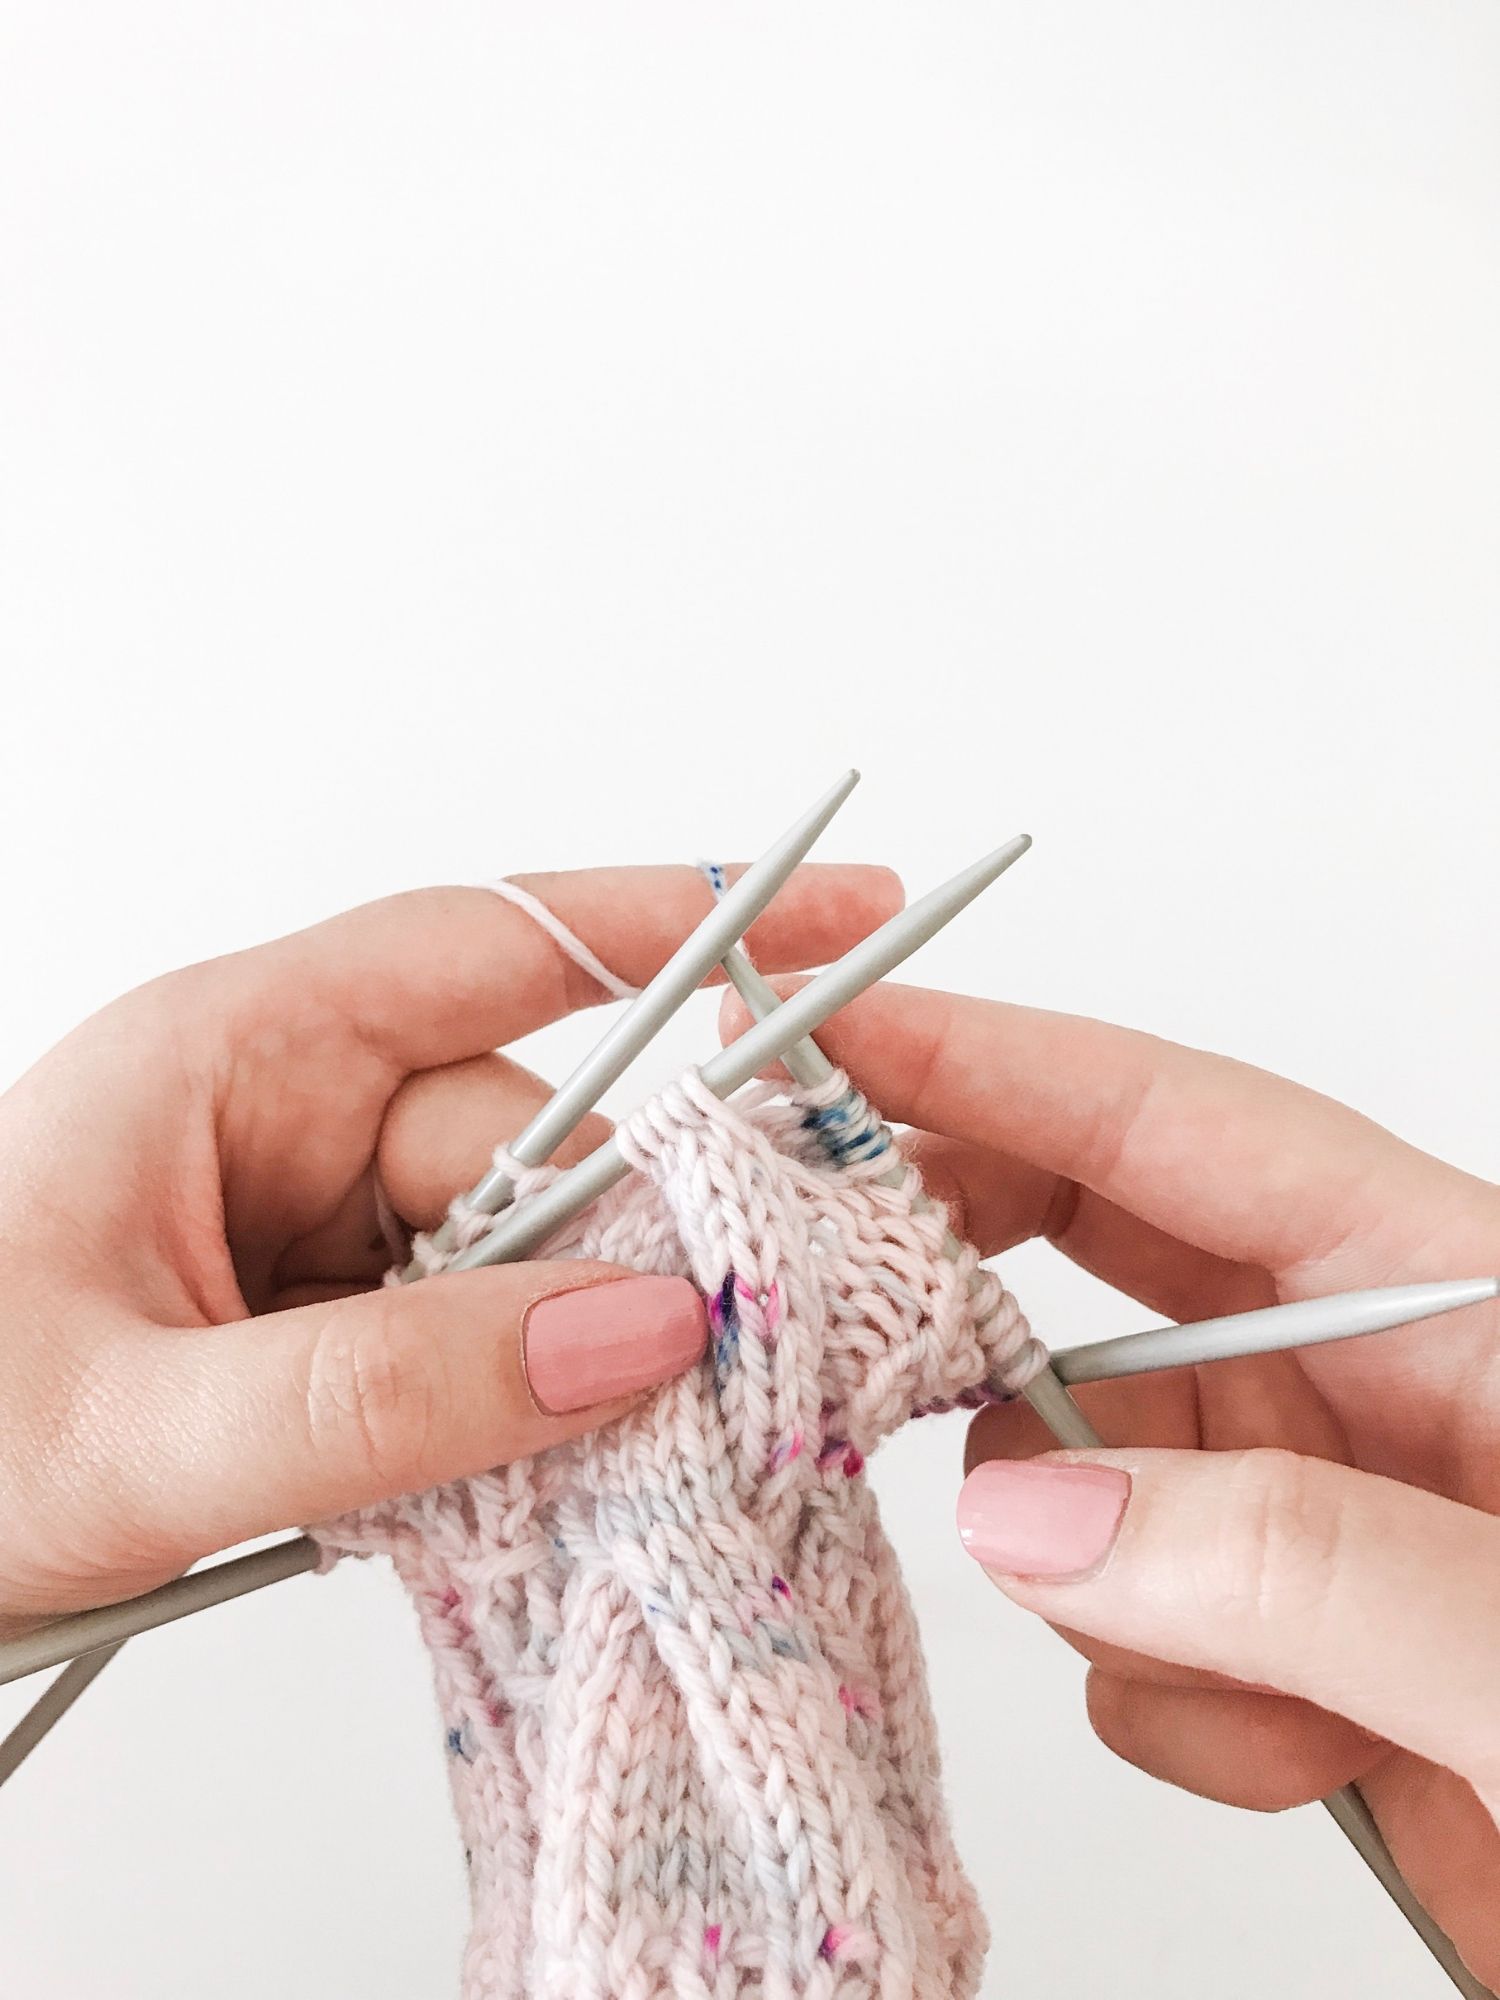
If you do your cables with a DPN, align the needle with your left needle so that you have space and can comfortably knit 5 stitches from the left needle.

left leaning cable

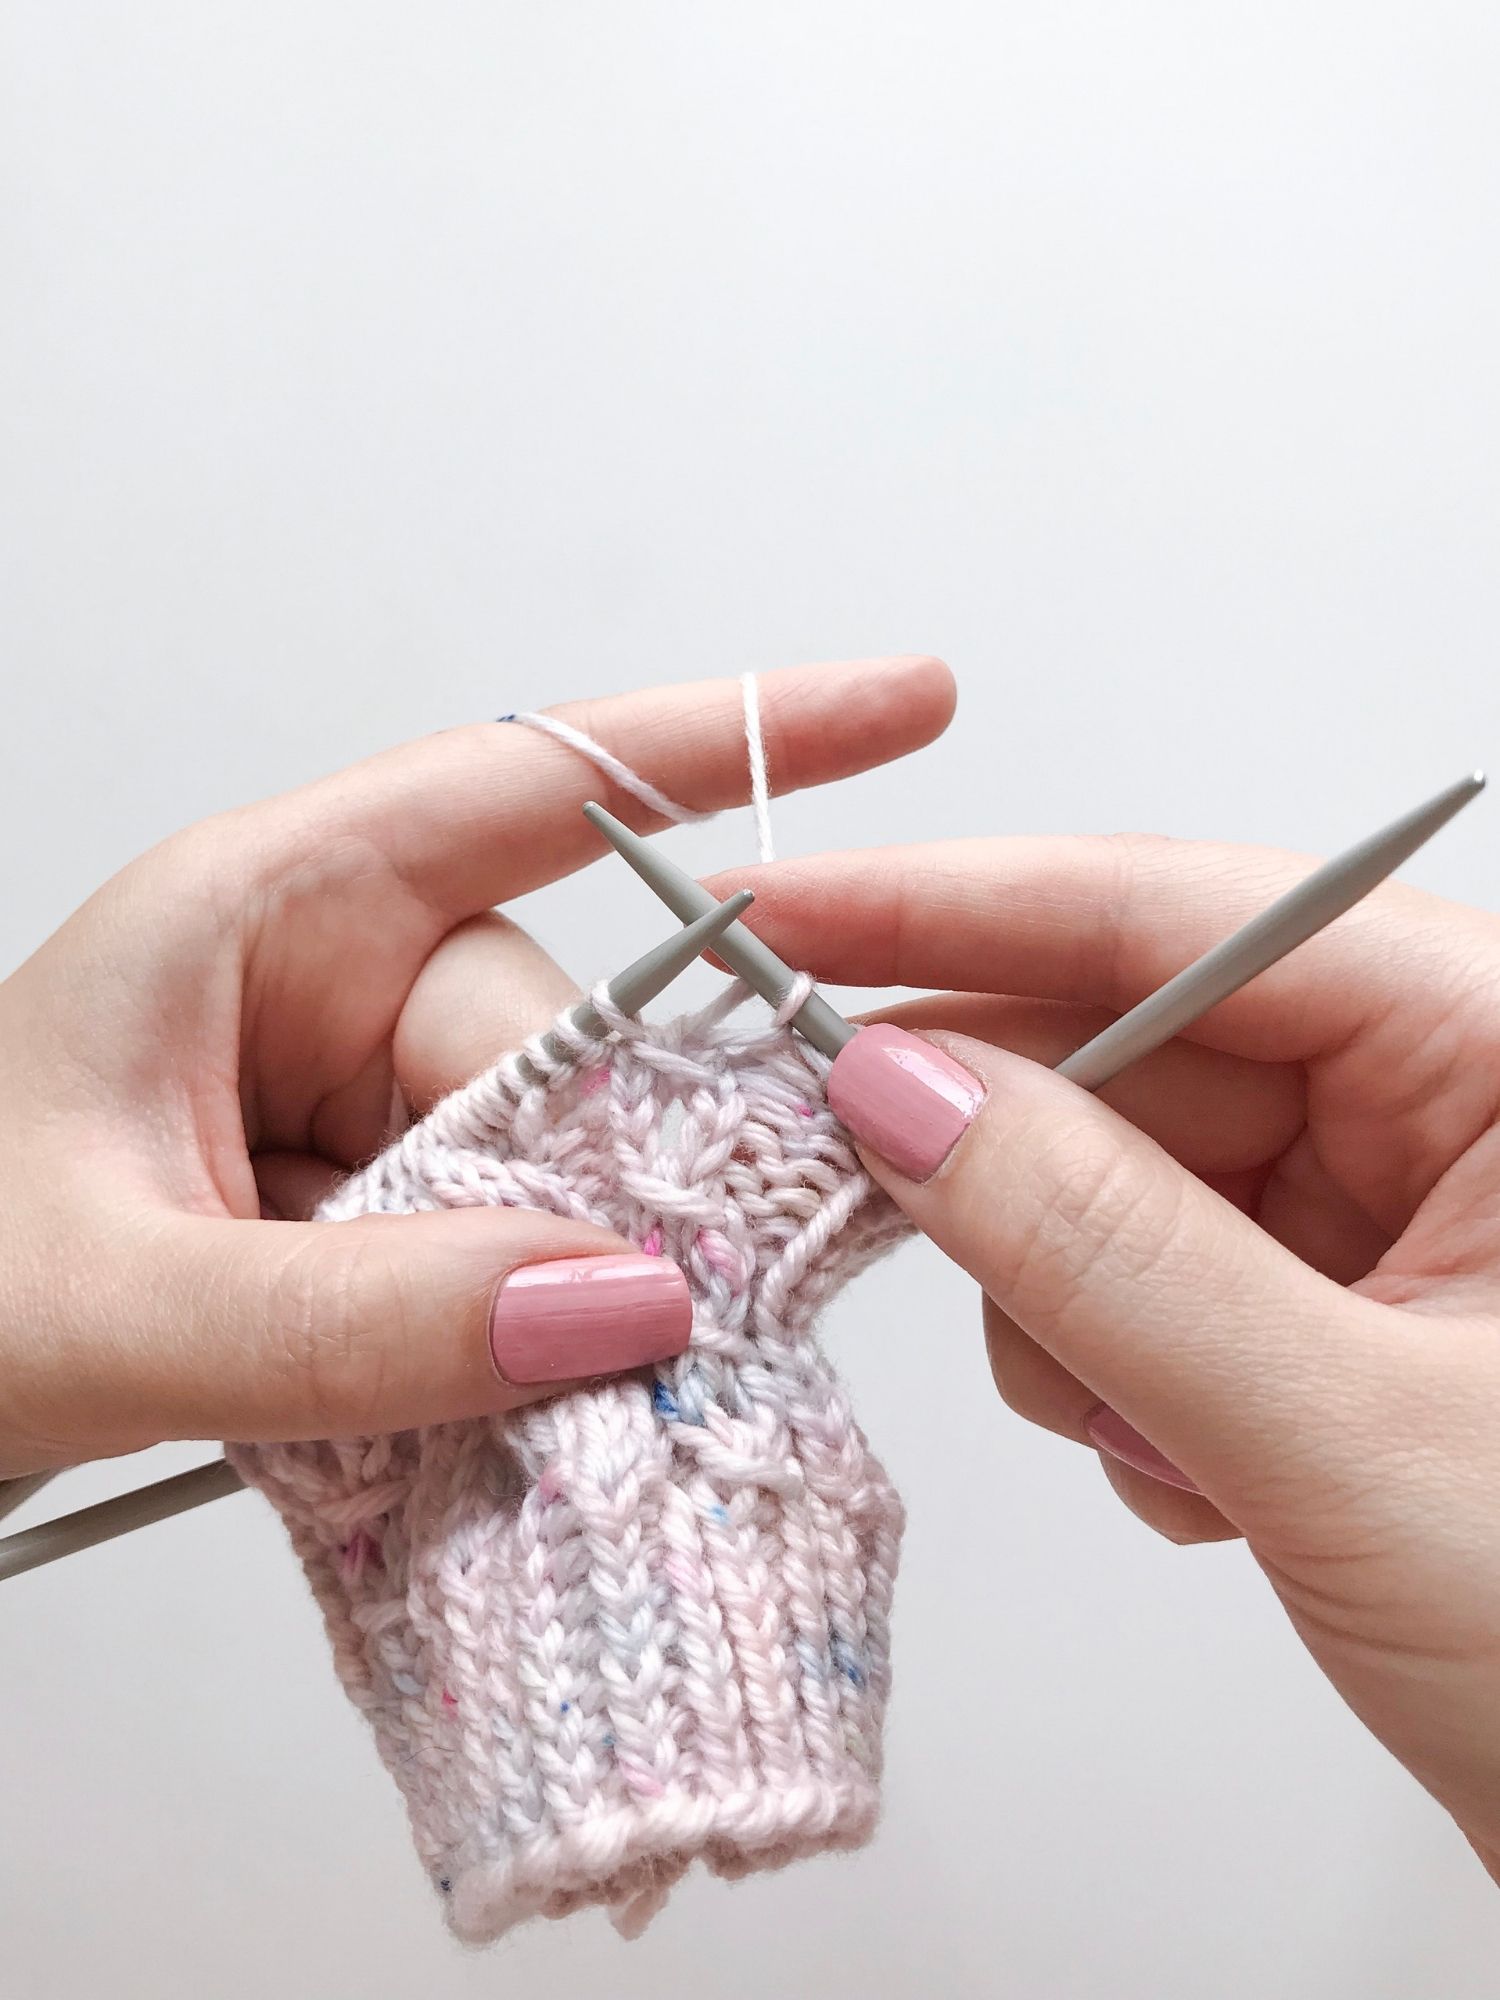
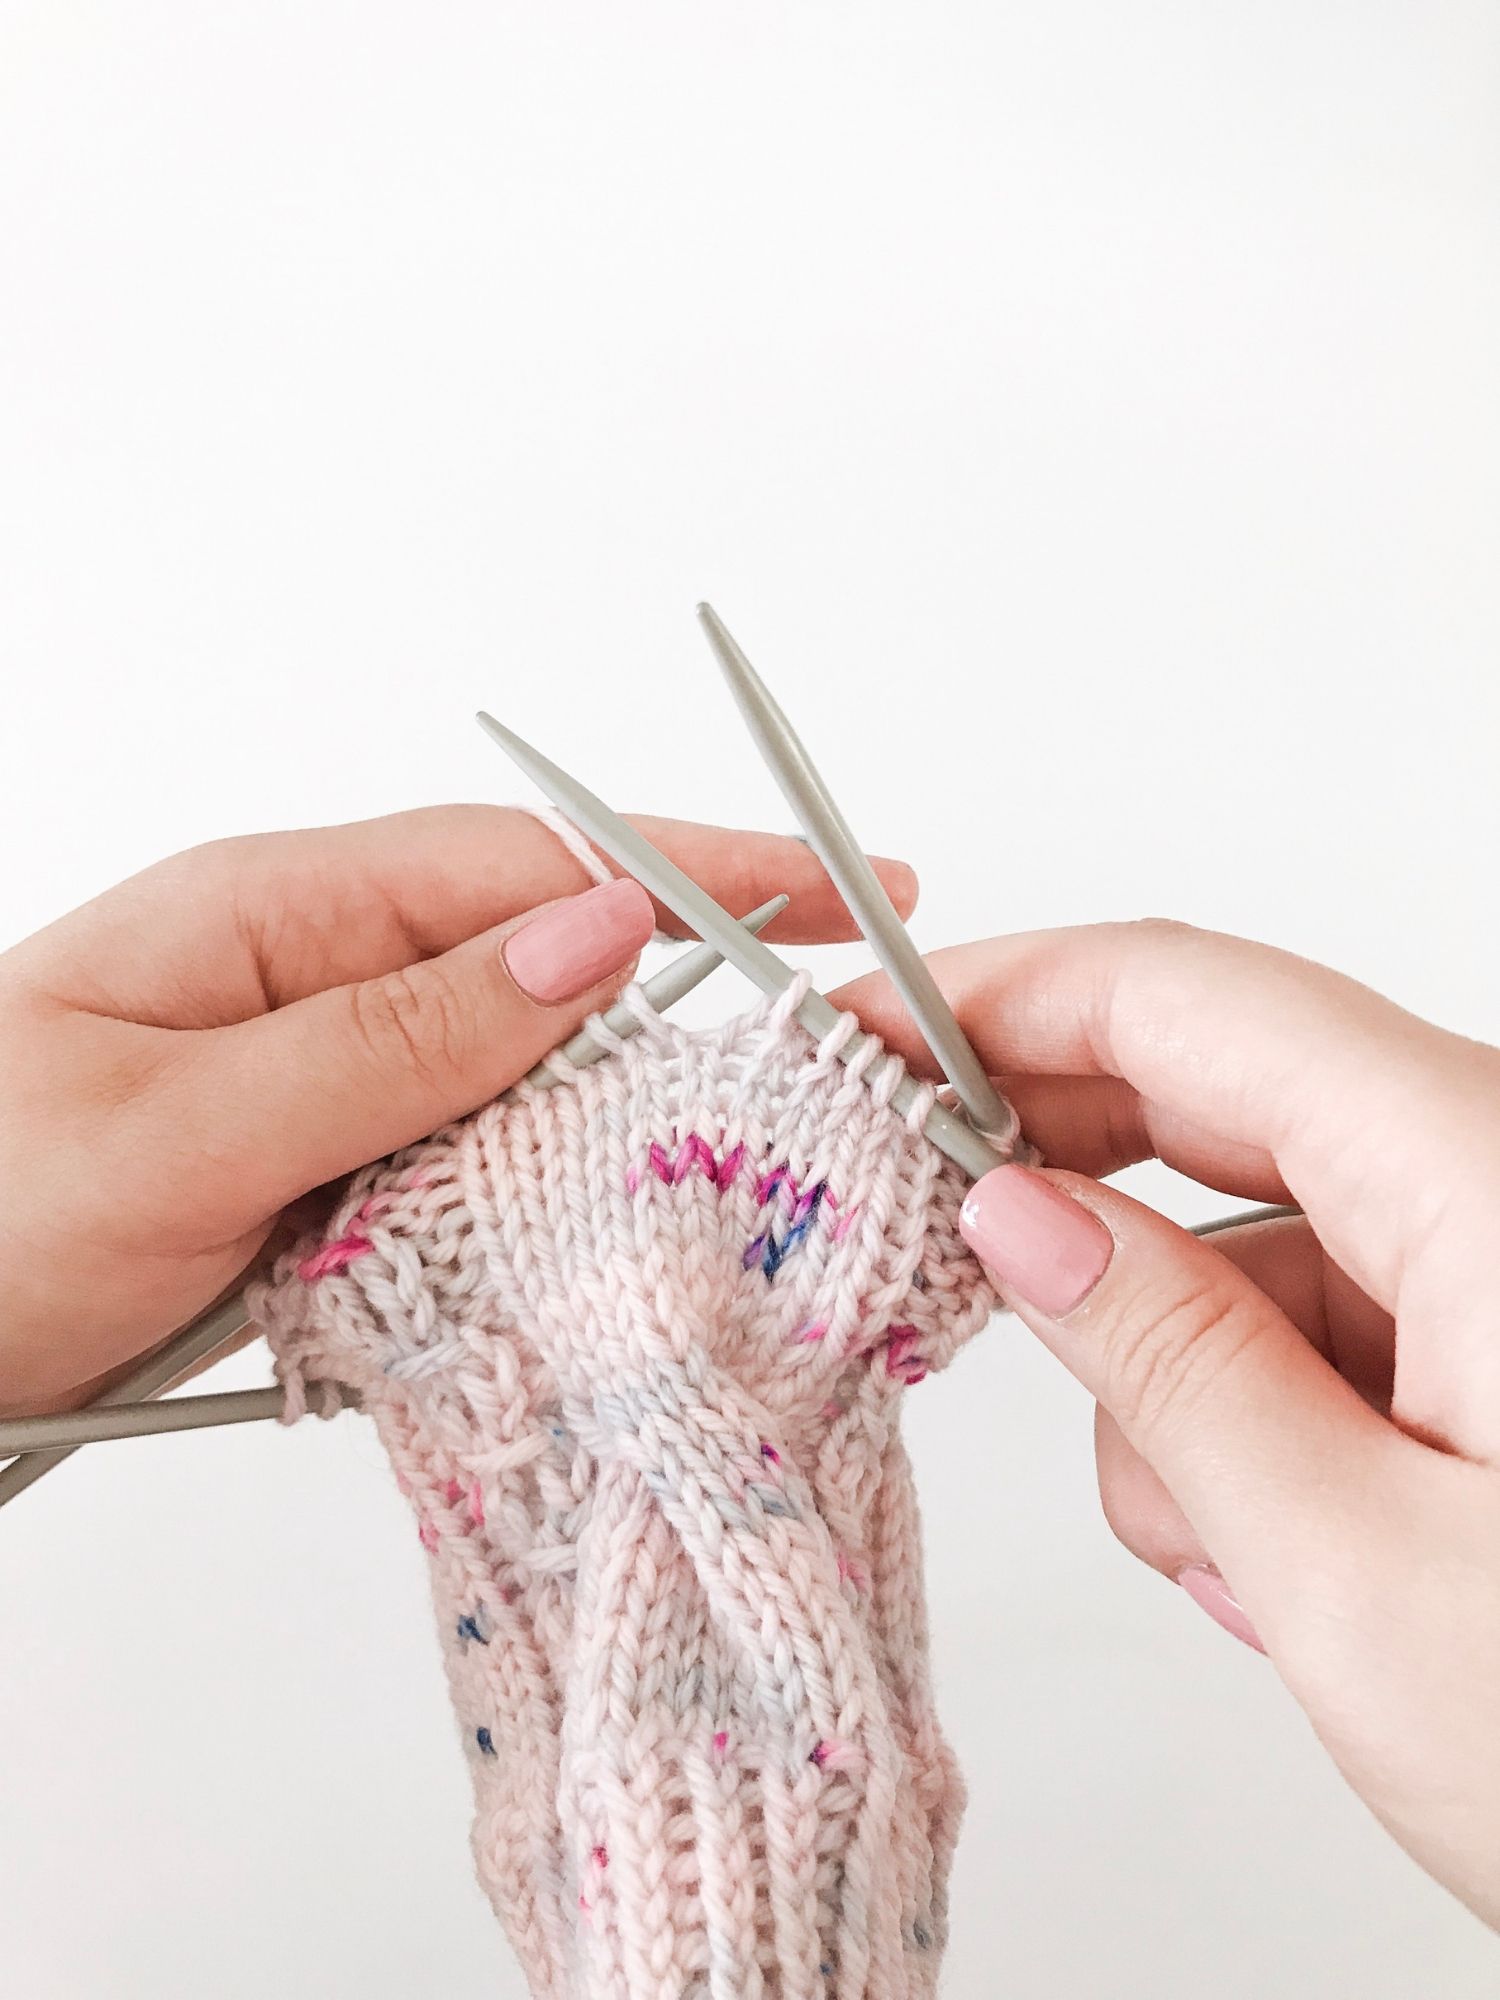
Step 2: knit 5 stitches from the left needle like you normally would.

left leaning cable

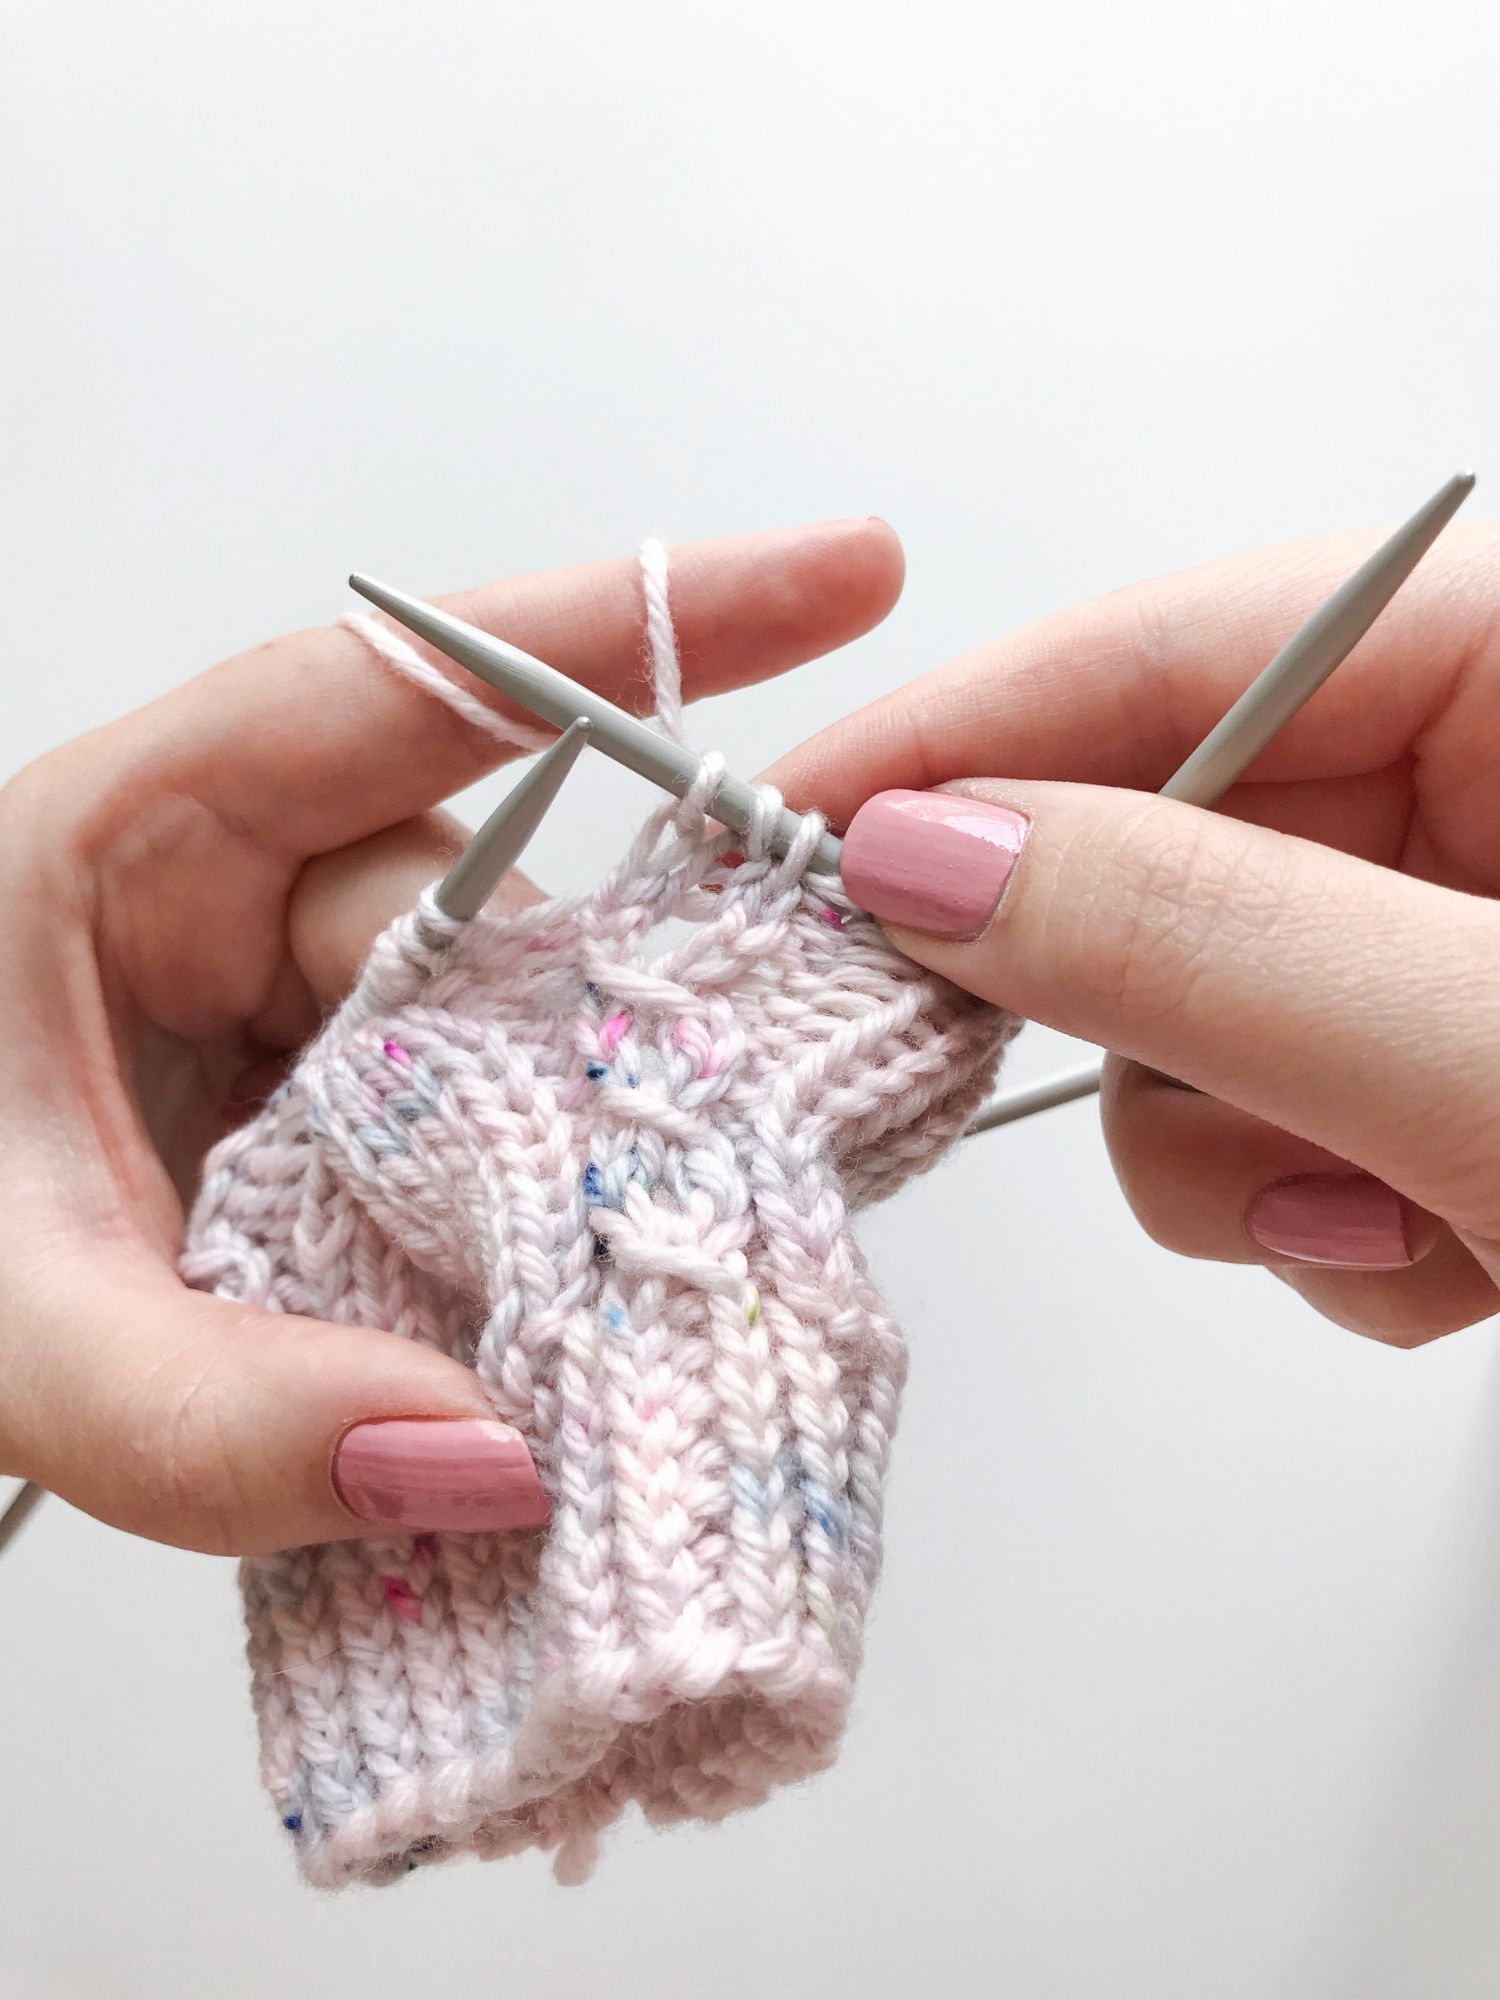
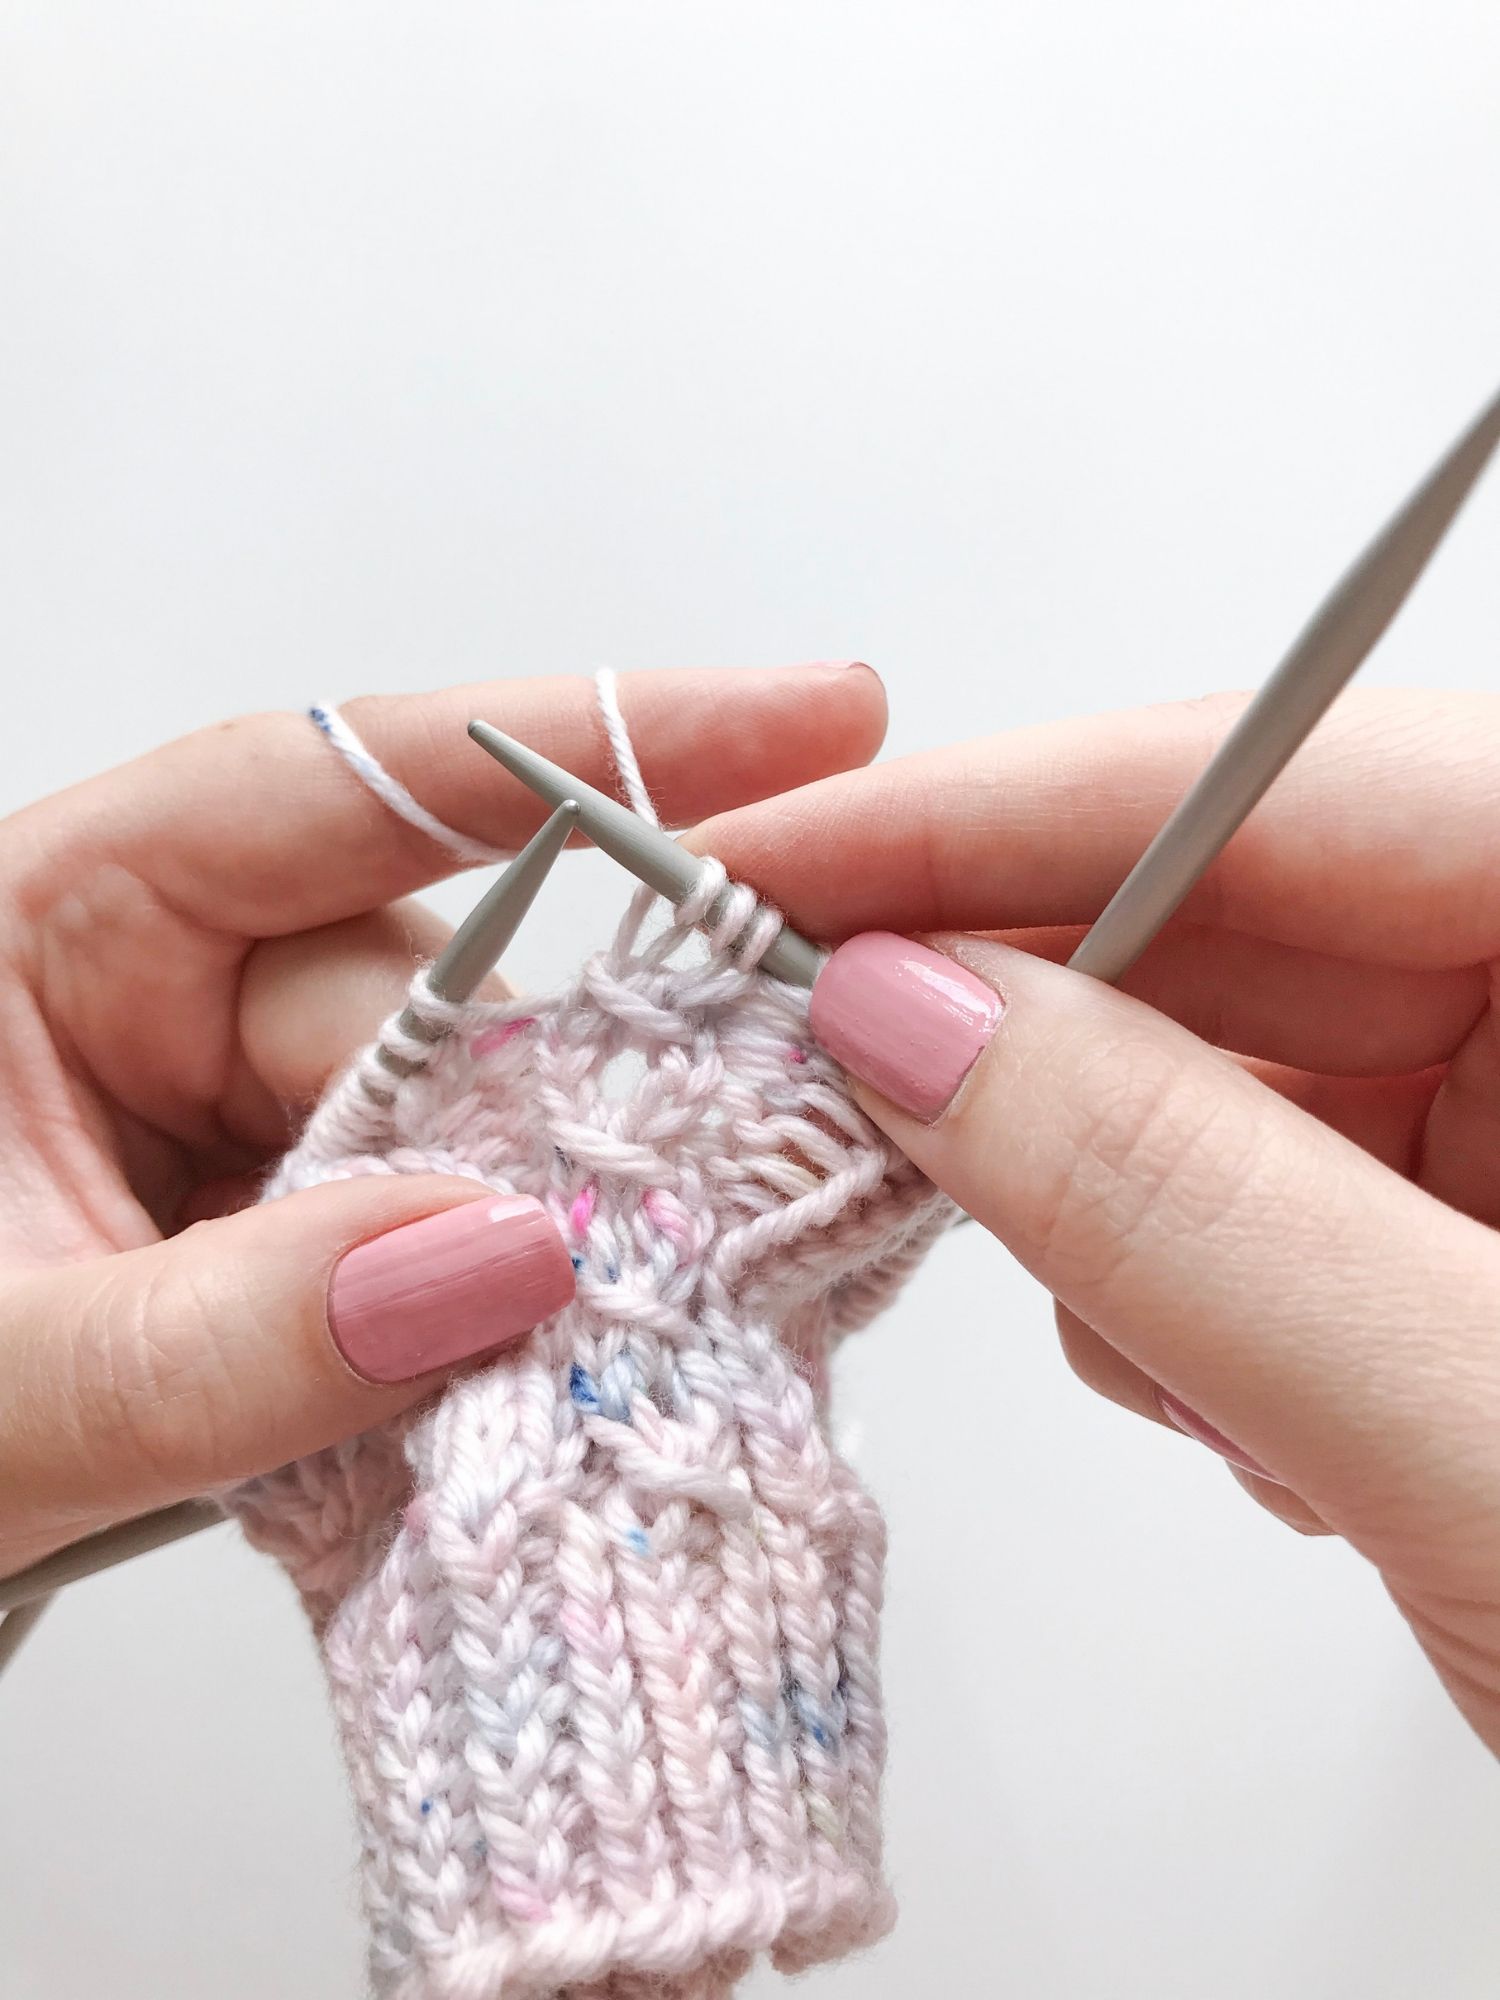
5 stitches done, now onto the stitches that are waiting on the cable needle!

left leaning cable

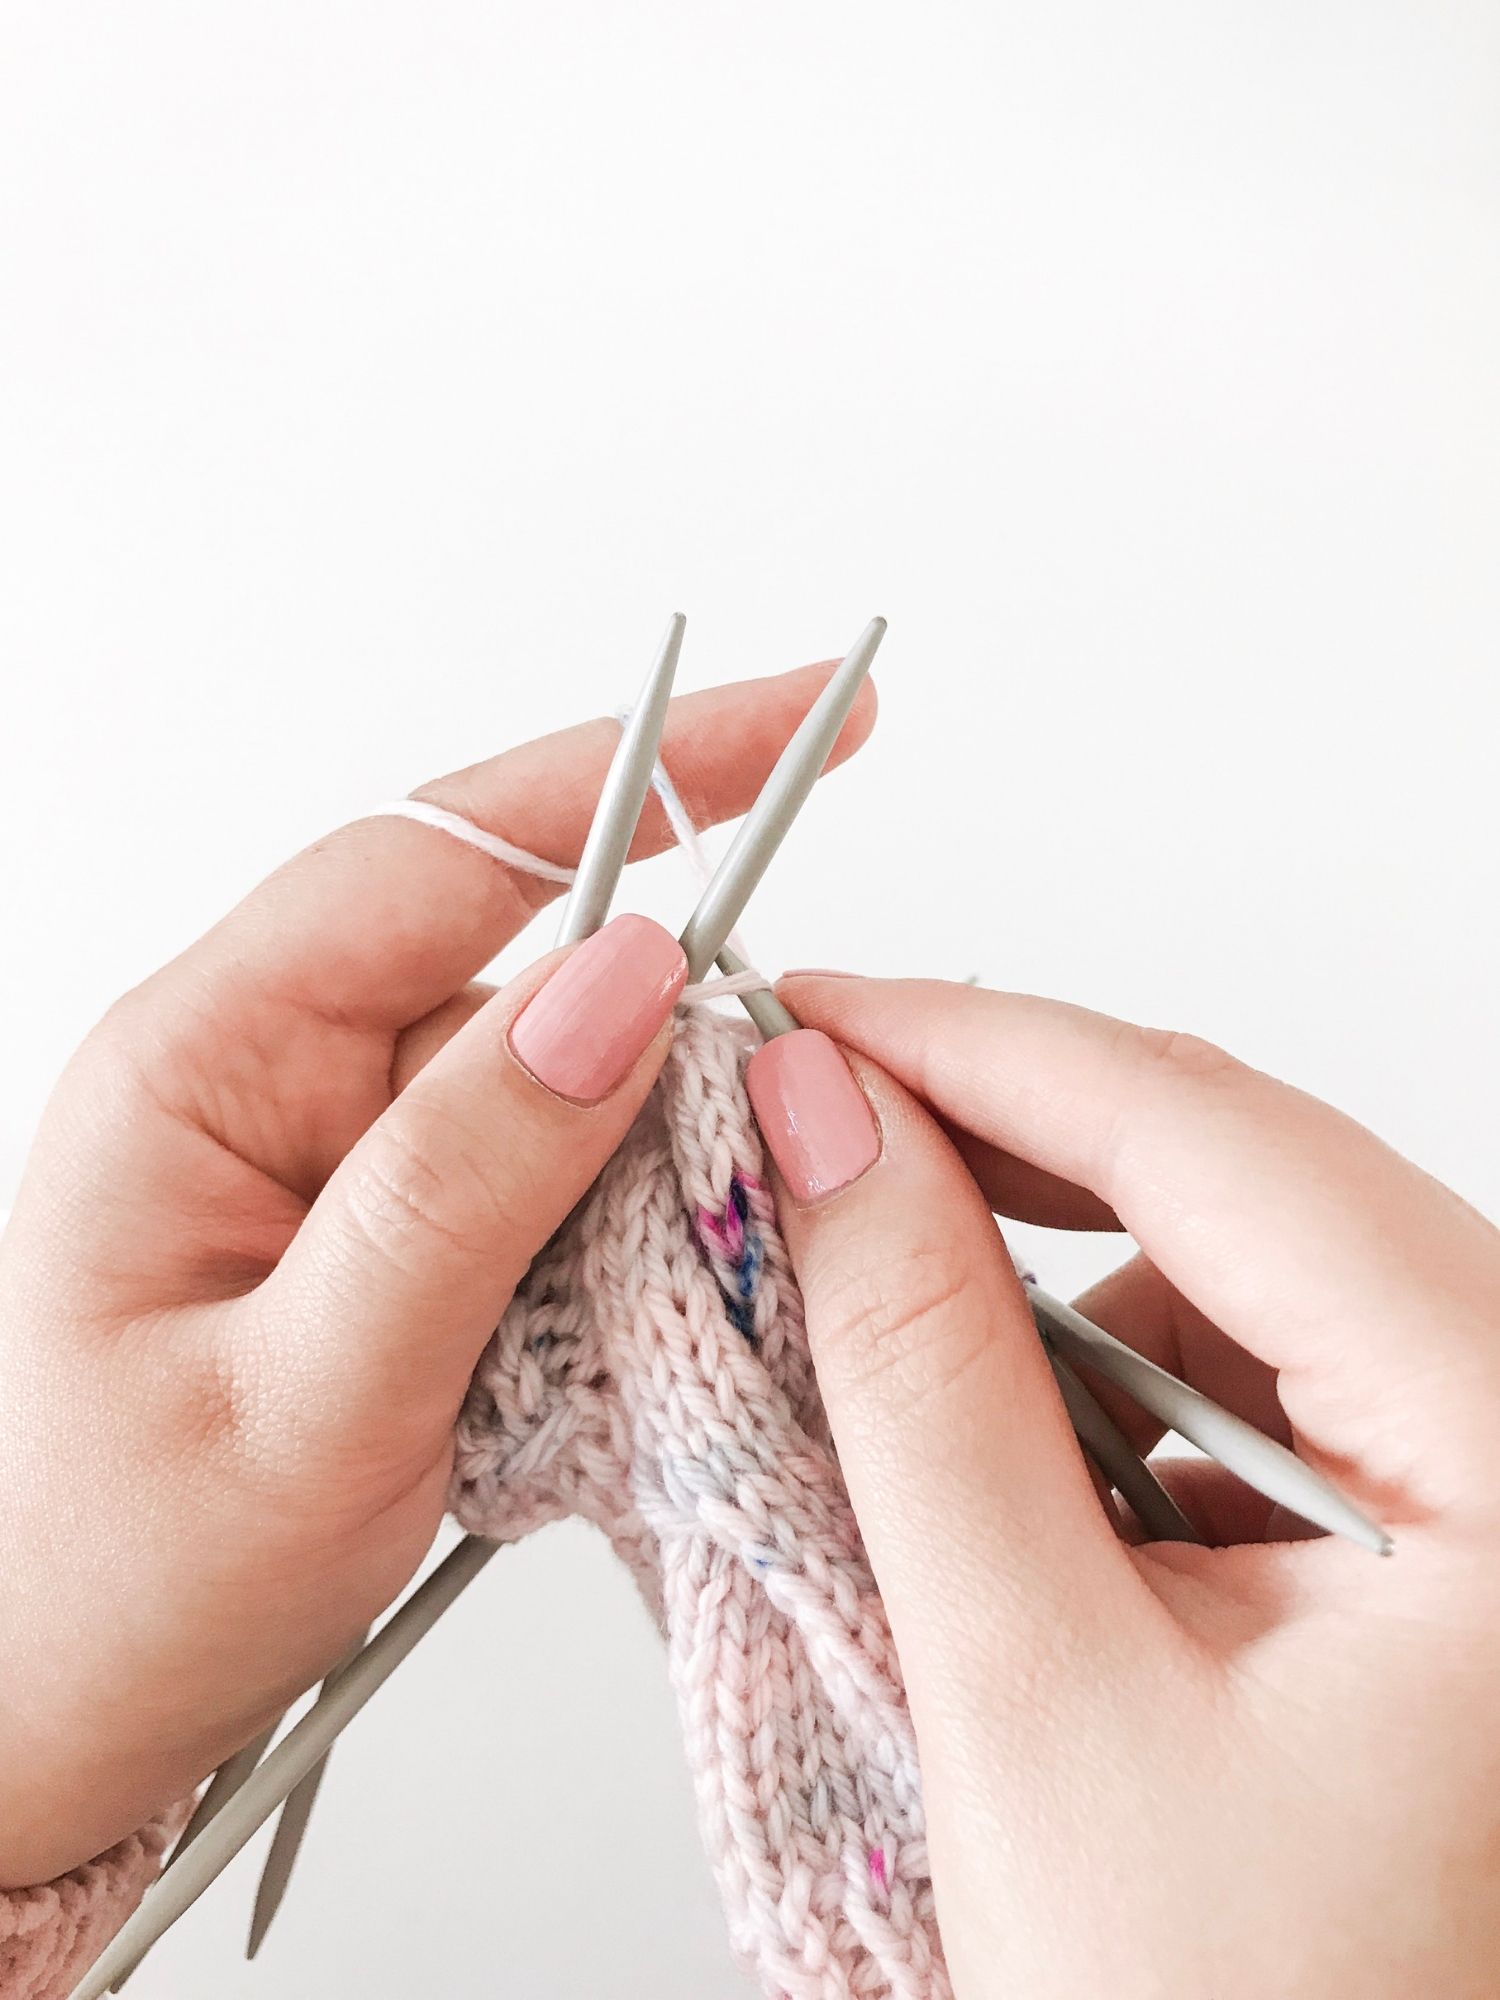
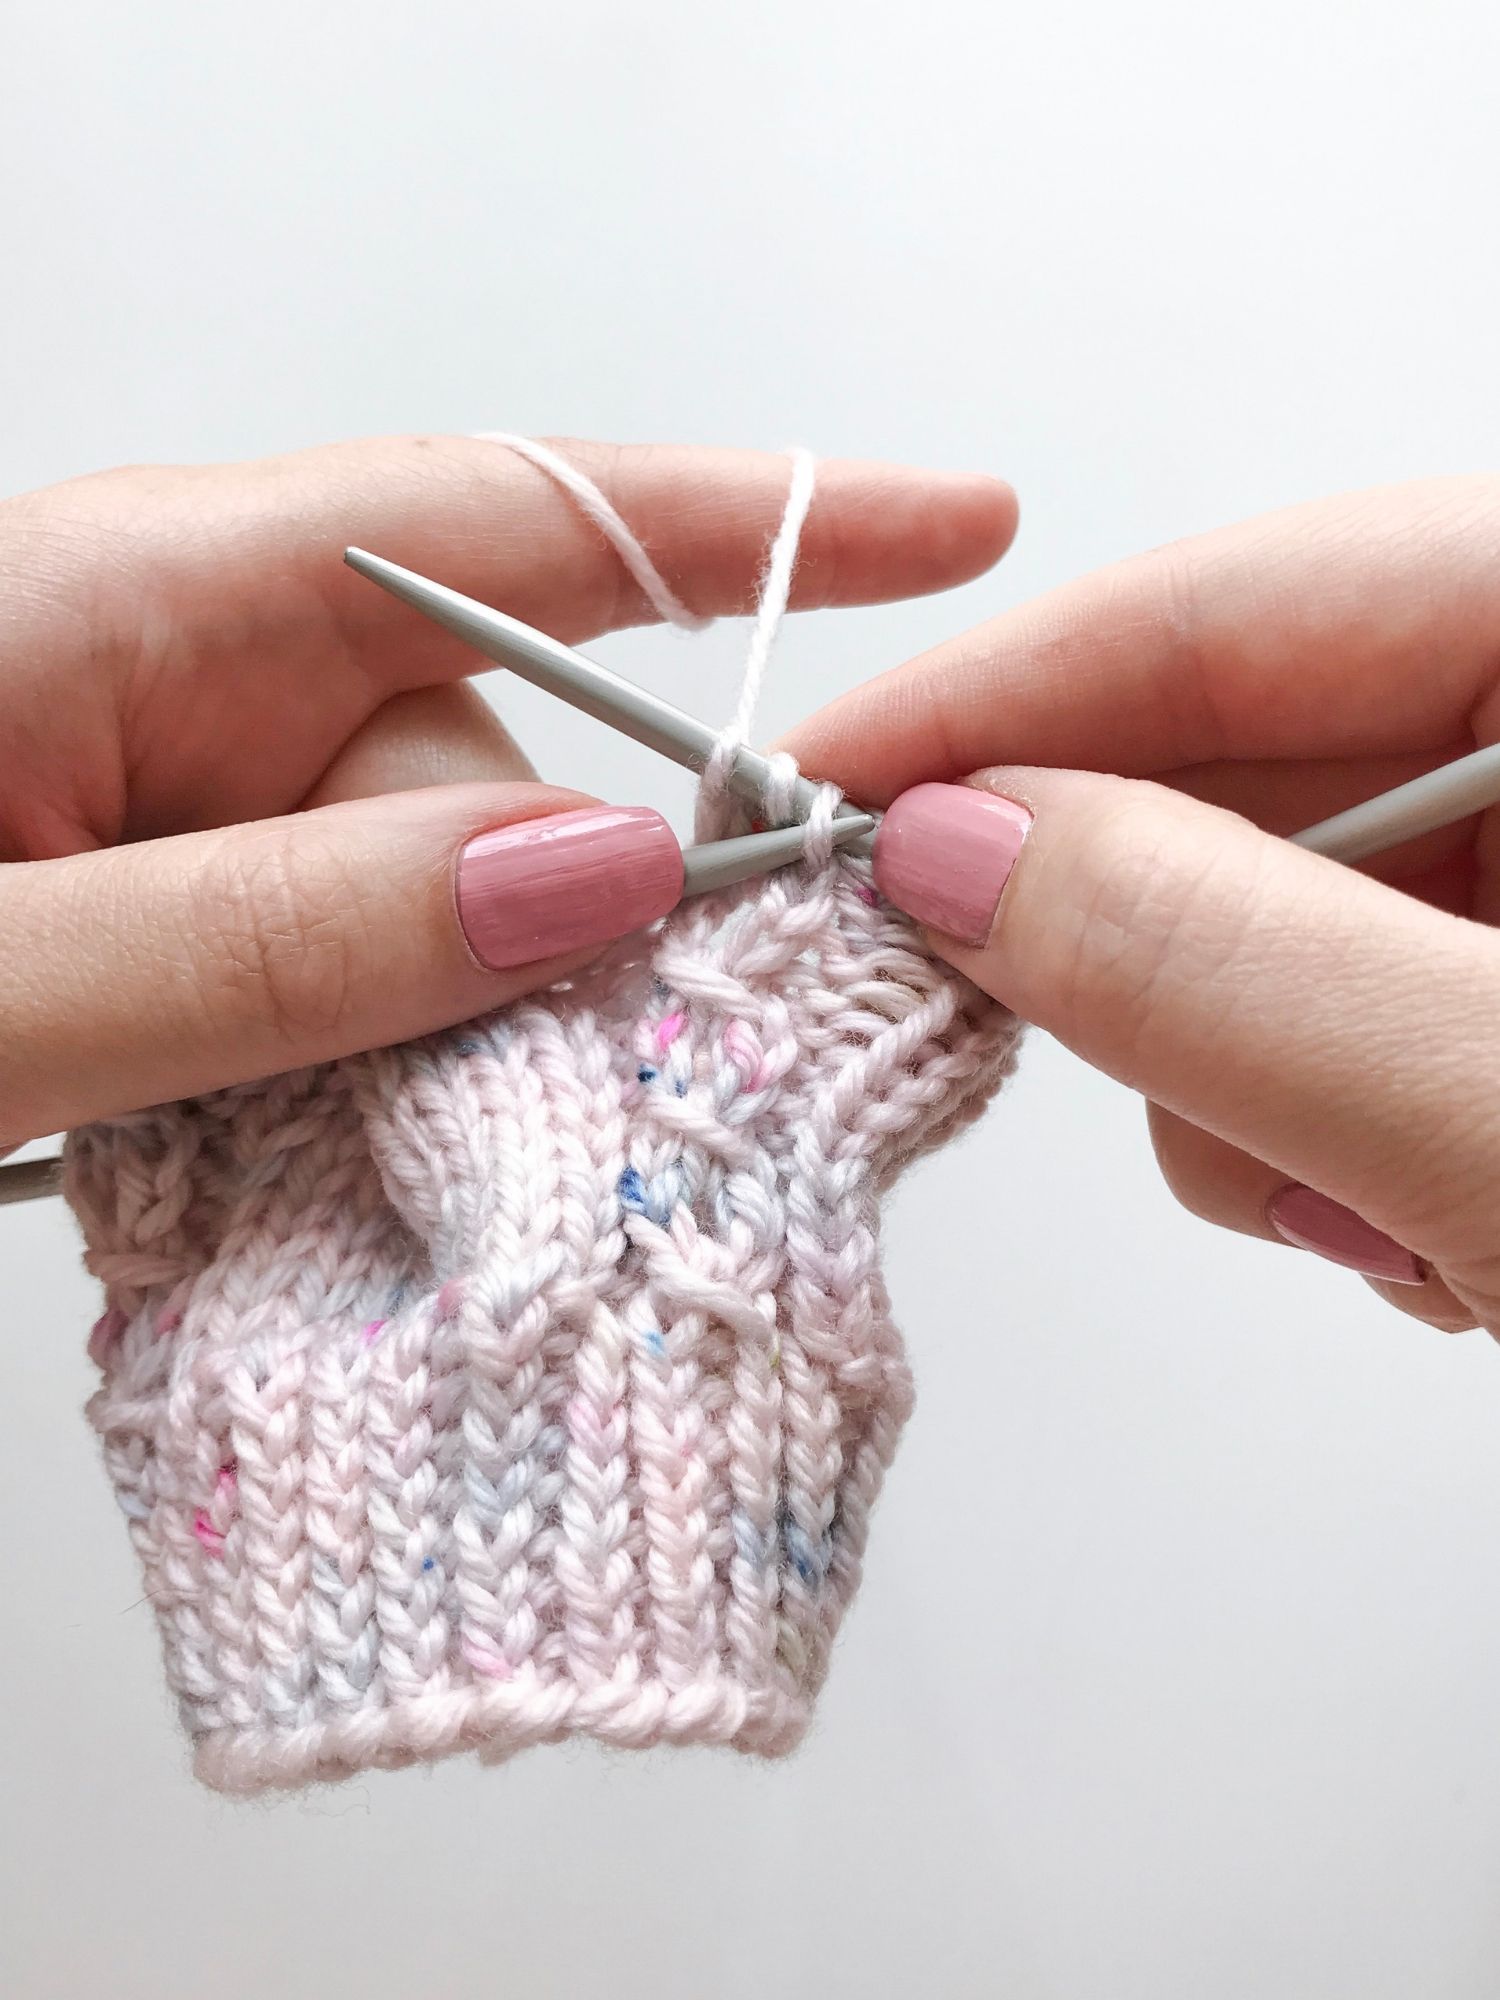
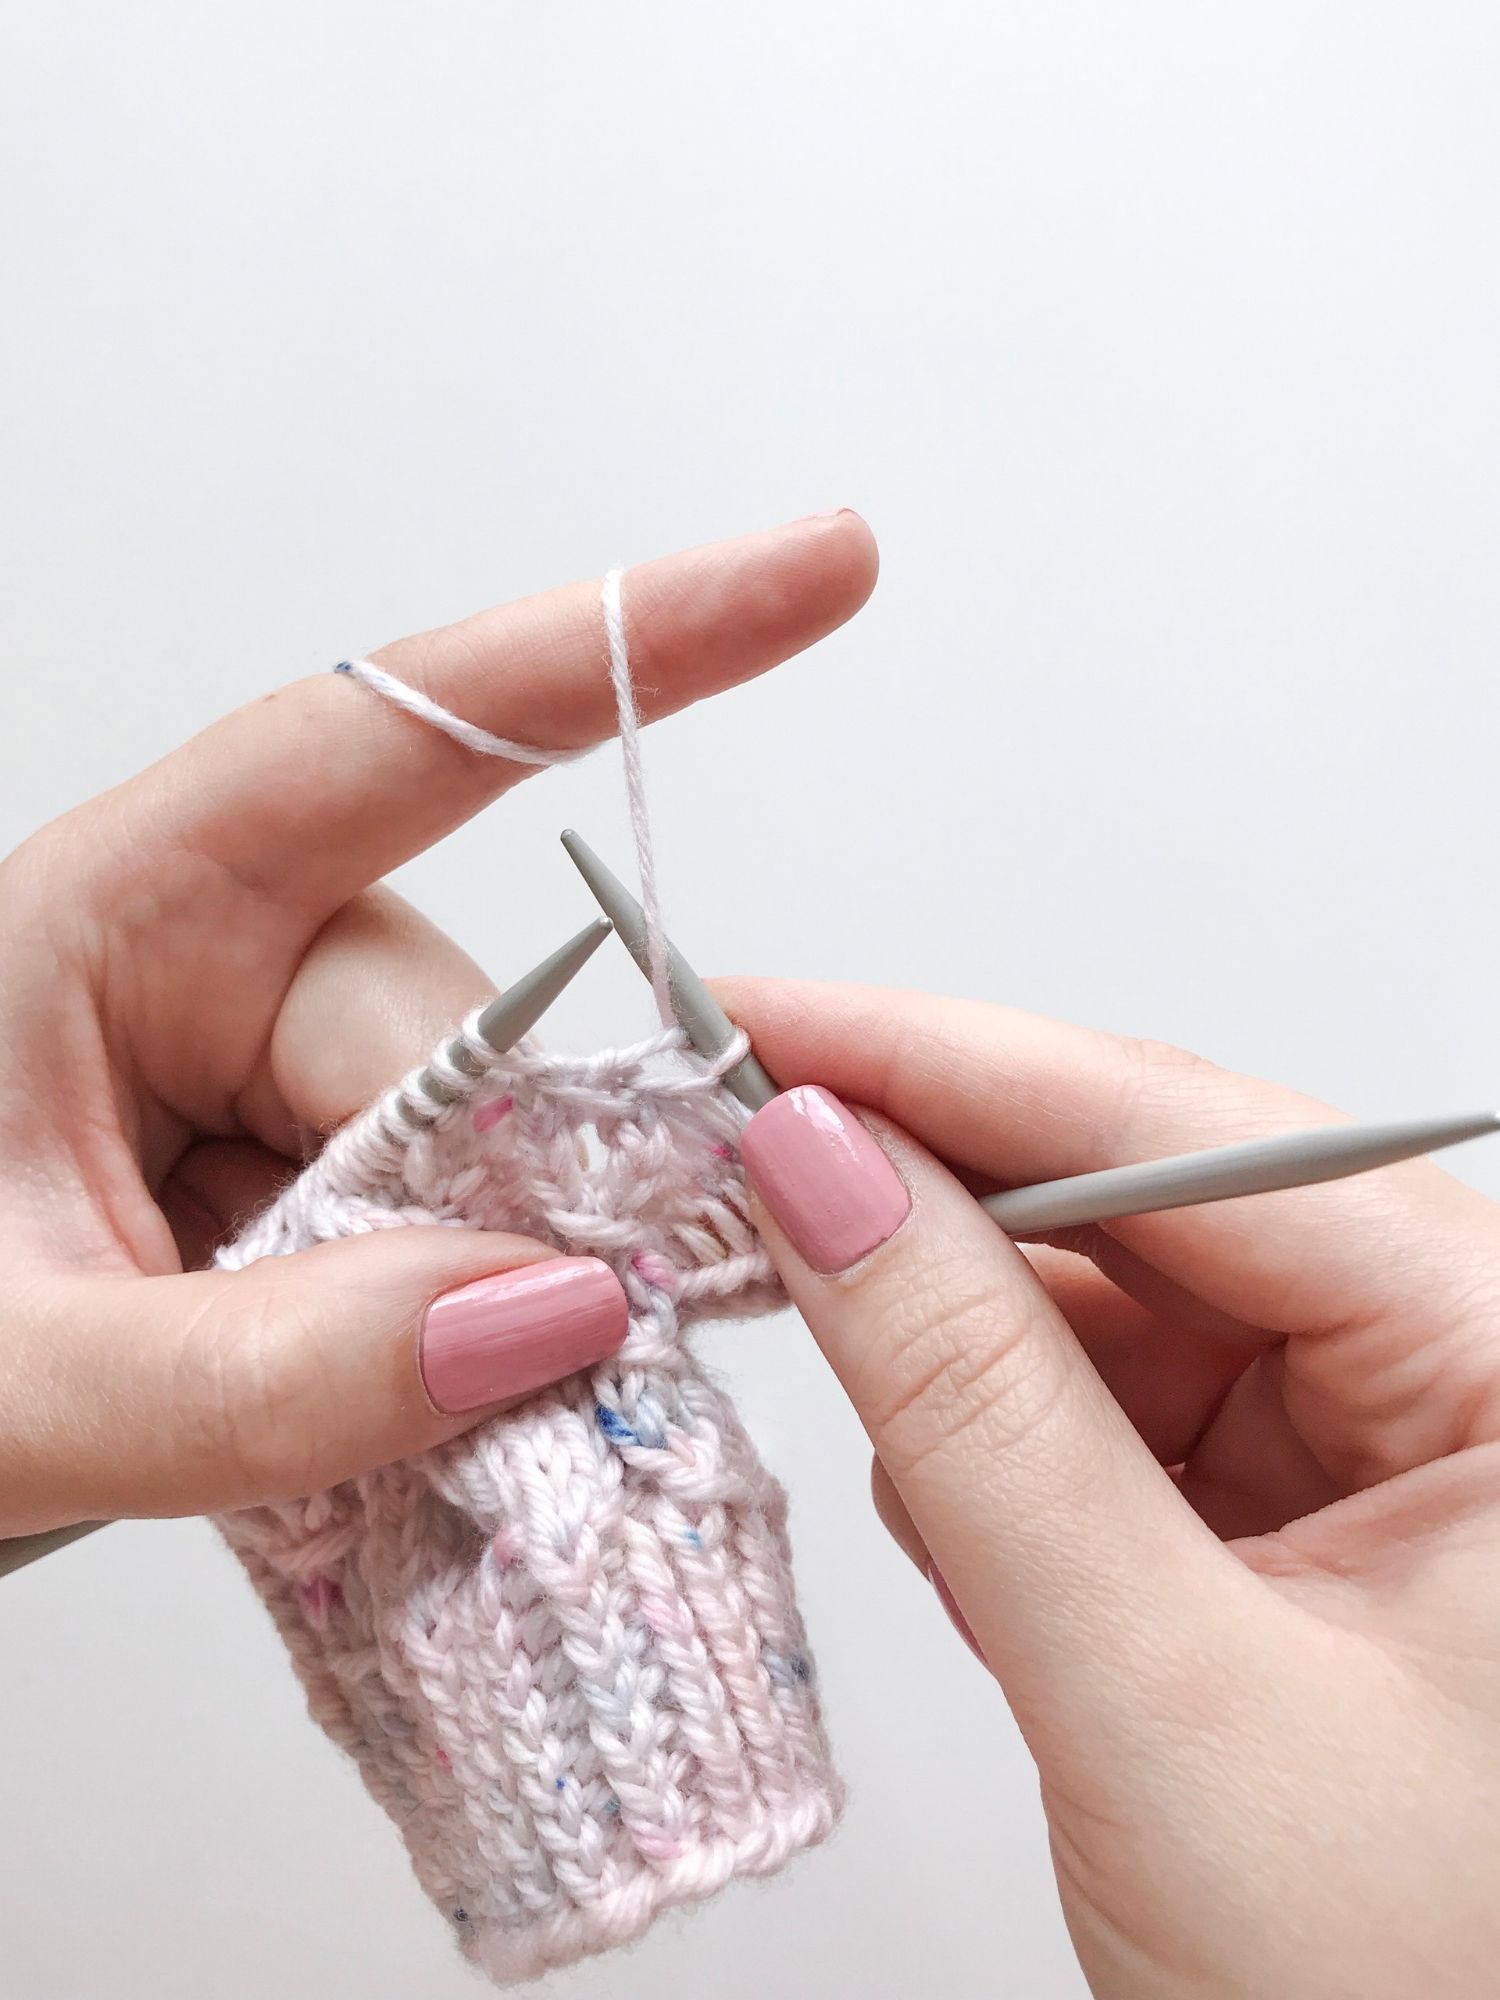
Step 3: knit 5 stitches from the cable needle.

left leaning cable

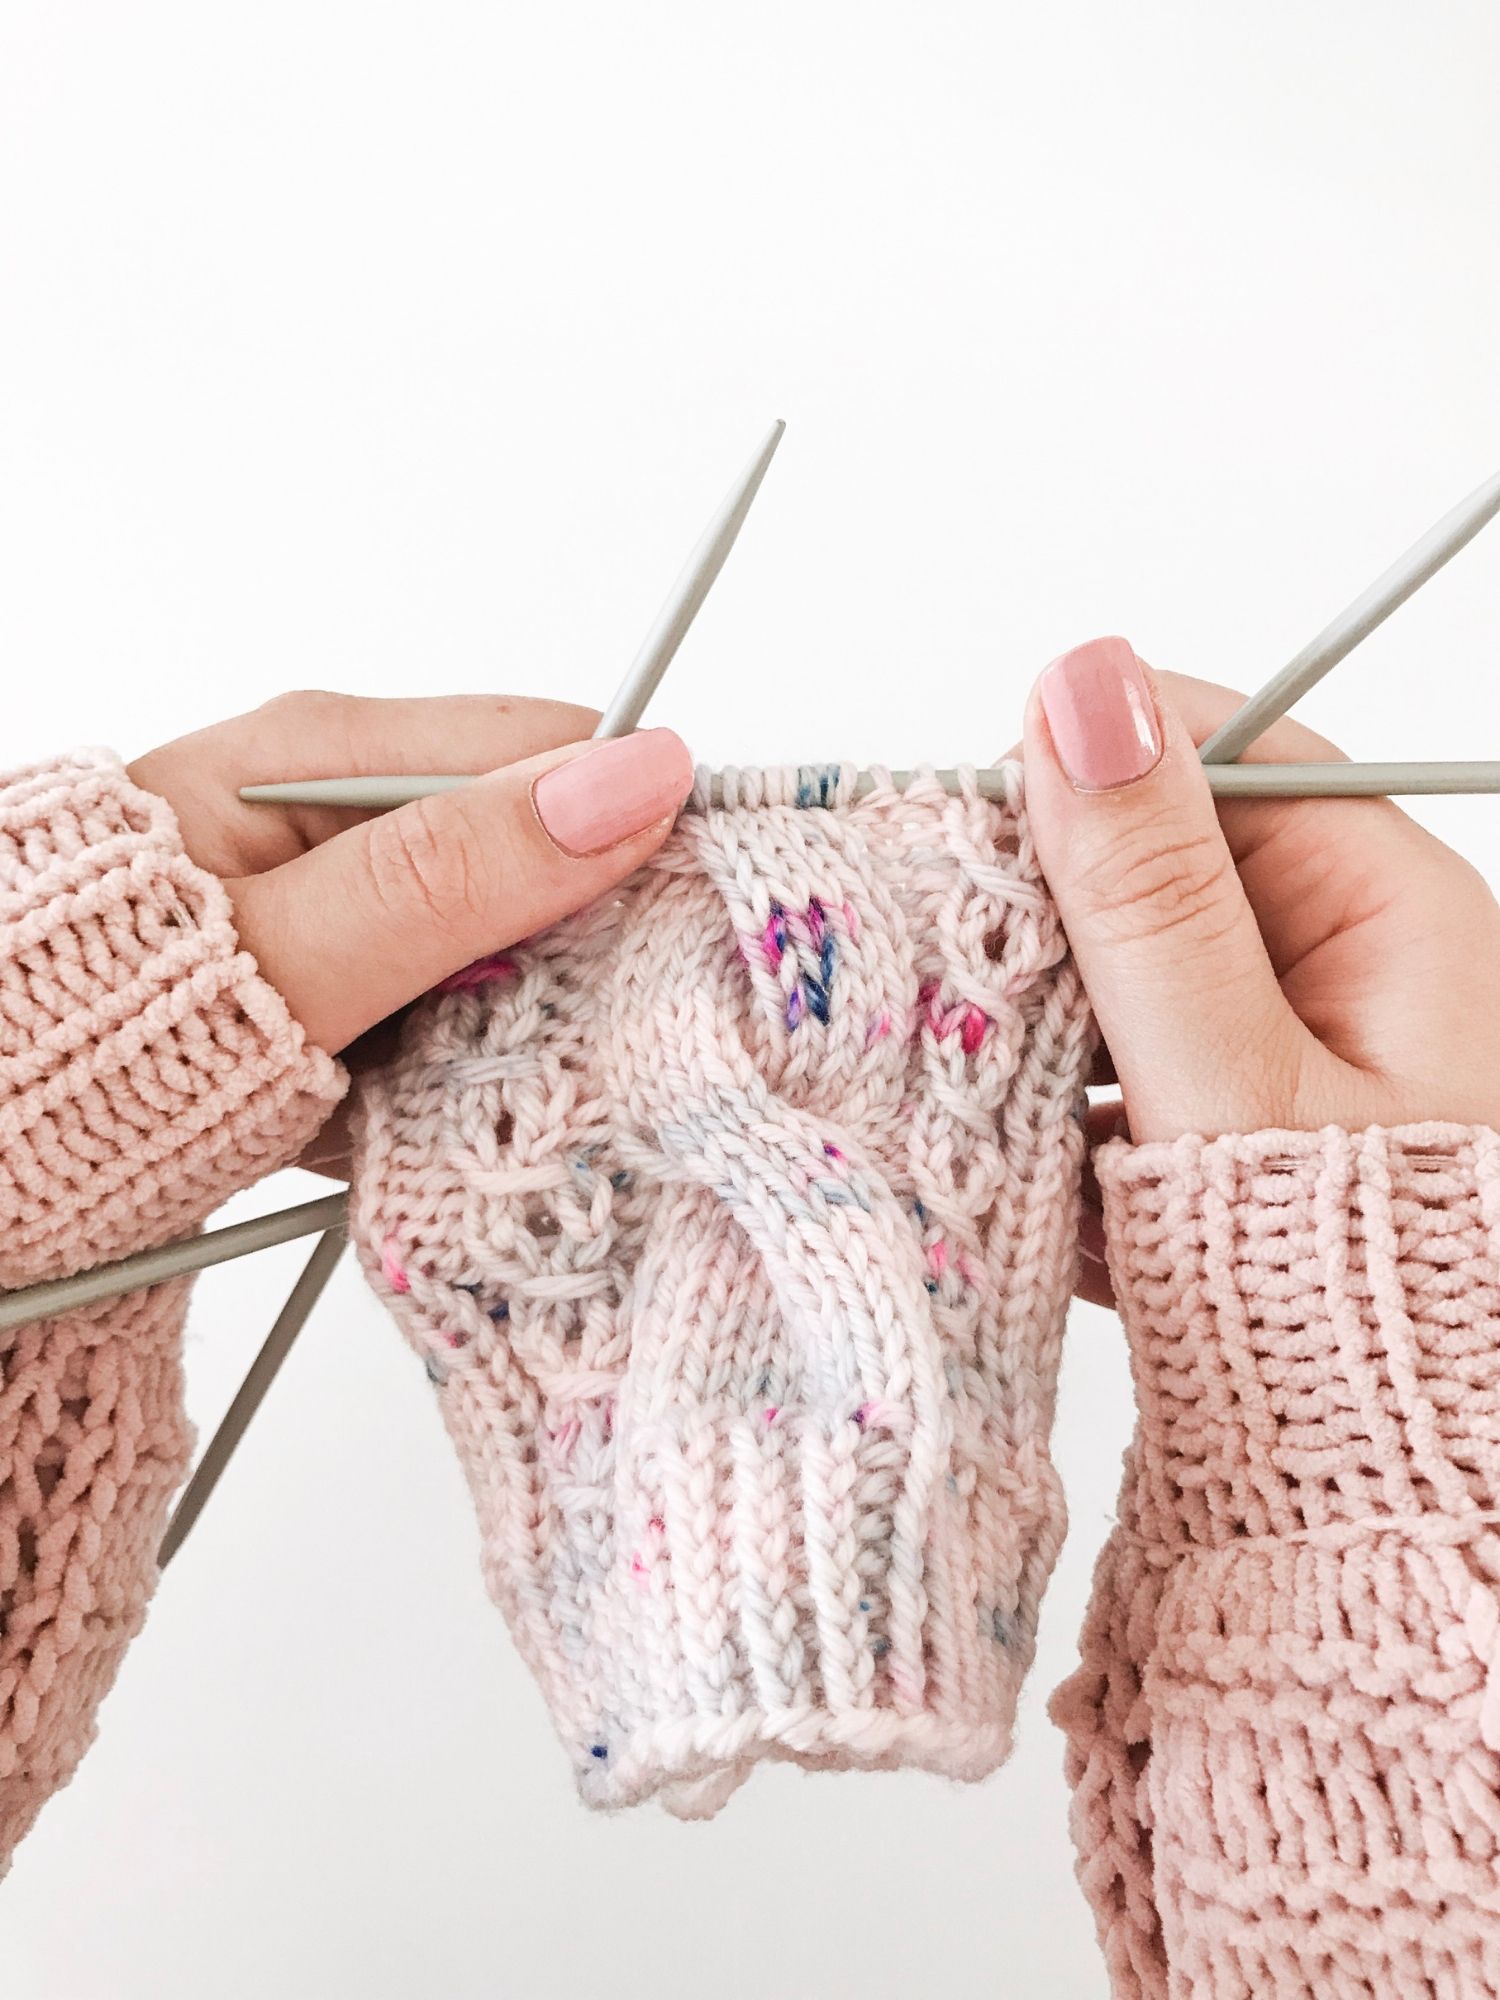
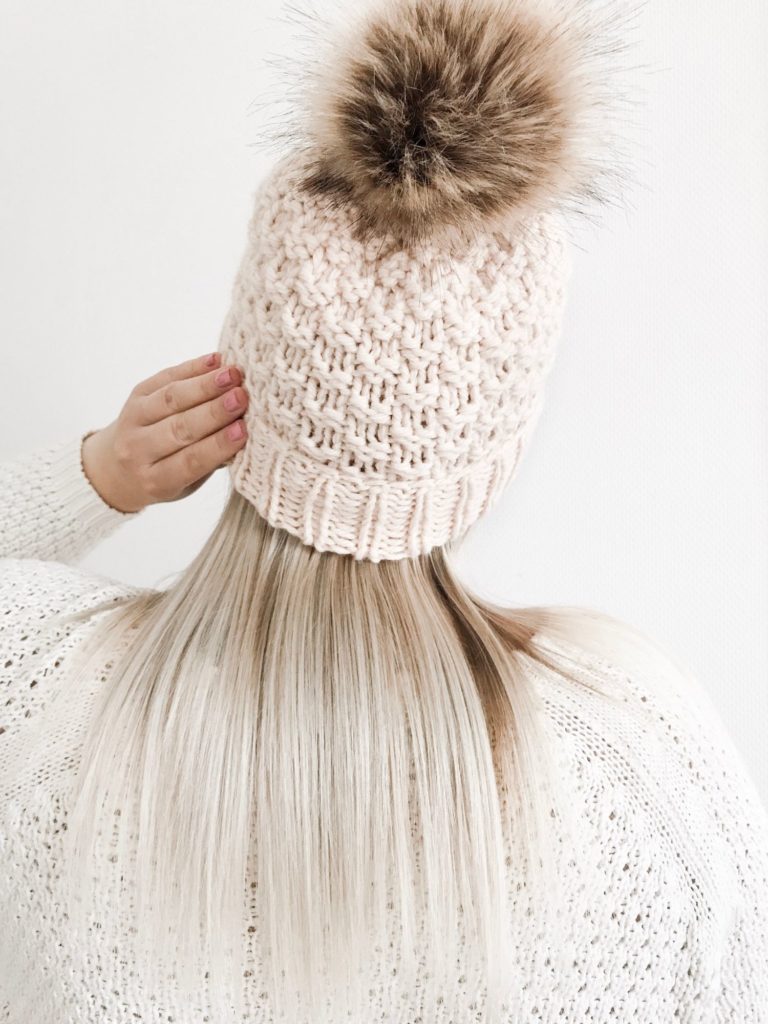
And voilà, your cable is ready – easy, fun and look at that texture!

I also have a tutorial for the little lace stitch on both sides of the big cable, find it here!

I’ll be off to knit some more cables now, I hope you enjoyed this tutorial!

xx, Kati

Knitting Tutorials

Knitting Tutorial: St.John’s Wort Lace Stitch in the Round

lace stitch

Hi guys! Today’s post is all about the St.John’s Wort lace stitch knit in the round: I love the vibe of this stitch as it looks like a tiny cable and creates a beautiful and delicate detail into your knit piece! I’m currently knitting a pair of socks with this simple lace pattern and it’s blown my mind away with its ease and elegance.

st.john's wort lace stitch

How pretty does it look with the big cable!

This 3-stitch pattern is repeated over 4 rounds and it’s fun, easy and creates a cable-like look without a cable needle! Here are the written instructions:

Round 1: slip 1 stitch purlwise, knit 2 stitches, pass the slipped stitch over
Round 2: knit 1 stitch, yarn over, knit 1 stitch
Round 3: knit 3 stitches
Round 4: knit 3 stitches

Repeat rounds 1-4, and there you have it!

NOTE: If you want to make multiple of these next to each other, the pattern changes a little:

Round 1: *slip 1 stitch purlwise, knit 2 stitches, pass the slipped stitch over, knit 3 stitches*
Round 2: *knit 1 stitch, yarn over, knit 4 stitches*
Round 3: *knit 3 stitches, slip 1 stitch purlwise, knit 2 stitches, pass the slipped stitch over*
Round 4: *knit 4 stitches, yarn over, knit 1 stitch*

The pattern now consists of 6 stitches, that you can repeat for as many times as needed per round. Rounds 1-4 are repeated.

But back to the 3-stitch version, and trust me when I say I got you covered; here’s a bunch of tutorial pictures for rounds 1 and 2, and even a Youtube video tutorial at the end of the post!

lace stitch

Round 1: slip 1 stitch purlwise…

lace stitch

…and pass it onto the right needle!

lace stitch

Knit 2 stitches.

lace stitch

Pass the slipped stitch…

lace stitch

…over the two knit stitches.

lace stitch

TADAA this is what it looks like after round 1!

lace stitch

Round 2: start by knitting one stitch.

lace stitch

Bring the yarn to the front…

lace stitch

…and yarn over.

lace stitch

Knit 1 stitch.

lace stitch

Et voilà, round 2 done!

In the video tutorial below I included all rounds (1-4), and if you’re not yet subscribing to my Youtube channel you definitely should!

To wrap things up, my obsession level is at 100 and I have a feeling you’ll be seeing a LOT more of this lace stitch in my future projects!

xx, Kati

Knit Lookbook Knitting

Favorite Cable Beanie by The Chesapeake Needle

favorite cable beanie

One look at my Instagram and my designs, and it’s pretty obvious – I’m absolutely obsessed with cables! I love how versatile, beautiful and squishy they are, and how you can create so many different designs with simple cables. They’ve definitely always been my favorite knitting technique and I’ve been using them in all of my designs (Vilja, Hilla and Aava to name the latest!), and once you learn the tips and tricks on how to master cables I promise knitting them is like riding a bike!

favorite cable beanie

I purchased the Favorite Cable Beanie pattern from The Chesapeake Needle a few days back and I fell so in love with the pattern that I ended up knitting it in two days! I love the clever way Lindsey used the cables in the design: having the cable turns on different rounds creates such a beautiful, unique and interesting look.

favorite cable beanie

I didn’t have any medium weight yarn at home, but I obviously did have a skein of Phil Looping and 4mm needles, and after making a little swatch I was happy to see the gauge matched and I could get knitting right away! The yarn knits up beautifully with a smaller needle size, and I’m especially in love with the brim and the way the stitches aren’t too stretchy when wearing the hat.

favorite cable beanie

The only adjustment I had to make with the slightly heavier yarn was that I decided to make the hat a few rounds (that is 3 rounds) shorter to avoid making it too tall, and I couldn’t be happier with how the beanie fits! I’d definitely say this is the perfect cable project even for makers who are just getting into knitting cables, and the pattern also comes with clear instructions on how to use a cable needle so Lindsey’s got you covered. It’s a 3-sizes-in-1 -pattern so with one purchase you’ll get the adult, toddler and child version – how amazing is that!

In short, I fell head over heels in love with this beginner-ish friendly pattern and can’t wait to make many more of these!

xx, Kati