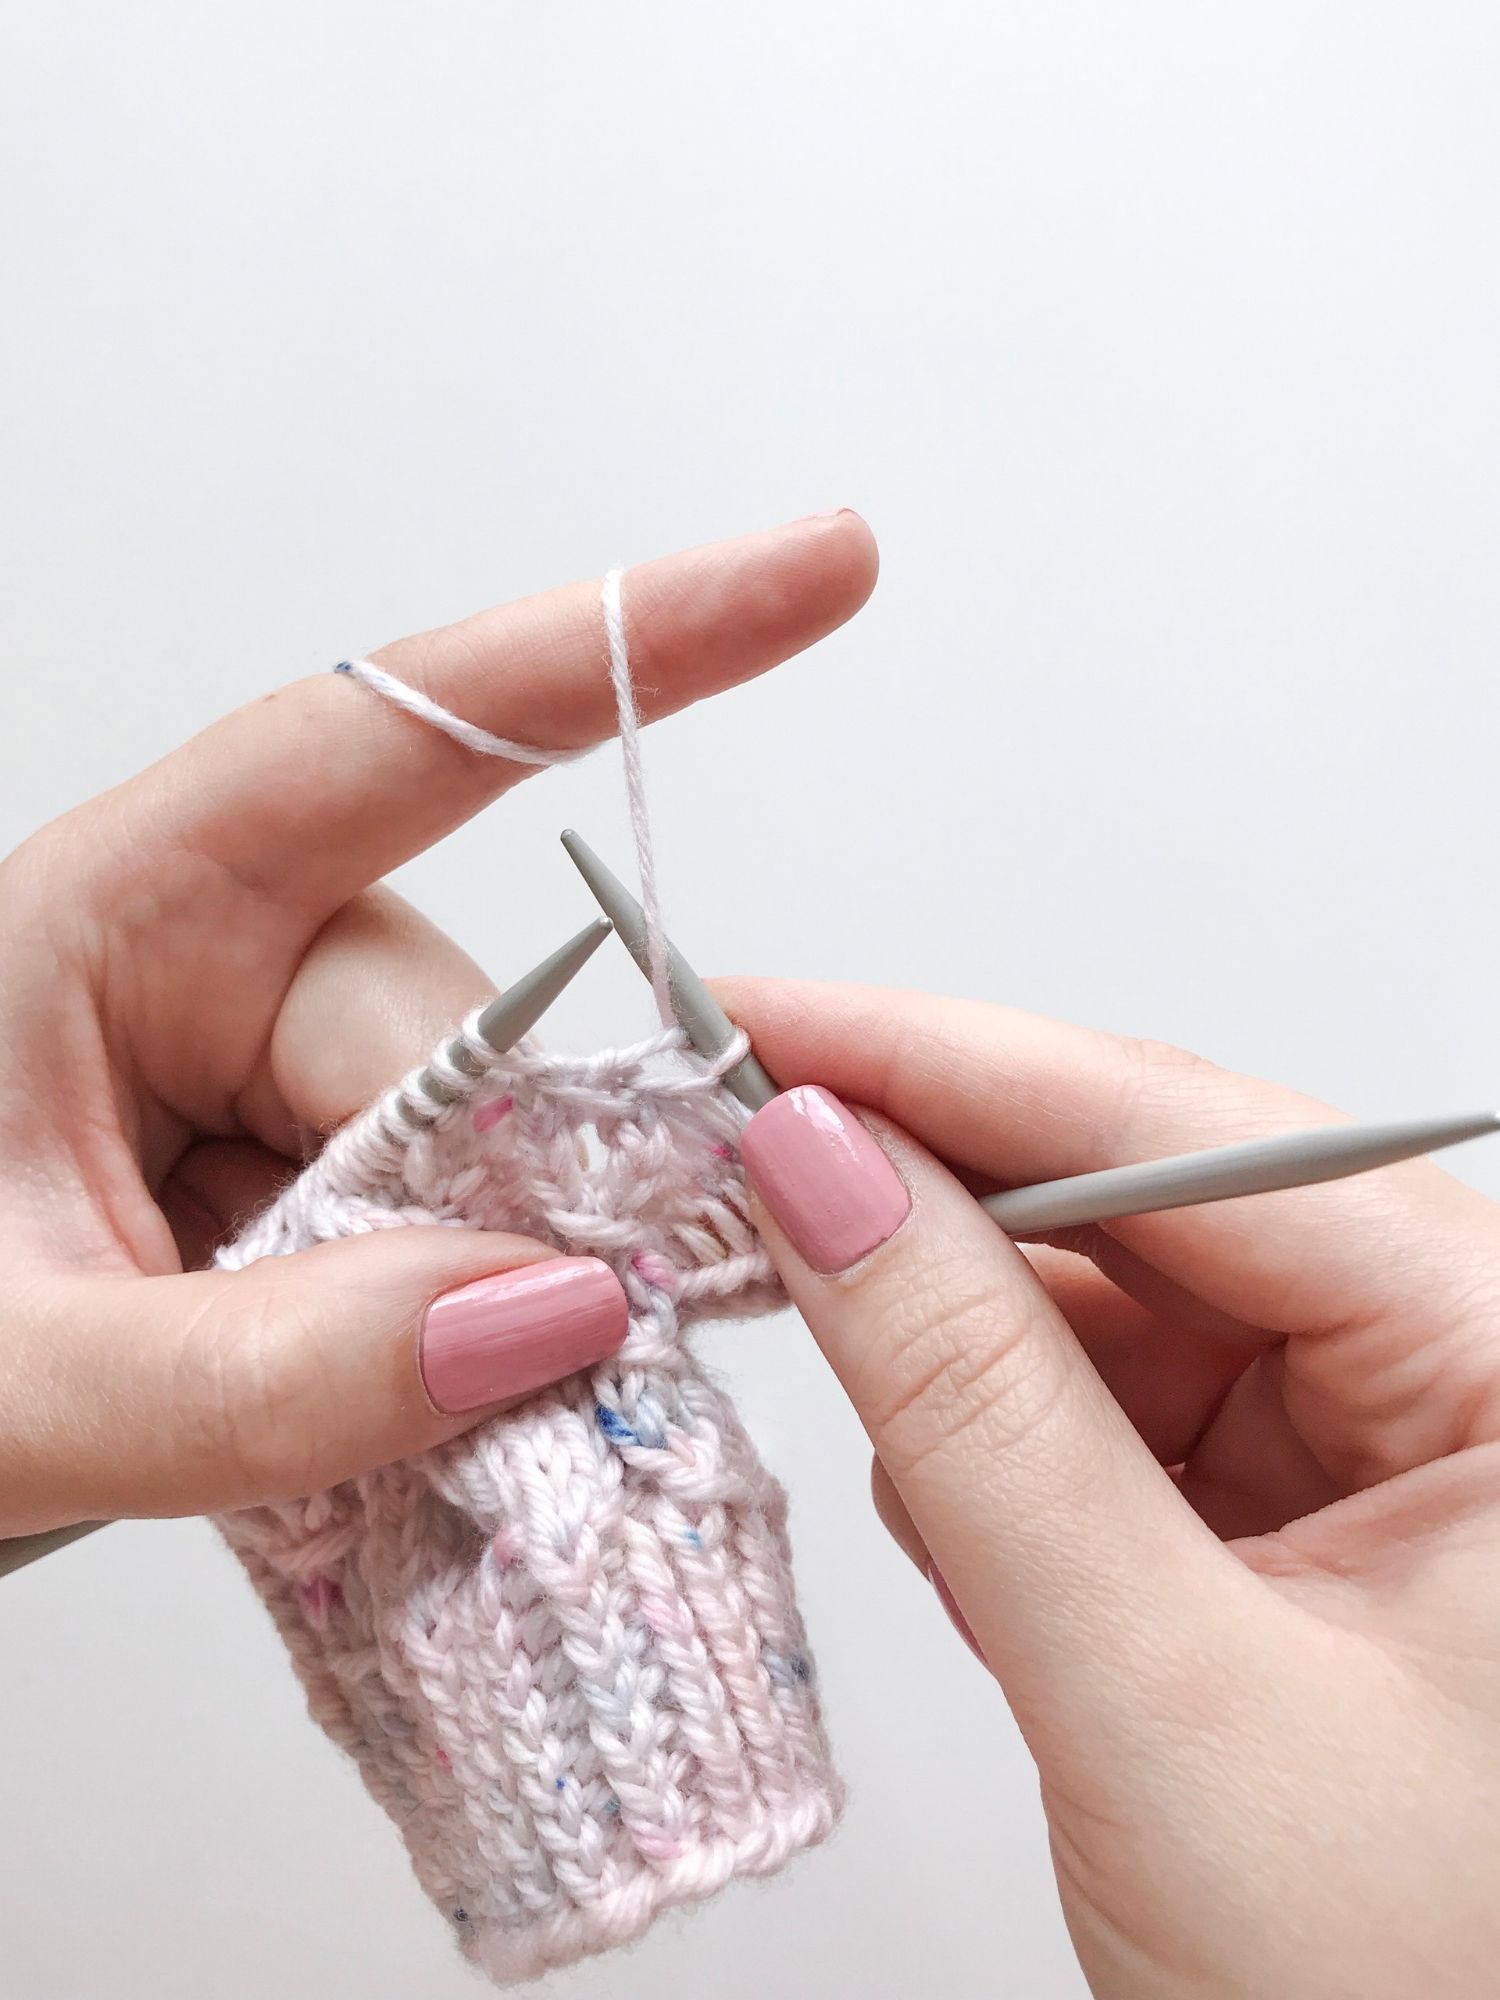
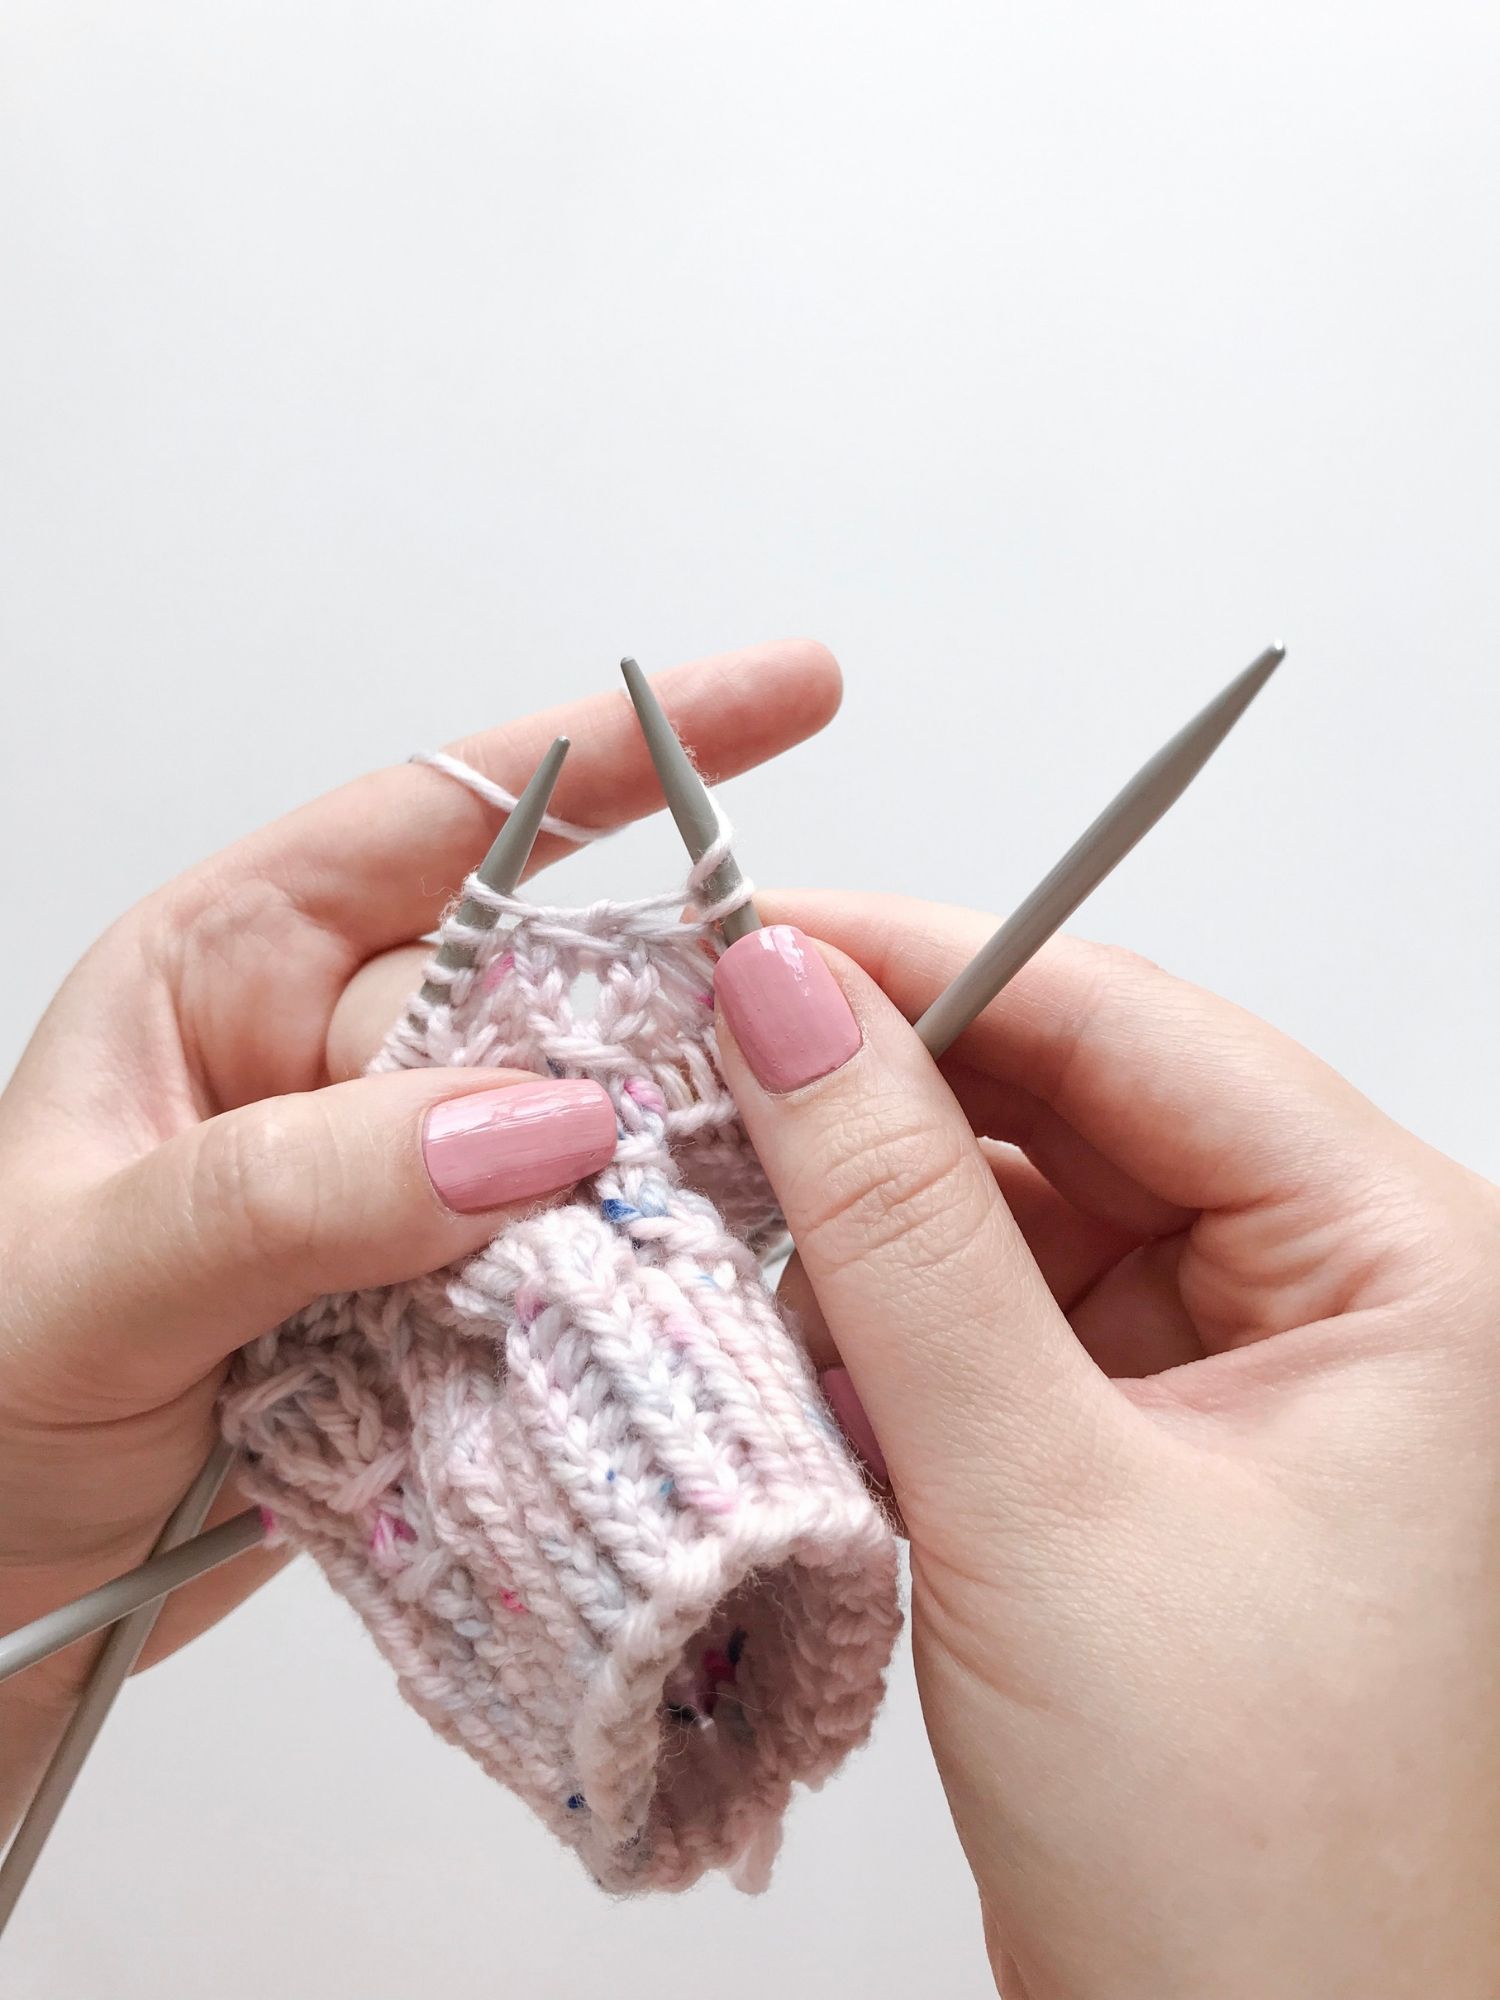
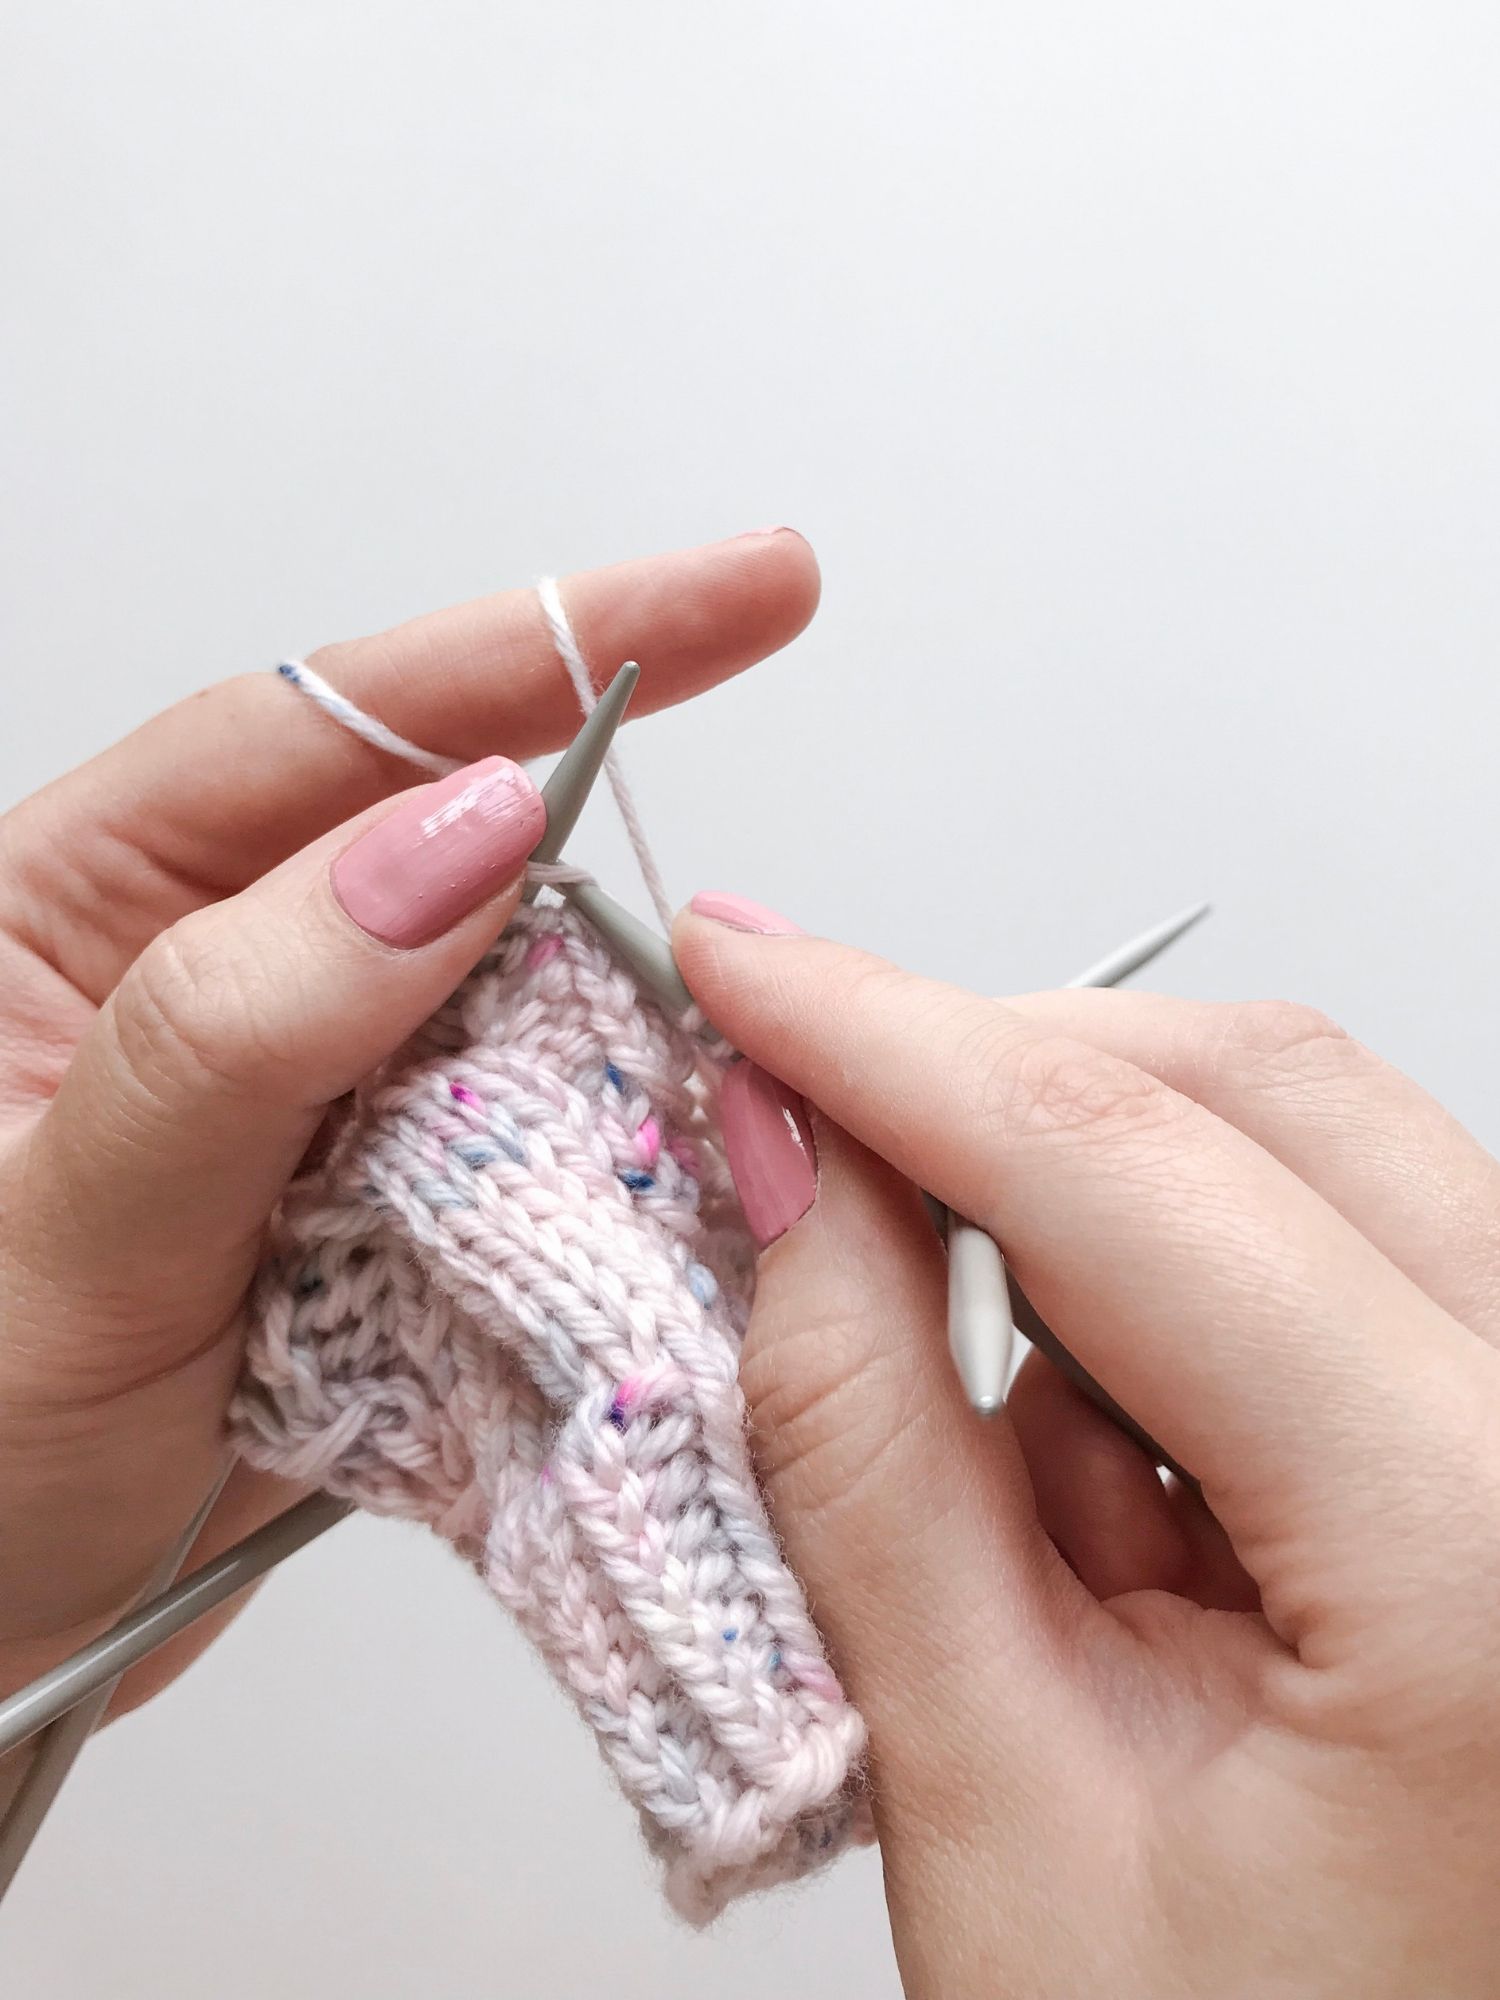
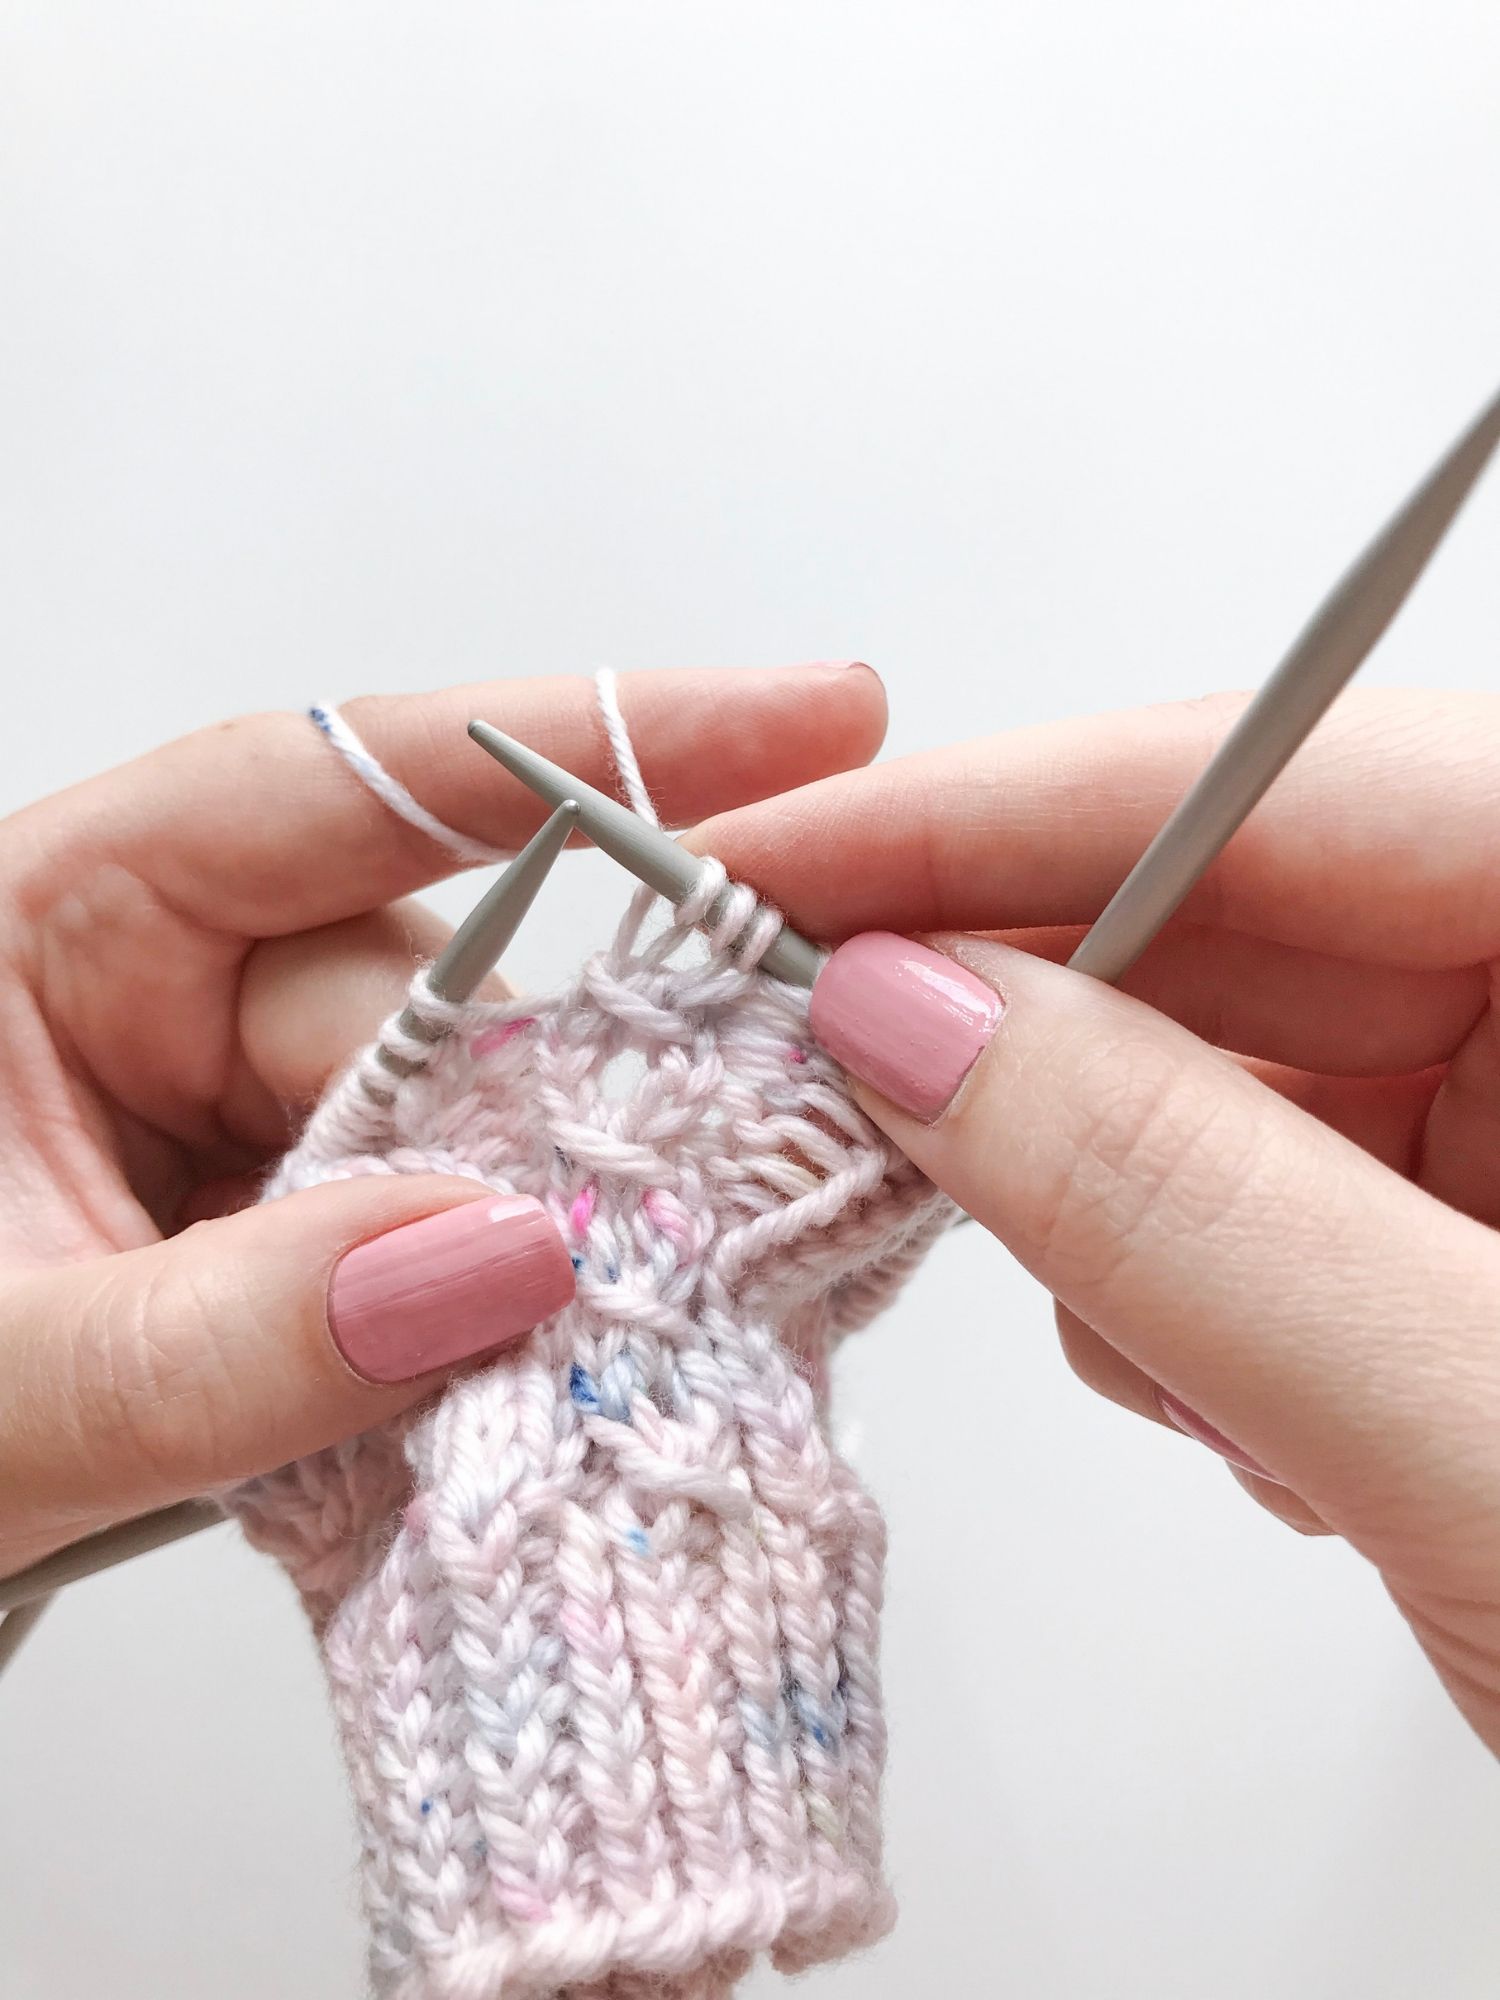
Knitting Tutorials

Maker Tip: How Much Yarn Did You Use

how much yarn

Hi friends! Today I’m coming to you with a little maker tip on how to determine exactly how much yarn you used for your project!

Let’s start with the information you’ll need:
– Weight of full skein (in grams)
– Yardage / Meters of full skein
– Weight of your project (in grams)

Tools needed:
– Kitchen scale (to weigh your project)
– Calculator (like the one on your phone)

If you don’t have the label of the full skein on you anymore, you can always search the yarn you used online and find the information either on the yarn brand’s website or Ravelry, just to name a few! This method works for projects that use a single color.

And then onto the calculations!

Step 1: Weigh your project on a kitchen scale
Step 2: Divide project weight by full skein weight
Step 3: Multiply the yardage (or meters) of the full skein by the number obtained in Step 2

EXAMPLE

Let’s say I had a full skein of yarn that weighed 200g and had 220 meters of yarn in it, and I knit a pair of socks.

Step 1: I weigh my project and find out it weighs 180 grams
Step 2: I divide the project weight by the full skein weight 180g/200g = 0.9
Step 3: I multiply the yardage (or meters) of the full skein by the number from Step 2 : 0.9 x 220m = 198m

And voilà, I have the exact amount of yarn I used for my project which, in this case, would be 198 meters!

Understanding the calculations: in step 2, by dividing the project weight by the full skein weight, you’ll end up having a percentage. 180 grams of 200 grams is 90% (or 0,9). As you now have a percentage, you can use it to multiply the yardage of the full skein to have the equivalent of the percentage in yards or meters as well, instead of only grams.

Looking for more maker tips? Check out my post on pattern writing!

Knitting Tutorials

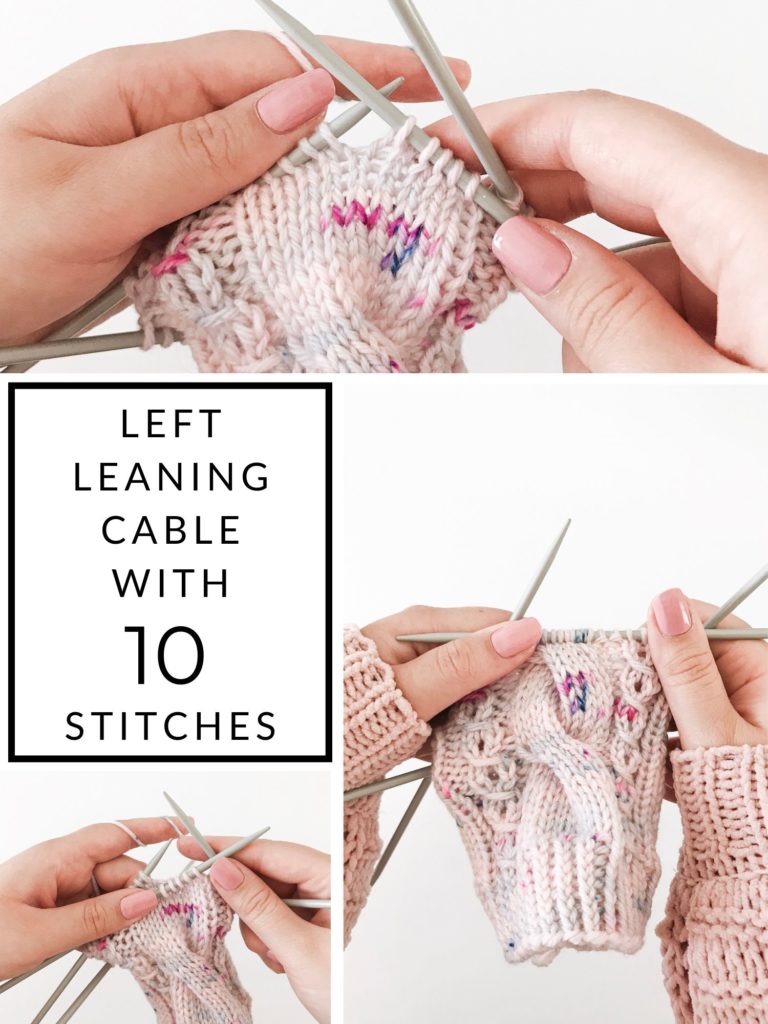
Knitting Tutorial: 10-stitch Left Leaning Cable

left leaning cable

If I had to pick one knitting technique/texture to use for the rest of my life, that’d definitely be cables. I absolutely LOVE cables! They’re easy, quick to learn and add amazing texture and detail to any knit piece. I’ve used them in all my beanie designs and have a few cable sock designs coming out as well. This big, 10-stitch cable will be used in one of them so let’s get to the instructions!

A left leaning cable is made by slipping stitches onto a cable needle in front of the work. All simple cables work the same way and these instructions can therefore be used for any sized left leaning cable: by adjusting the number of stitches slipped onto the cable needle you’ll be able to vary the size of the cable! For example if you’d like to make a 6-stitch cable, you’d slip 3 stitches onto the cable needle, knit 3 and then knit the stitches on the cable needle and so on. But in this one, we’re slipping 5 stitches onto the cable needle, leaving them in front of the work, knitting 5 stitches and then knitting the stitches on the cable needle. In my patterns, I’d name this C10F: the cable is 10 stitches in size and the cable turn is made in the front.

My beautiful yarn is Worsted Superwash Merino in the colorway Peony by Unicorn Yarn Co, find all her amazing yarns here!

So let’s get to the pictures!

left leaning cable

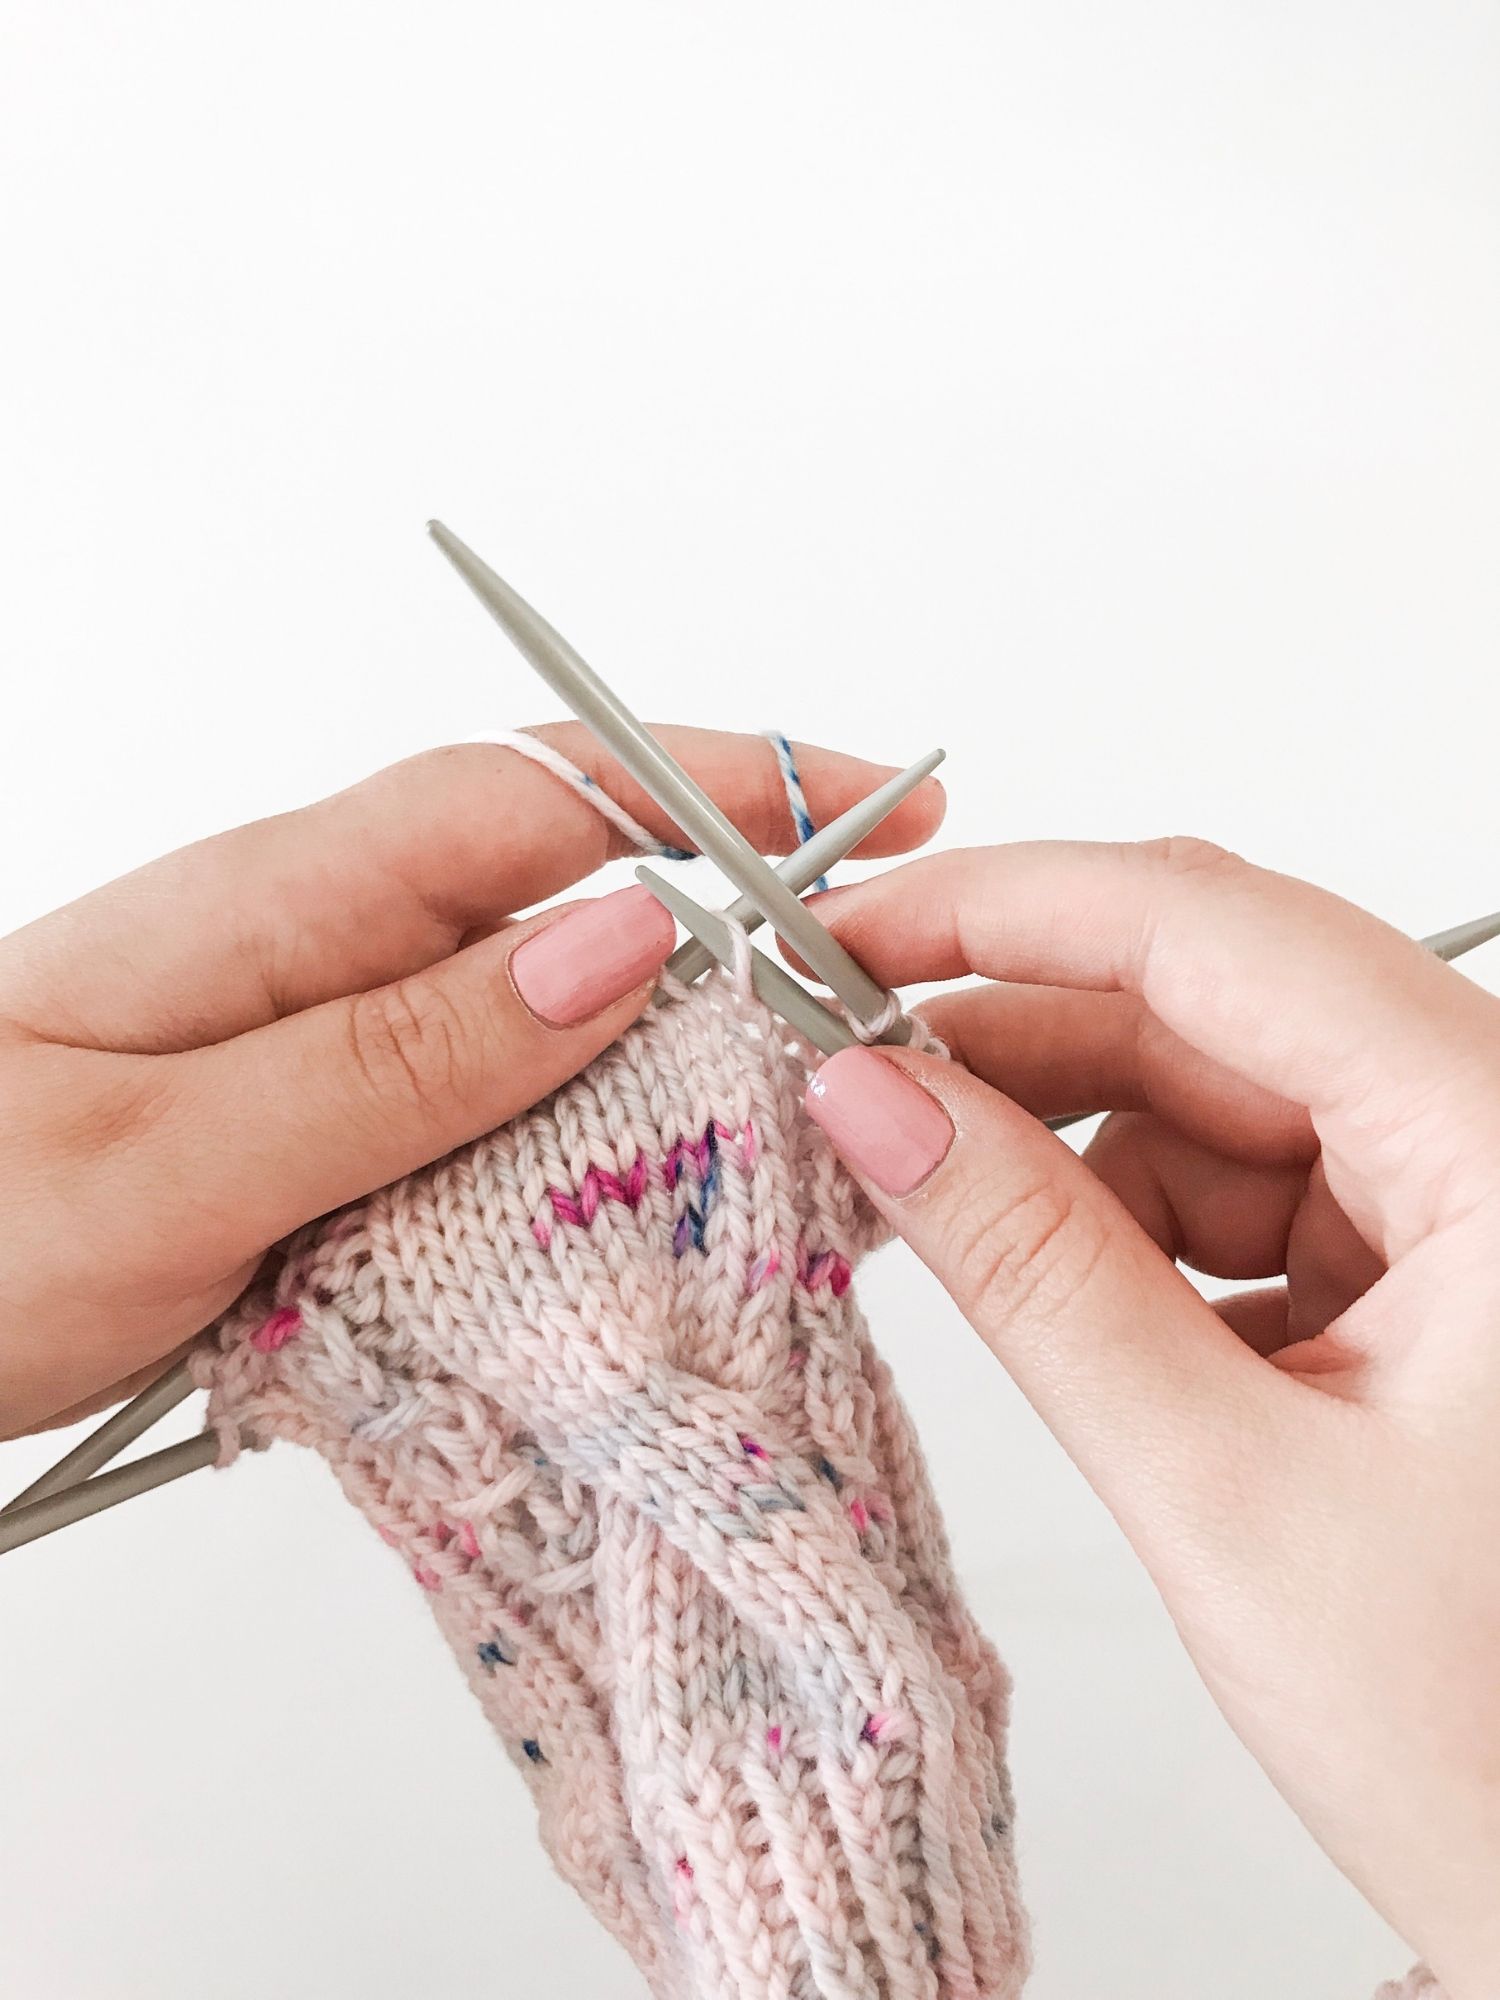
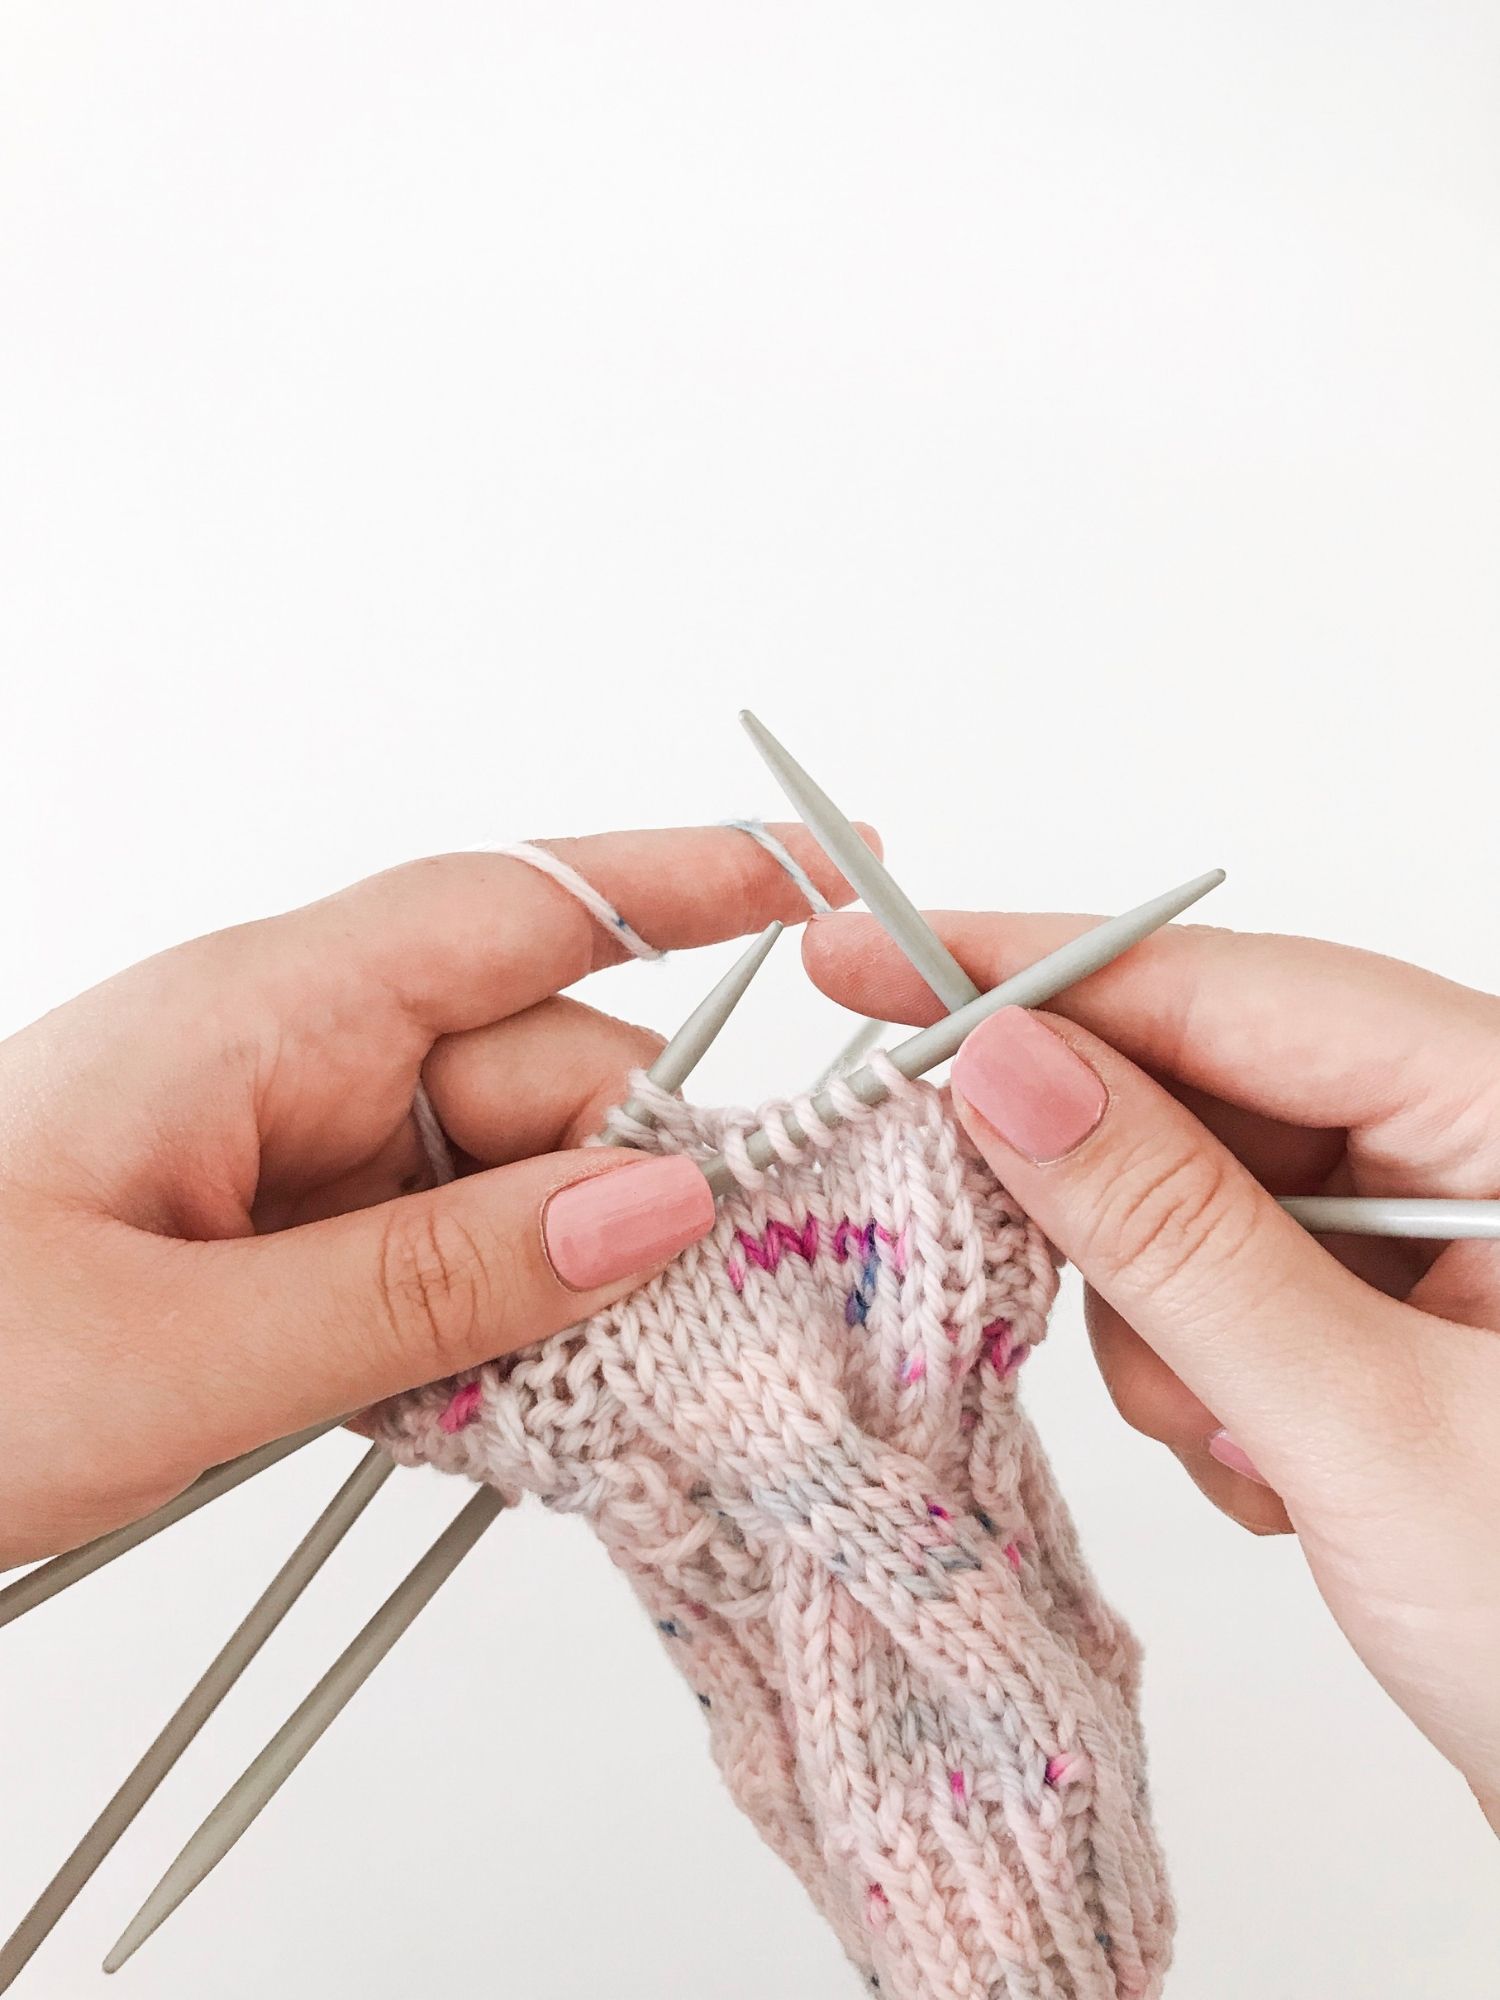
Step 1: slip 5 stitches purlwise (one by one) onto the cable needle in front of the work. Slipping the stitches purlwise is essential – you don’t want to twist them!

left leaning cable

After step one, your cable needle or extra DPN should look like this!

left leaning cable

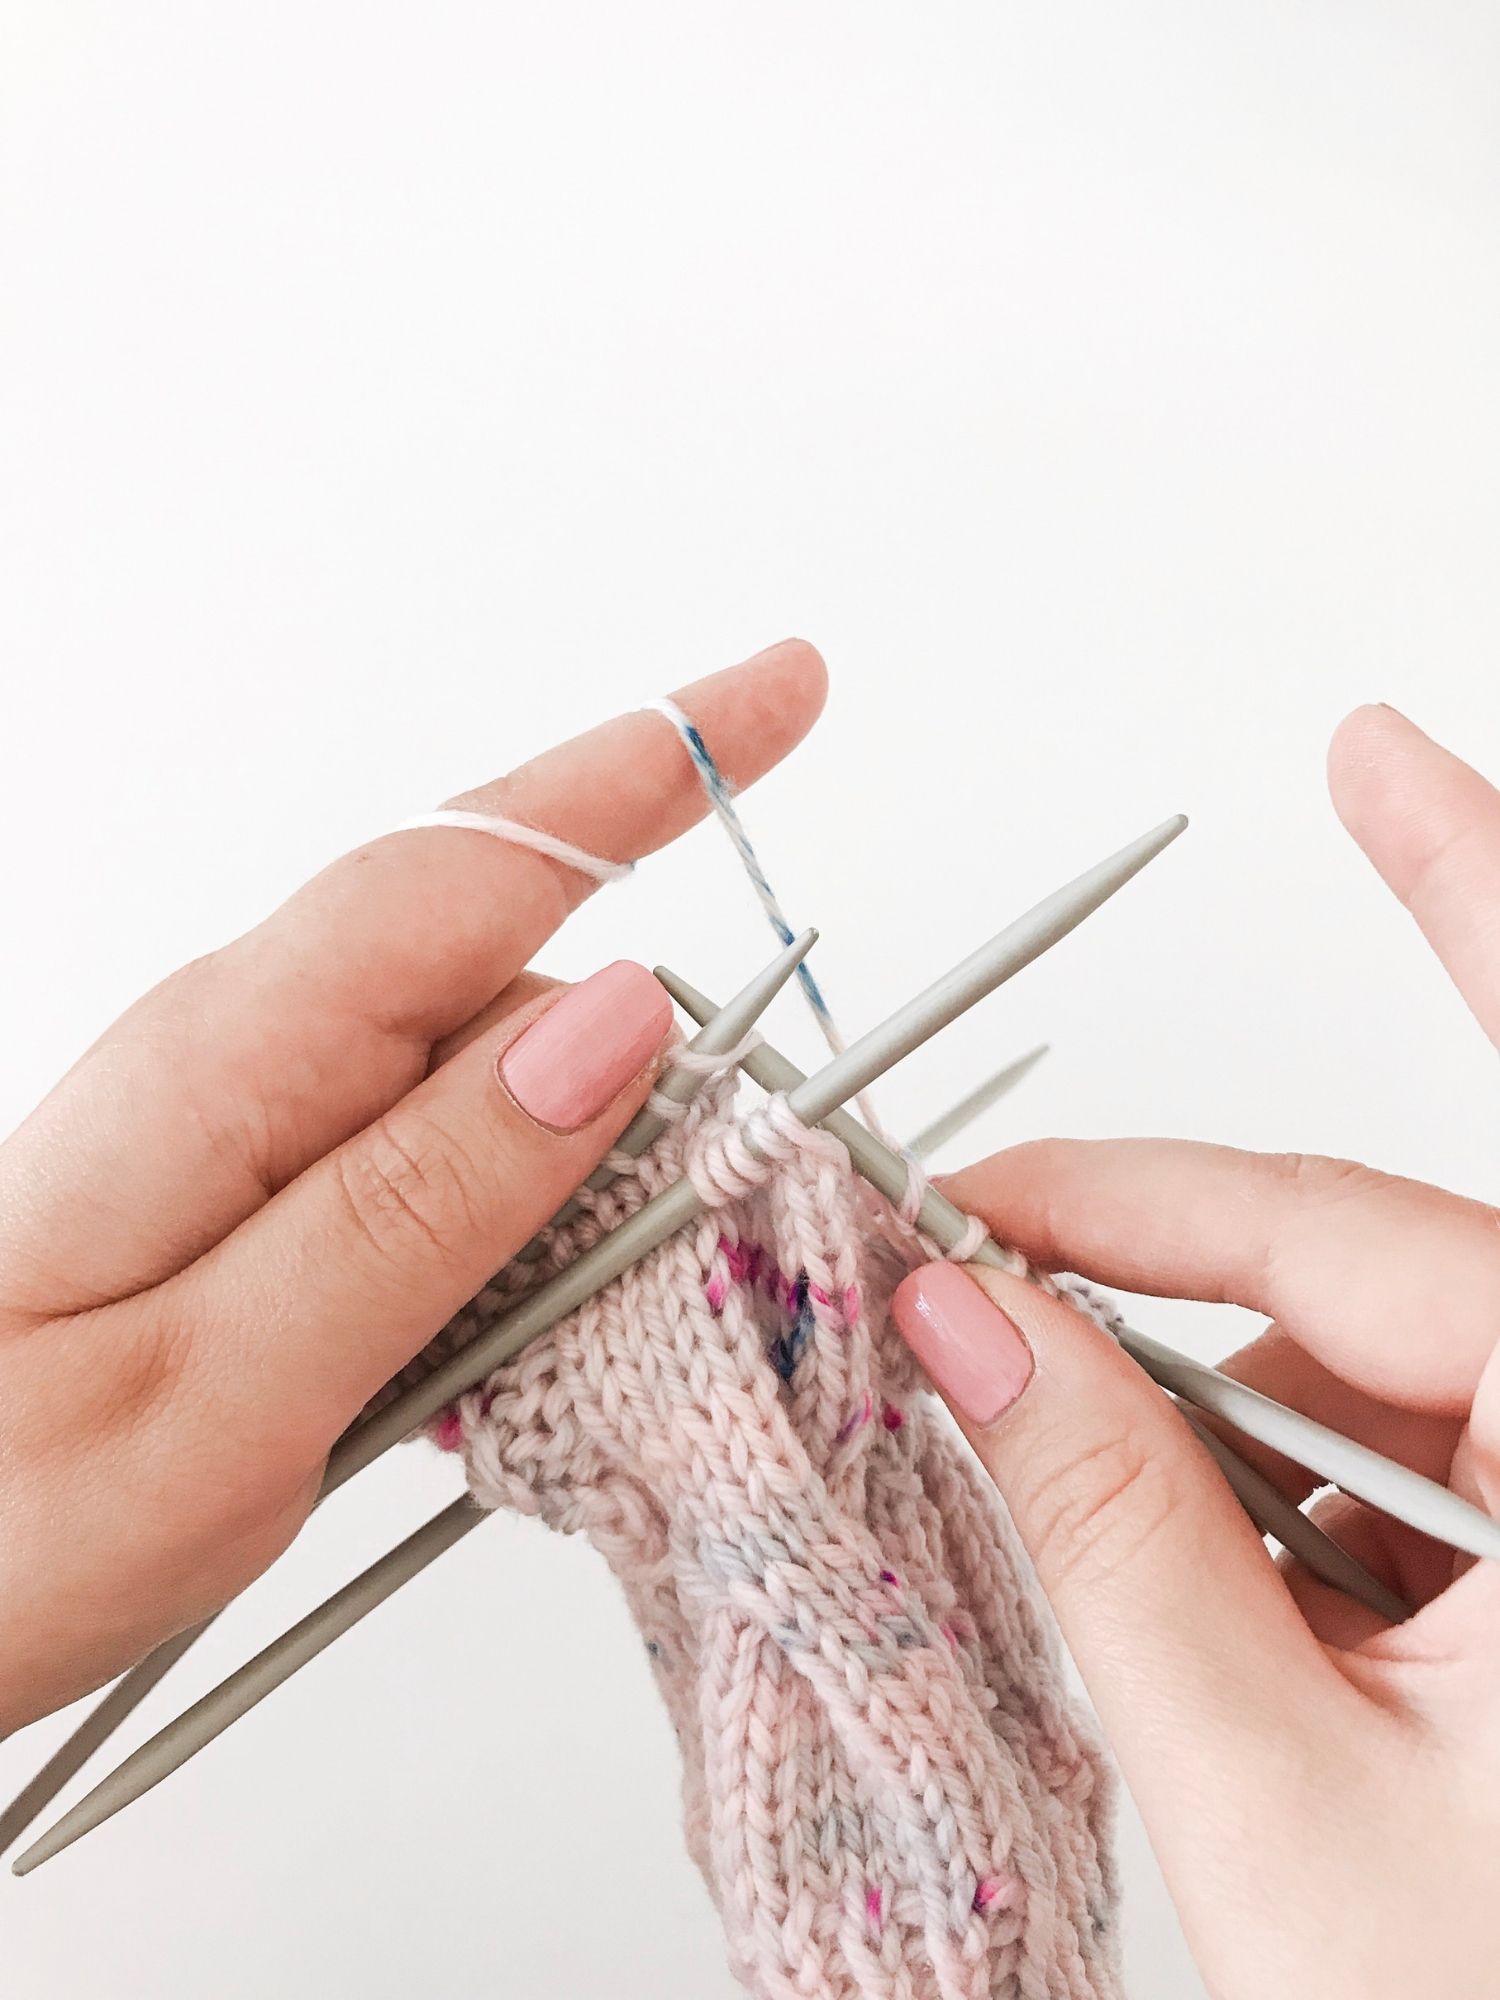
If you do your cables with a DPN, align the needle with your left needle so that you have space and can comfortably knit 5 stitches from the left needle.

left leaning cable

Step 2: knit 5 stitches from the left needle like you normally would.

left leaning cable

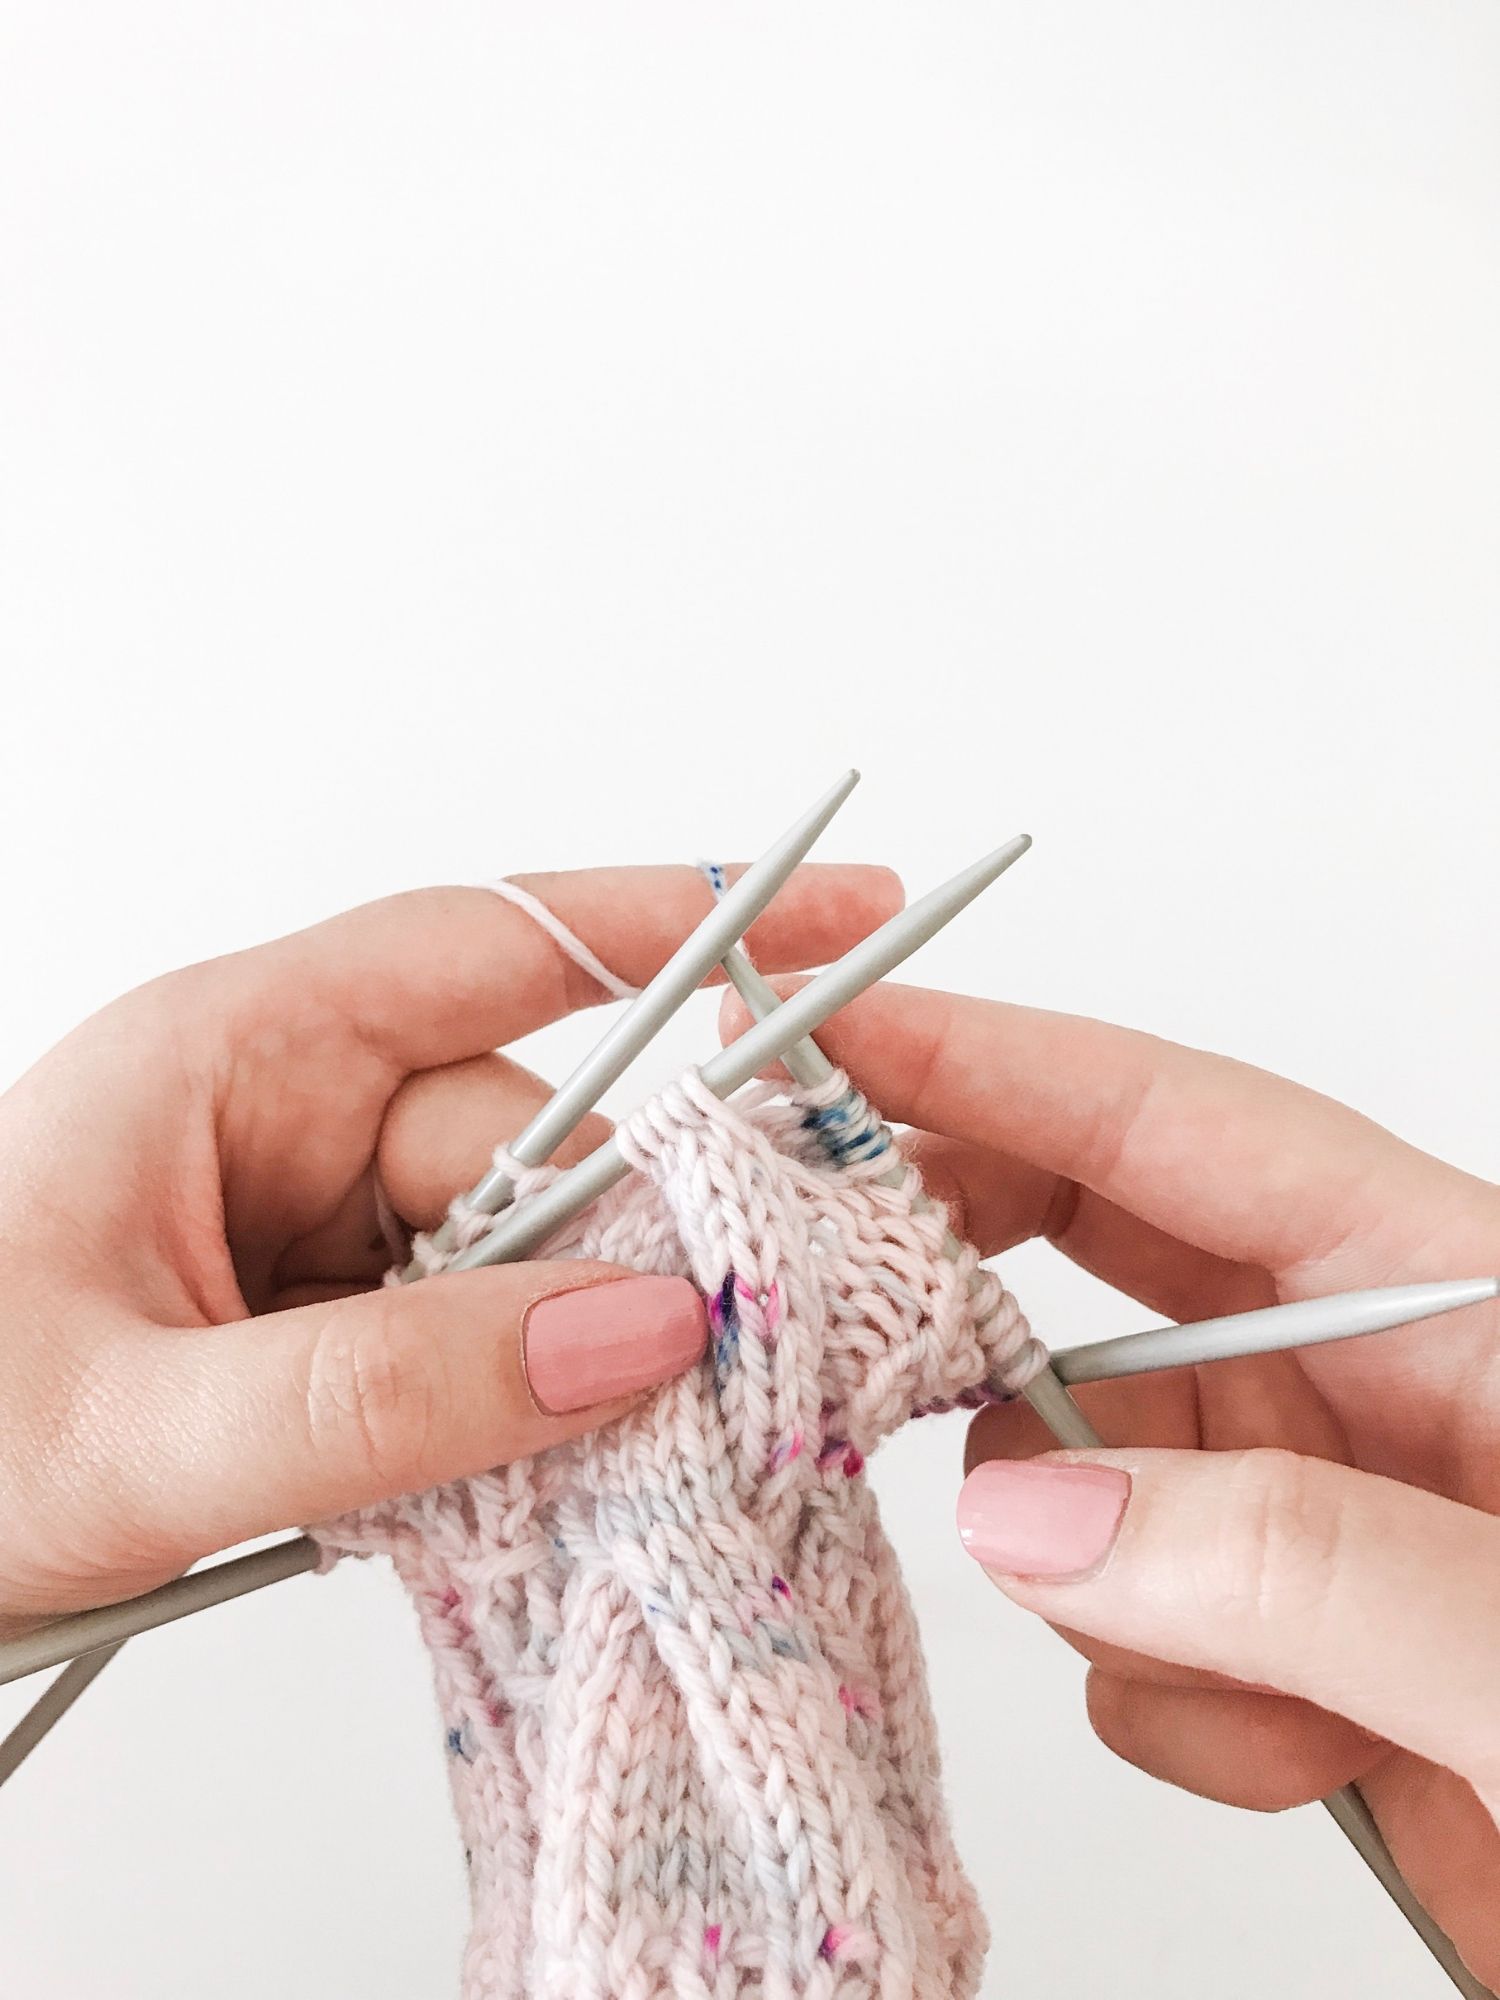
5 stitches done, now onto the stitches that are waiting on the cable needle!

left leaning cable

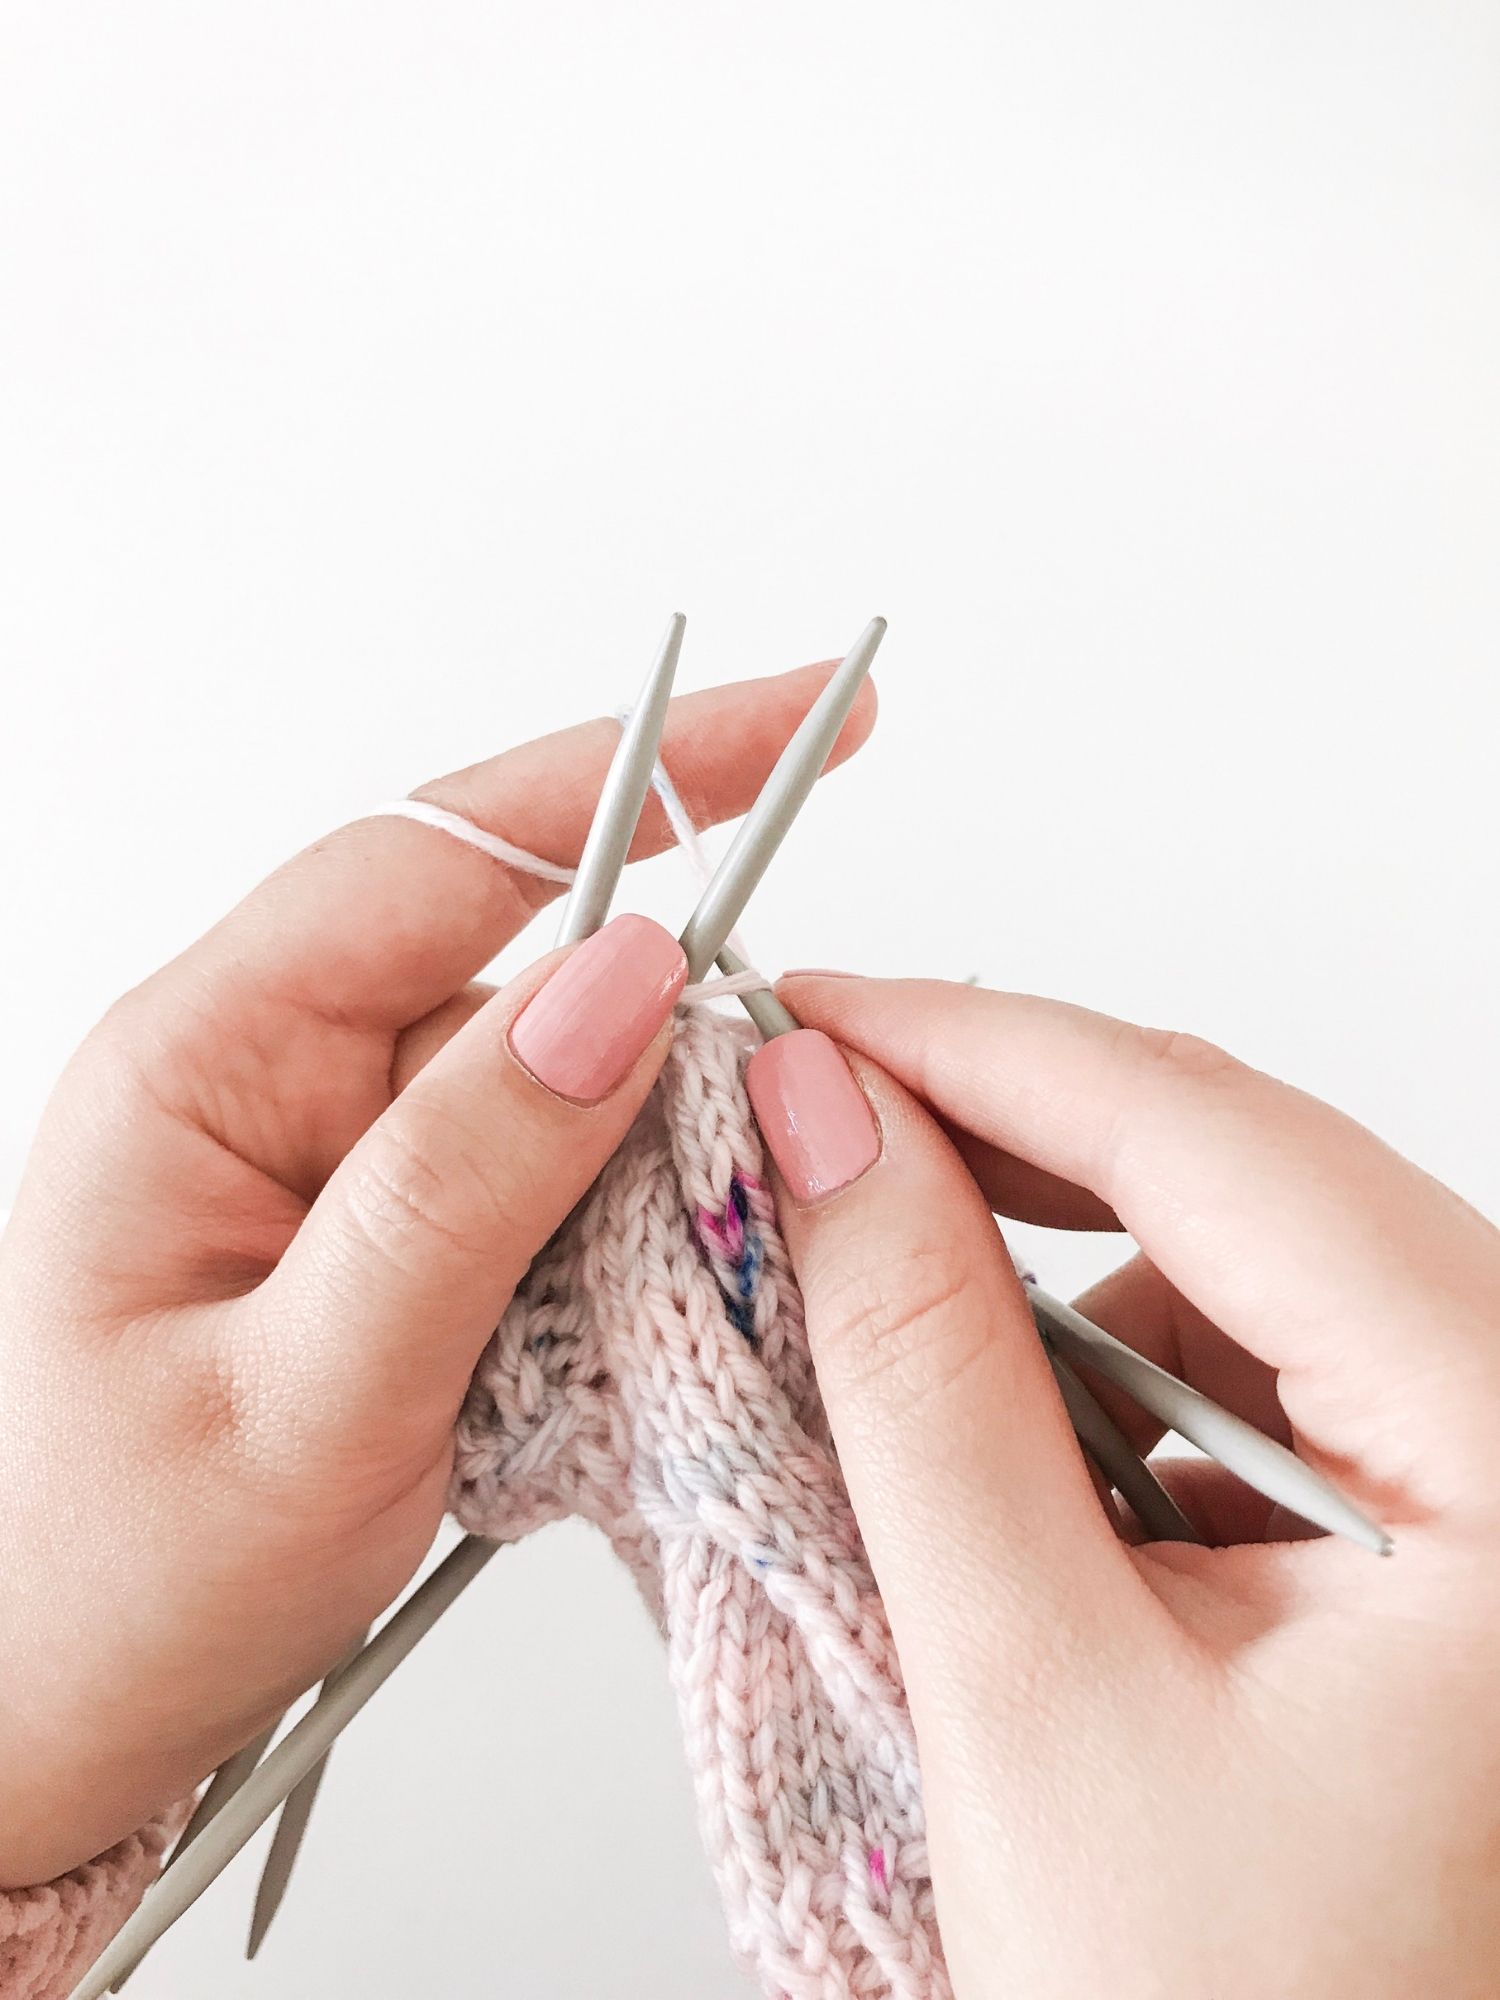
Step 3: knit 5 stitches from the cable needle.

left leaning cable

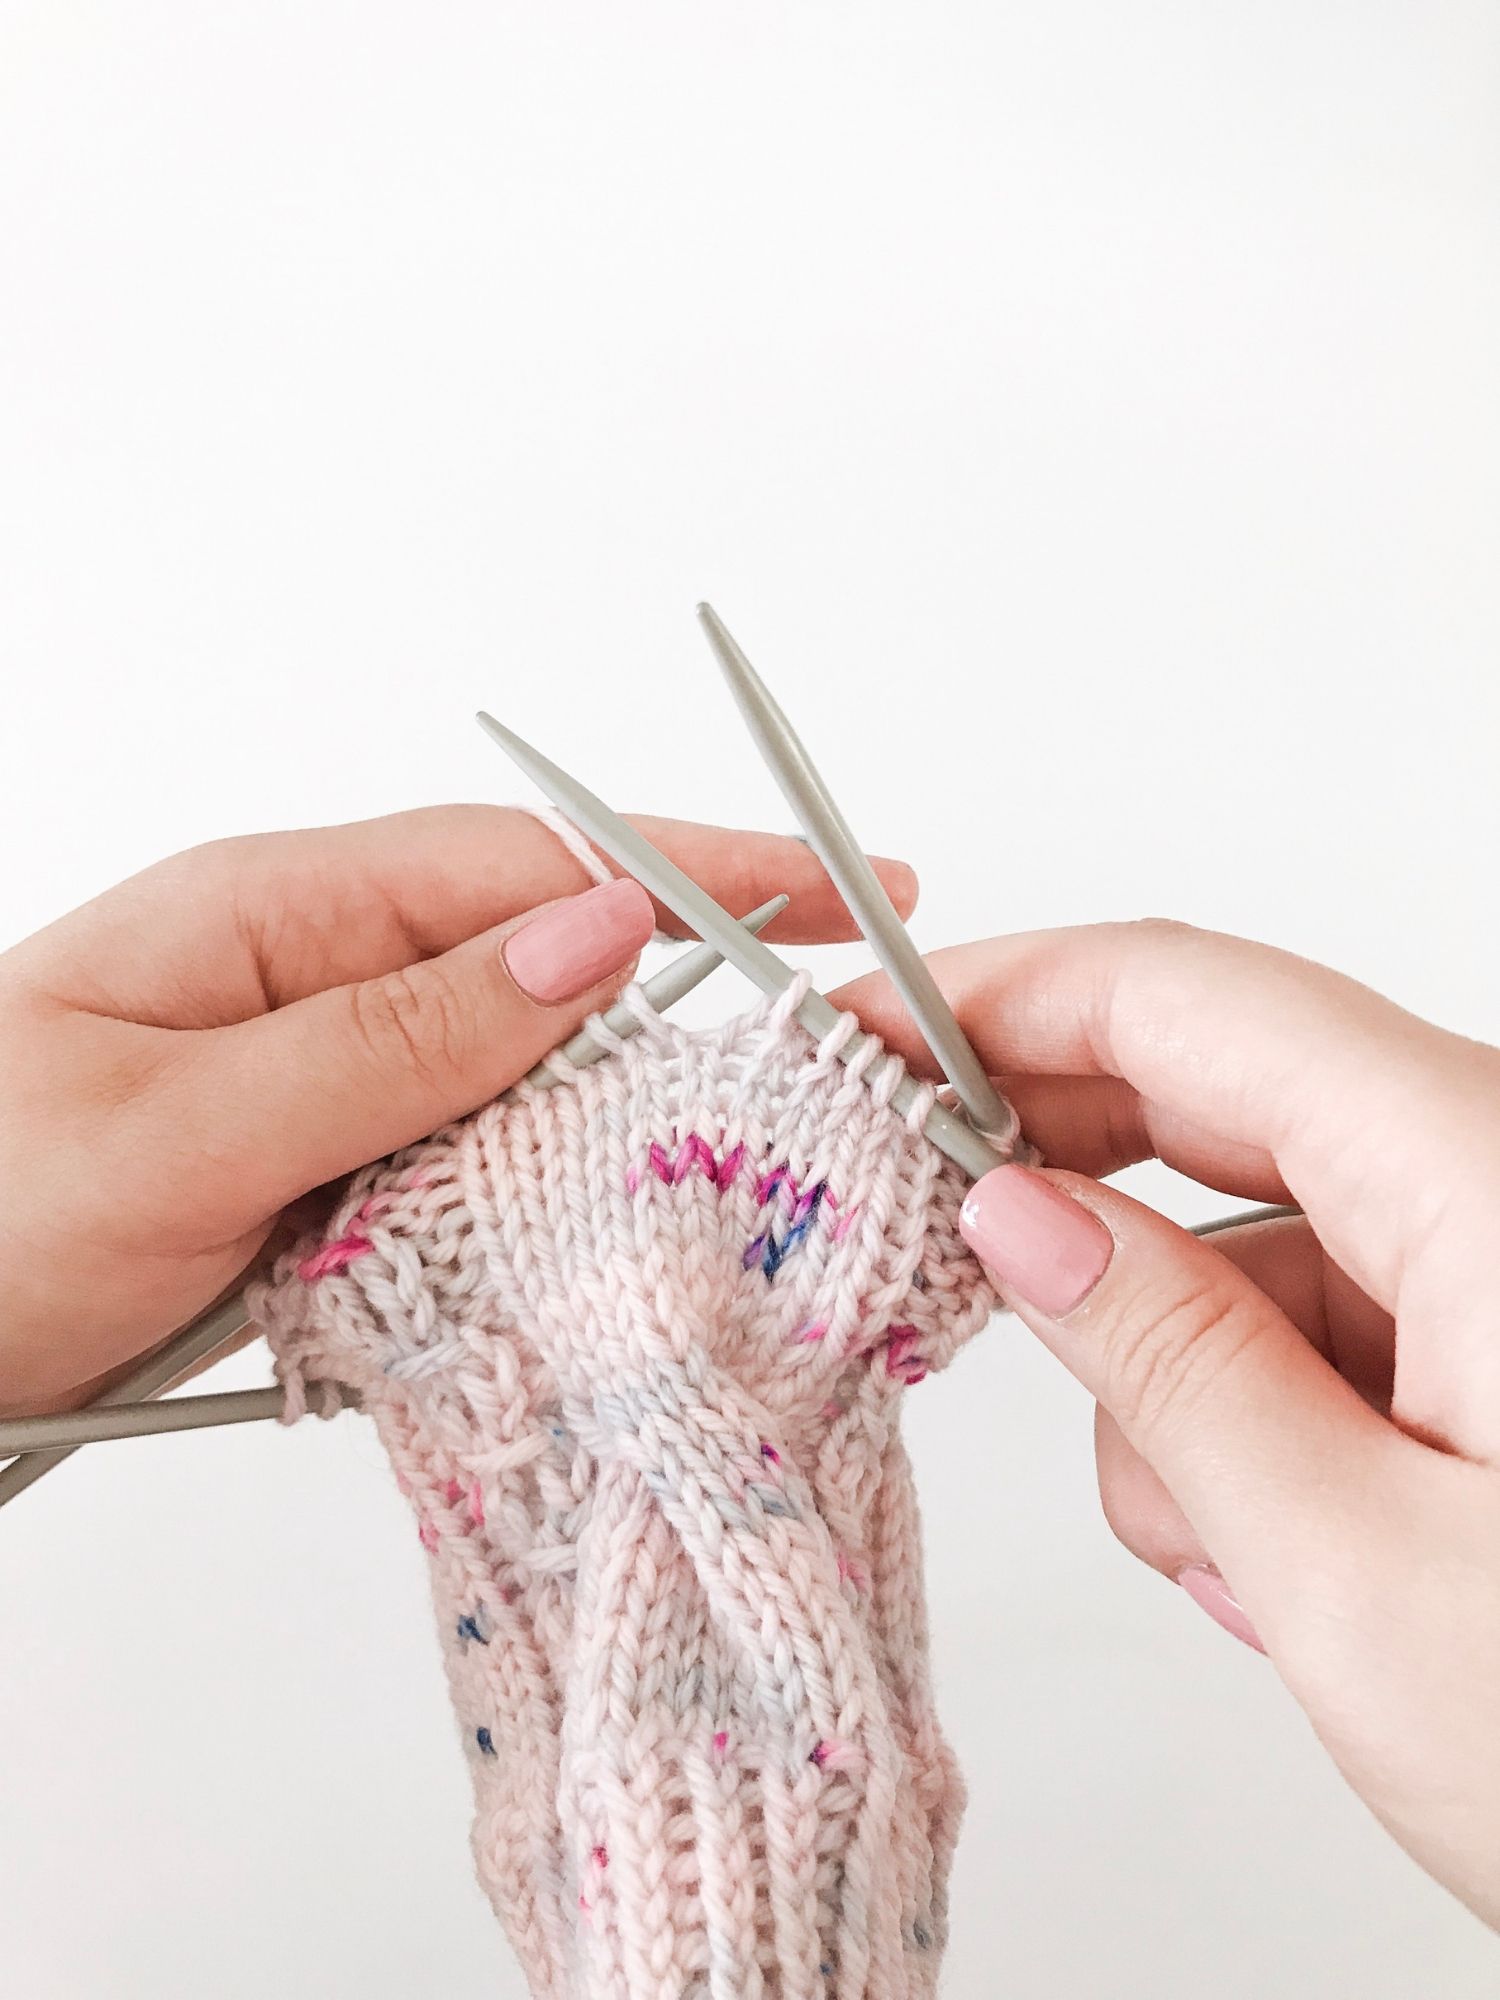
And voilà, your cable is ready – easy, fun and look at that texture!

I also have a tutorial for the little lace stitch on both sides of the big cable, find it here!

I’ll be off to knit some more cables now, I hope you enjoyed this tutorial!

xx, Kati

Knitting Tutorials

Knitting Tutorial: St.John’s Wort Lace Stitch in the Round

lace stitch

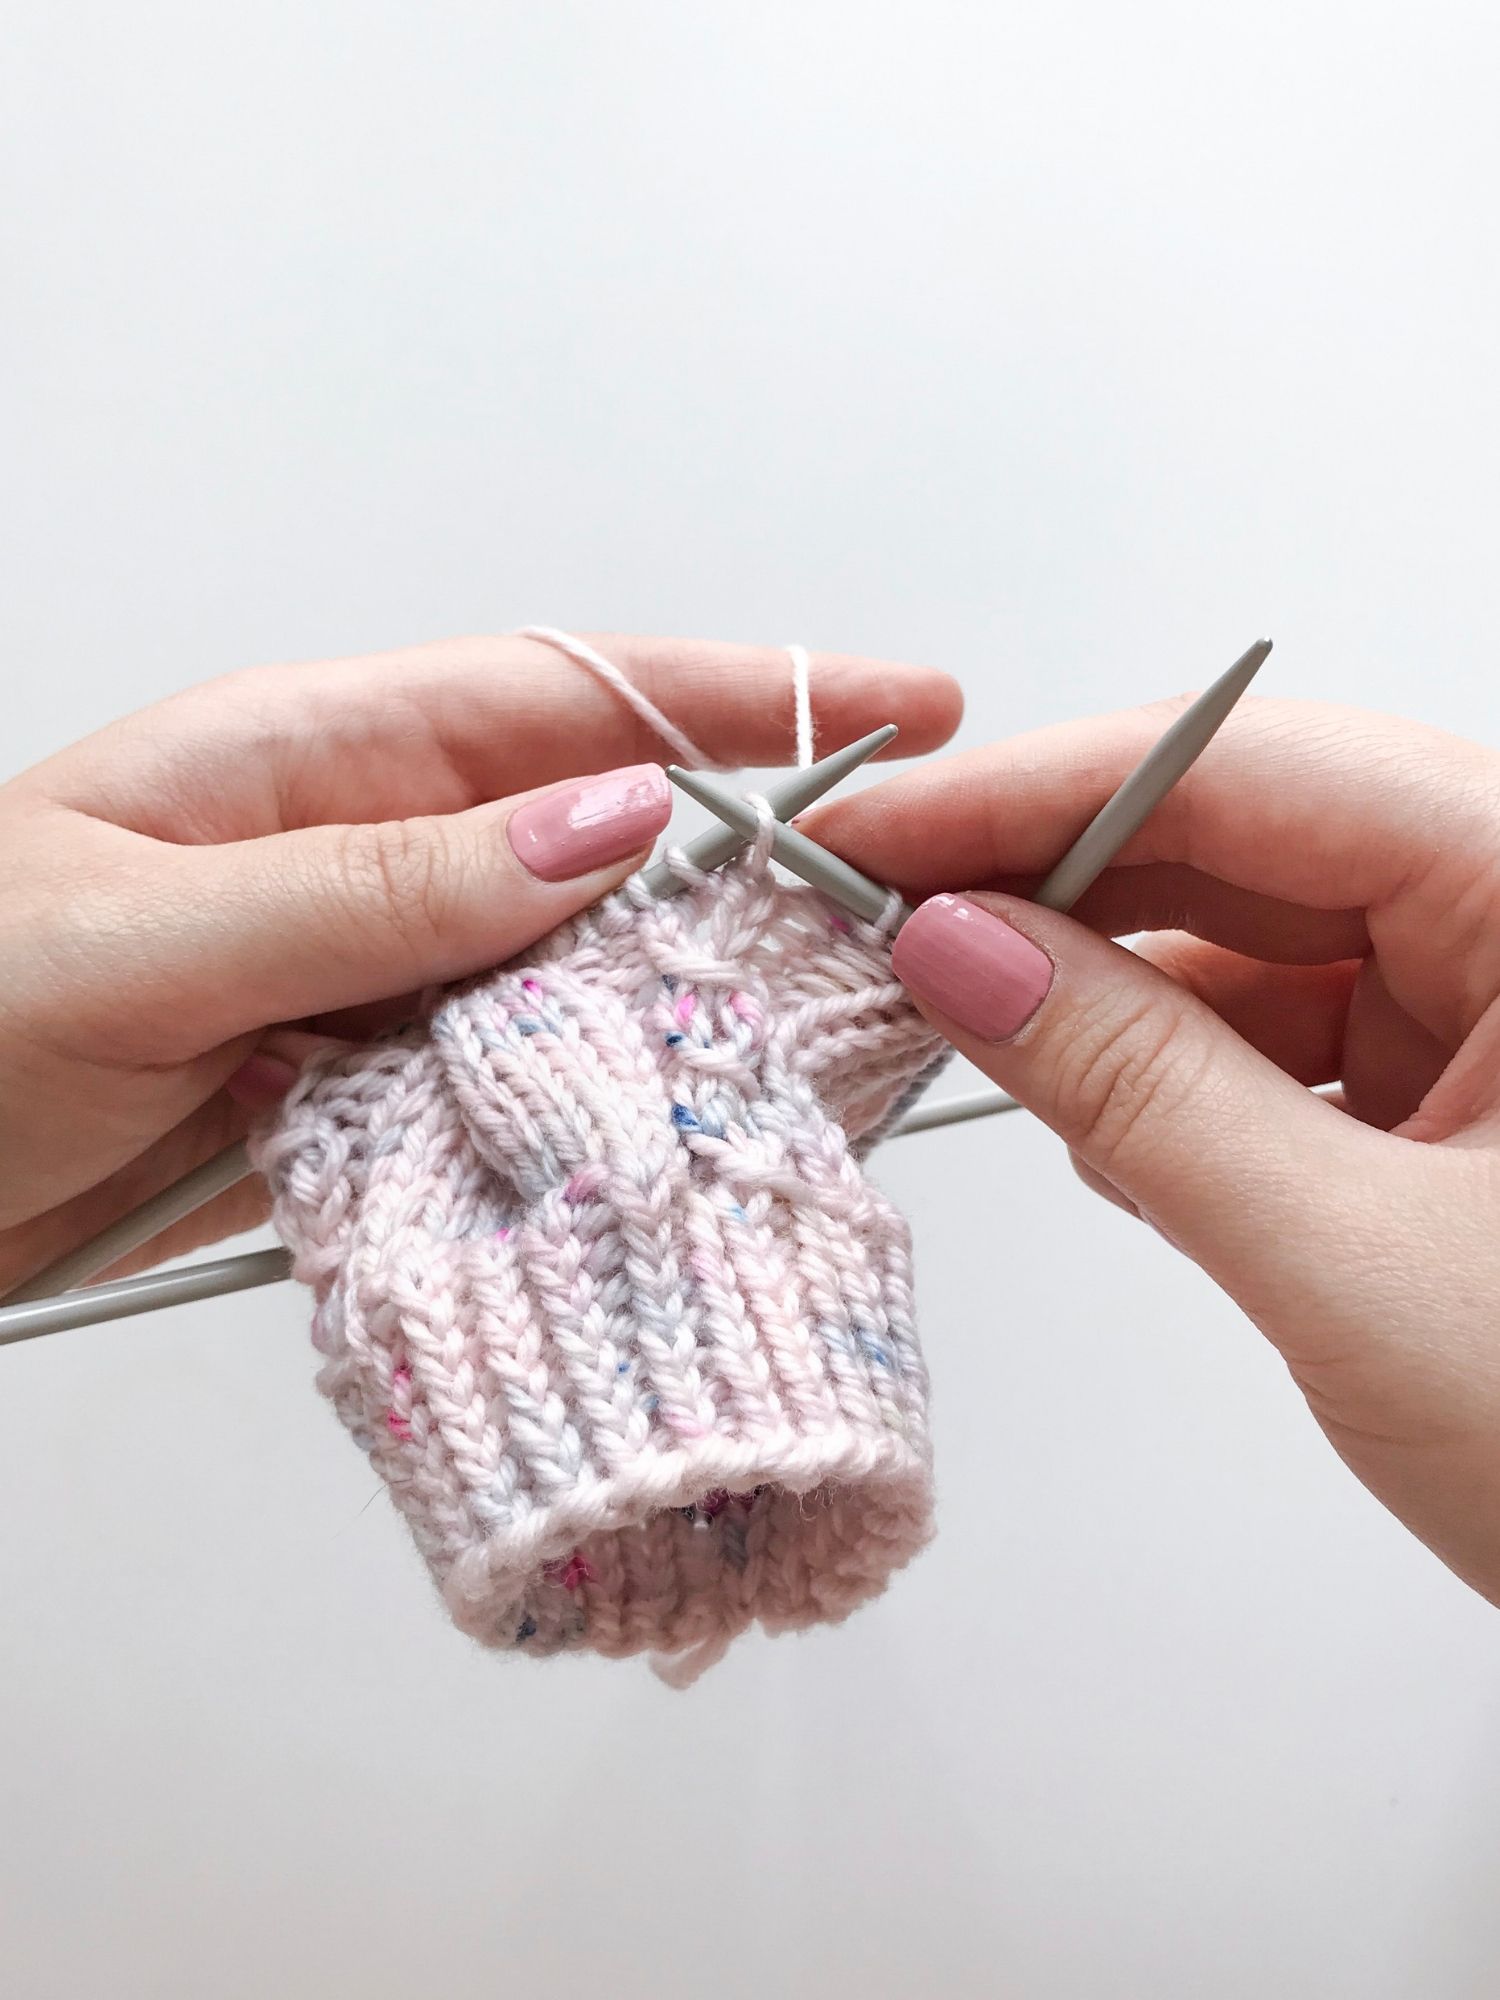
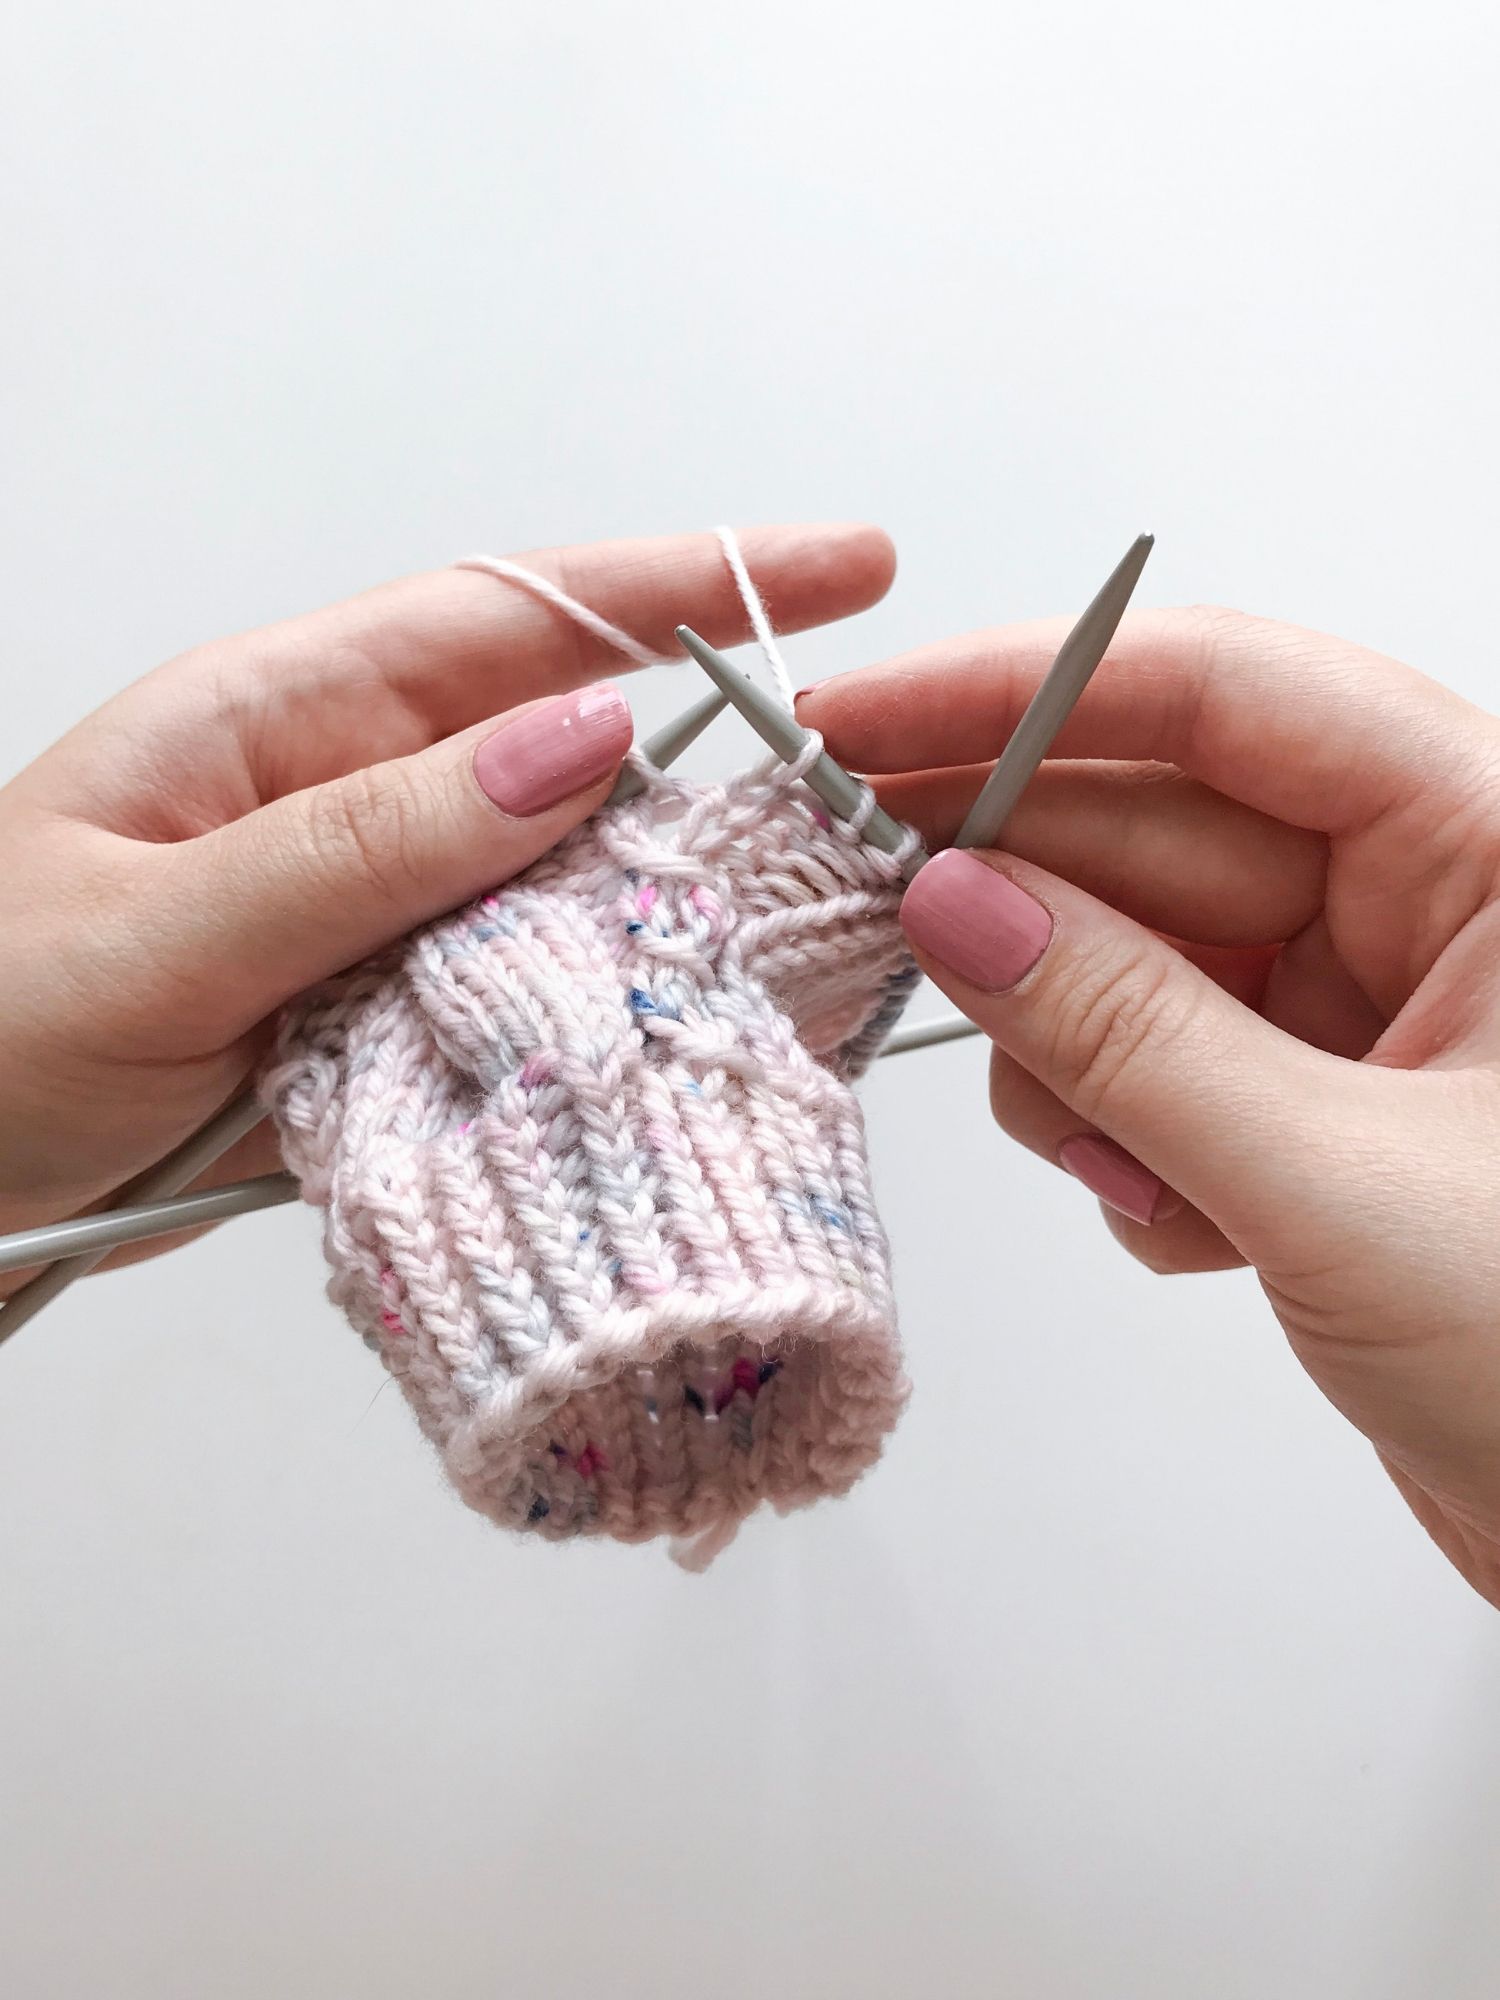
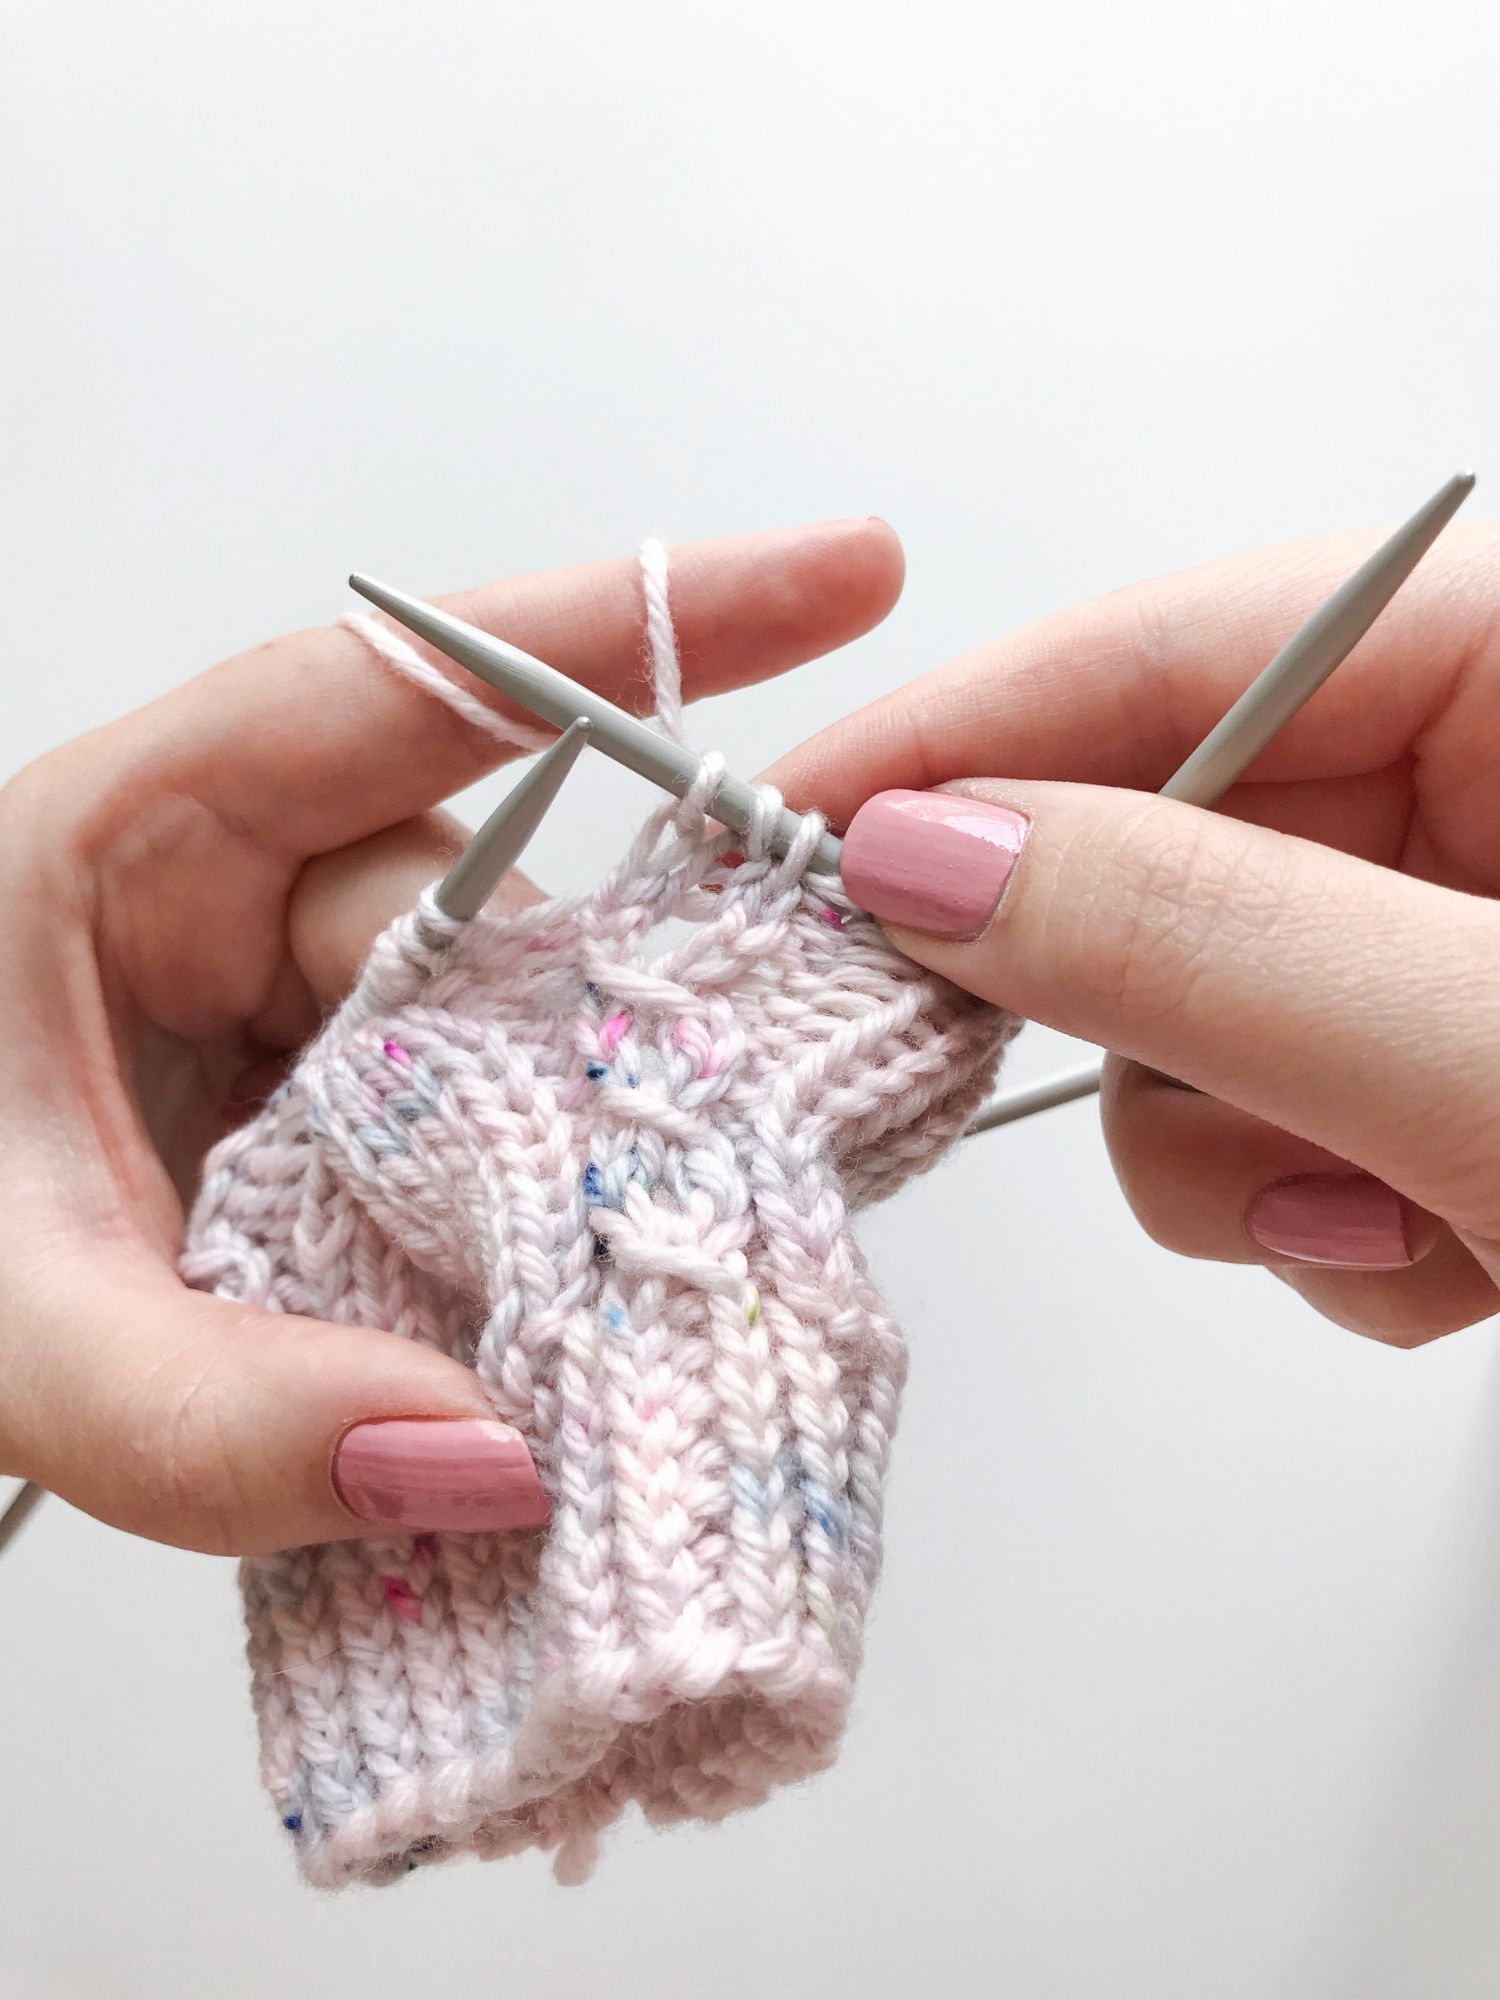
Hi guys! Today’s post is all about the St.John’s Wort lace stitch knit in the round: I love the vibe of this stitch as it looks like a tiny cable and creates a beautiful and delicate detail into your knit piece! I’m currently knitting a pair of socks with this simple lace pattern and it’s blown my mind away with its ease and elegance.

st.john's wort lace stitch

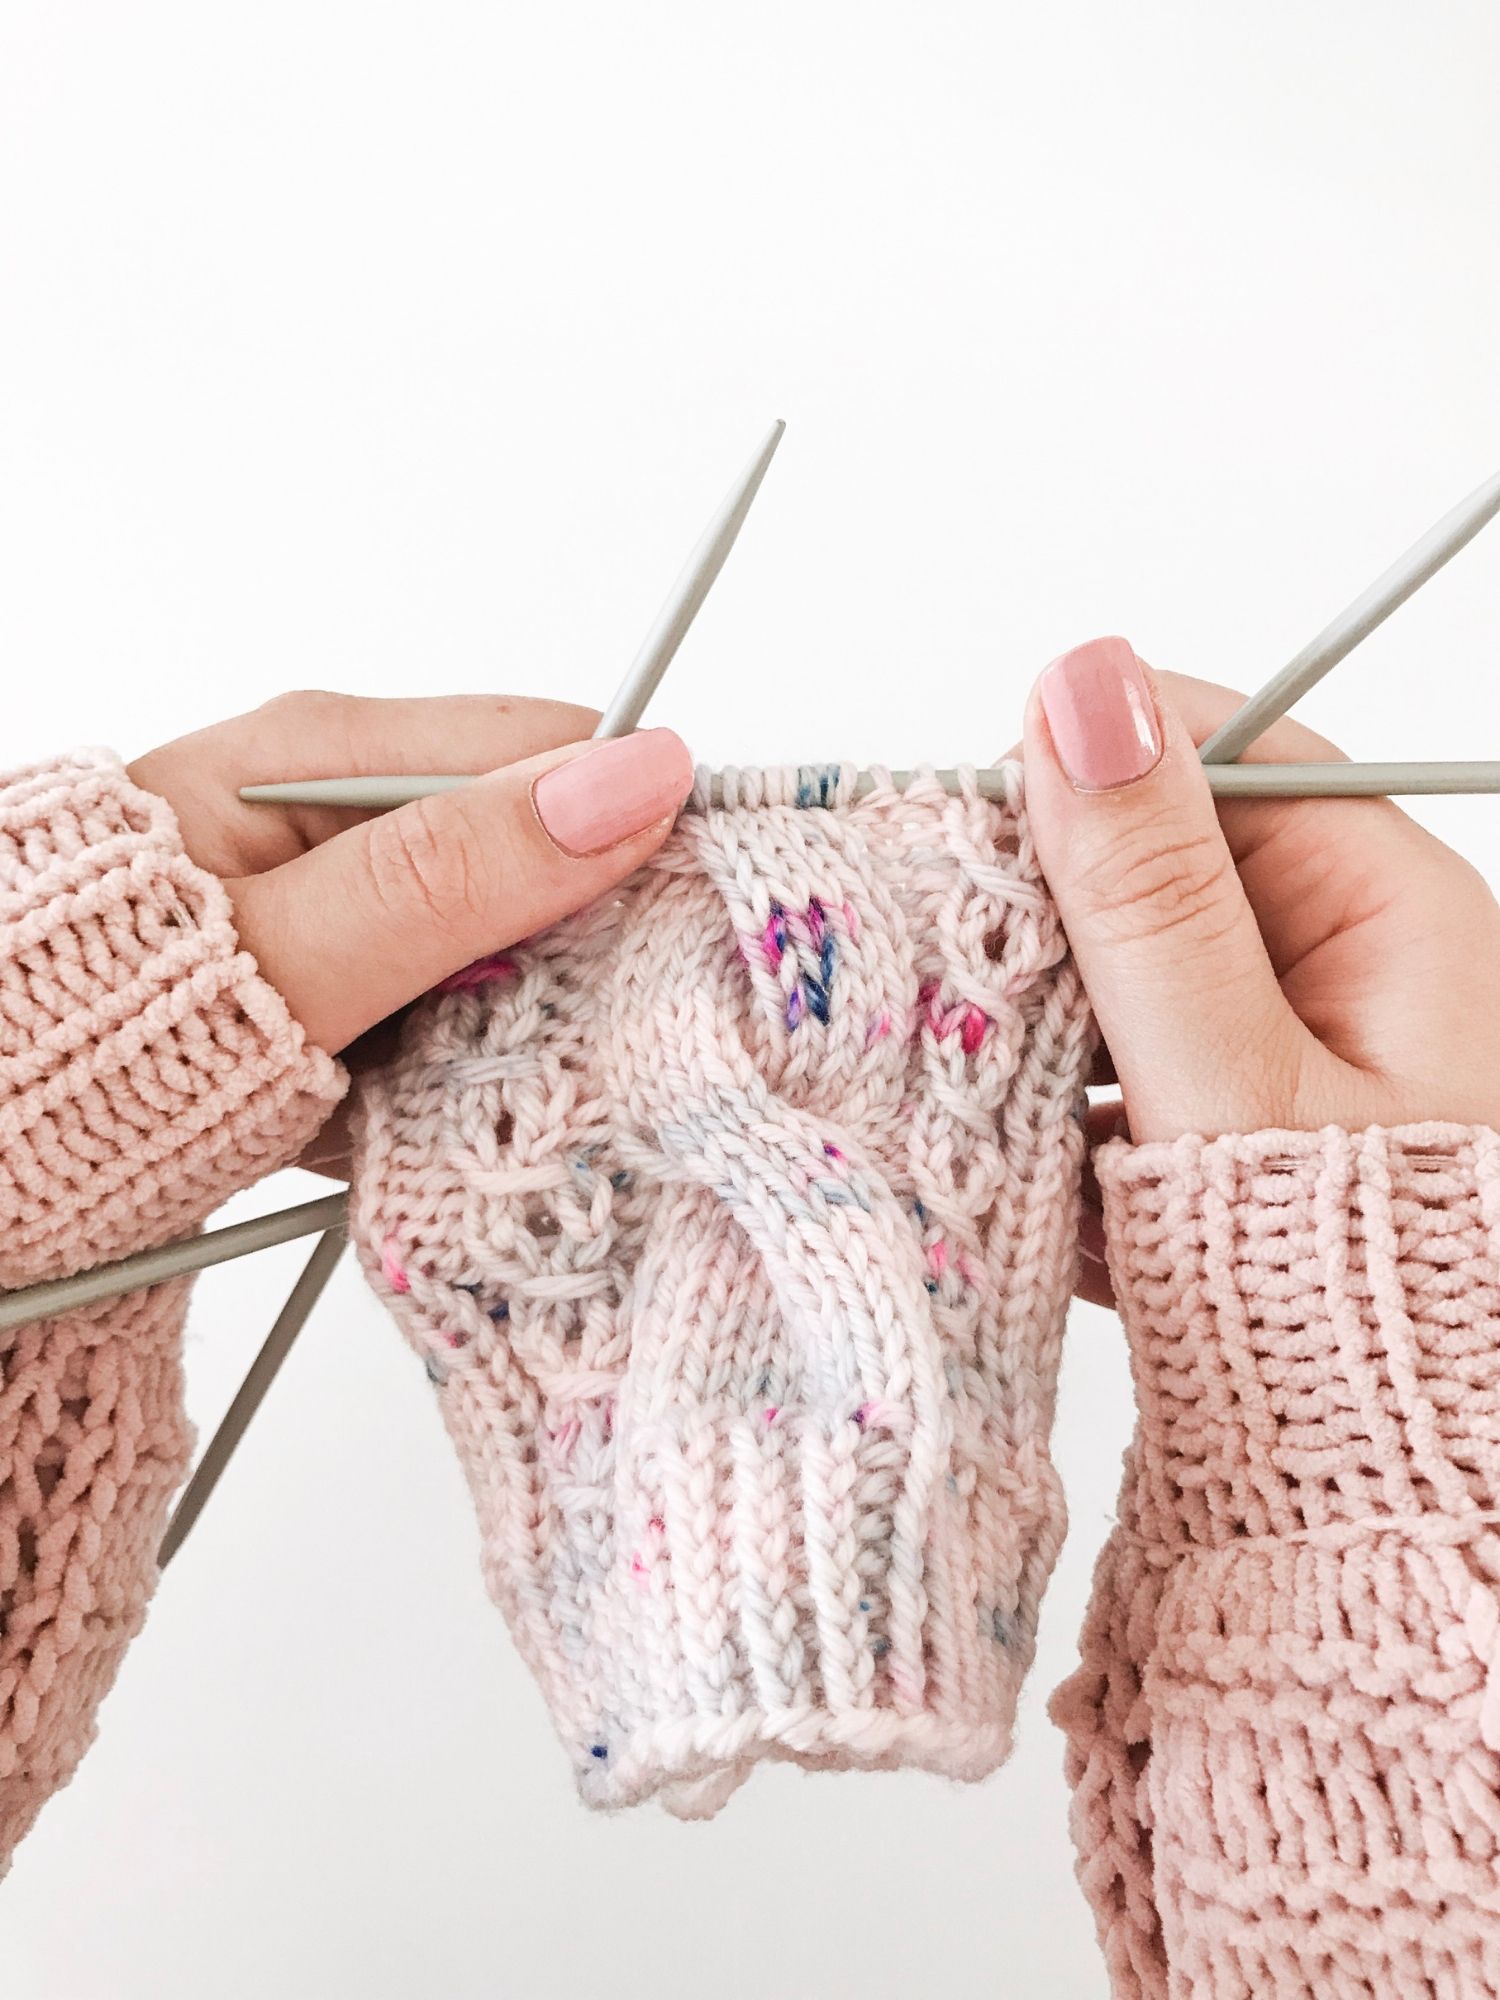
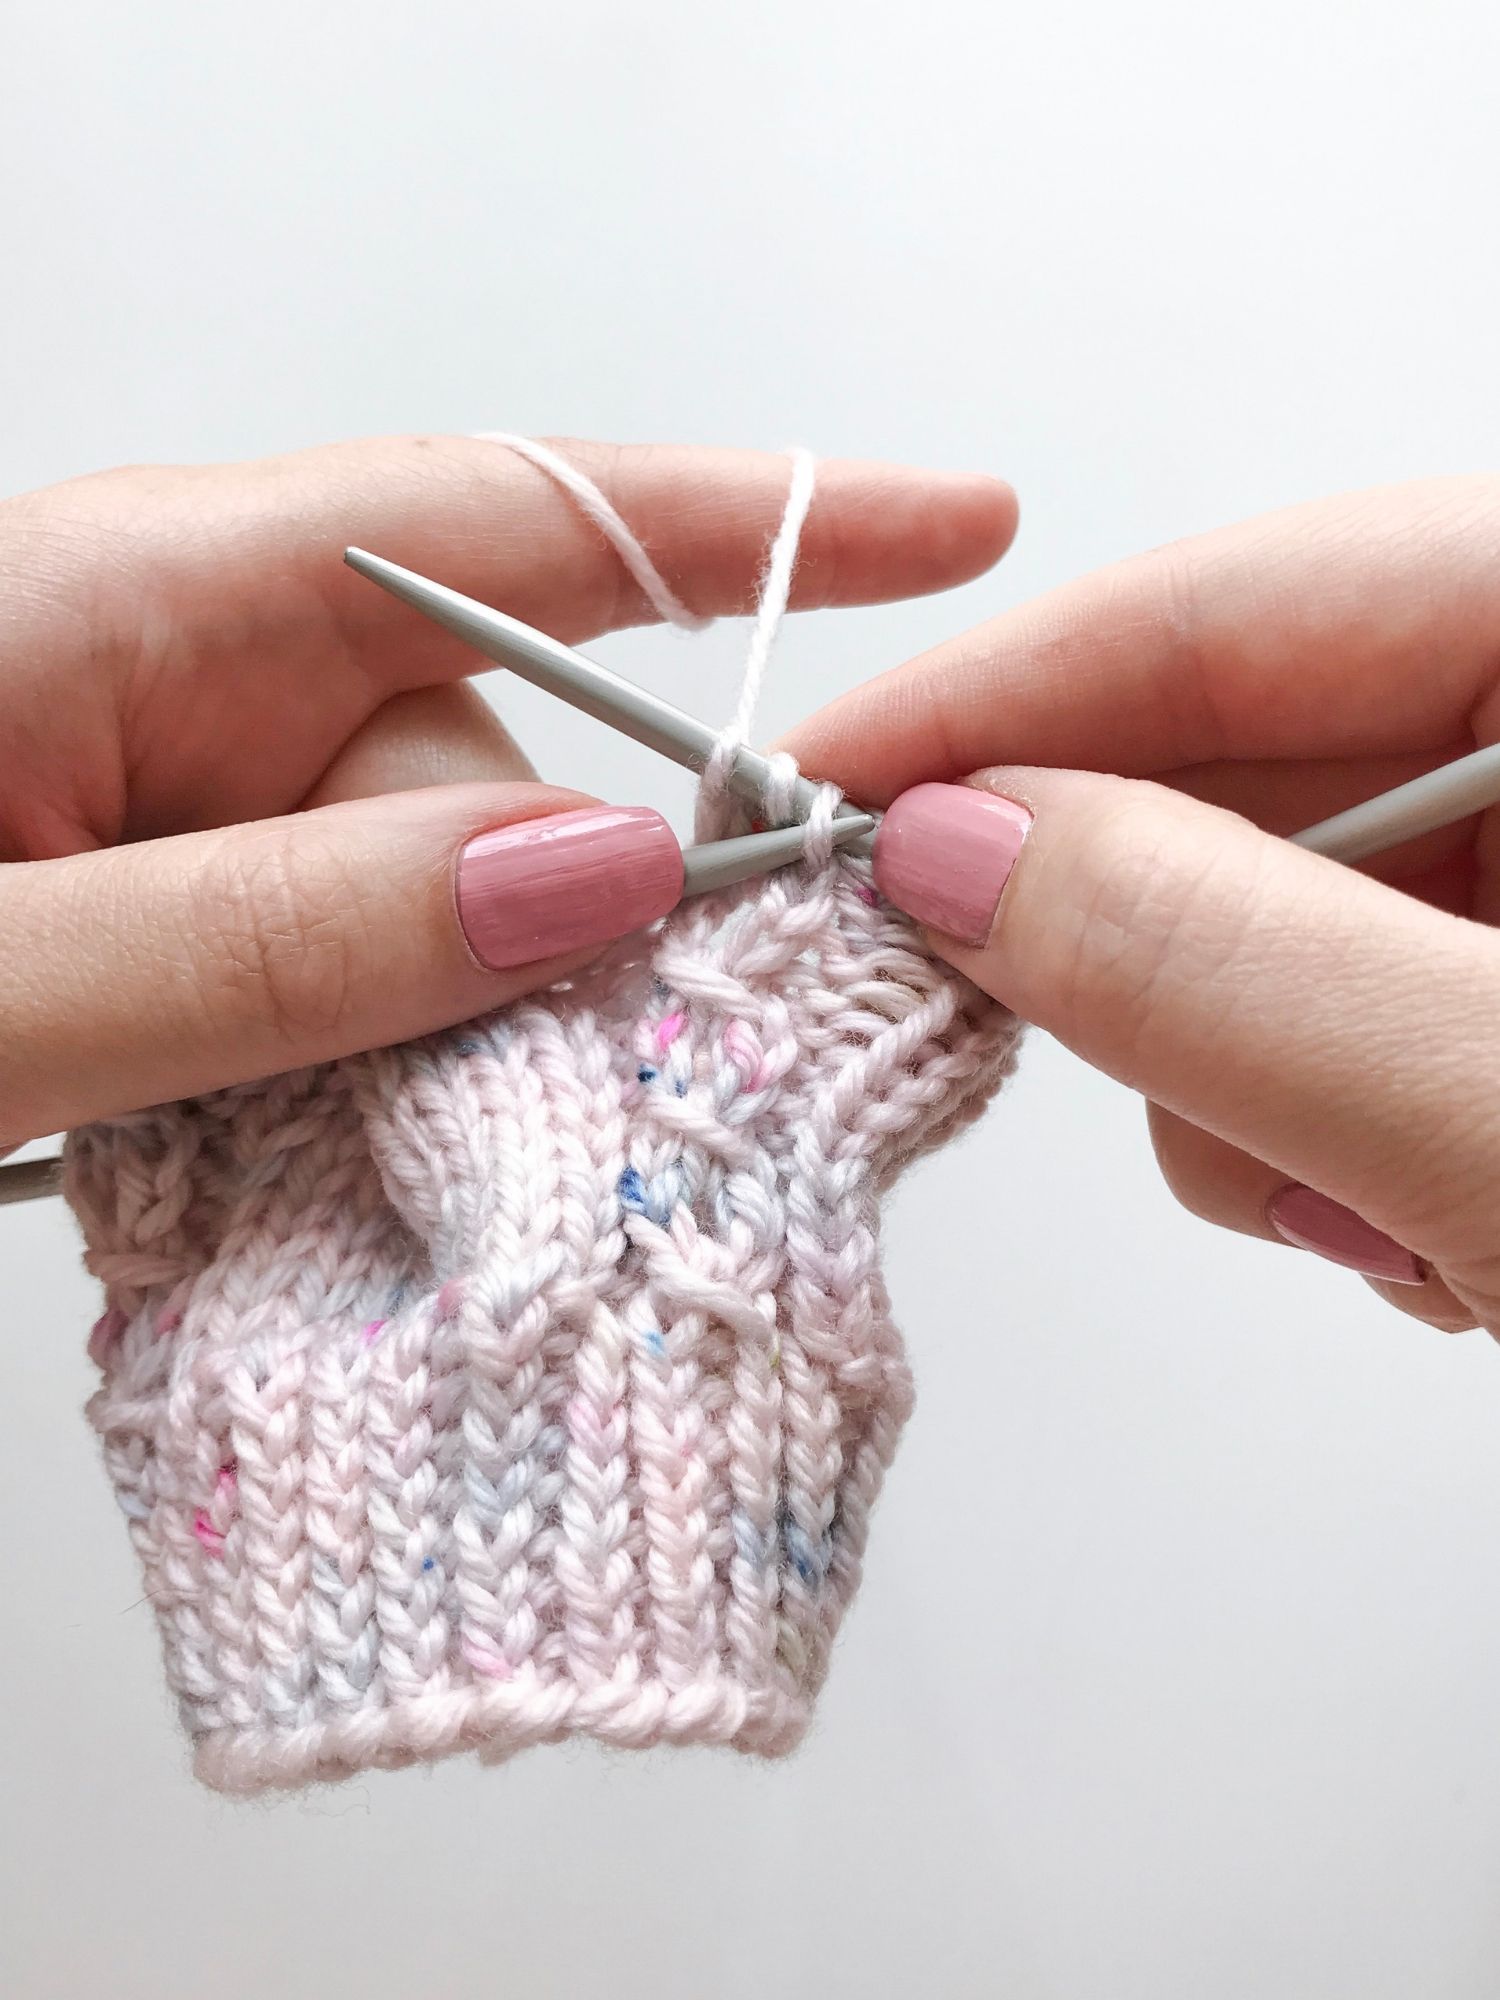
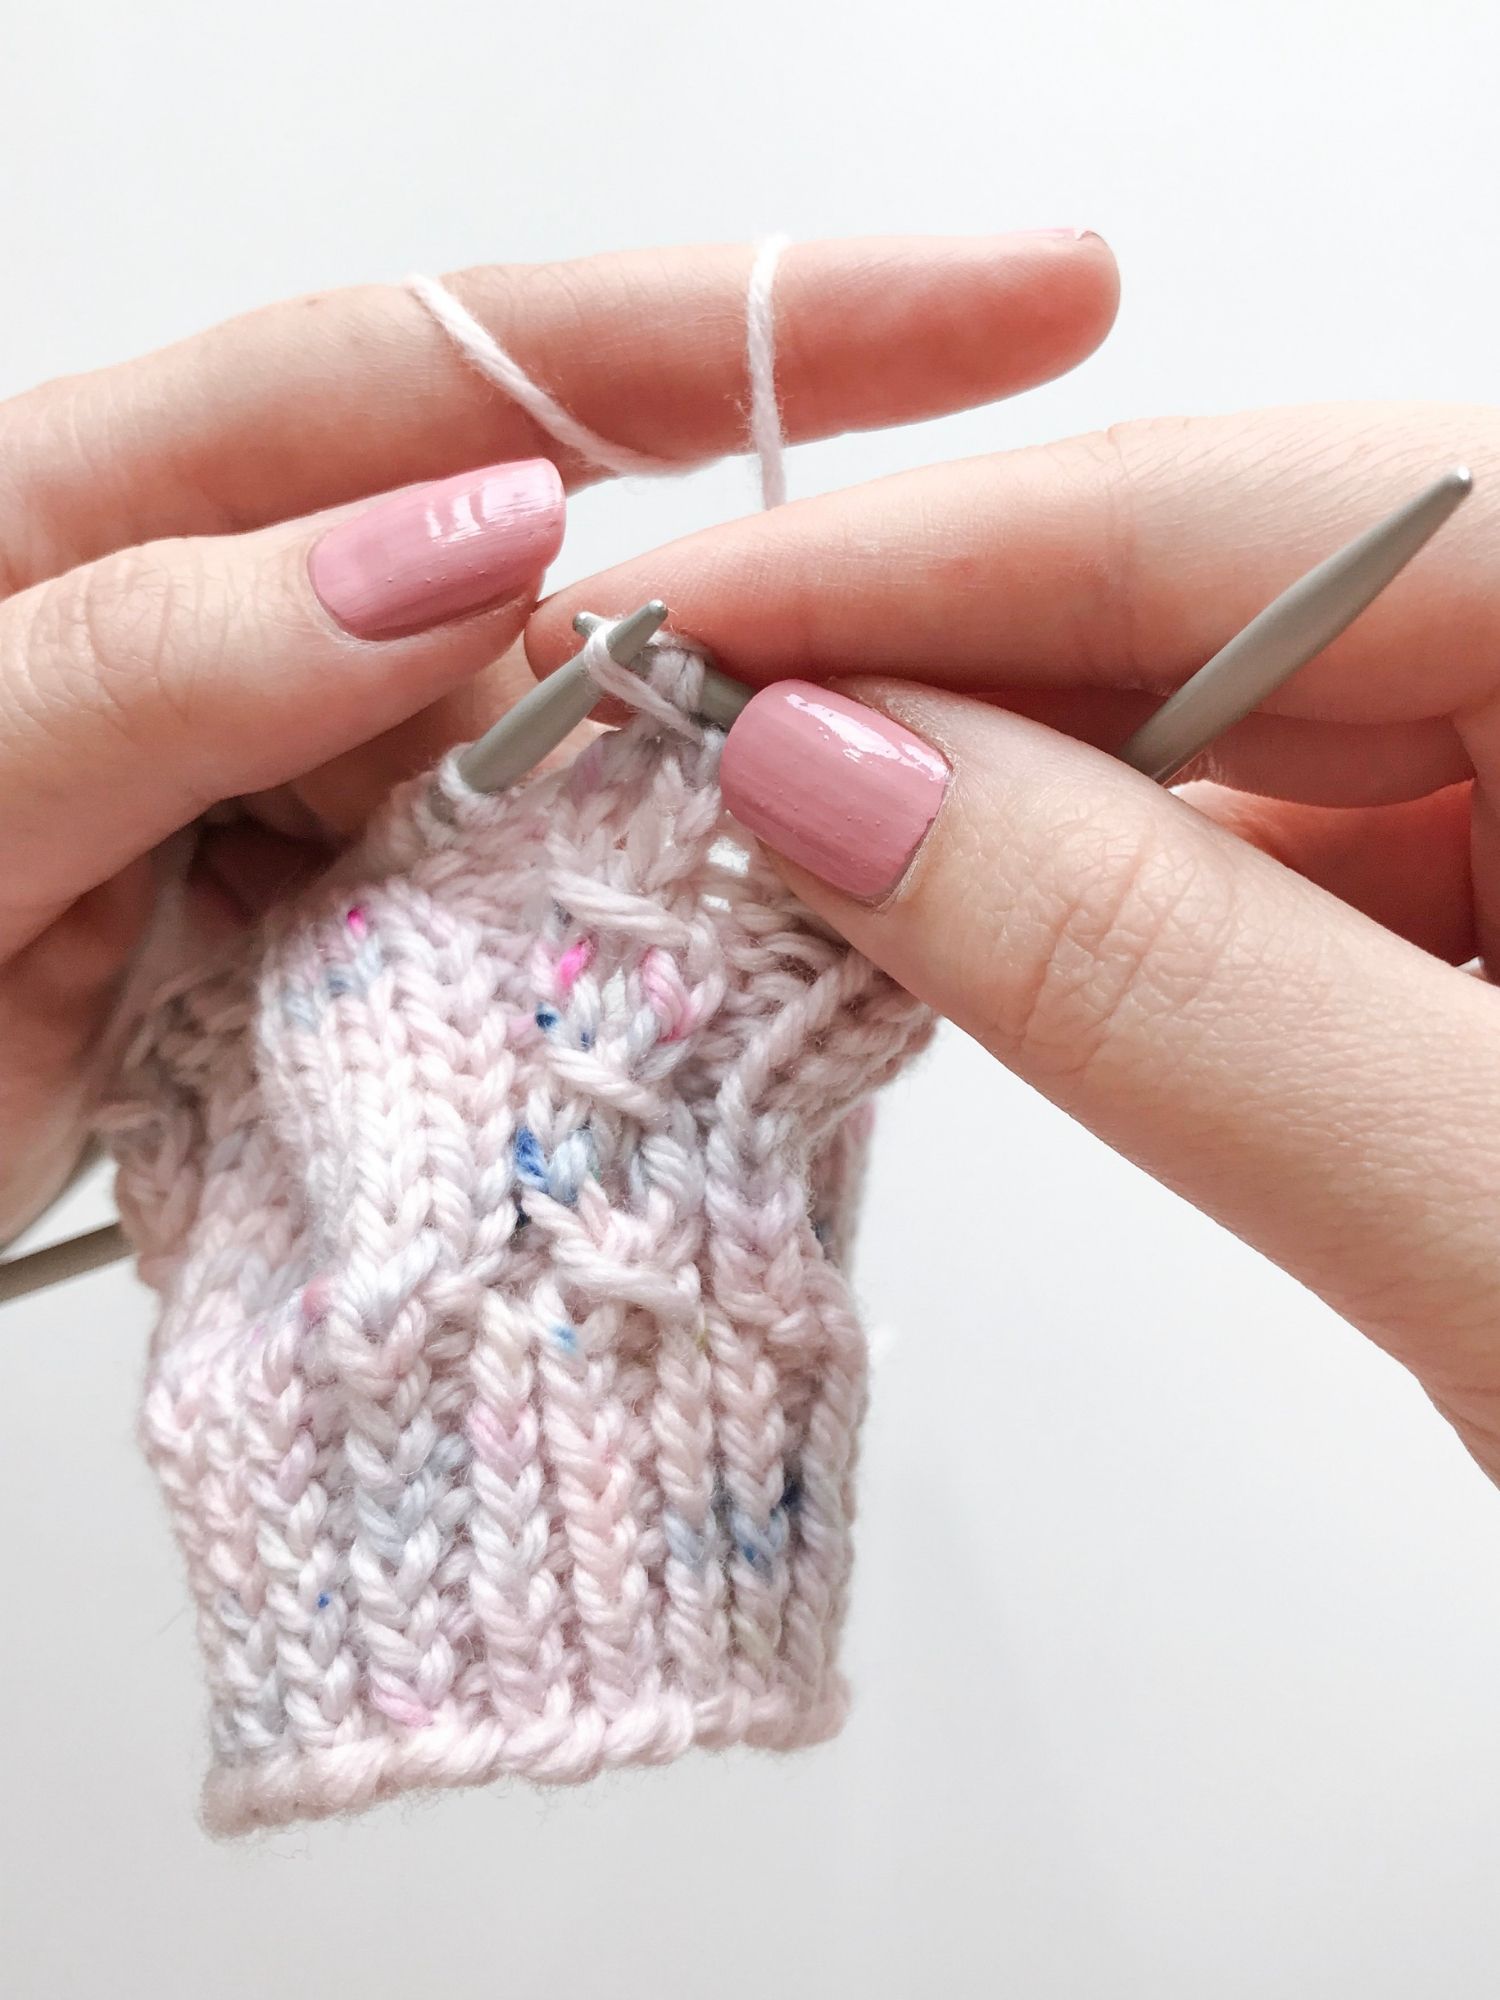
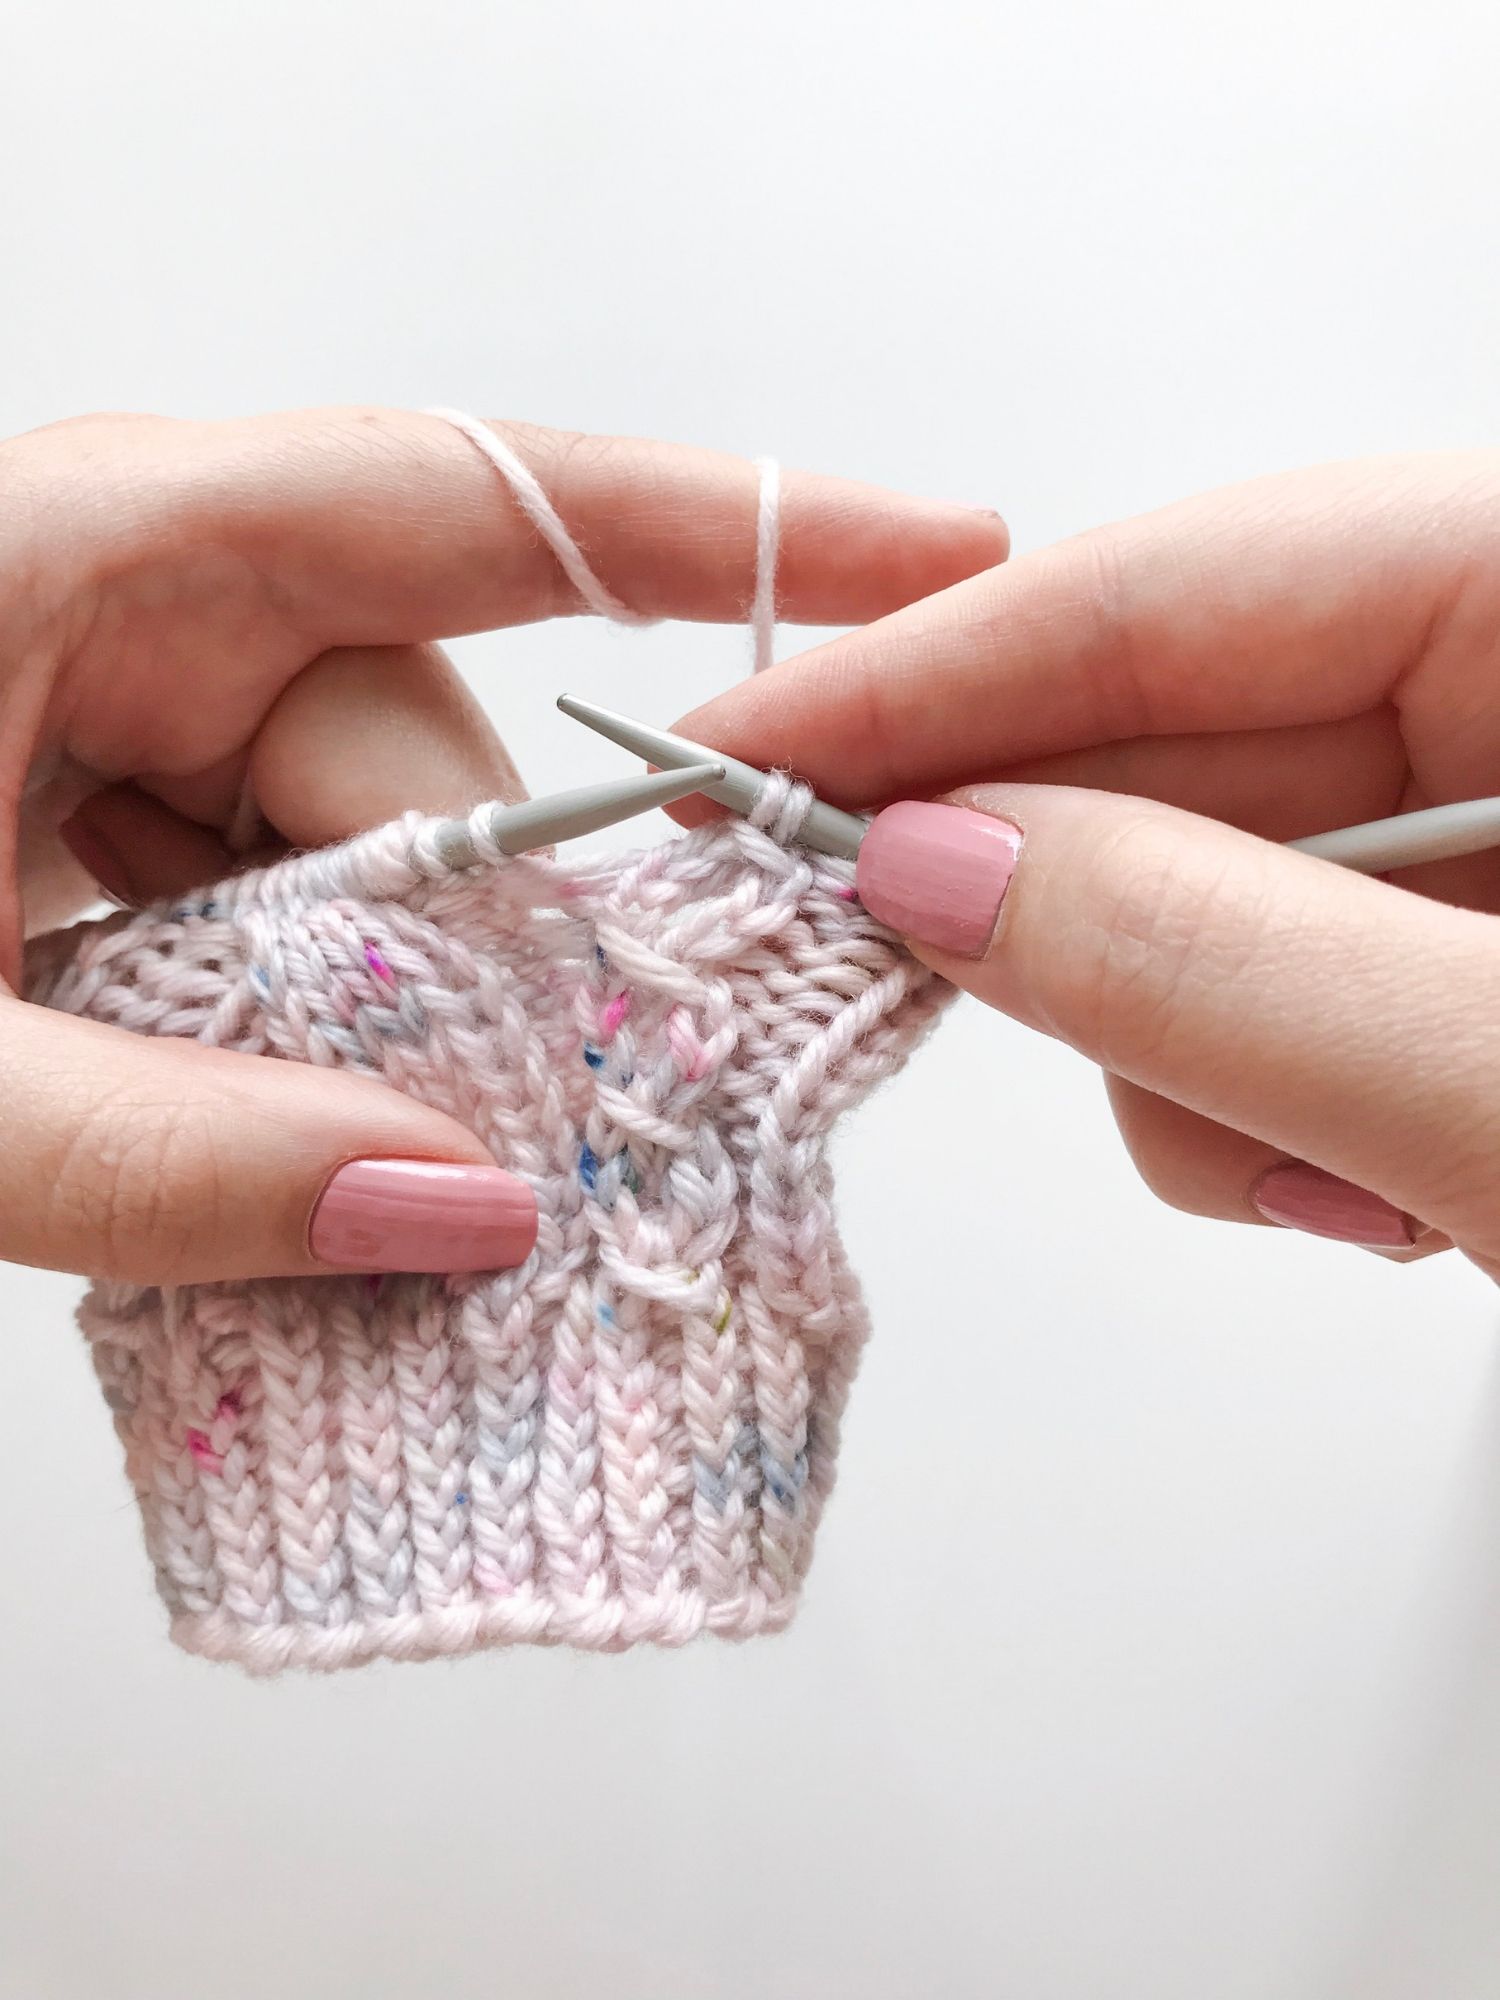
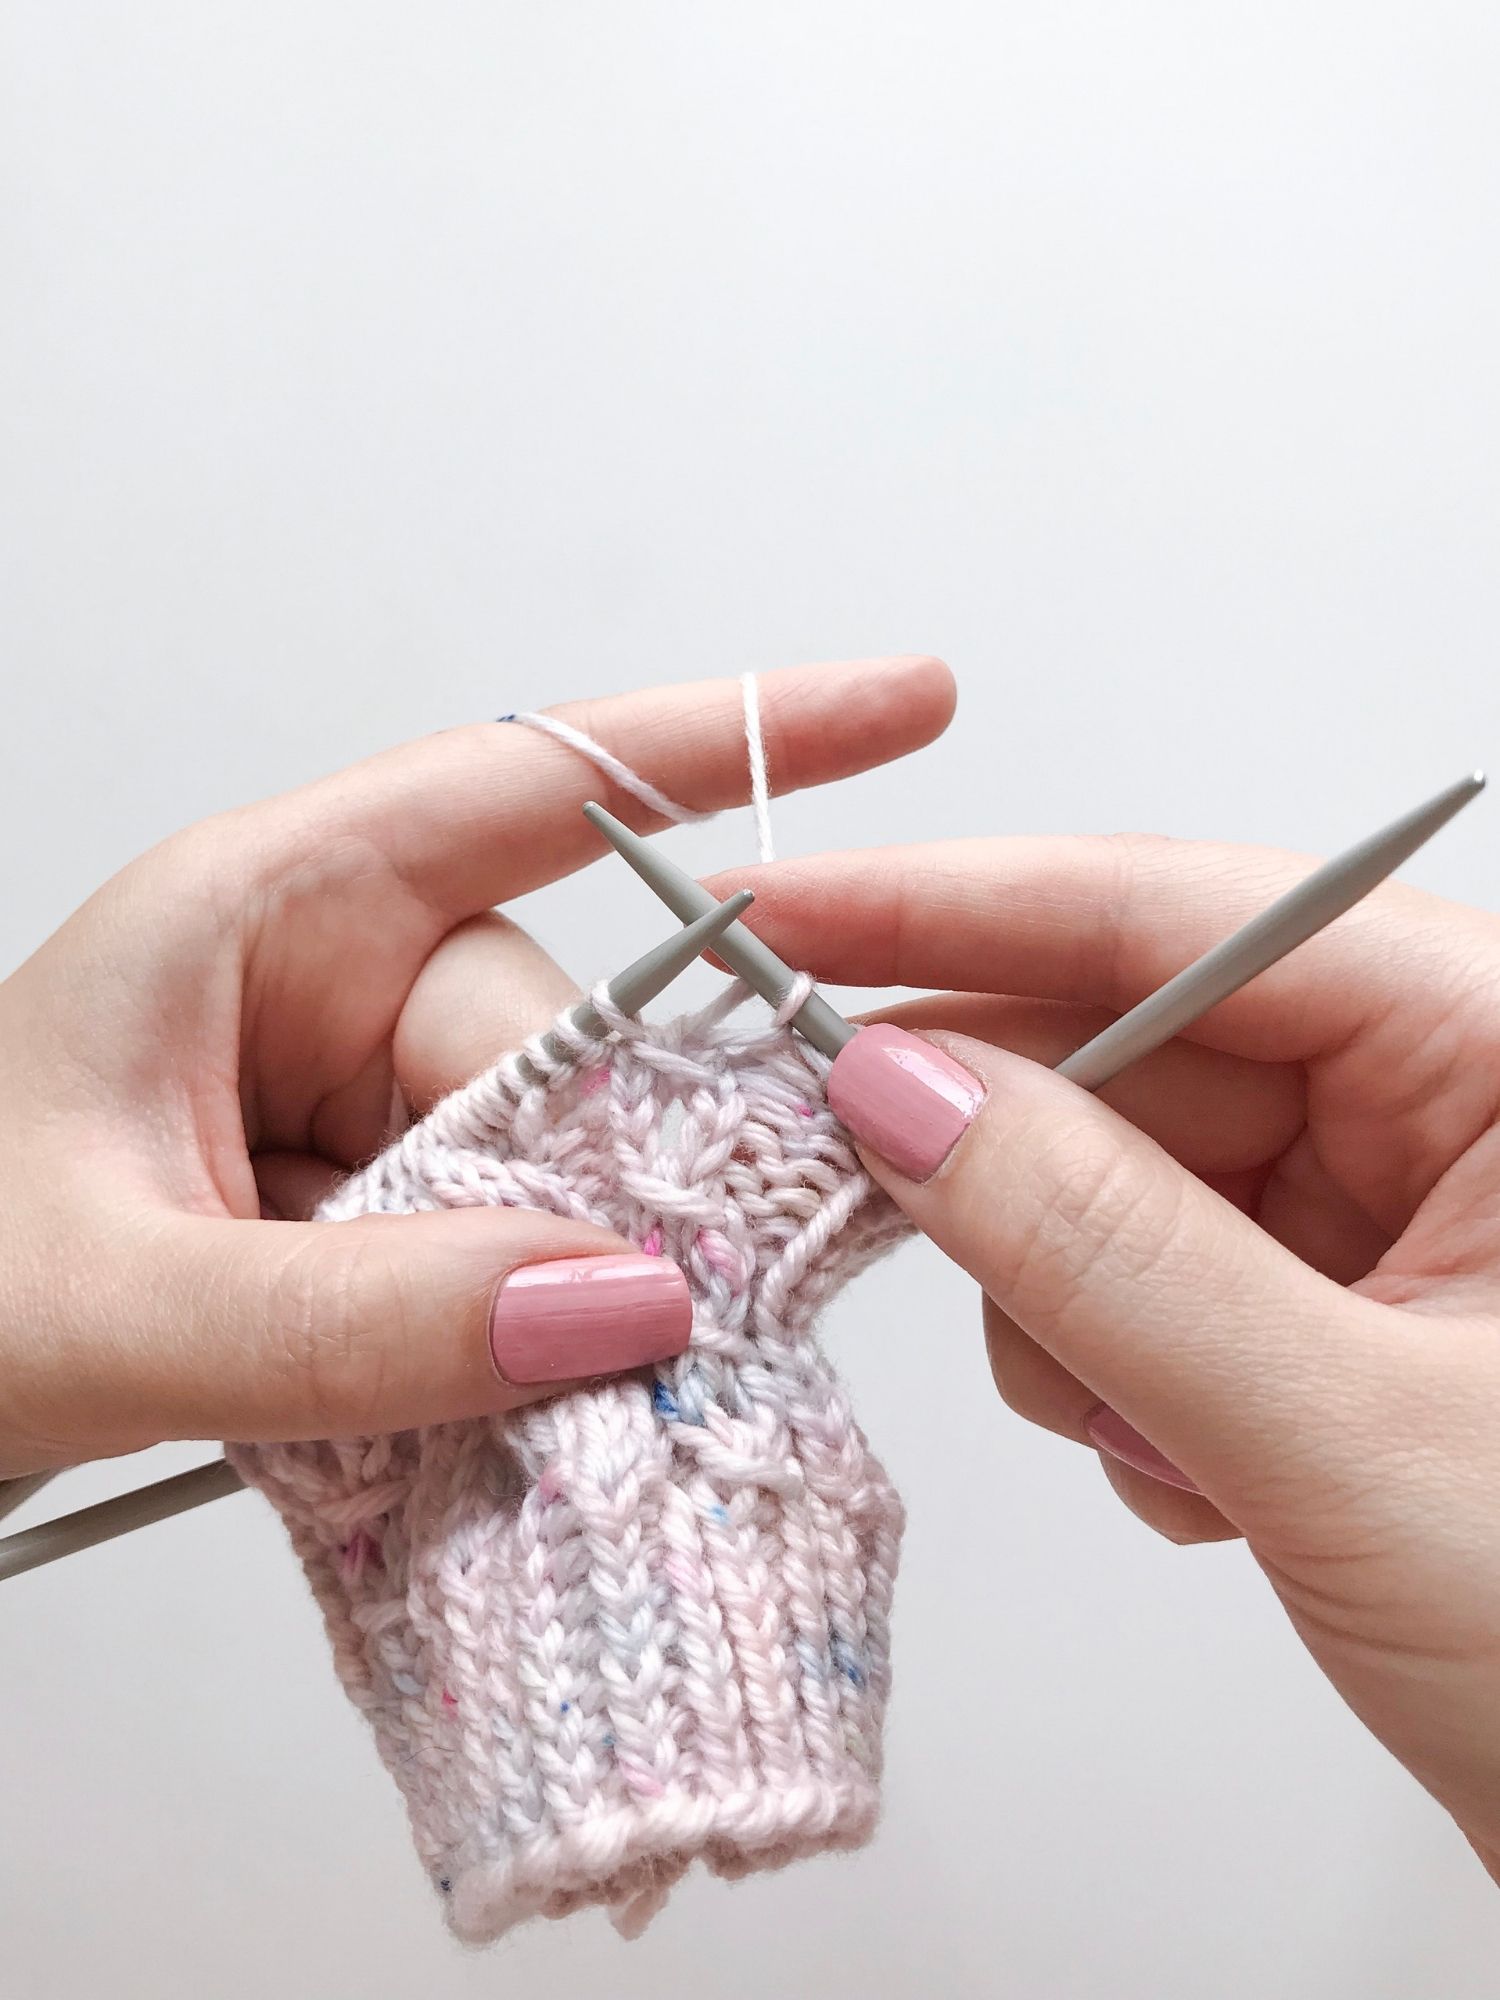
How pretty does it look with the big cable!

This 3-stitch pattern is repeated over 4 rounds and it’s fun, easy and creates a cable-like look without a cable needle! Here are the written instructions:

Round 1: slip 1 stitch purlwise, knit 2 stitches, pass the slipped stitch over
Round 2: knit 1 stitch, yarn over, knit 1 stitch
Round 3: knit 3 stitches
Round 4: knit 3 stitches

Repeat rounds 1-4, and there you have it!

NOTE: If you want to make multiple of these next to each other, the pattern changes a little:

Round 1: *slip 1 stitch purlwise, knit 2 stitches, pass the slipped stitch over, knit 3 stitches*
Round 2: *knit 1 stitch, yarn over, knit 4 stitches*
Round 3: *knit 3 stitches, slip 1 stitch purlwise, knit 2 stitches, pass the slipped stitch over*
Round 4: *knit 4 stitches, yarn over, knit 1 stitch*

The pattern now consists of 6 stitches, that you can repeat for as many times as needed per round. Rounds 1-4 are repeated.

But back to the 3-stitch version, and trust me when I say I got you covered; here’s a bunch of tutorial pictures for rounds 1 and 2, and even a Youtube video tutorial at the end of the post!

lace stitch

Round 1: slip 1 stitch purlwise…

lace stitch

…and pass it onto the right needle!

lace stitch

Knit 2 stitches.

lace stitch

Pass the slipped stitch…

lace stitch

…over the two knit stitches.

lace stitch

TADAA this is what it looks like after round 1!

lace stitch

Round 2: start by knitting one stitch.

lace stitch

Bring the yarn to the front…

lace stitch

…and yarn over.

lace stitch

Knit 1 stitch.

lace stitch

Et voilà, round 2 done!

In the video tutorial below I included all rounds (1-4), and if you’re not yet subscribing to my Youtube channel you definitely should!

To wrap things up, my obsession level is at 100 and I have a feeling you’ll be seeing a LOT more of this lace stitch in my future projects!

xx, Kati