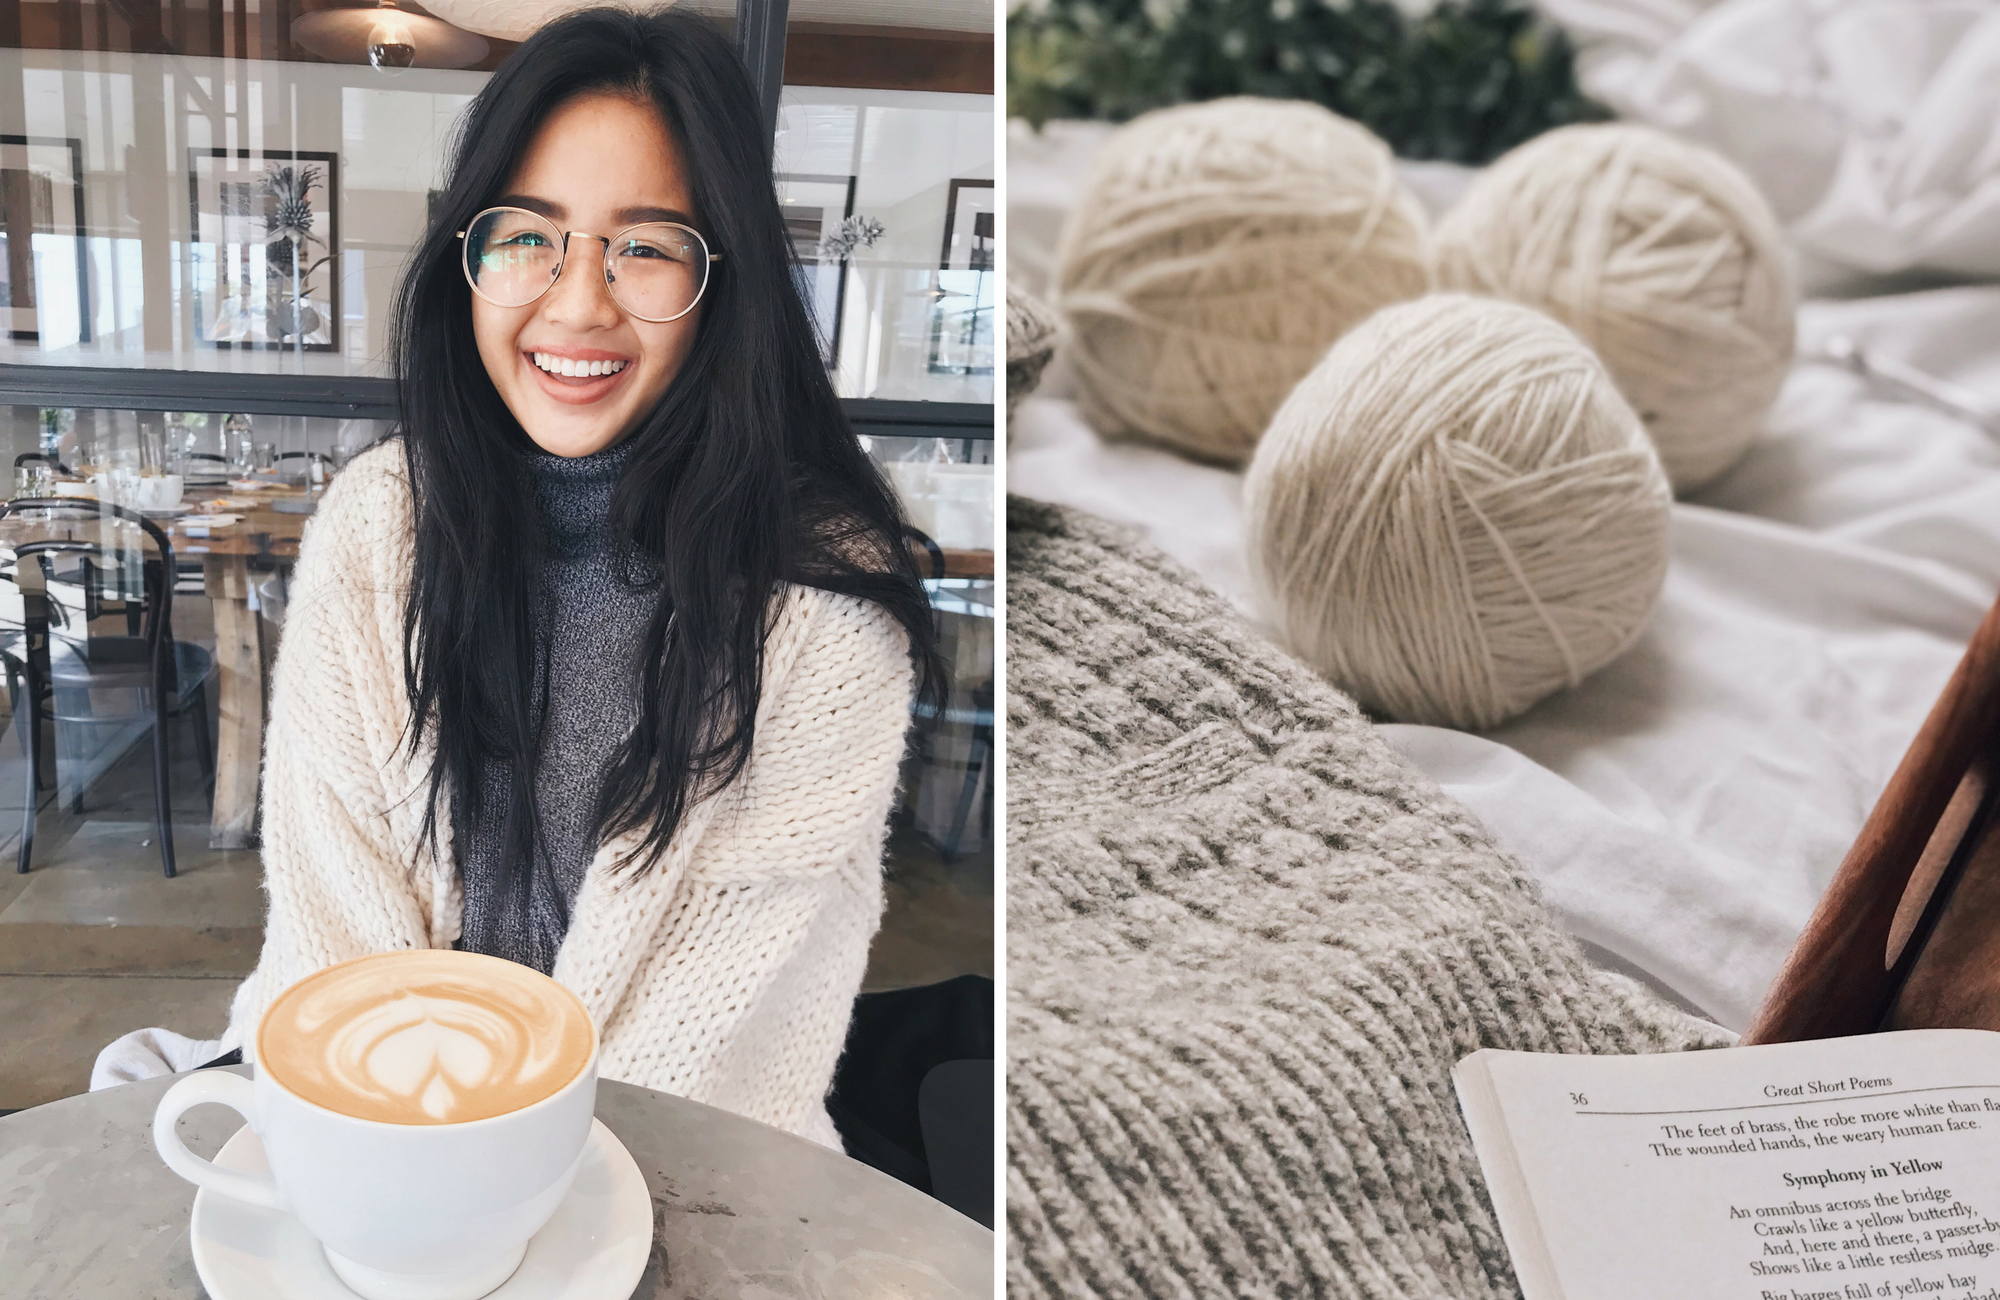
Hi again folks, and welcome to the fifth part of my little maker series! In today’s post we’re going to meet Laurel, the woman behind the ahhhmazing brand known as Alabaster Purl. Laurel is incredibly sweet, kind and talented, and I love how she’s not afraid to get real about things when it comes to social media and life in general. Also while reading her answers, I realized we’re a lot the same (like really, a LOT): I was a total choir nerd as well and would basically throw a massive tantrum if I got anything less than an A at school. She also had the sweetest story behind her favorite 90’s jam and I’m crying just a little over here. So keep on reading to find out more about Laurel and once again I’ve added direct links to her Instagram on the pictures!
The basics
Name: Laurel Taylor
Home town: Homer, Alaska
Instagram: AlabasterPurl
Website/Etsy: Click here to Etsy shop!
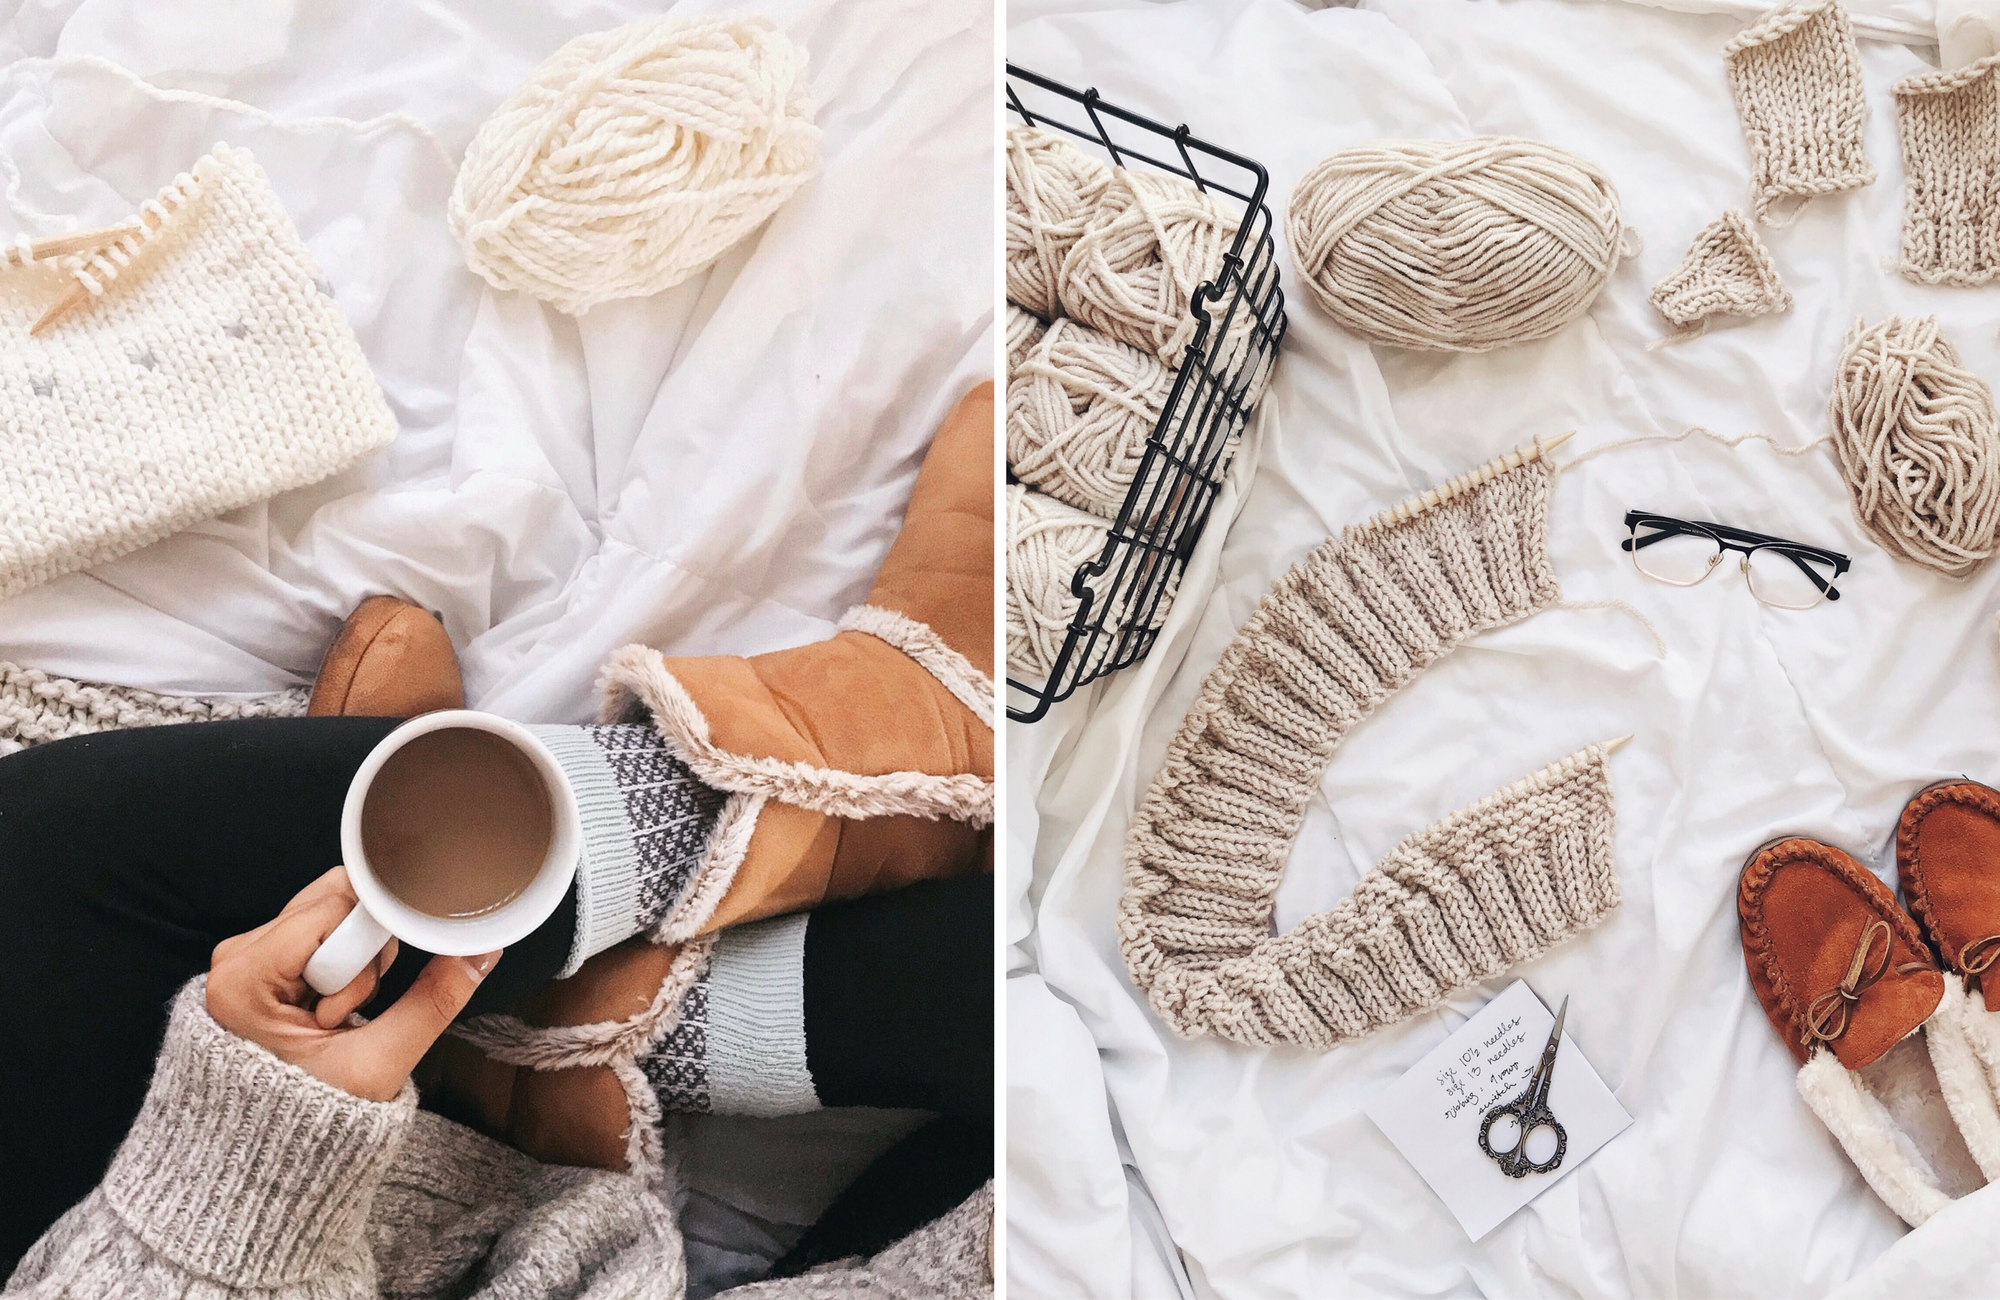
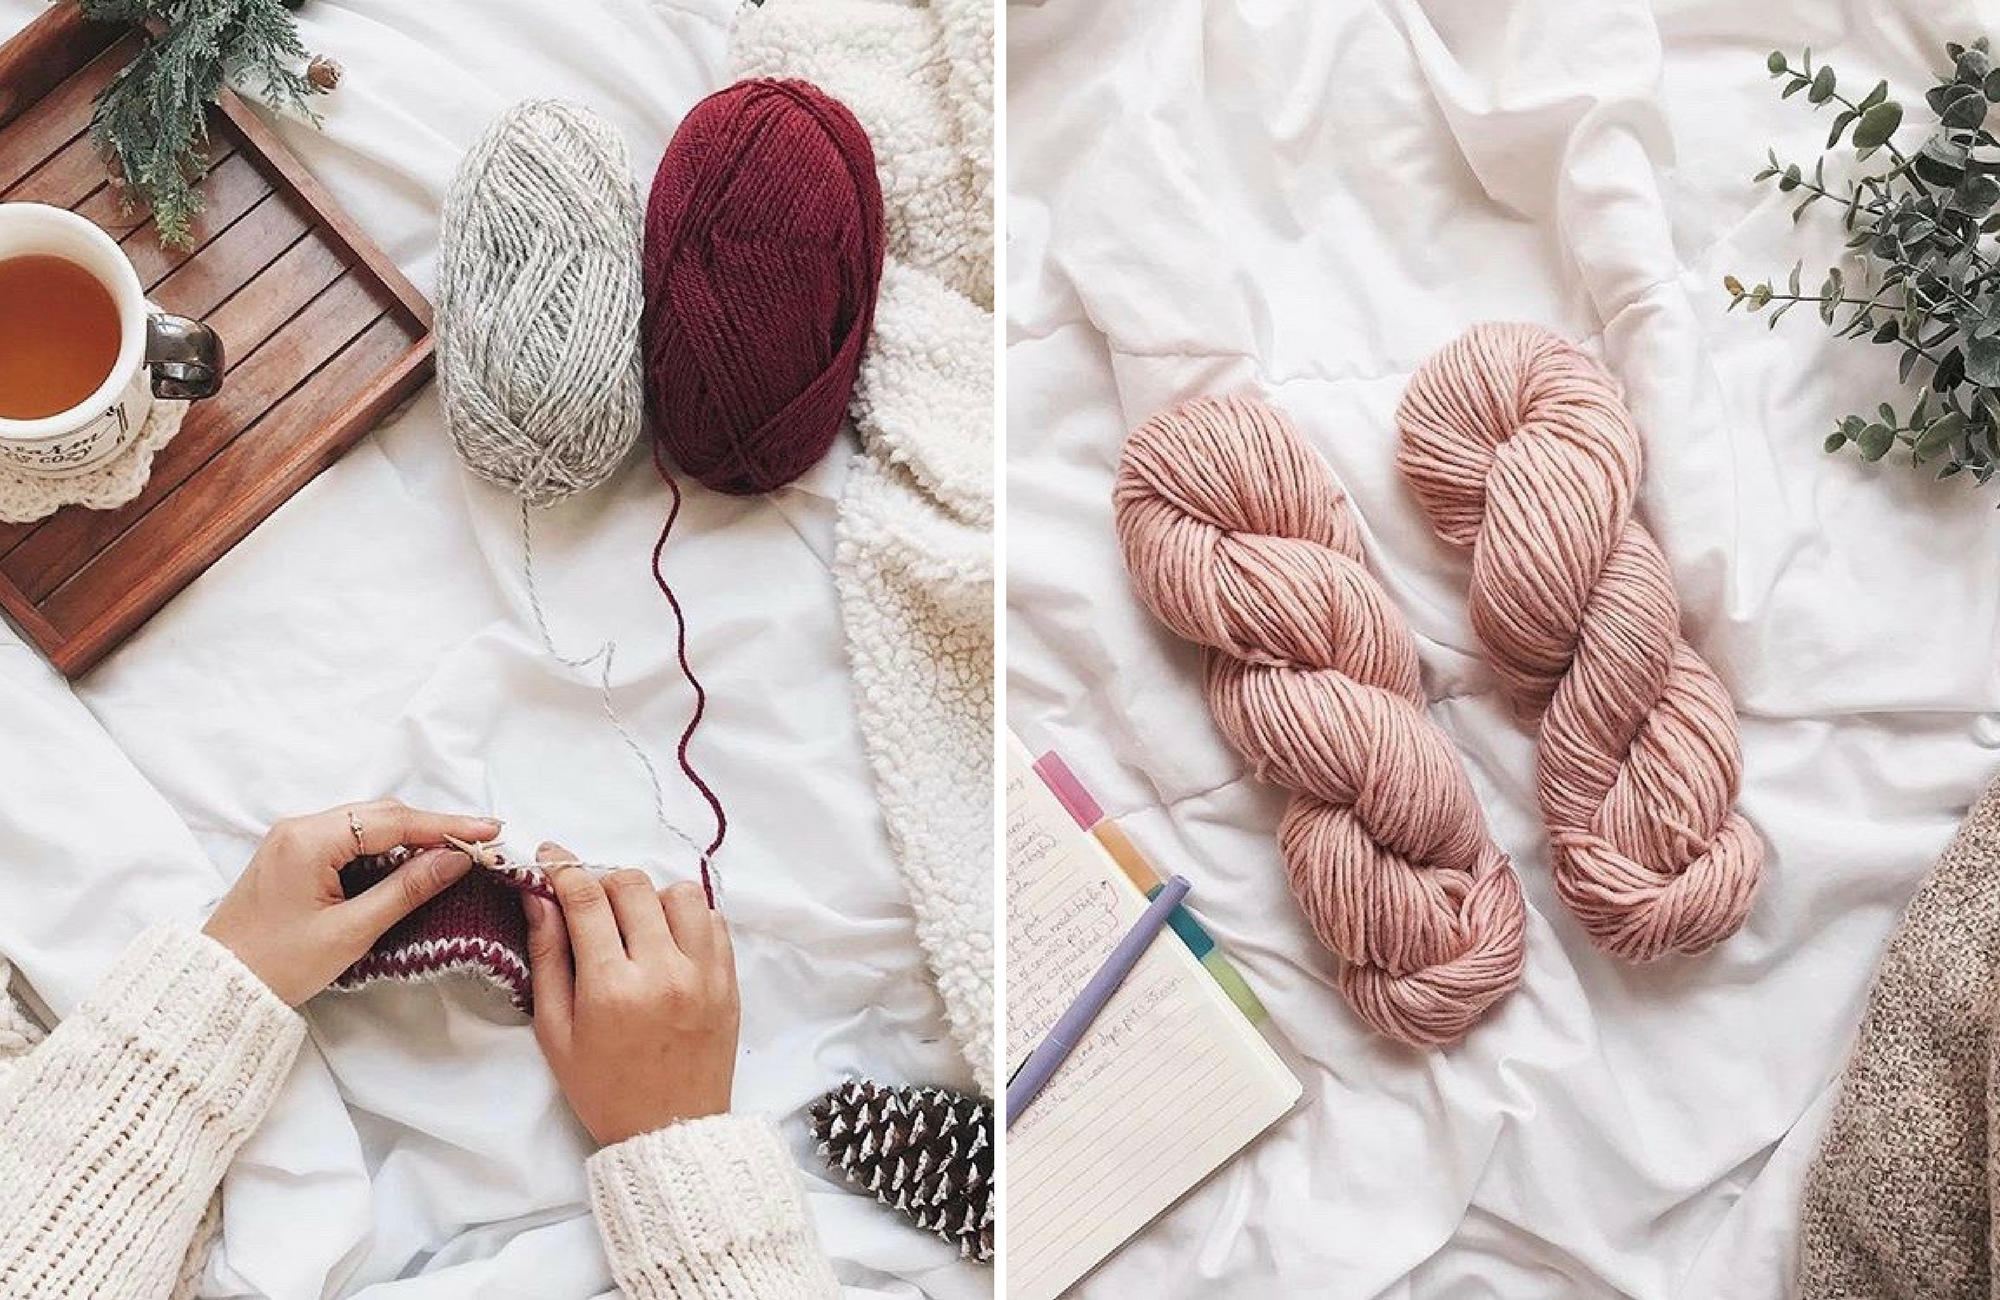
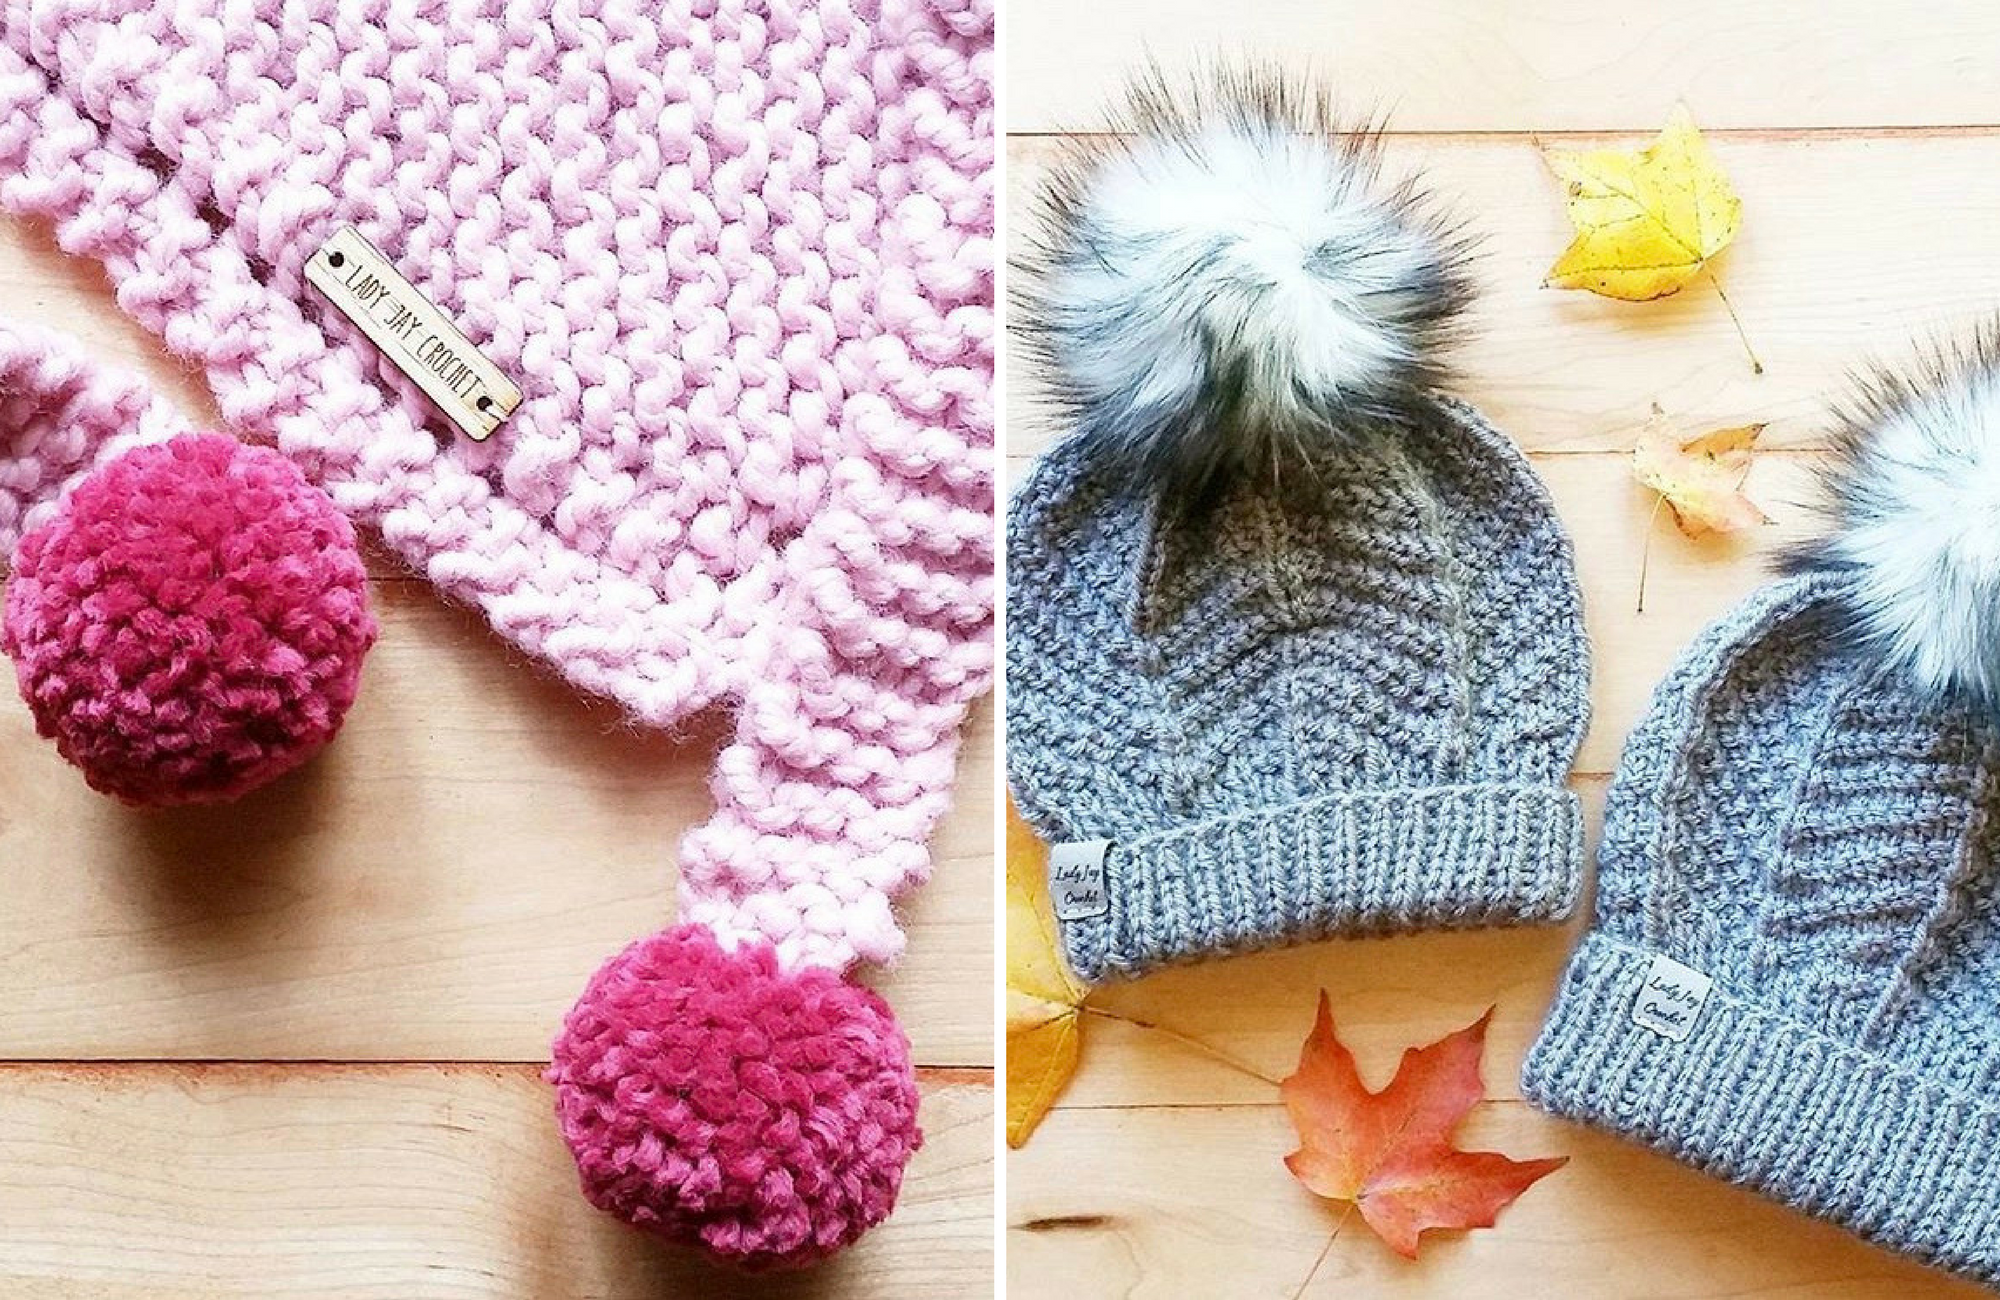
Describe your business in a few words: cozy knits, winter warmth, handmade hygge
10 questions
1. What’s your favorite 90’s jam?
– For me, the 90s music is summarized with the Backstreet Boys. So cliche, I know. But listening to their music honestly became an escape. When I was little, my older sister went through radiation treatment for a brain tumor, and every day when we drove to the hospital for her treatment, we would put on “The Boys” and forget about our family chaos, even if just for a few songs.
2. What were you like in high school?
– I believe we are all very different between high school and adulthood. I am no exception. I feel like the core of who I am stayed the same, but back then I was much more outgoing, animated, and loud! I loved being in the spotlight (picture: a young, over the top Leslie Knope). I think 29 year old Laurel would be annoyed by 16 year old Laurel. I was a social butterfly, an excellent student, the classic goody goody. Never skipped class, straight A’s, over achieving perfectionist (ok some things never change….).
I was a massive choir nerd. It was a huge part of my life my entire high school career. I went to as many honor choirs as I possibly could, and was in Swing Choir (honor choir) for two years. I was also chief editor of the yearbook, and adored any writing classes. Overall, it was a very non-traumatic time of my life.
3. How many times does it take for you to listen to a song that you love before you actually hate it instead?
– I’m going to summarize this with one word: Melanie.
My sister (Melanie) has ruined soooo many songs for me! She gets obsessed with one, and puts it on repeat….for hours. I remember walking into her room and begging her to change the song “Mr. Brightside” by the Killers. She wouldn’t. It’s been about 15 years, and I can finally listen to it again!
4. What’s your favorite cereal brand?
– Raisin Bran. Or lucky charms. This is a great peek into my life! I’m either a total health nut or completely lazy, horrible eater.
5. What life advice would you give to your 10-year-old self?
– This isn’t real life!! As previously stated, I was a perfectionist student. I stressed out about my grades so much. Anything below an A made me feel like a failure. And drama. I felt any drama so deeply, so personally. But none of it matters now!!

6. If knitting/crocheting didn’t exist what would be your go-to hobby?
– Repurposing furniture. My mom has always been a repurposing queen, and I love refinishing pieces and bringing them back to life. I wish I had more time for it!
7. Do you have a lot of unfinished knitting/crocheting projects or do you always finish what you’re doing before starting a new one?
– Generally, I work on one piece at a time. Unless I’m knitting something with extremely tiny yarn….then I get bored and cast on something with chunky yarn. I love instant gratification, and big knits are so rewarding.
8. If you could only use one yarn for the rest of your life what would that yarn be and why?
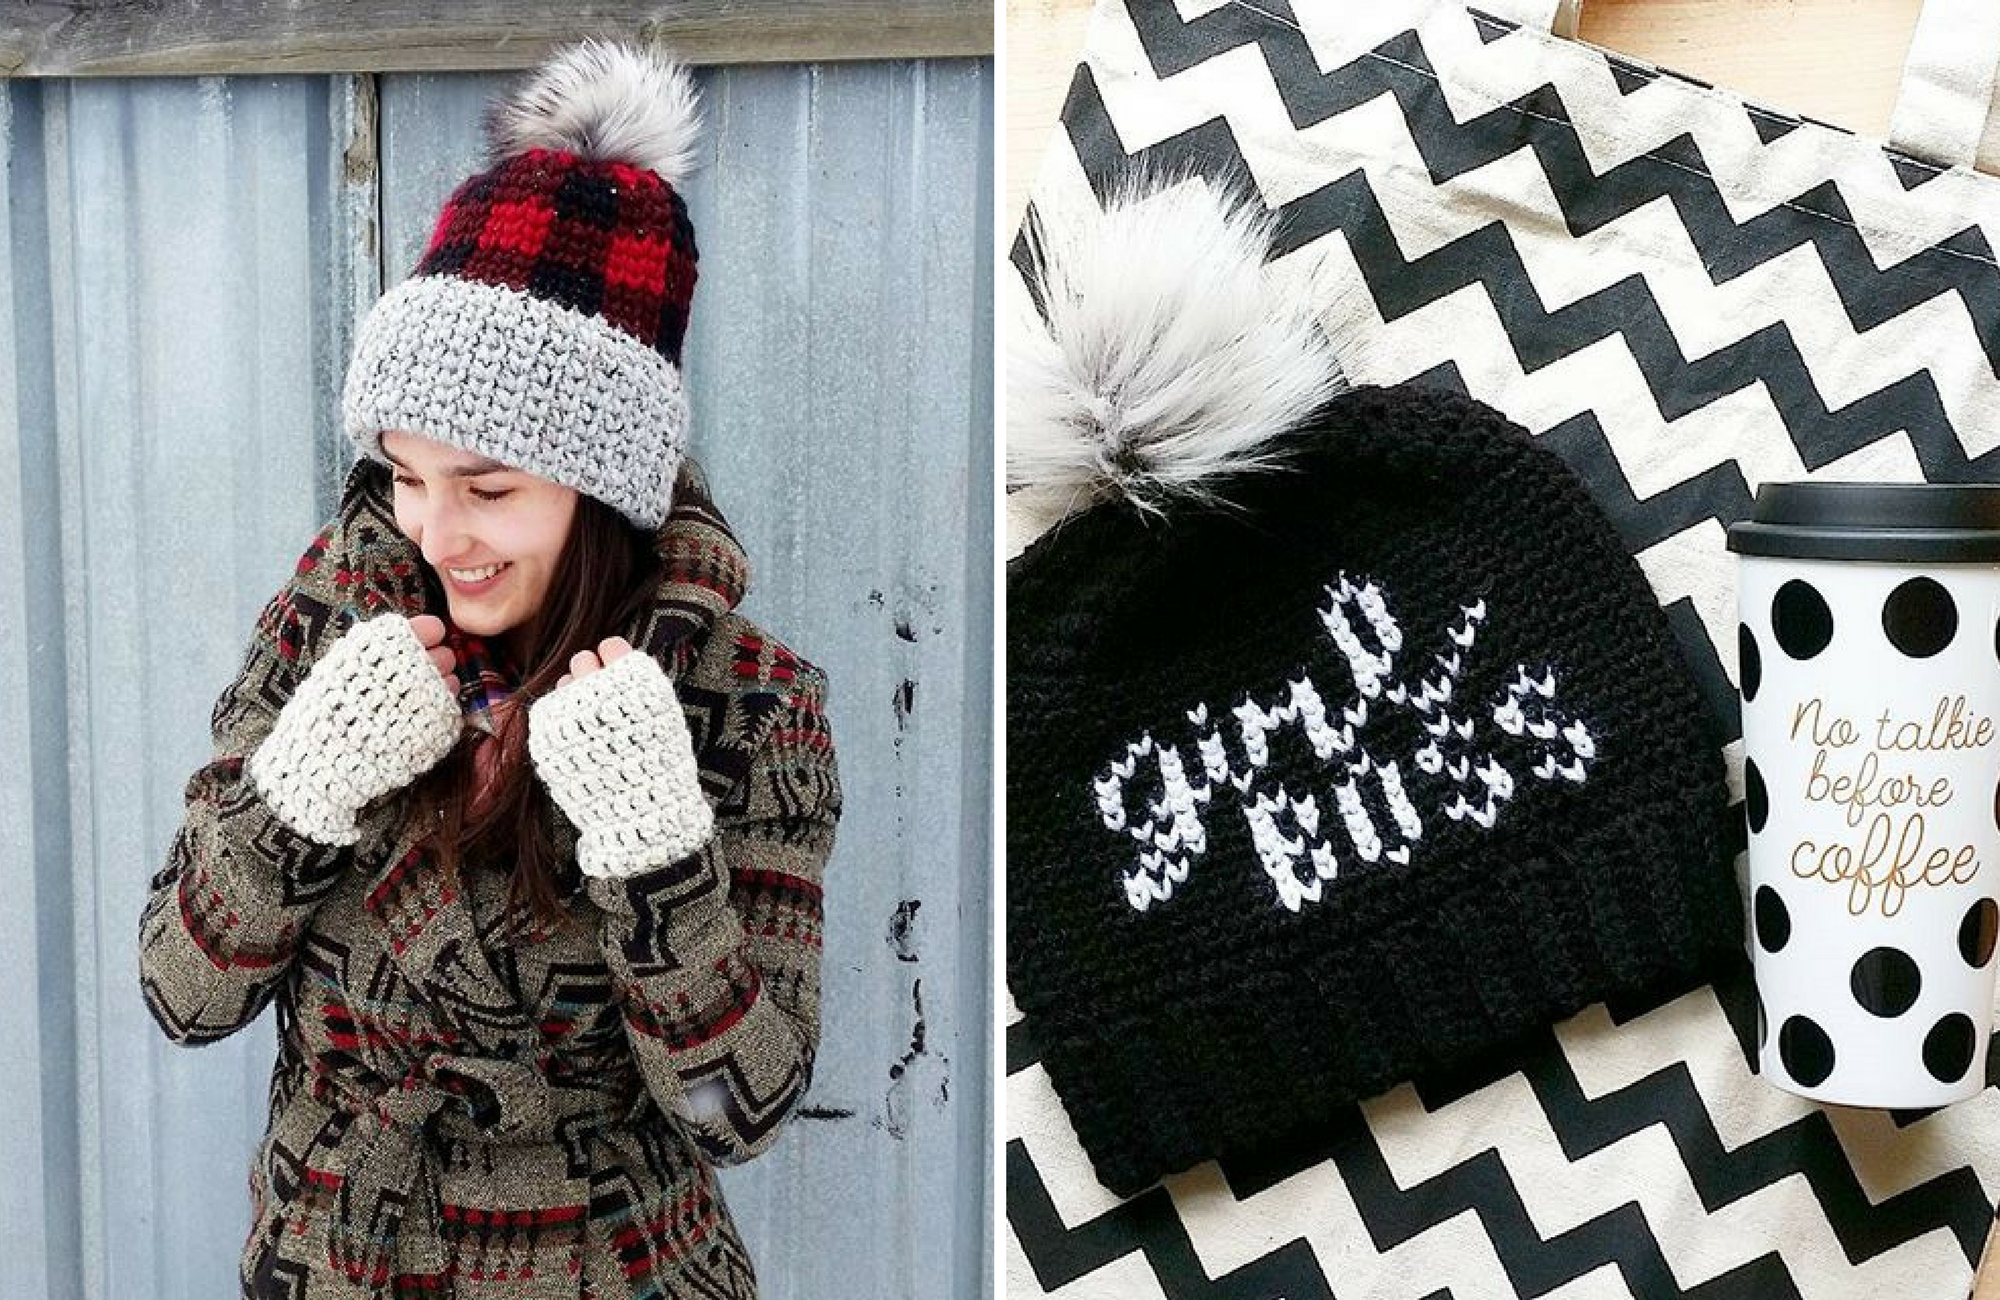
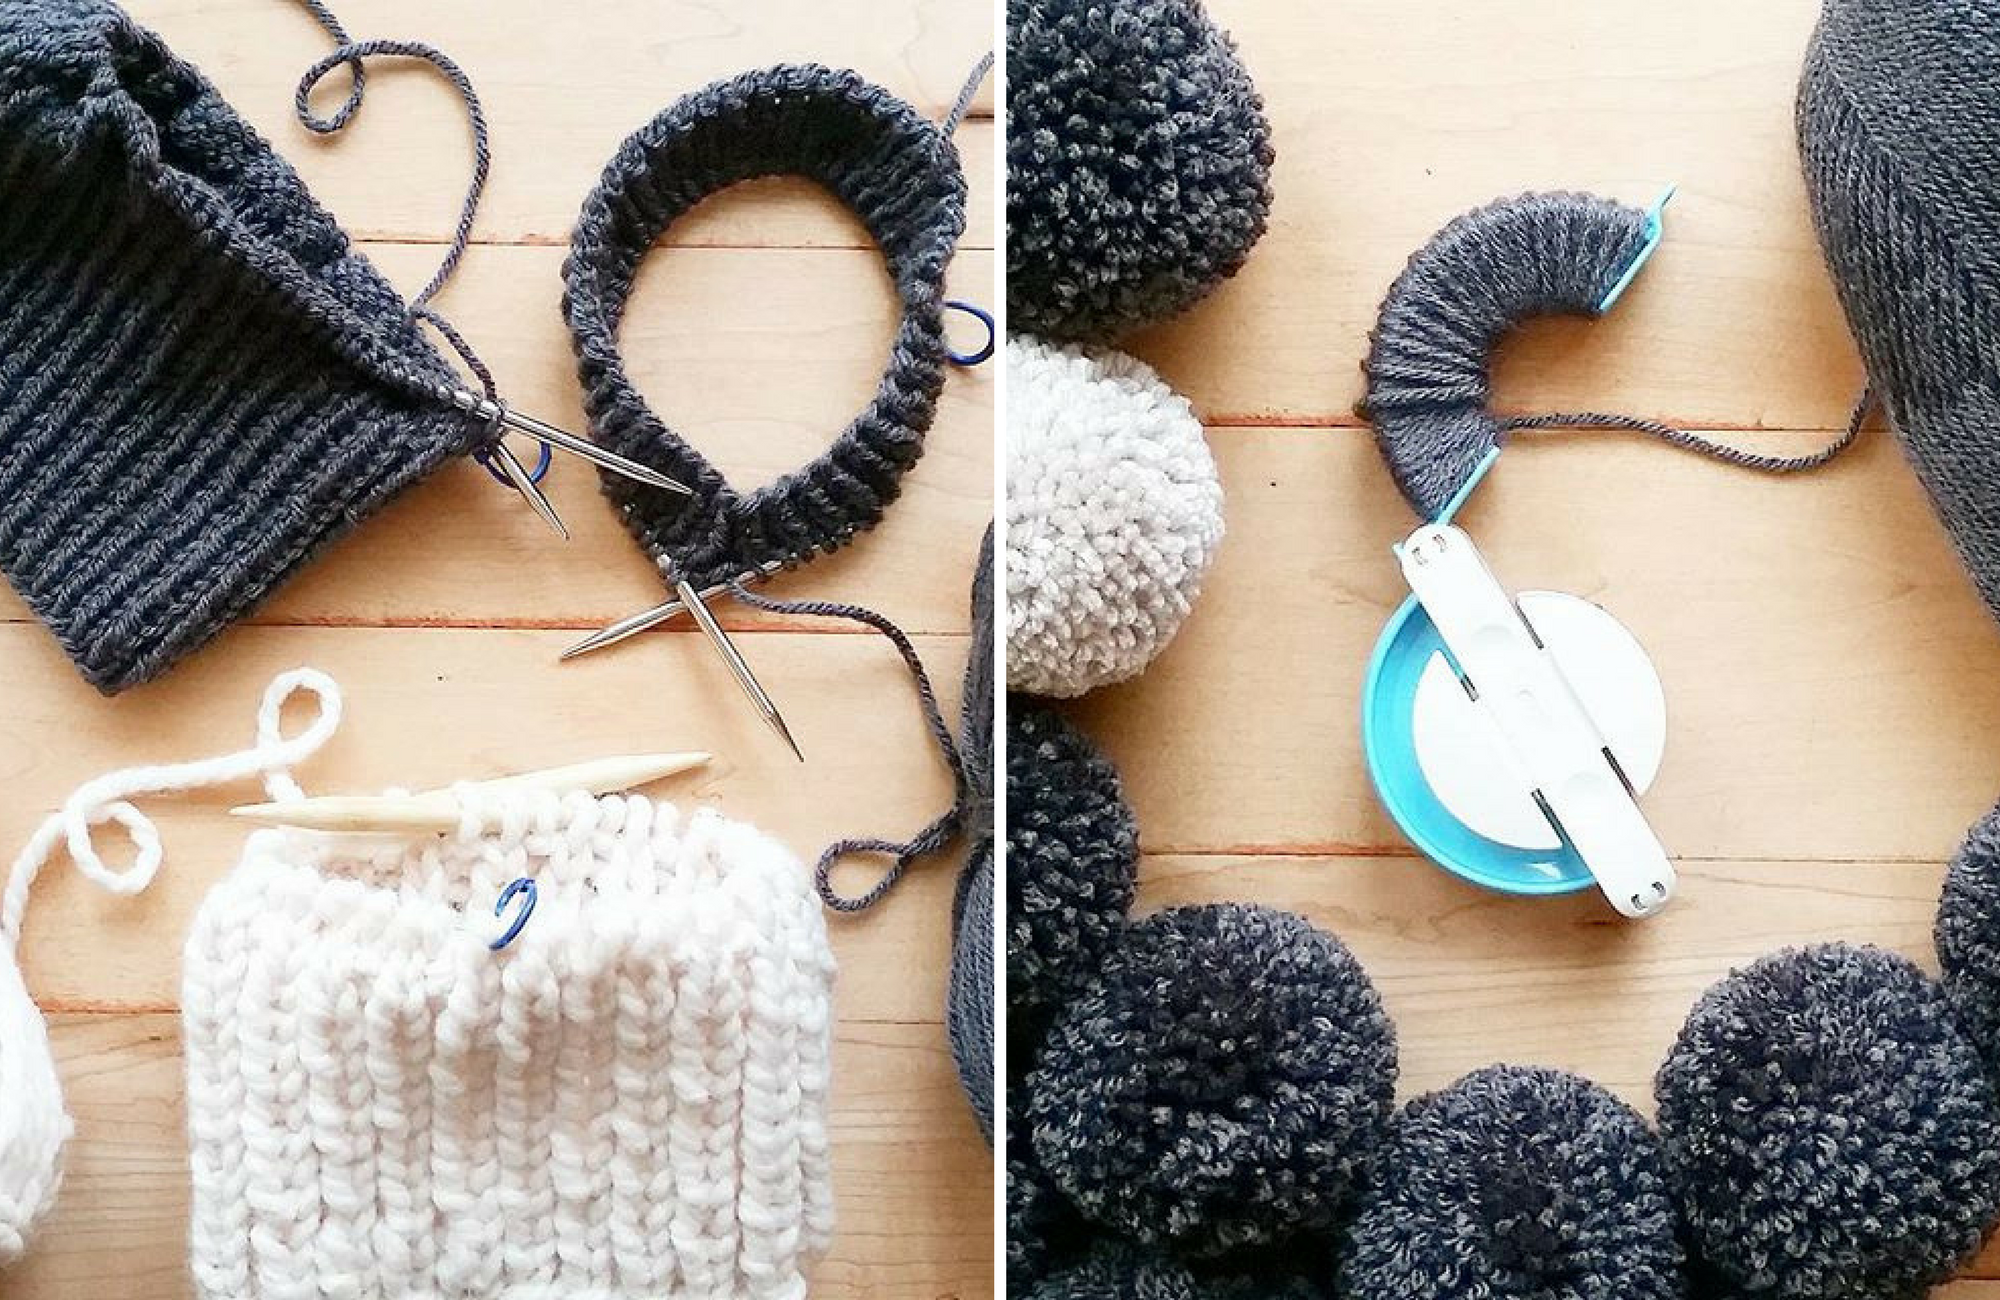
– Oh goodness this is such a hard one for me, mostly because I haven’t knitted with a bunch of different yarns yet! Confession: I have yet to order yarn from We Are Knitters! It’s on my list. Don’t you fret. Ok but for now, I would say Scarfie yarn by Lion Brand. I adore how these work up with the braided cable beanie, pattern by Prem Knits.
9. What are your tips for taking good pictures of your knits?
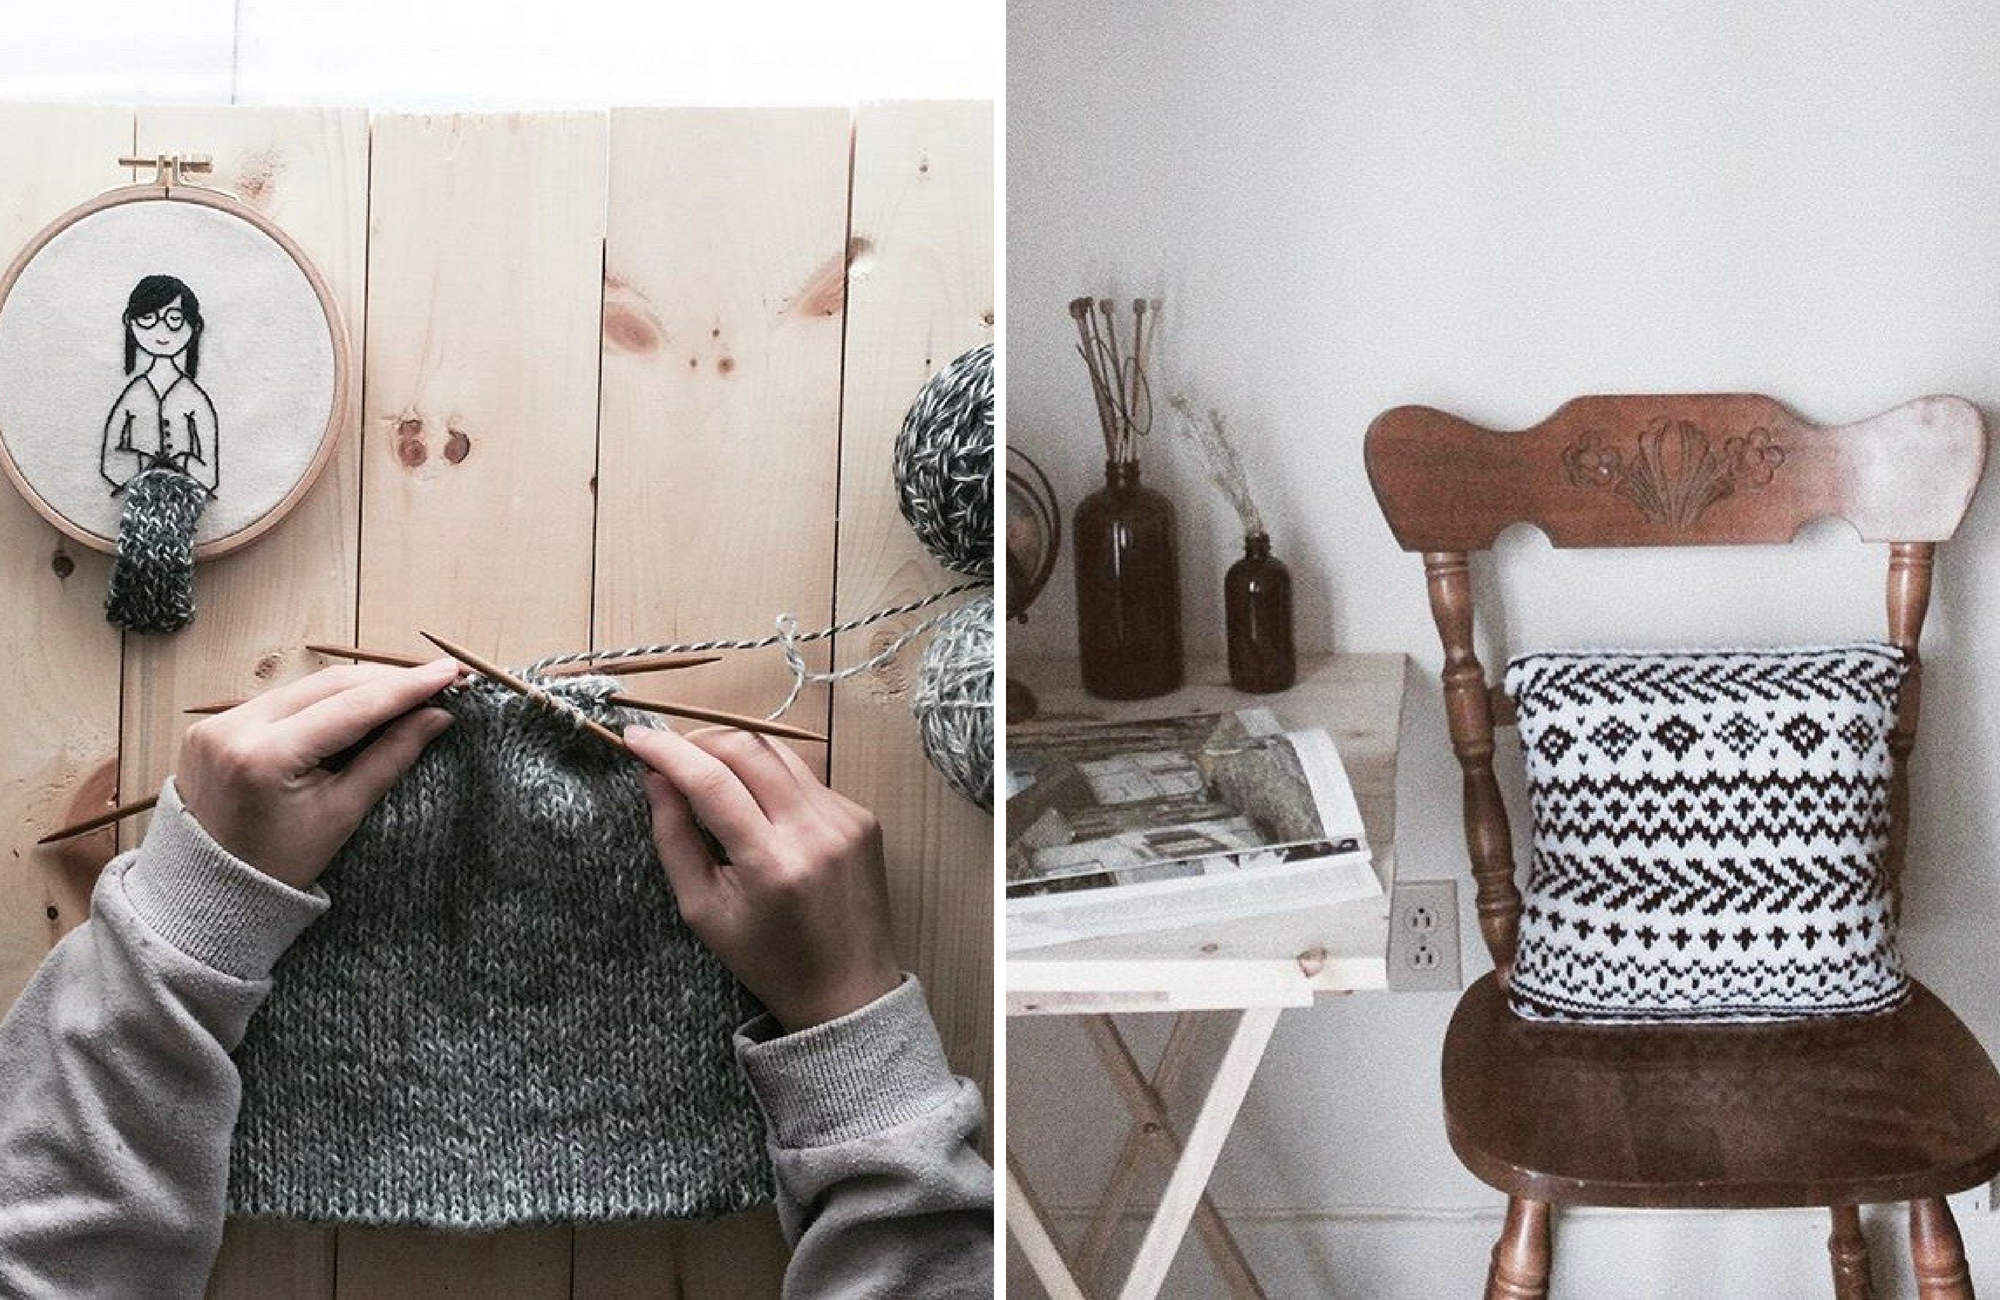
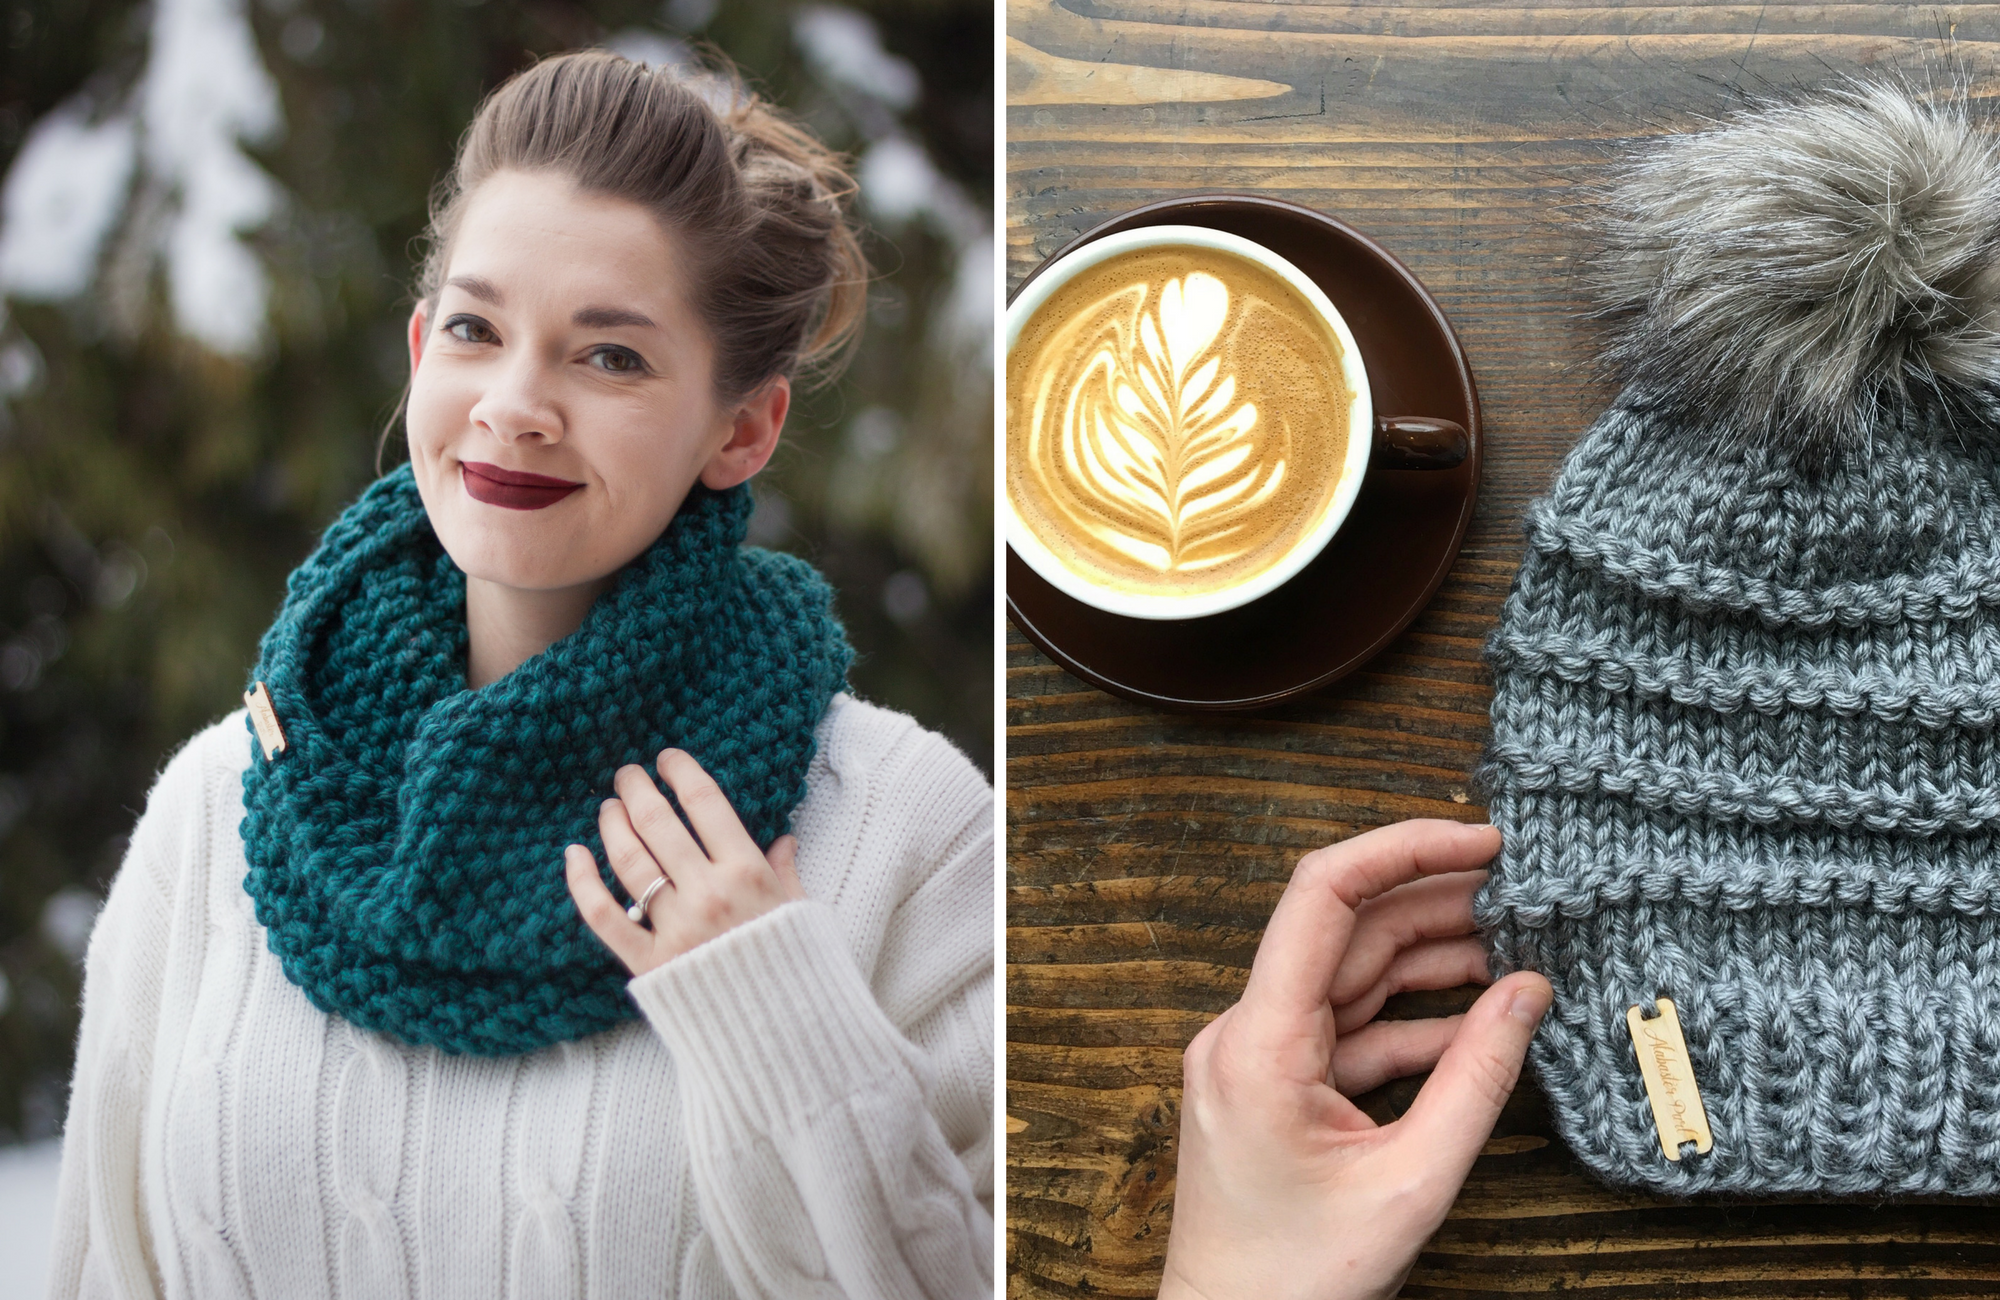
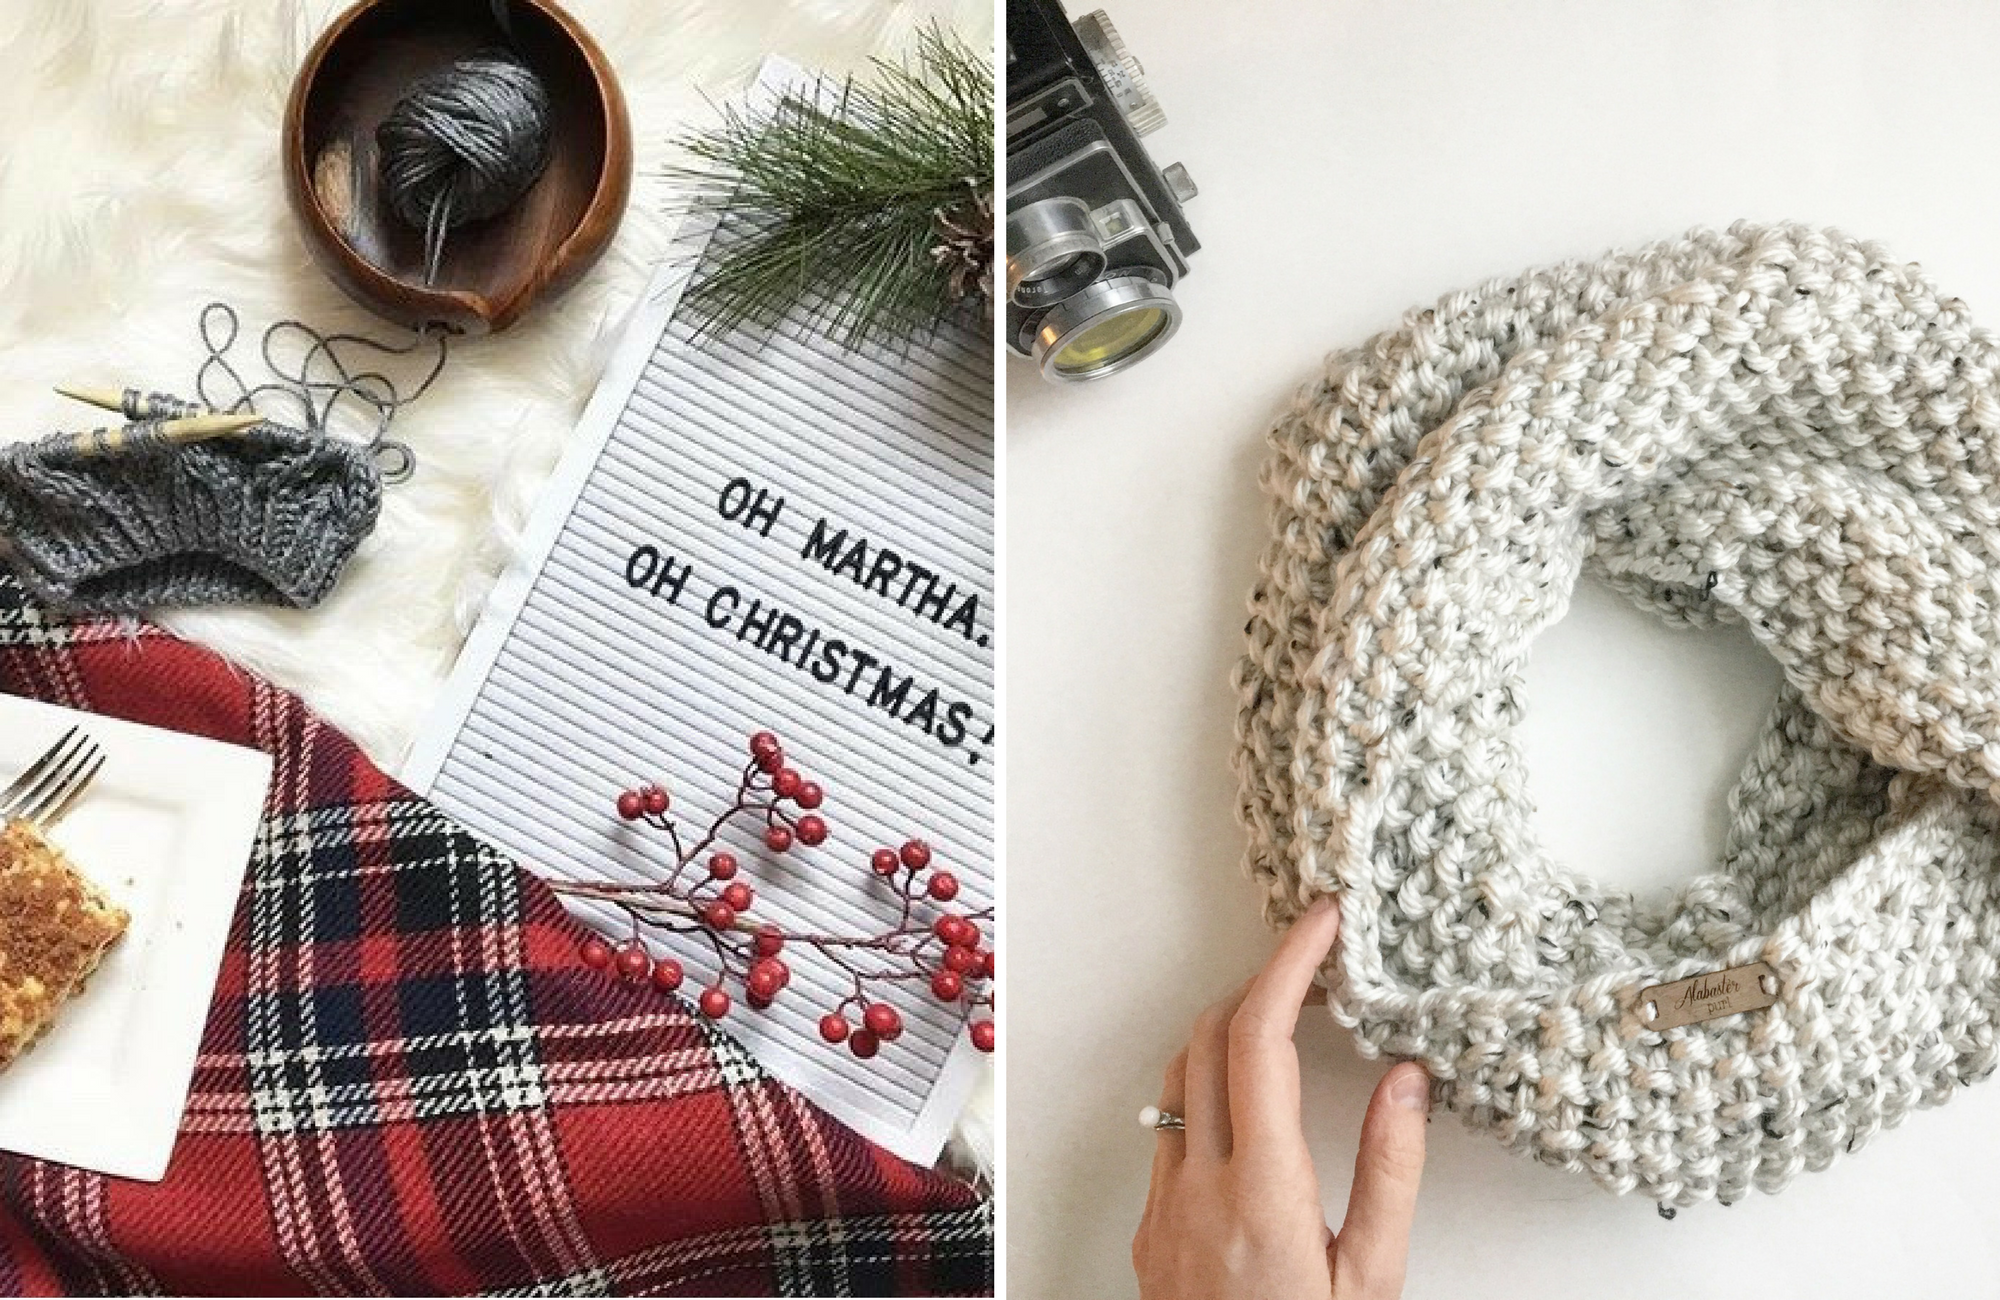
– Use natural light! And don’t be afraid to set up/stage your photos. I used to snap the crappiest photos of my work, because I would take the photo as soon as it was finished, even if it was at 11pm (hello, darkness, my old friend). So be patient and wait for good lighting.
10. What has been the biggest and proudest moment of your maker journey so far?
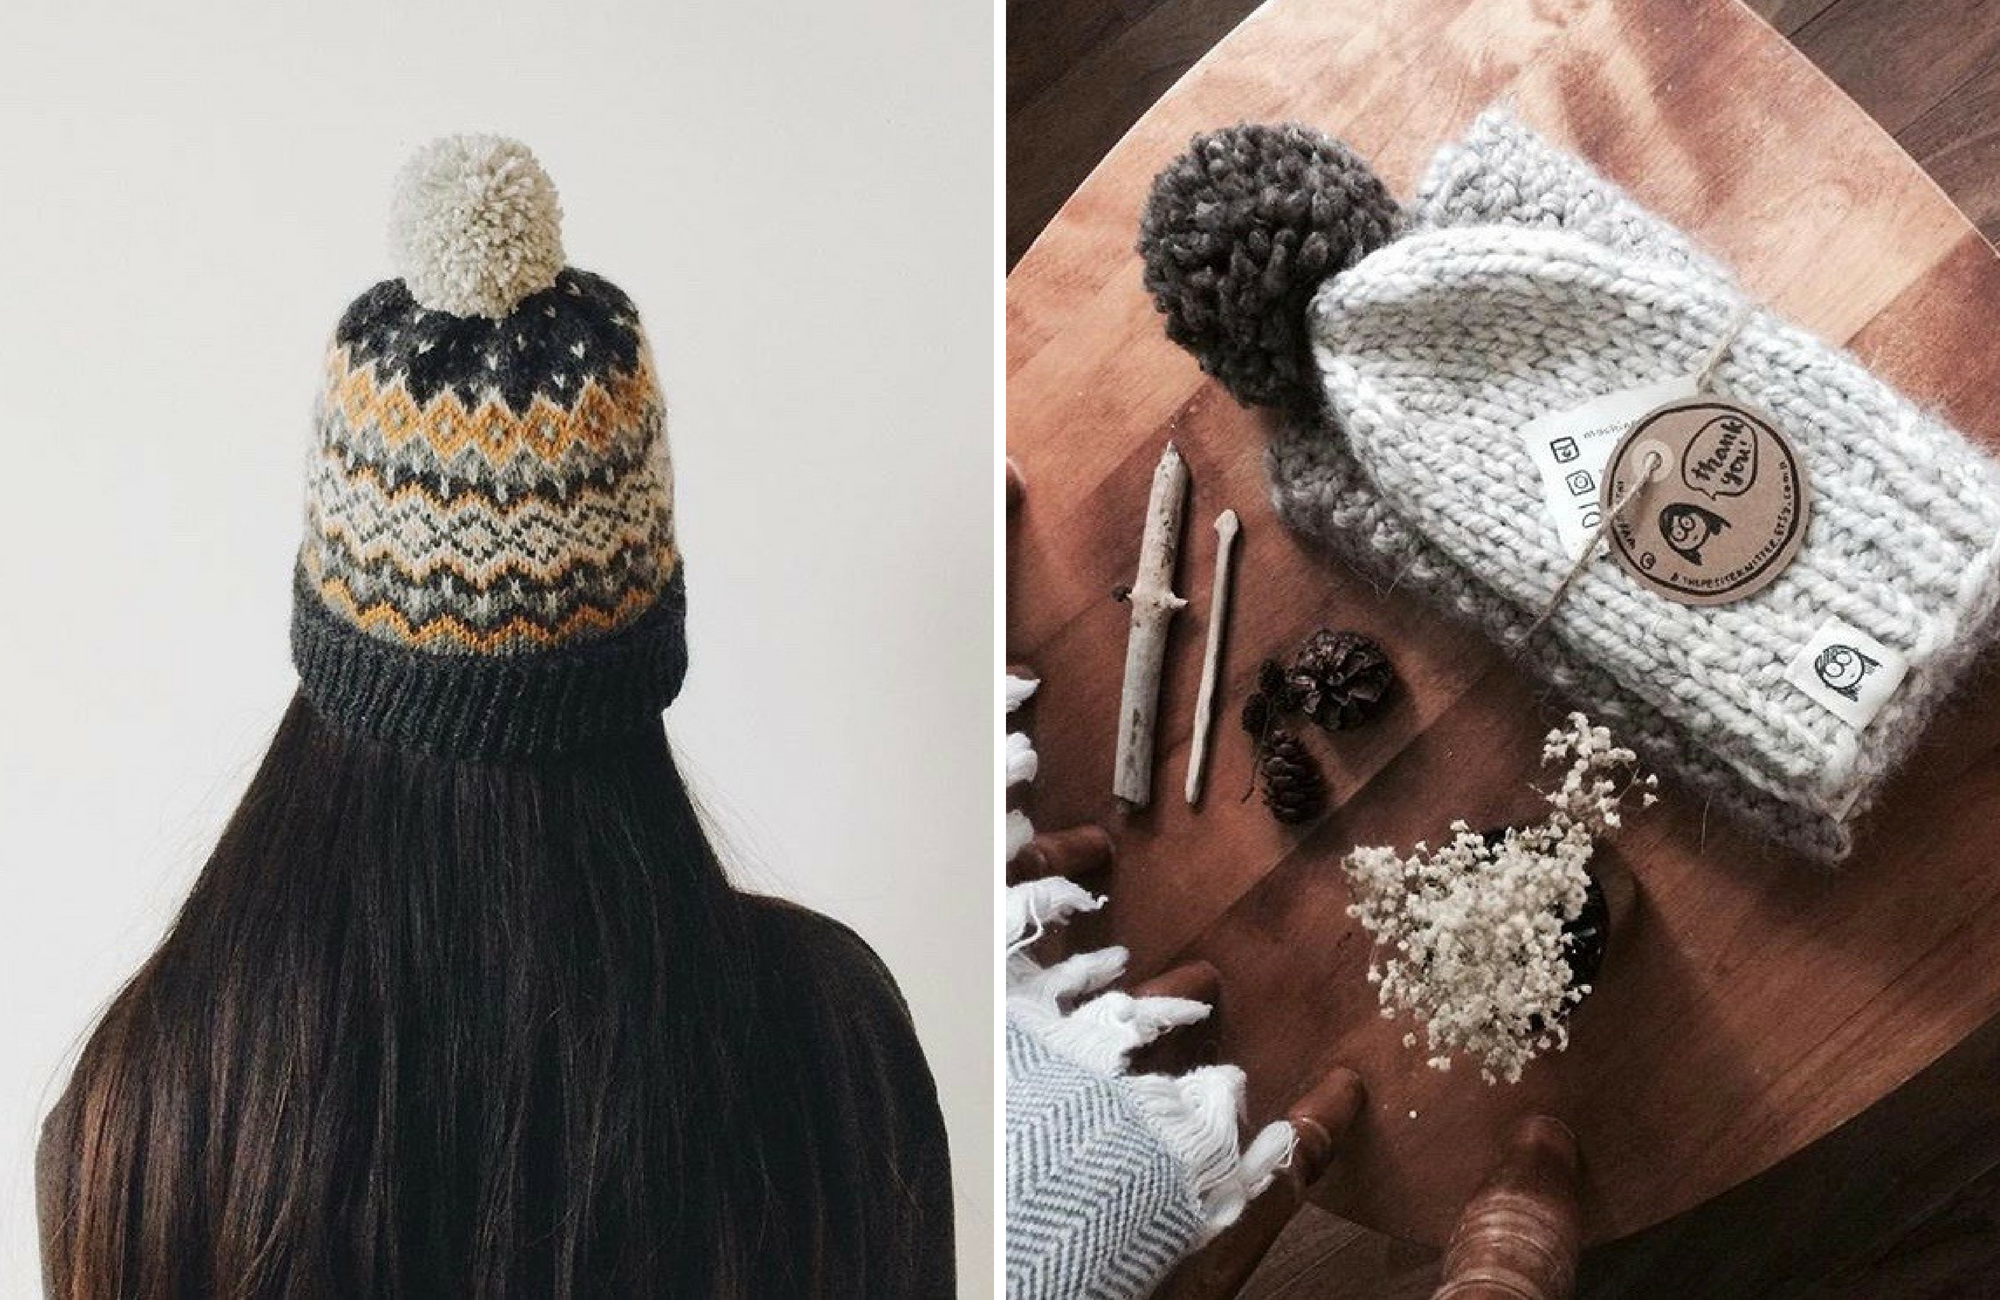
– Every December, I have a booth at a market in my wonderful town of Hood River. I prepped literally all year for it, in between custom orders. I think I took 70-75 items this year, and sold every single hat. I only had 12 items left over, and was able to sell 10 of them on Etsy. I’m just absolutely floored by the support my group of friends and little town has shown me!
5 favorites
Favorite thing about your home town?
– The ocean. I miss it every day. The sound. The smell. The salt. It’s part of my soul. I dream about it constantly. I could stare at the waves all day, it mesmerizes me, like looking into a fire.
Favorite food?
– Once again, this is almost impossible for me! I. Love. Food. So much. Avocado toast, bacon and eggs is probably my favorite breakfast. Second breakfast? Yes please. A scone. Elevensies? Don’t mind if I do.
Favorite person or people?
My husband. He inspires me daily with his creativity and drive. He has always been supportive of my knitting habits, and is my sweet photographer for my finished products when I’m modeling them. He loves me when I’m wearing my cranky pants, and makes me laugh so much. We are mutually weird and I’m so happy he’s my partner.
My momma. She is my twin. No really. We have the same birthday. She is my source of creativity, taught me how to shop the sales, and how to be a straight up girl boss. She’s sweet and salty and I hope to be just like her when I grow up.
All time favorite knitting or crochet project?
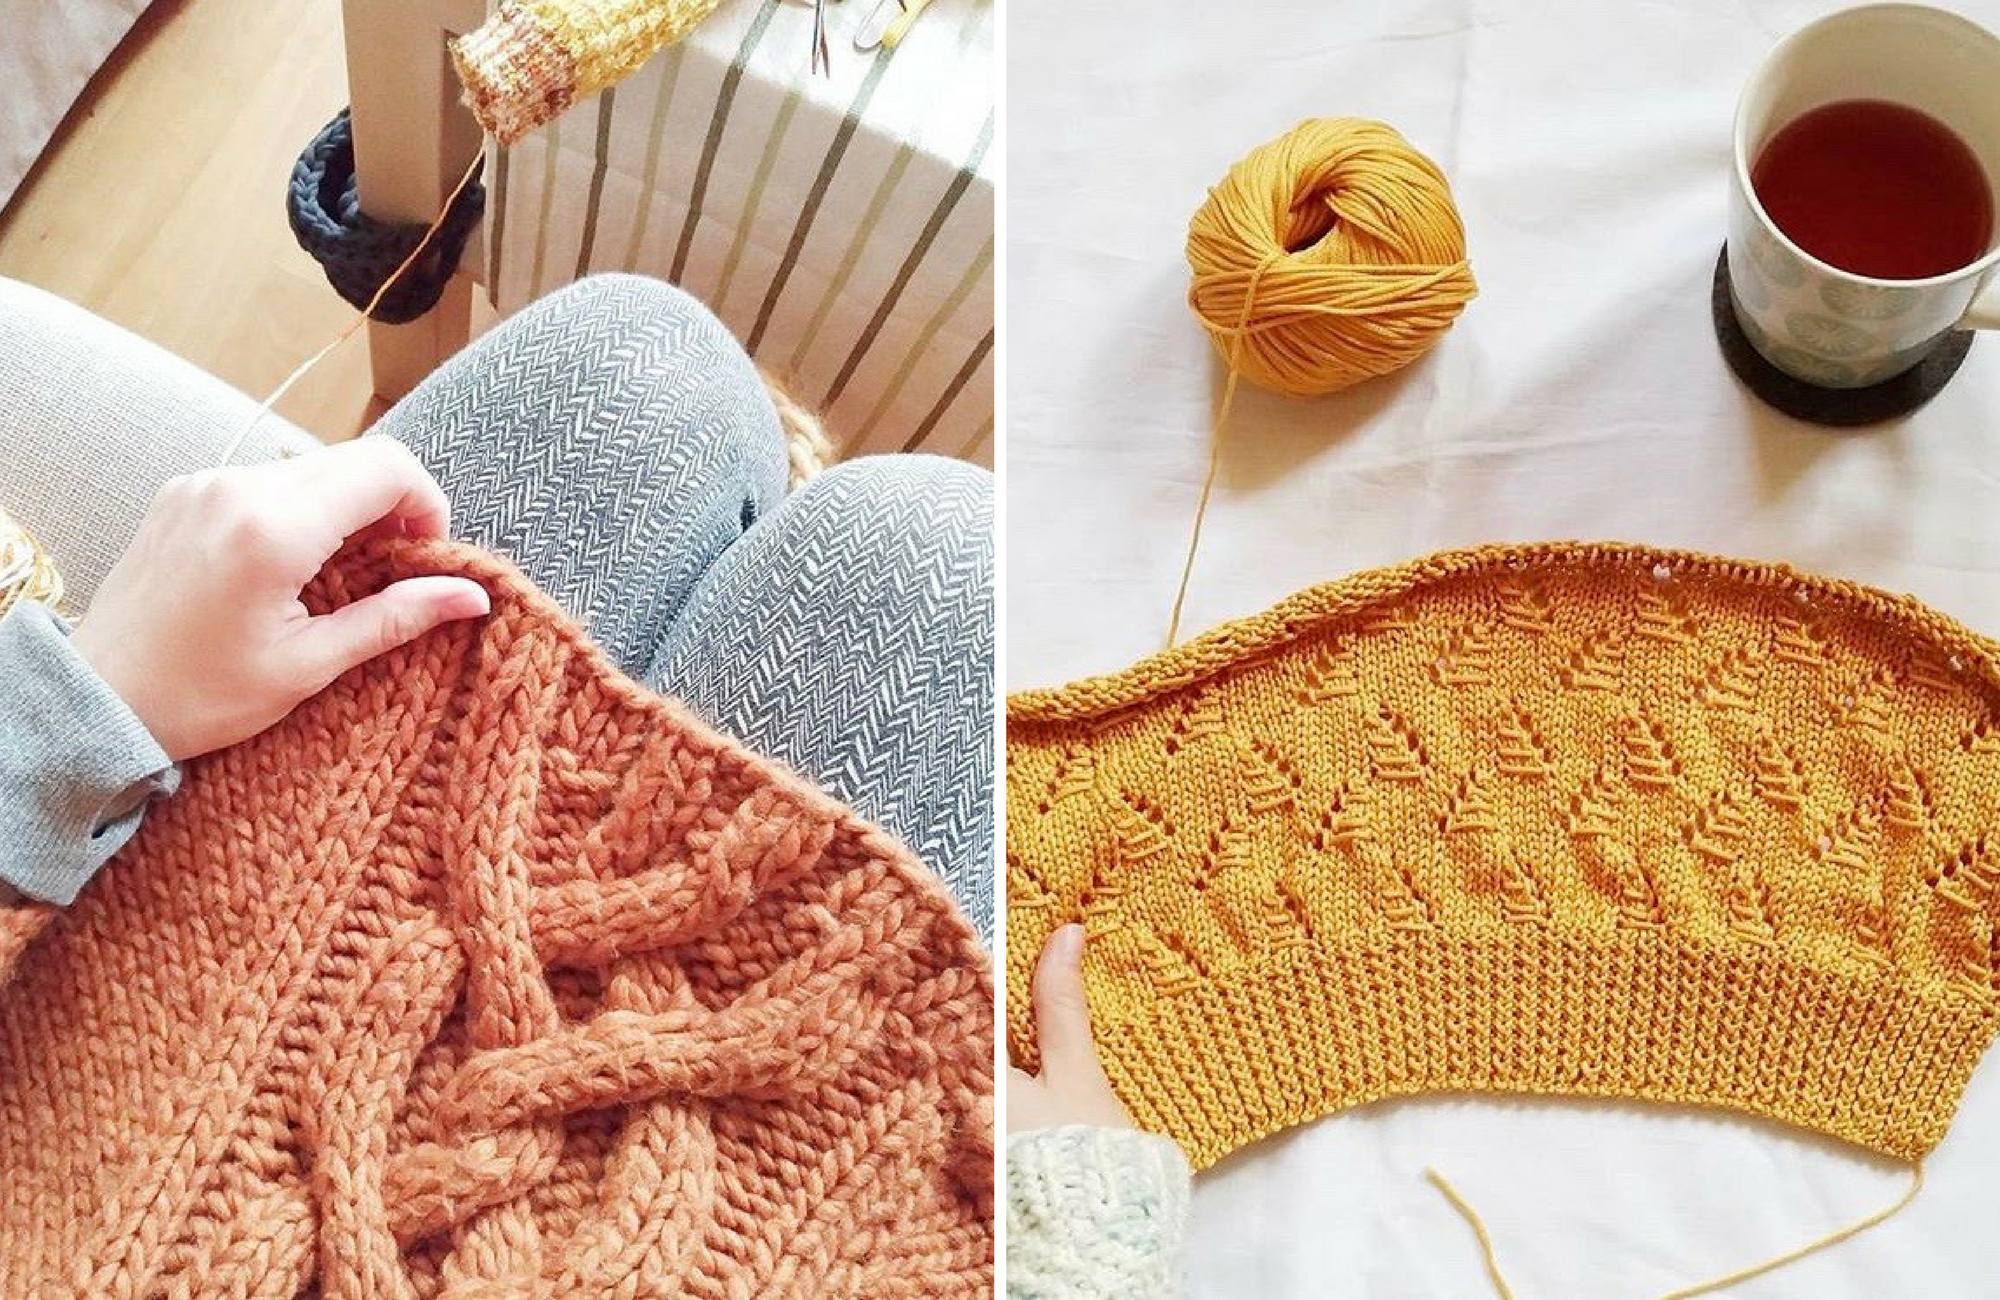
– Big knits are the most rewarding time wise, but I’m obsessed with cable knitting!!
Favorite holiday memory?
– Making cookies with my mom and sisters for Christmas! It doesn’t feel like Christmas until the baking happens. Specifically, ginger snap cookies.
xx, Kati