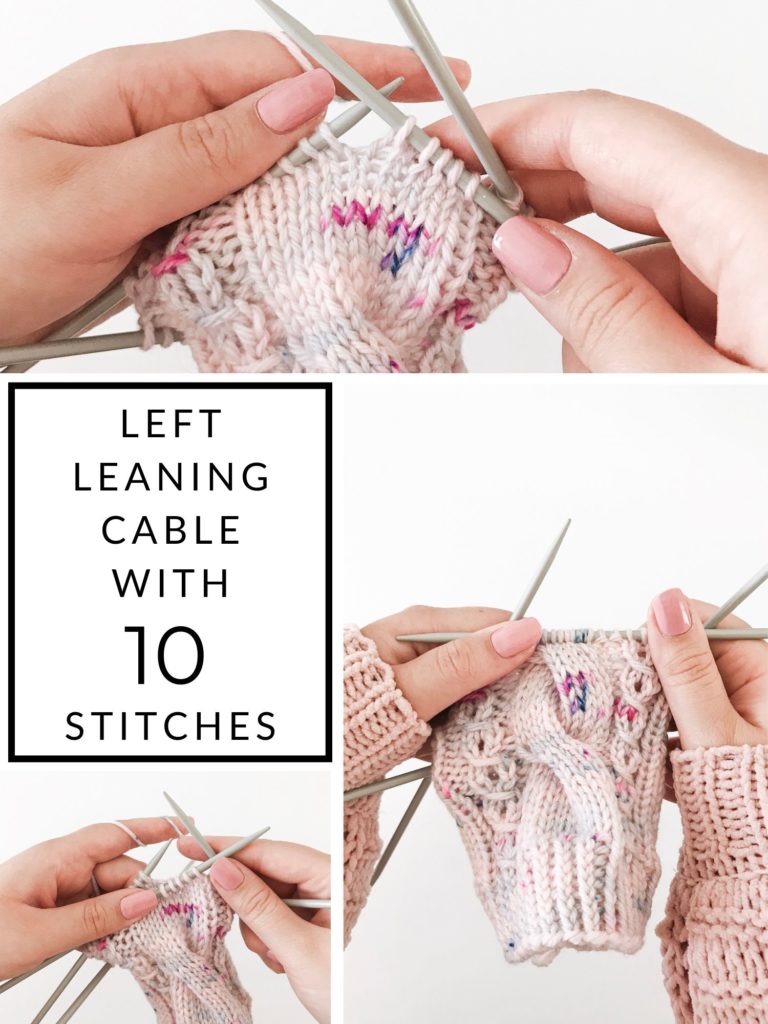
If I had to pick one knitting technique/texture to use for the rest of my life, that’d definitely be cables. I absolutely LOVE cables! They’re easy, quick to learn and add amazing texture and detail to any knit piece. I’ve used them in all my beanie designs and have a few cable sock designs coming out as well. This big, 10-stitch cable will be used in one of them so let’s get to the instructions!
A left leaning cable is made by slipping stitches onto a cable needle in front of the work. All simple cables work the same way and these instructions can therefore be used for any sized left leaning cable: by adjusting the number of stitches slipped onto the cable needle you’ll be able to vary the size of the cable! For example if you’d like to make a 6-stitch cable, you’d slip 3 stitches onto the cable needle, knit 3 and then knit the stitches on the cable needle and so on. But in this one, we’re slipping 5 stitches onto the cable needle, leaving them in front of the work, knitting 5 stitches and then knitting the stitches on the cable needle. In my patterns, I’d name this C10F: the cable is 10 stitches in size and the cable turn is made in the front.
My beautiful yarn is Worsted Superwash Merino in the colorway Peony by Unicorn Yarn Co, find all her amazing yarns here!
So let’s get to the pictures!
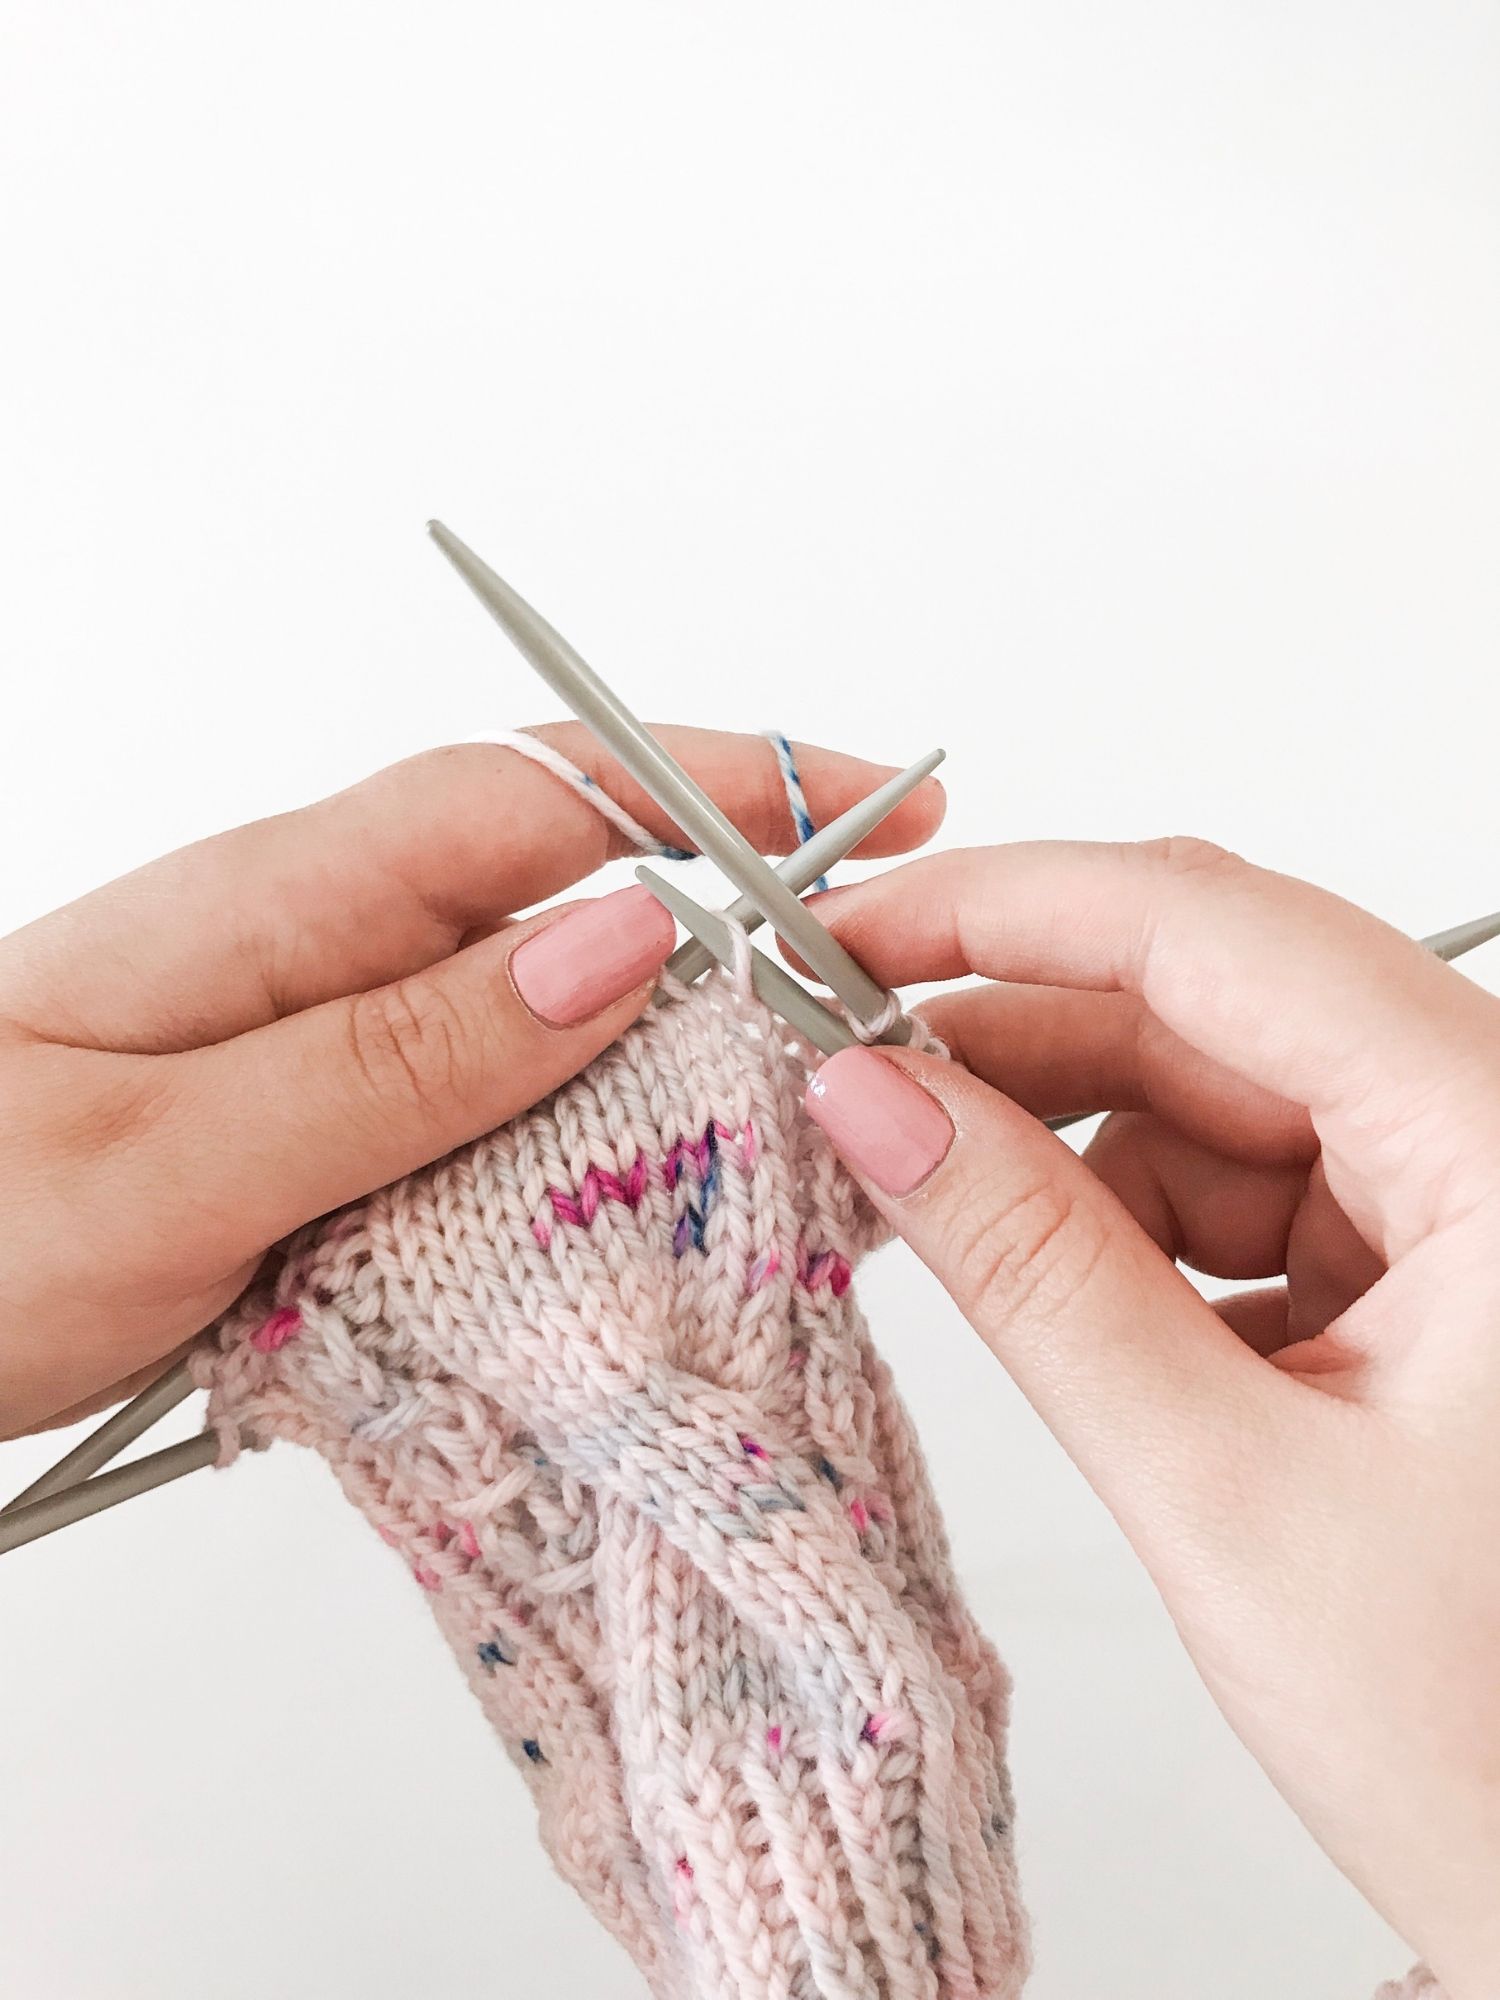
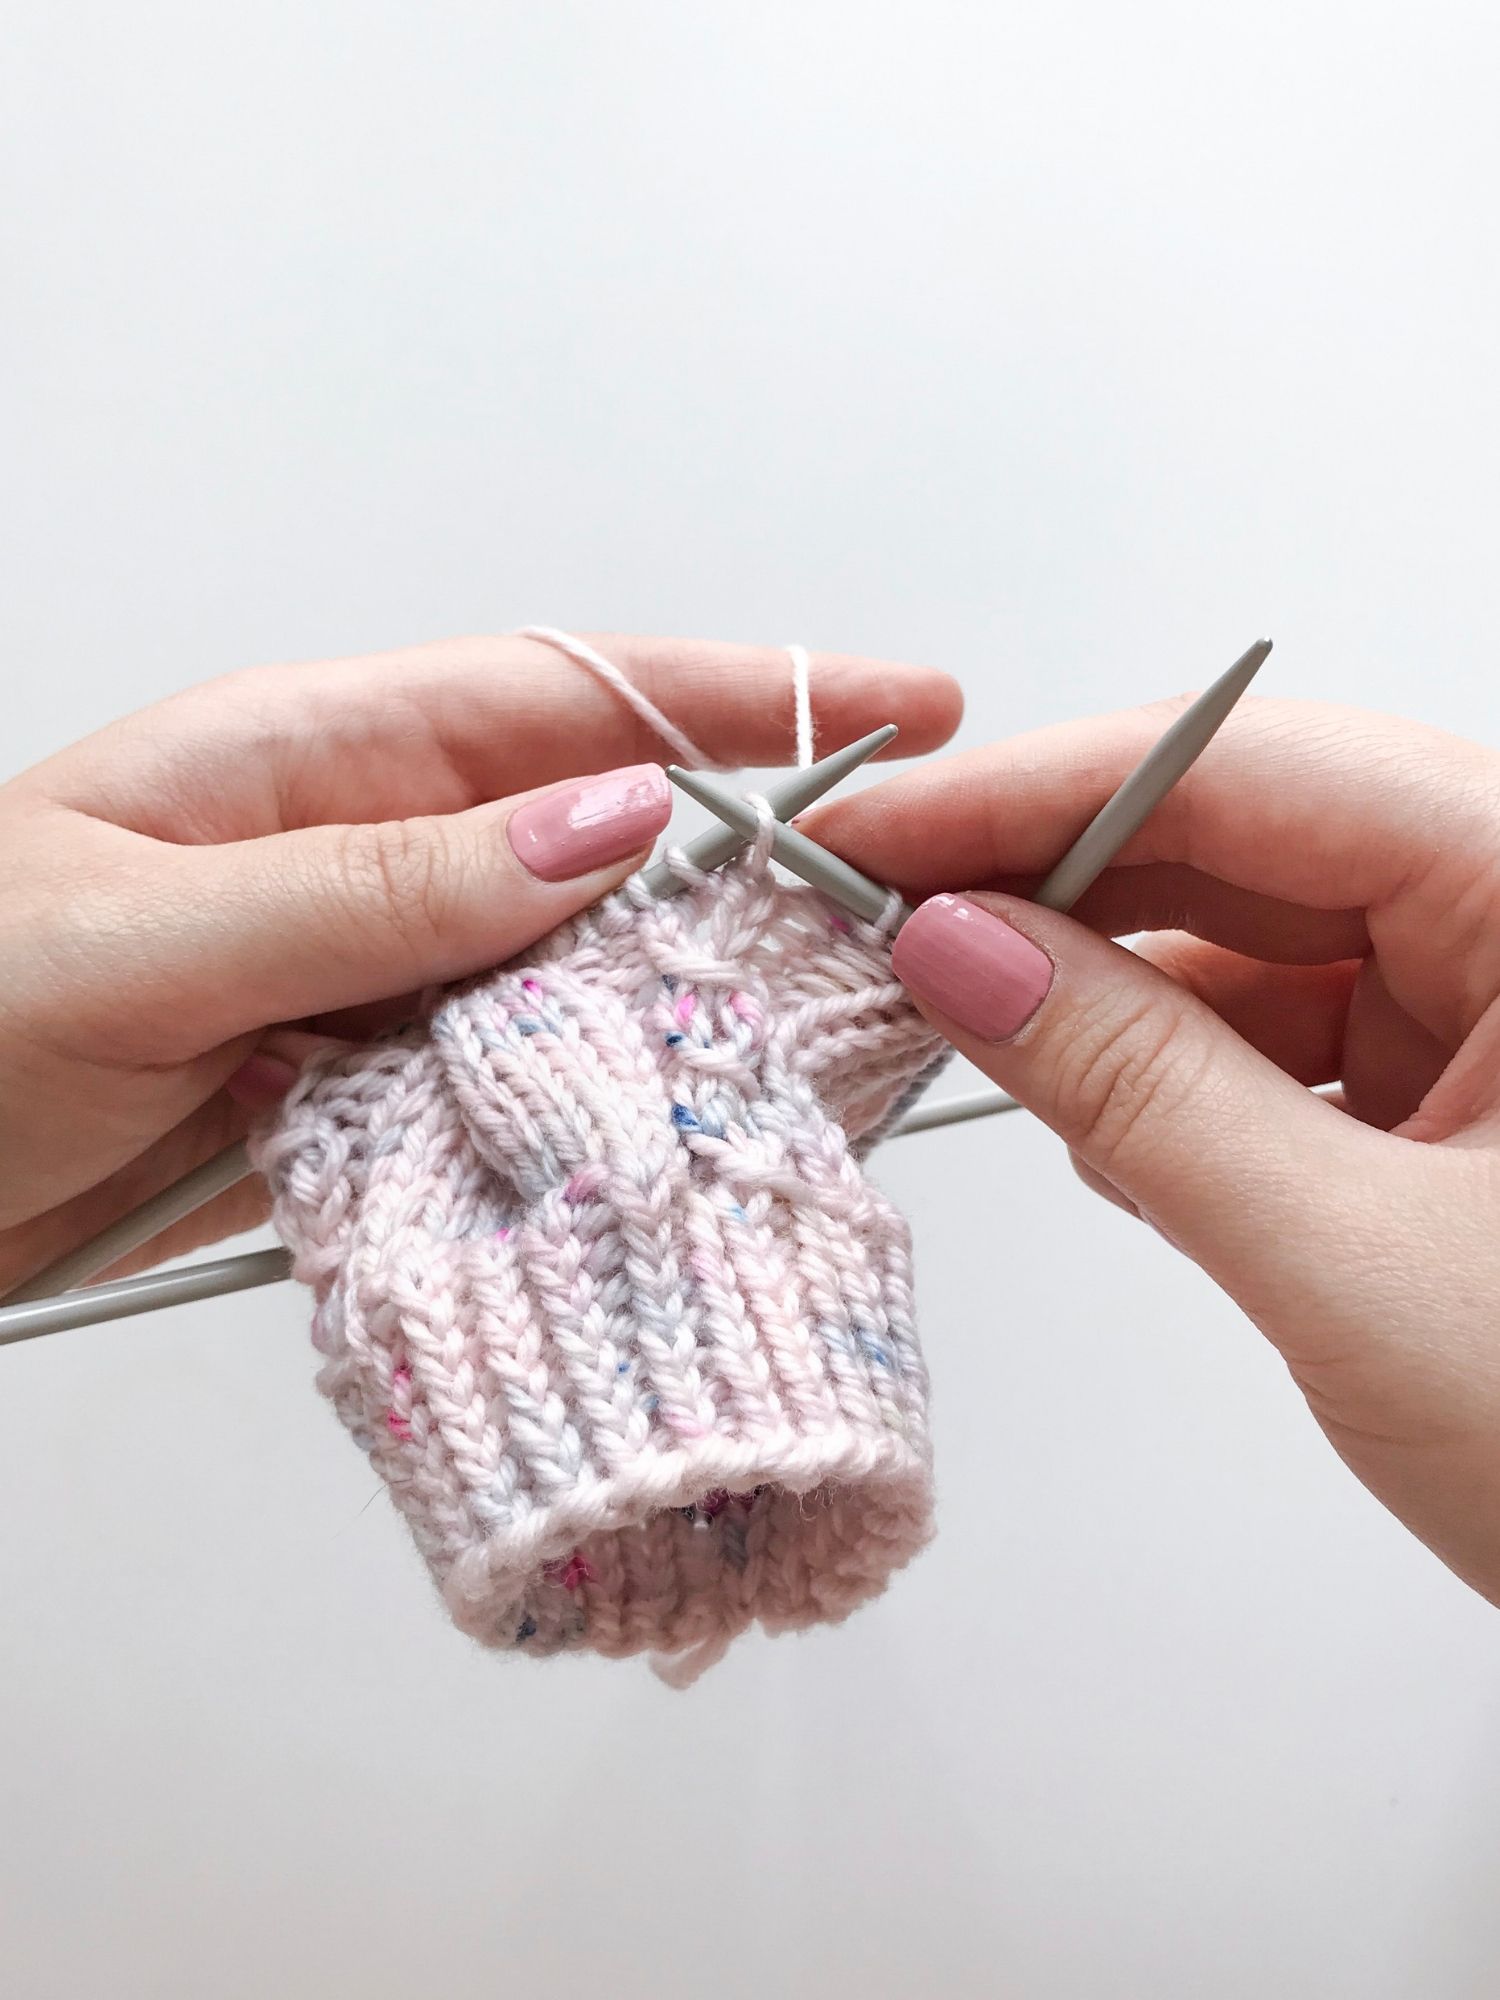
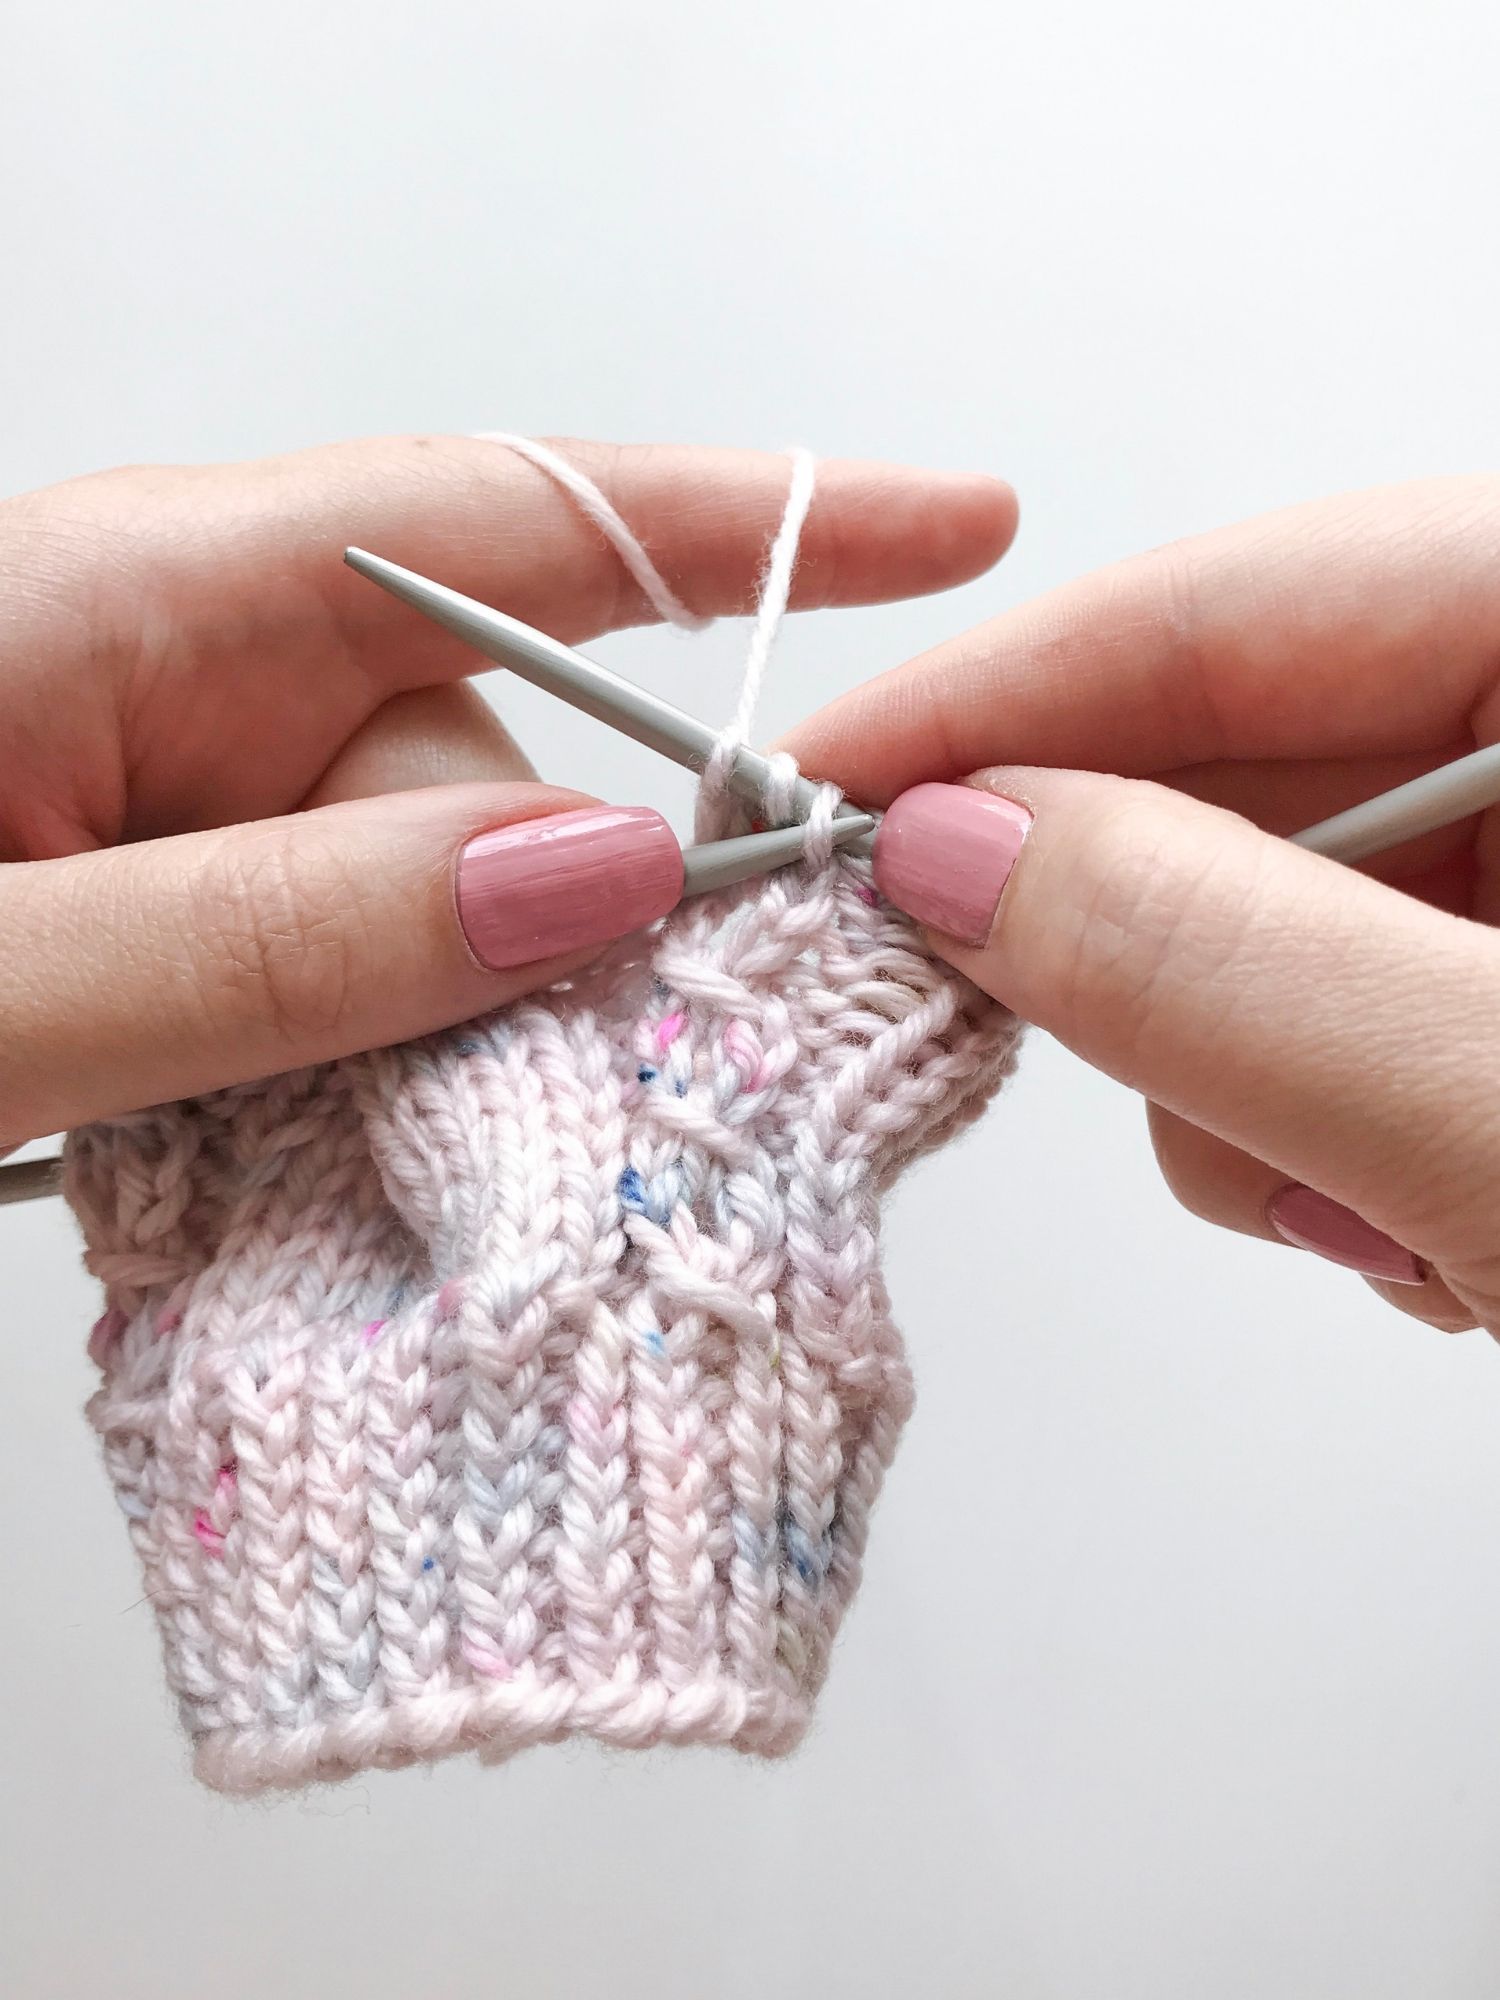
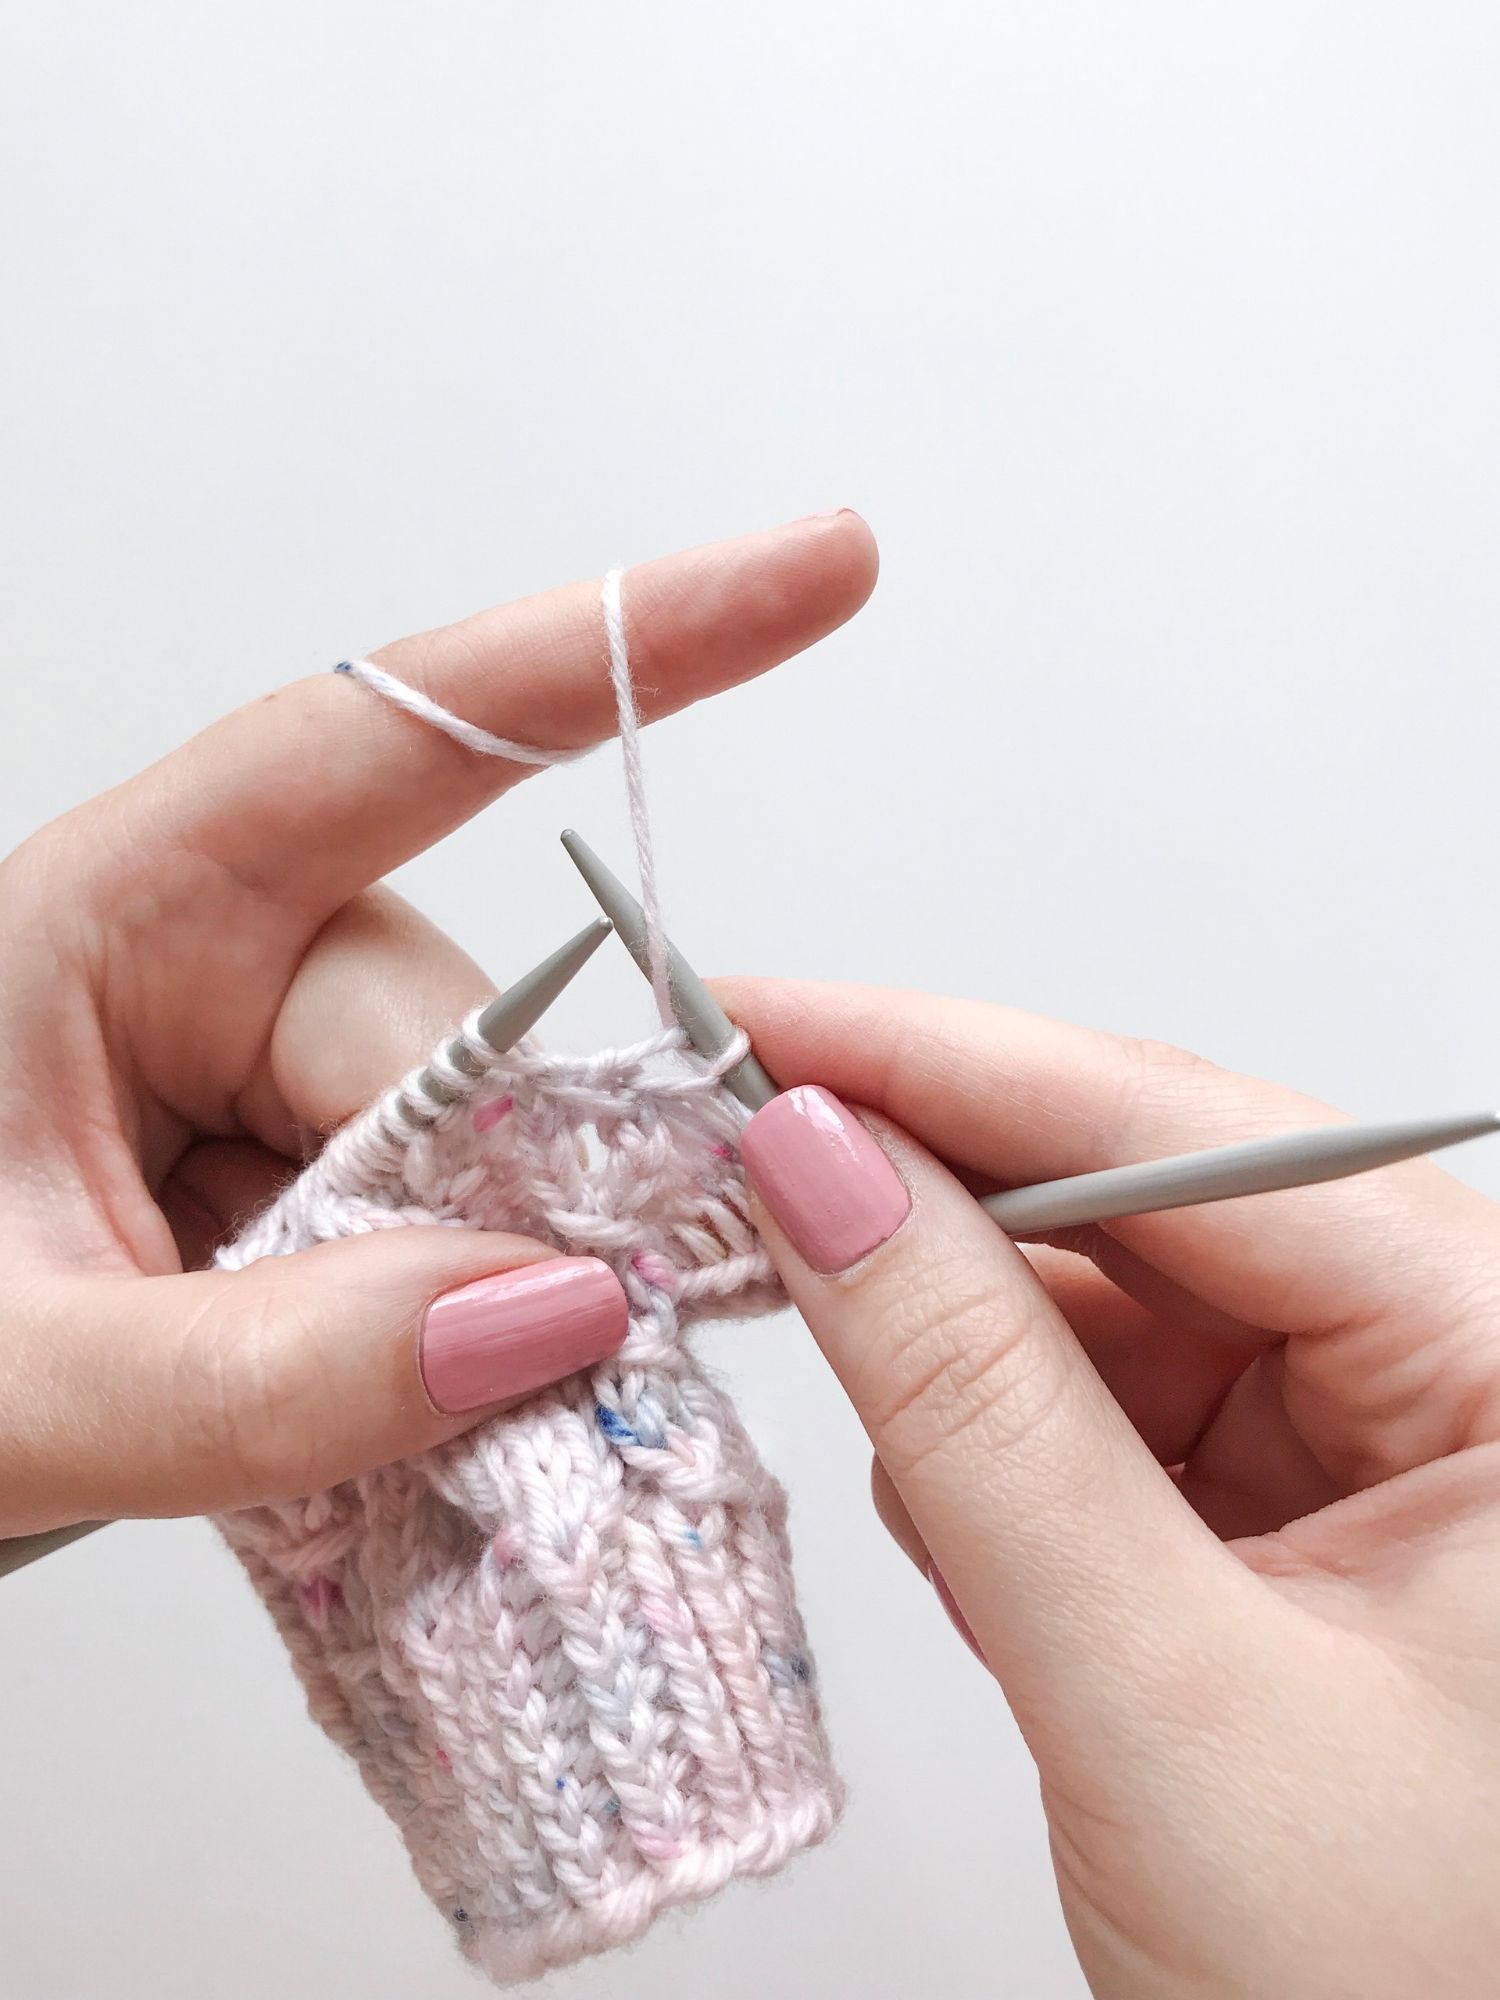
Step 1: slip 5 stitches purlwise (one by one) onto the cable needle in front of the work. Slipping the stitches purlwise is essential – you don’t want to twist them!
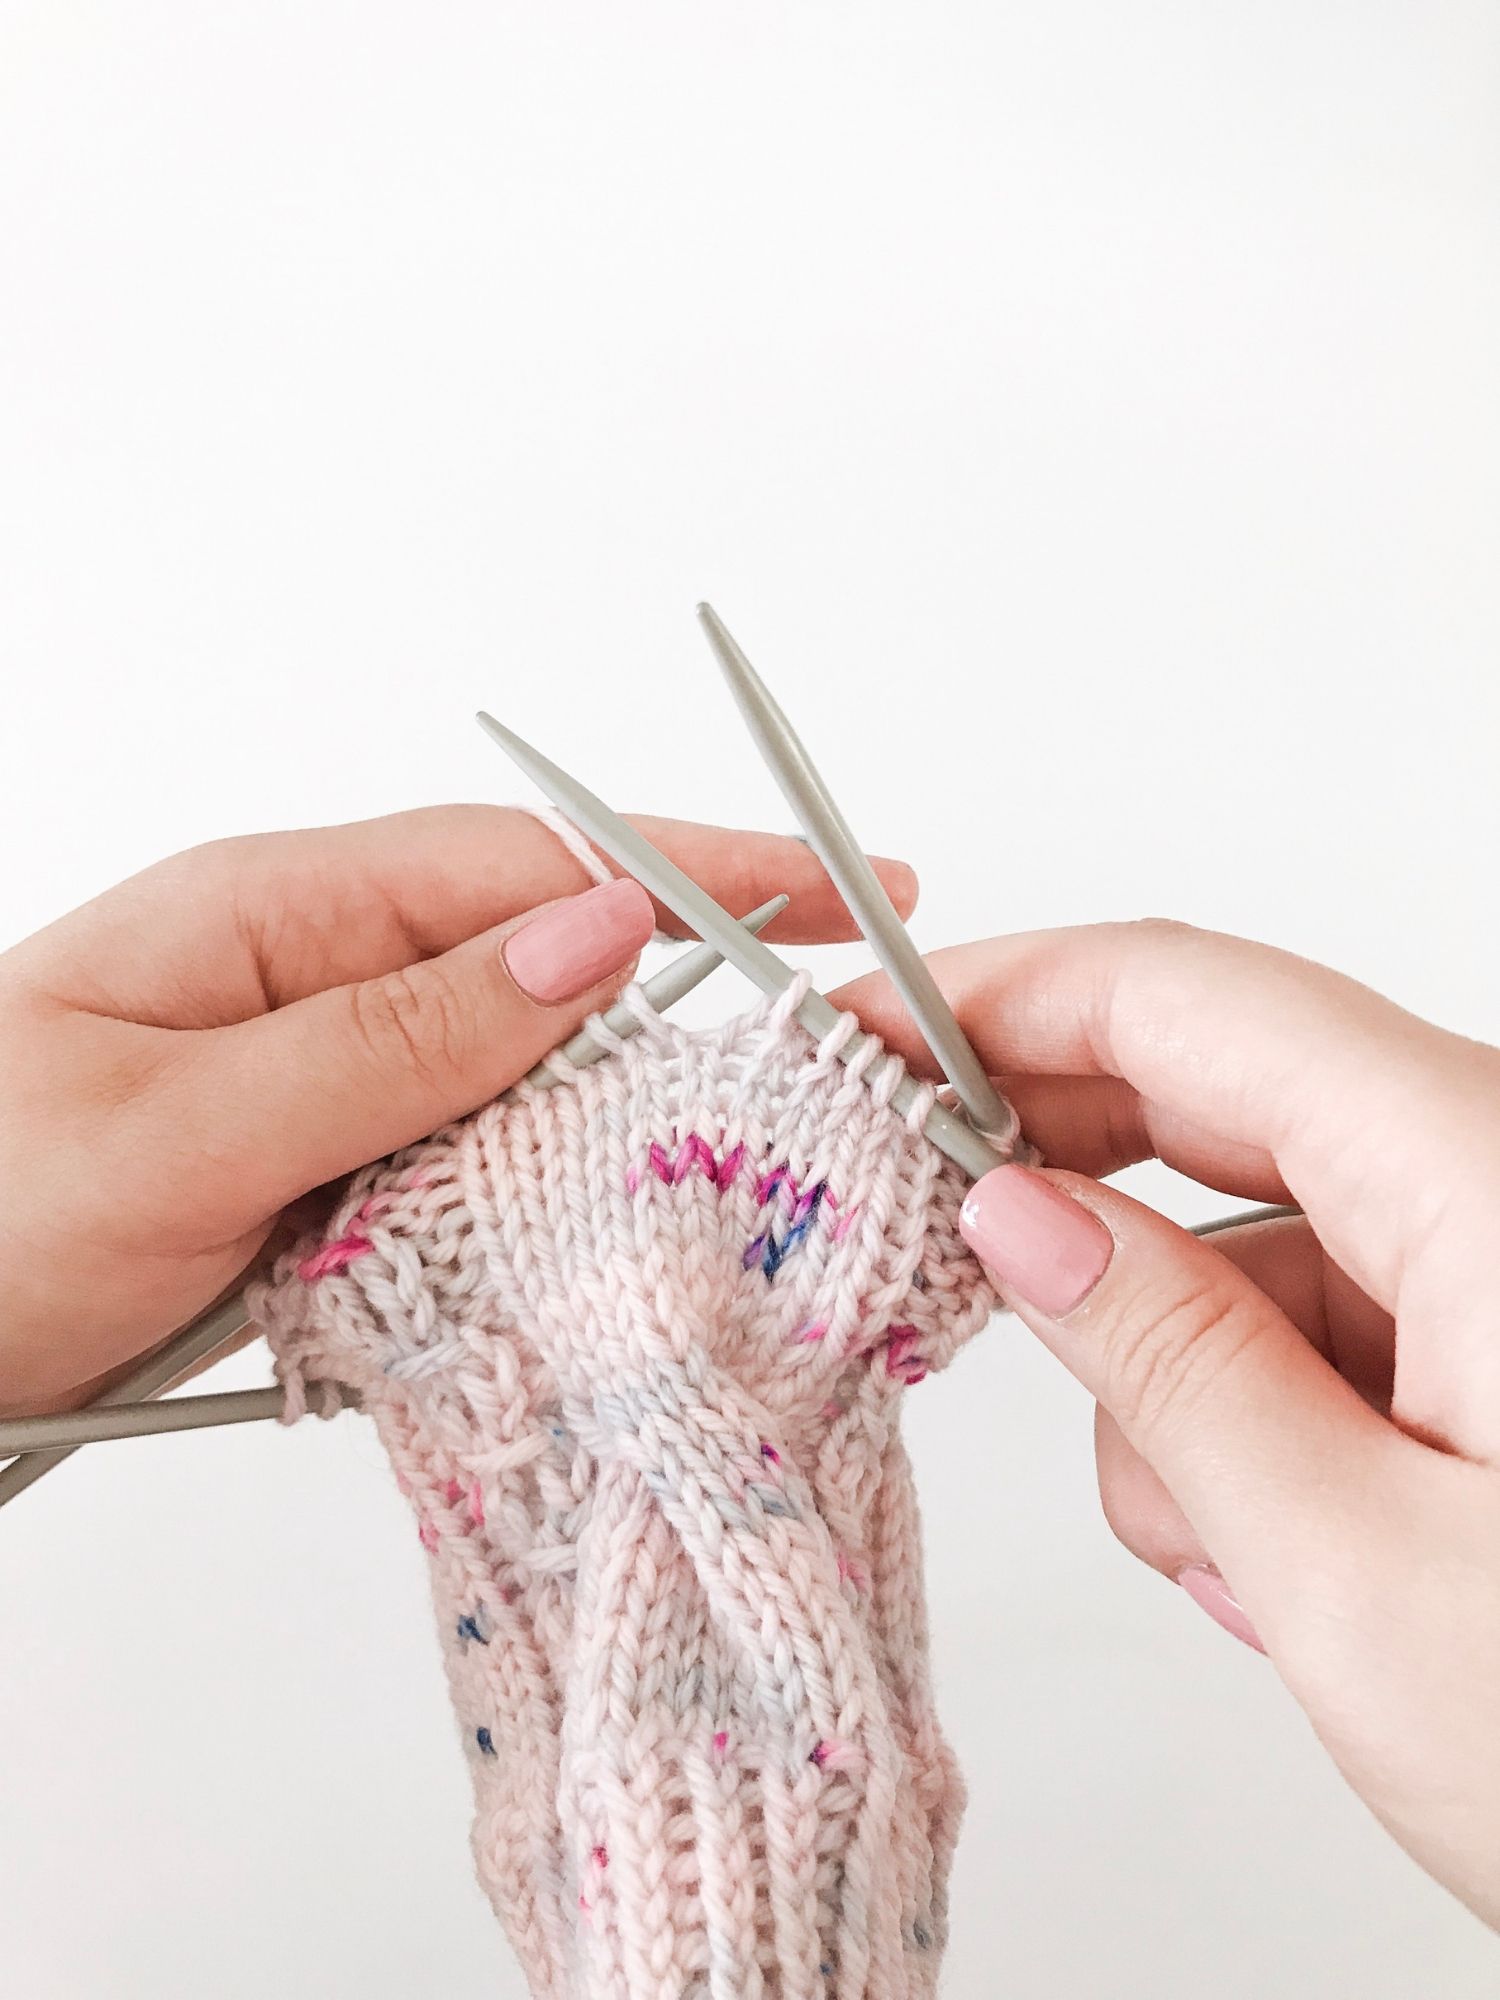
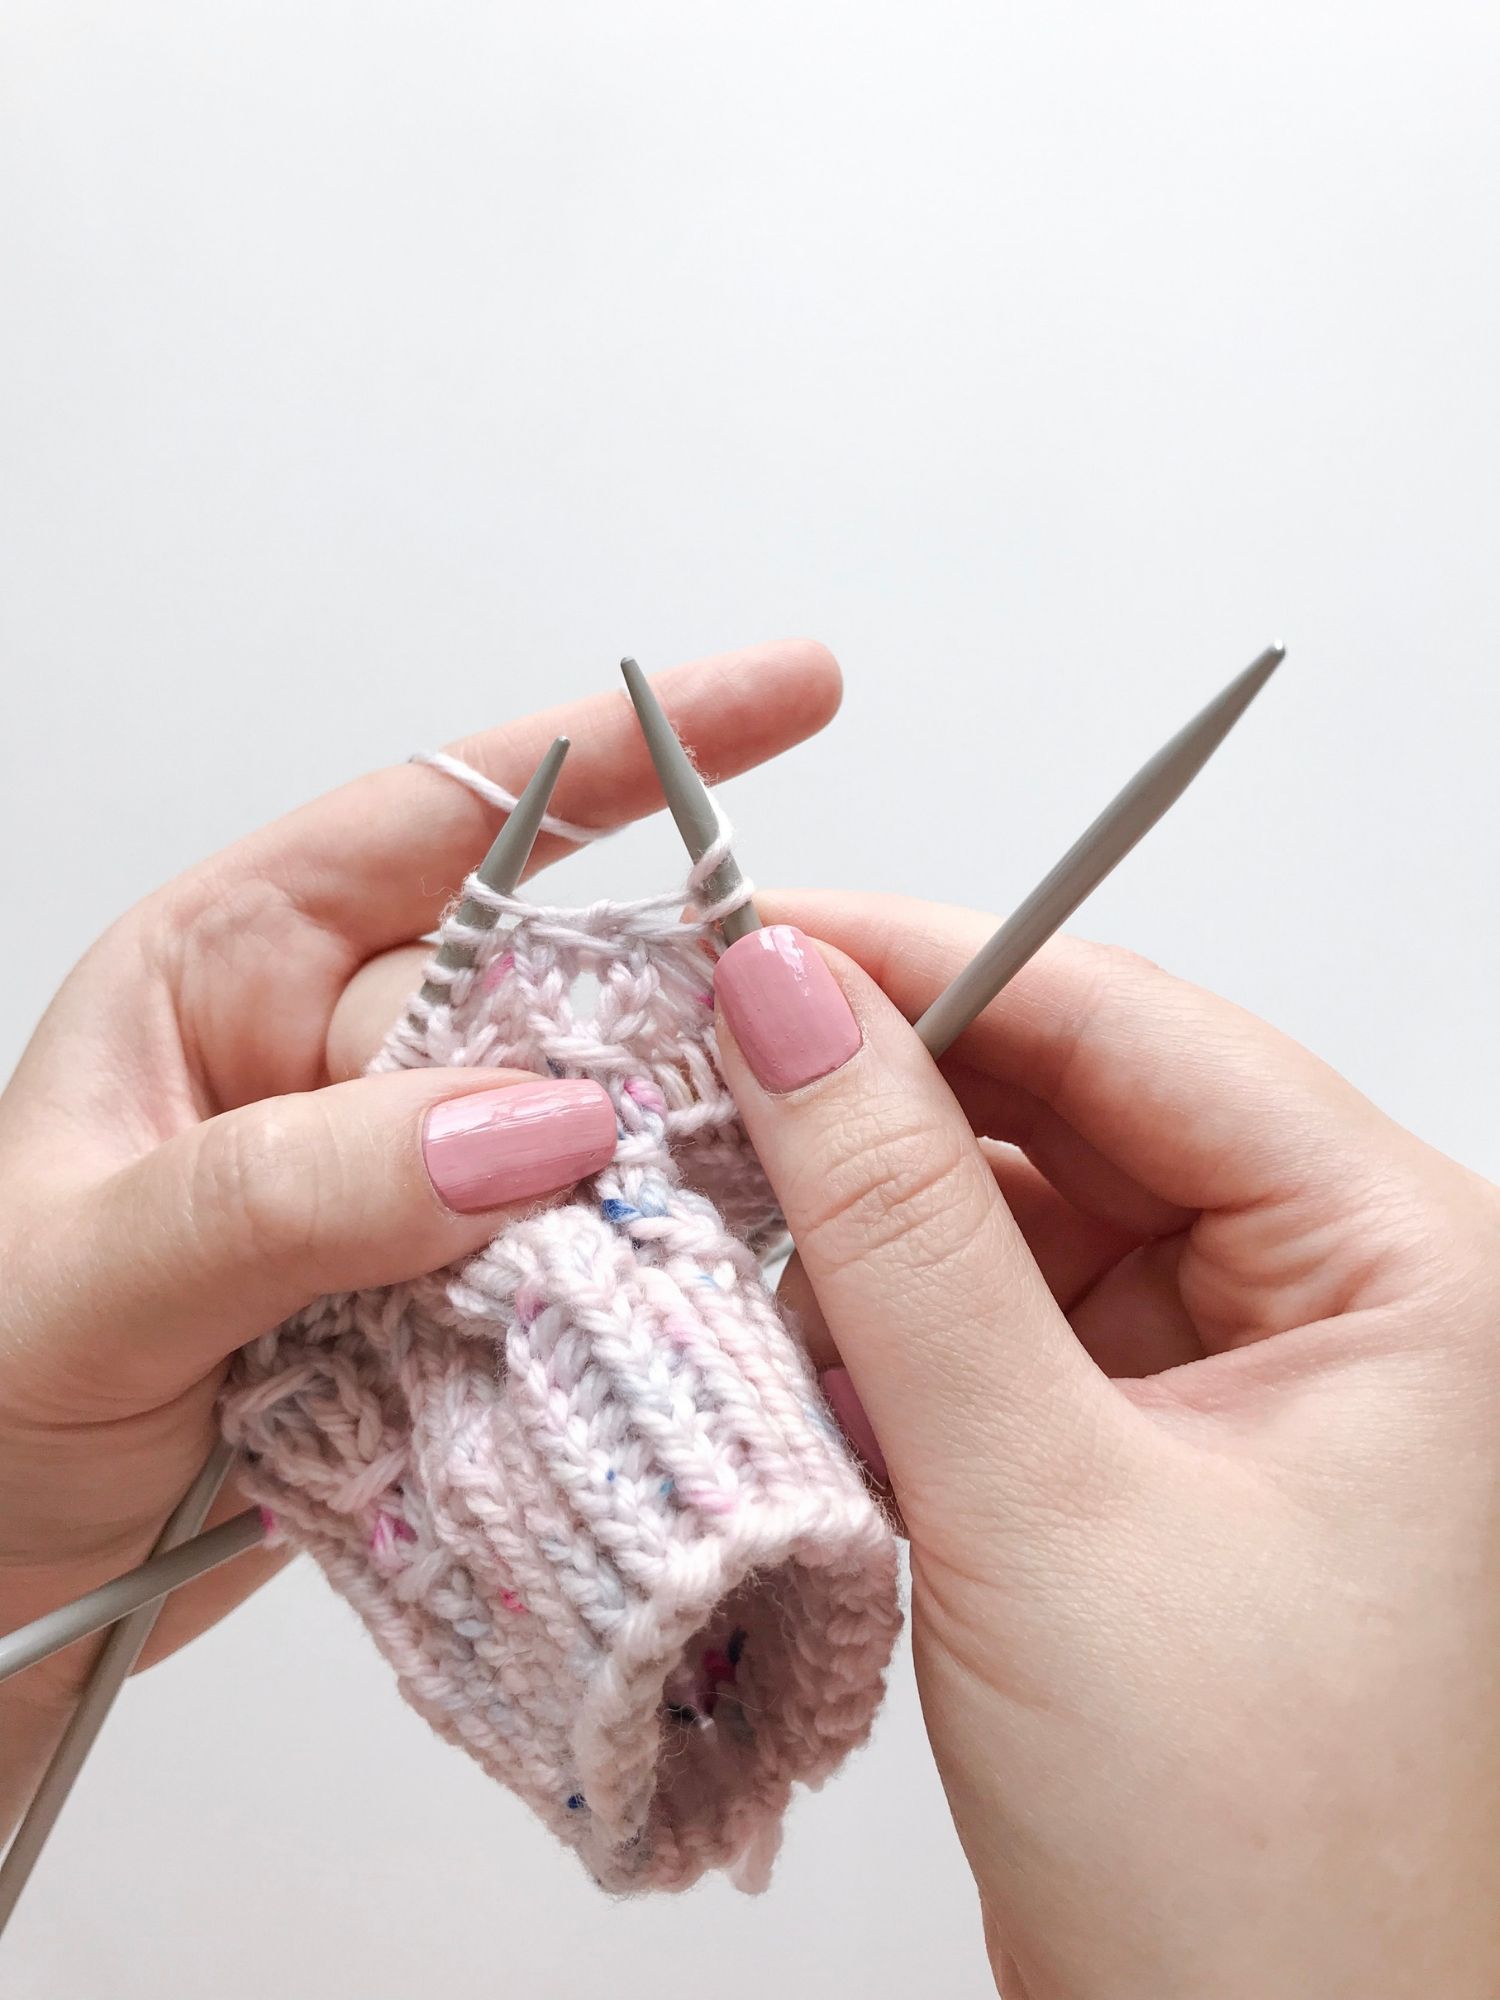
After step one, your cable needle or extra DPN should look like this!
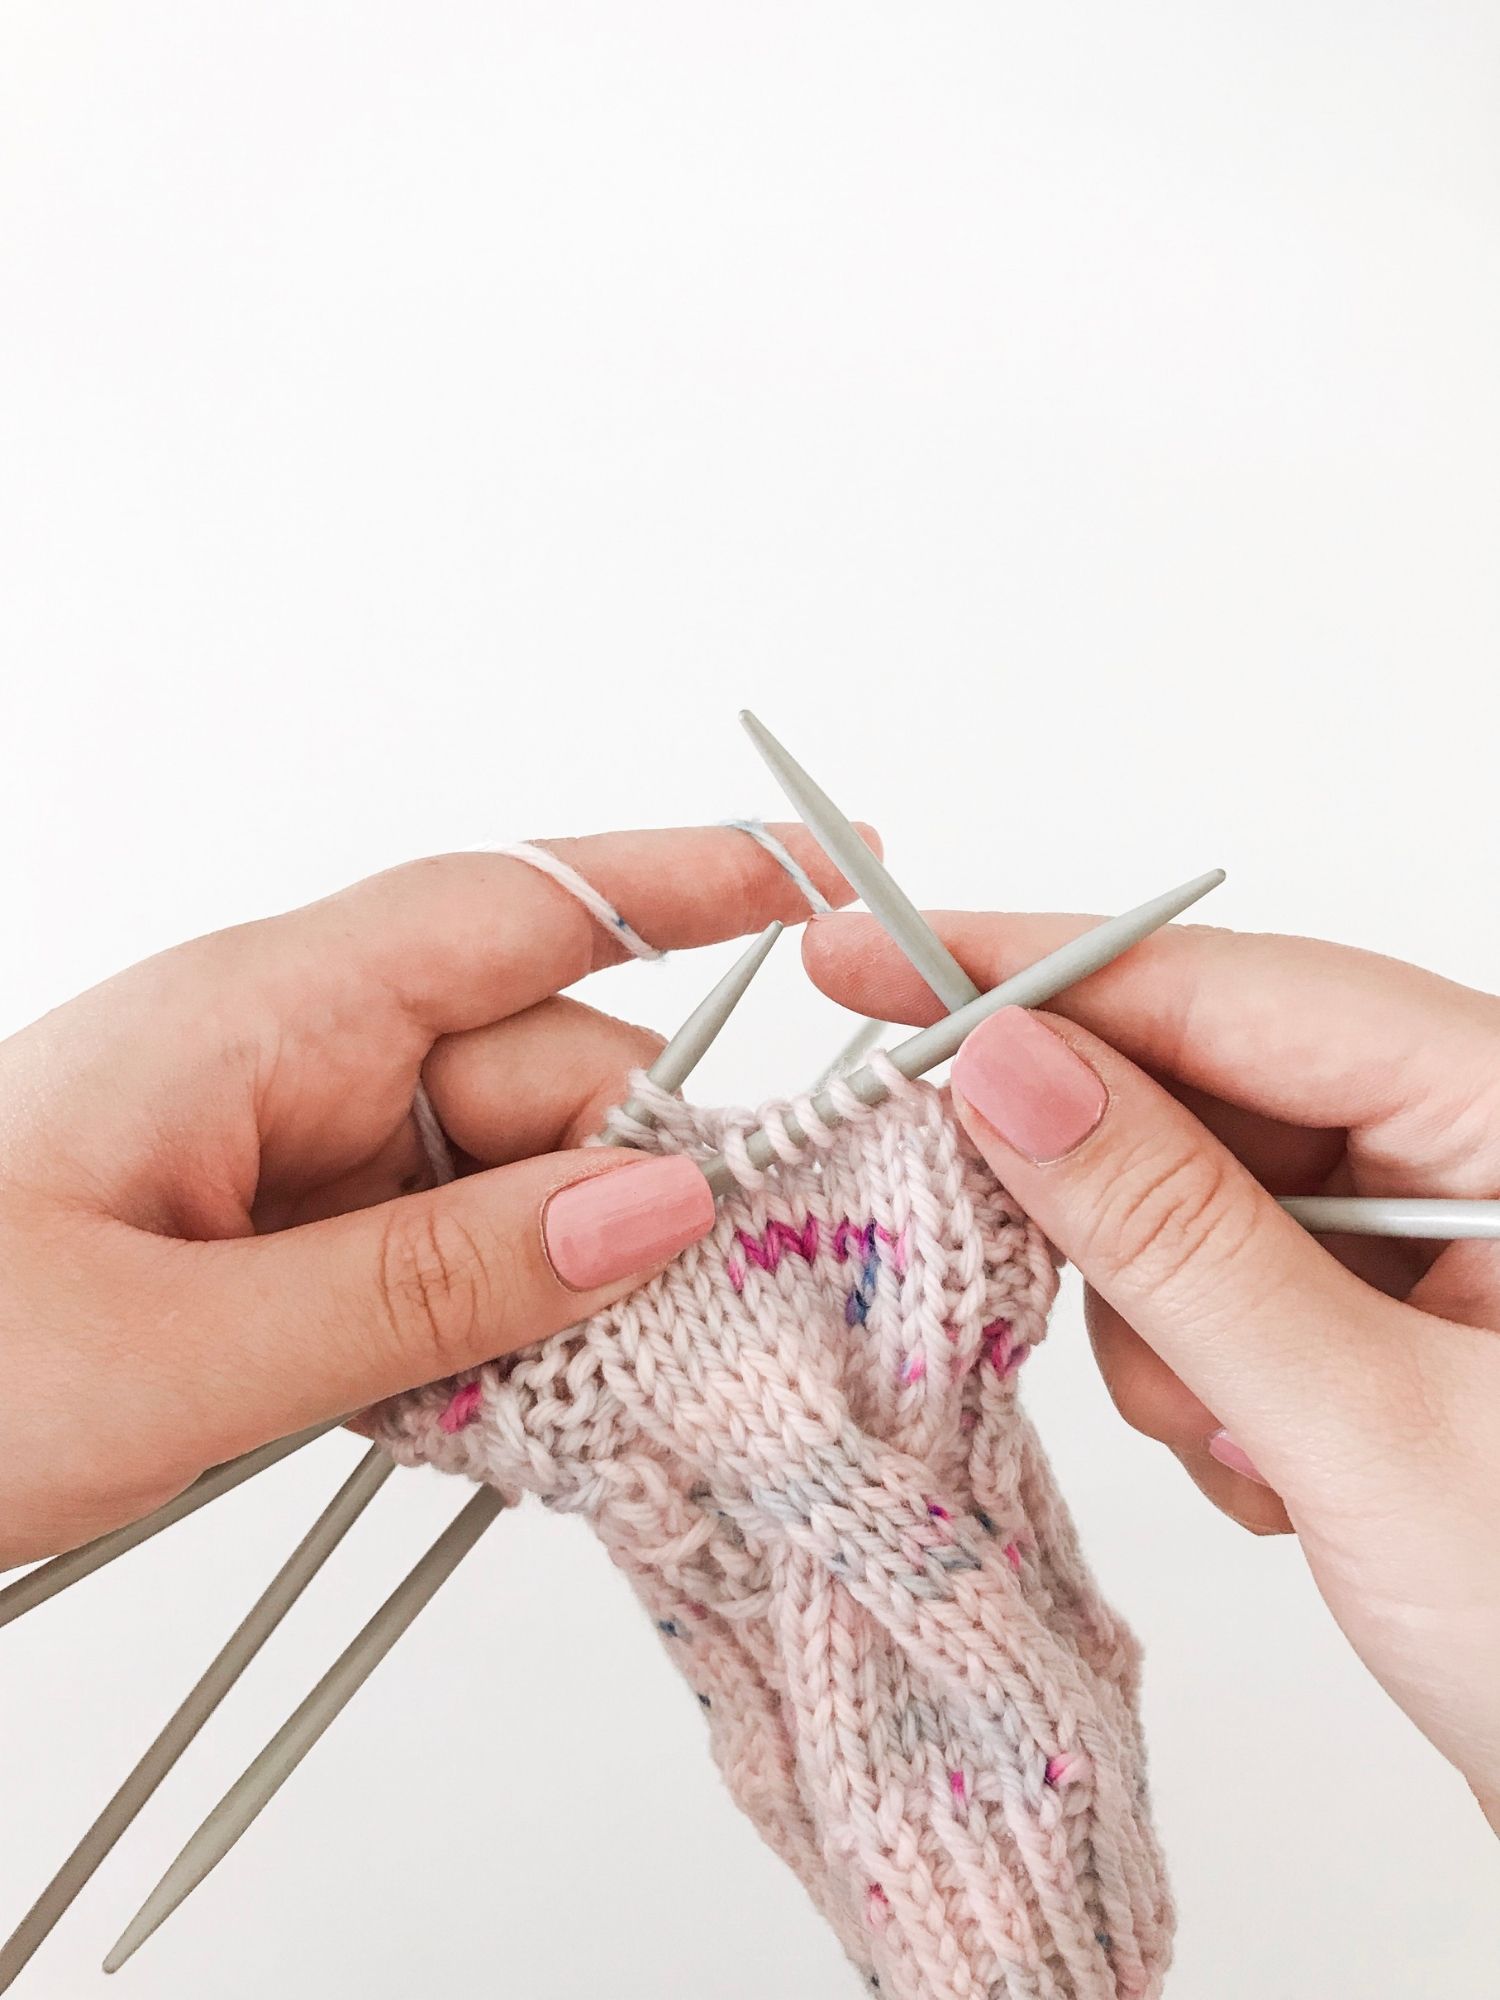
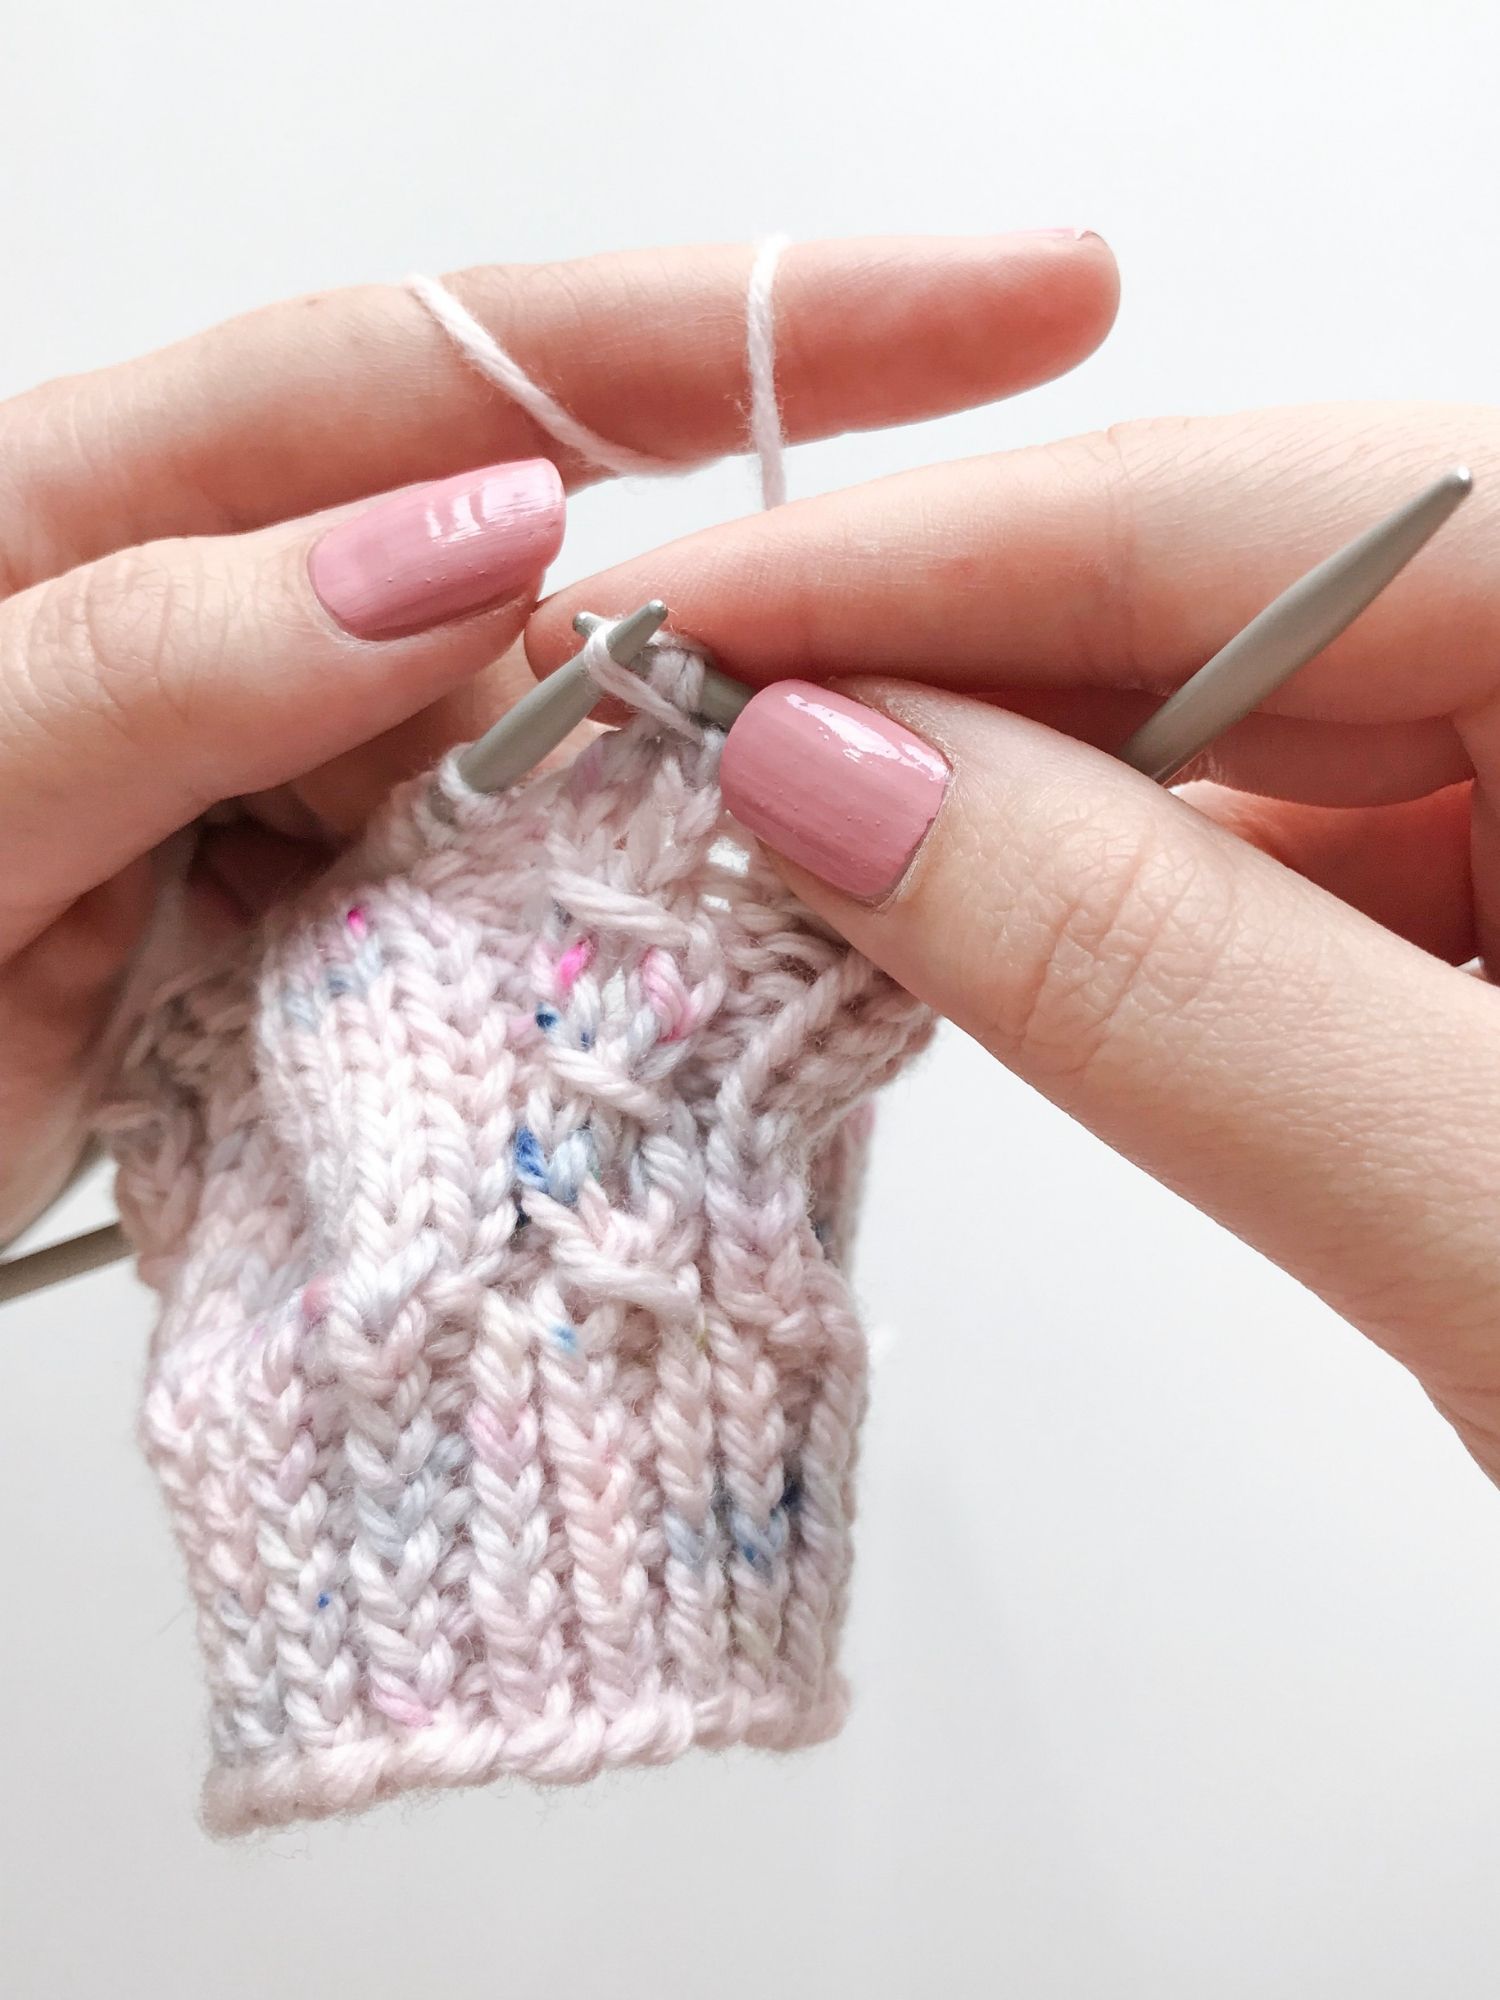
If you do your cables with a DPN, align the needle with your left needle so that you have space and can comfortably knit 5 stitches from the left needle.
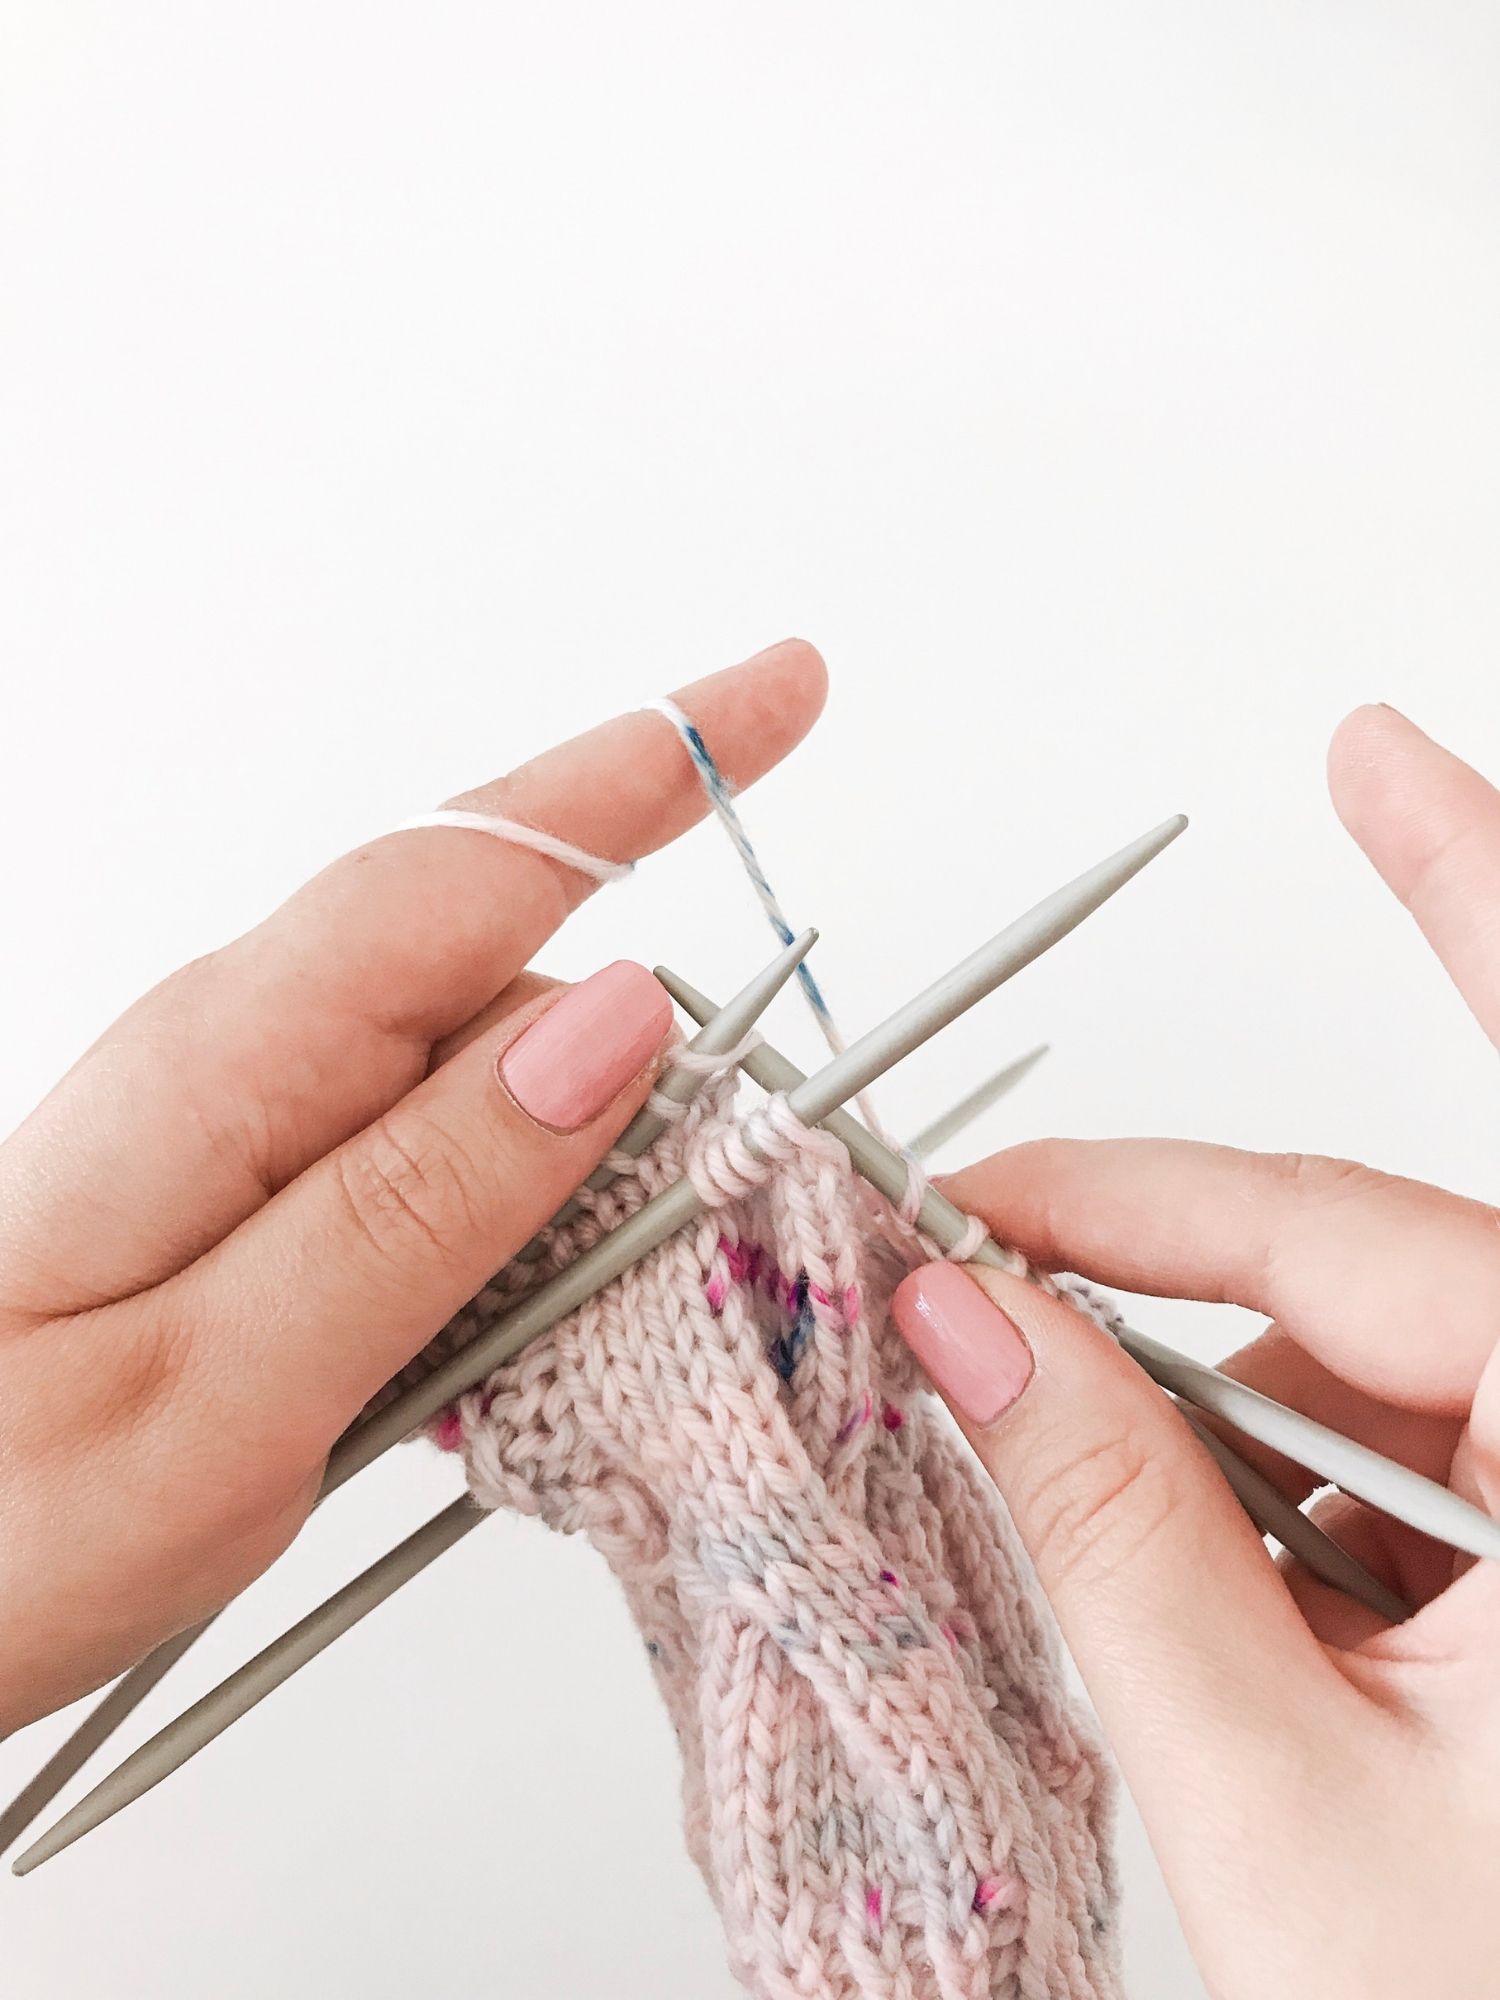
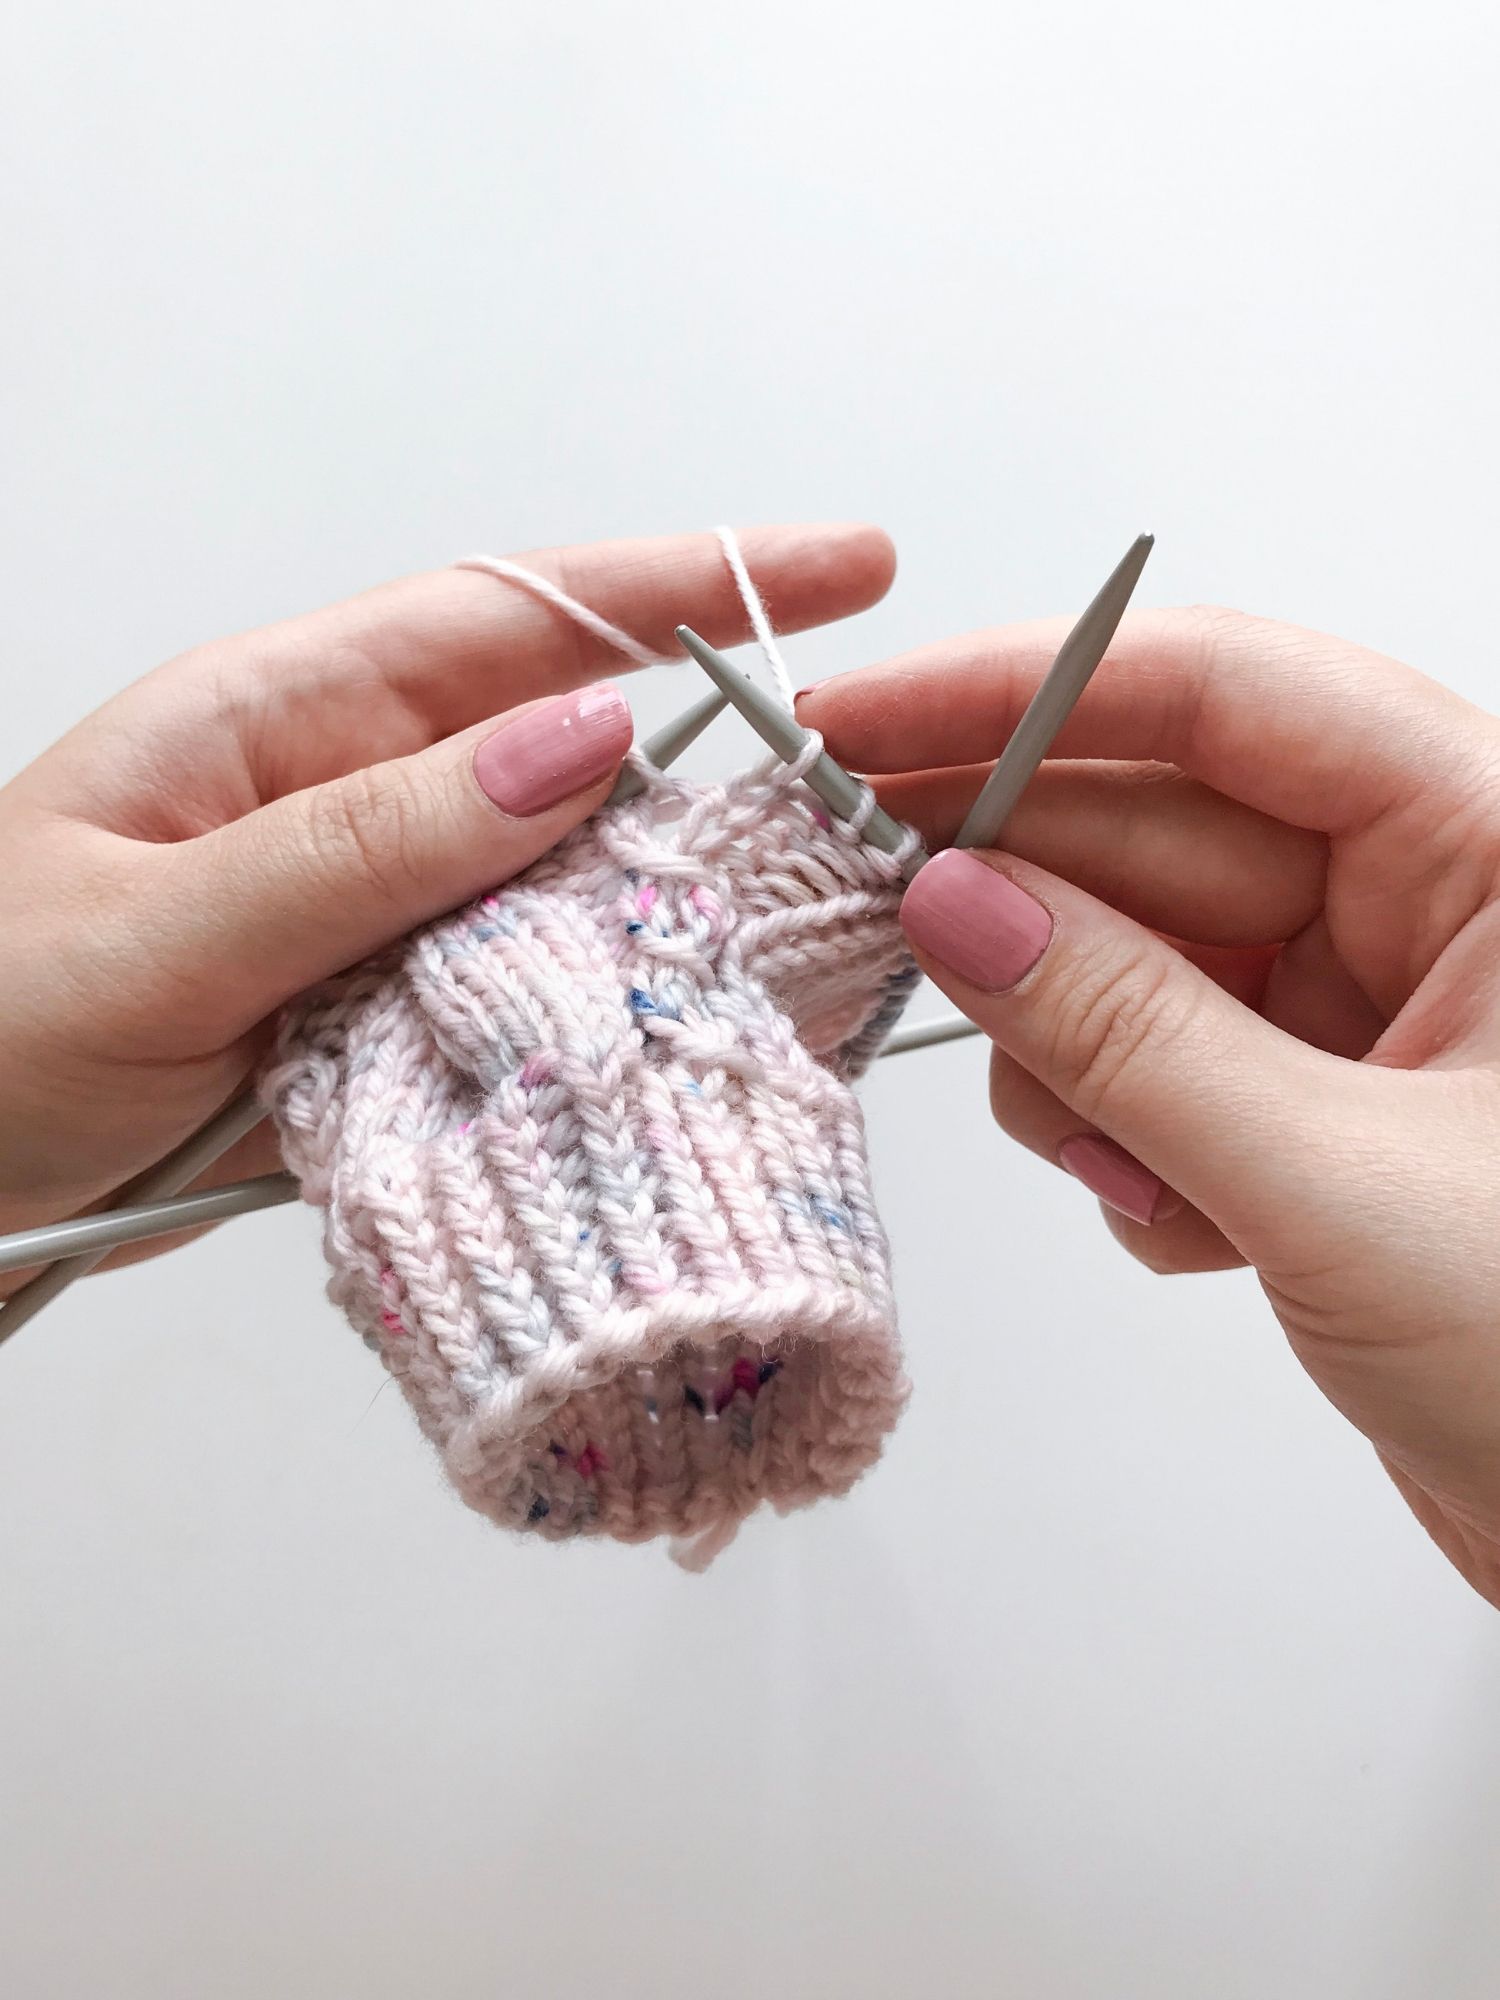
Step 2: knit 5 stitches from the left needle like you normally would.
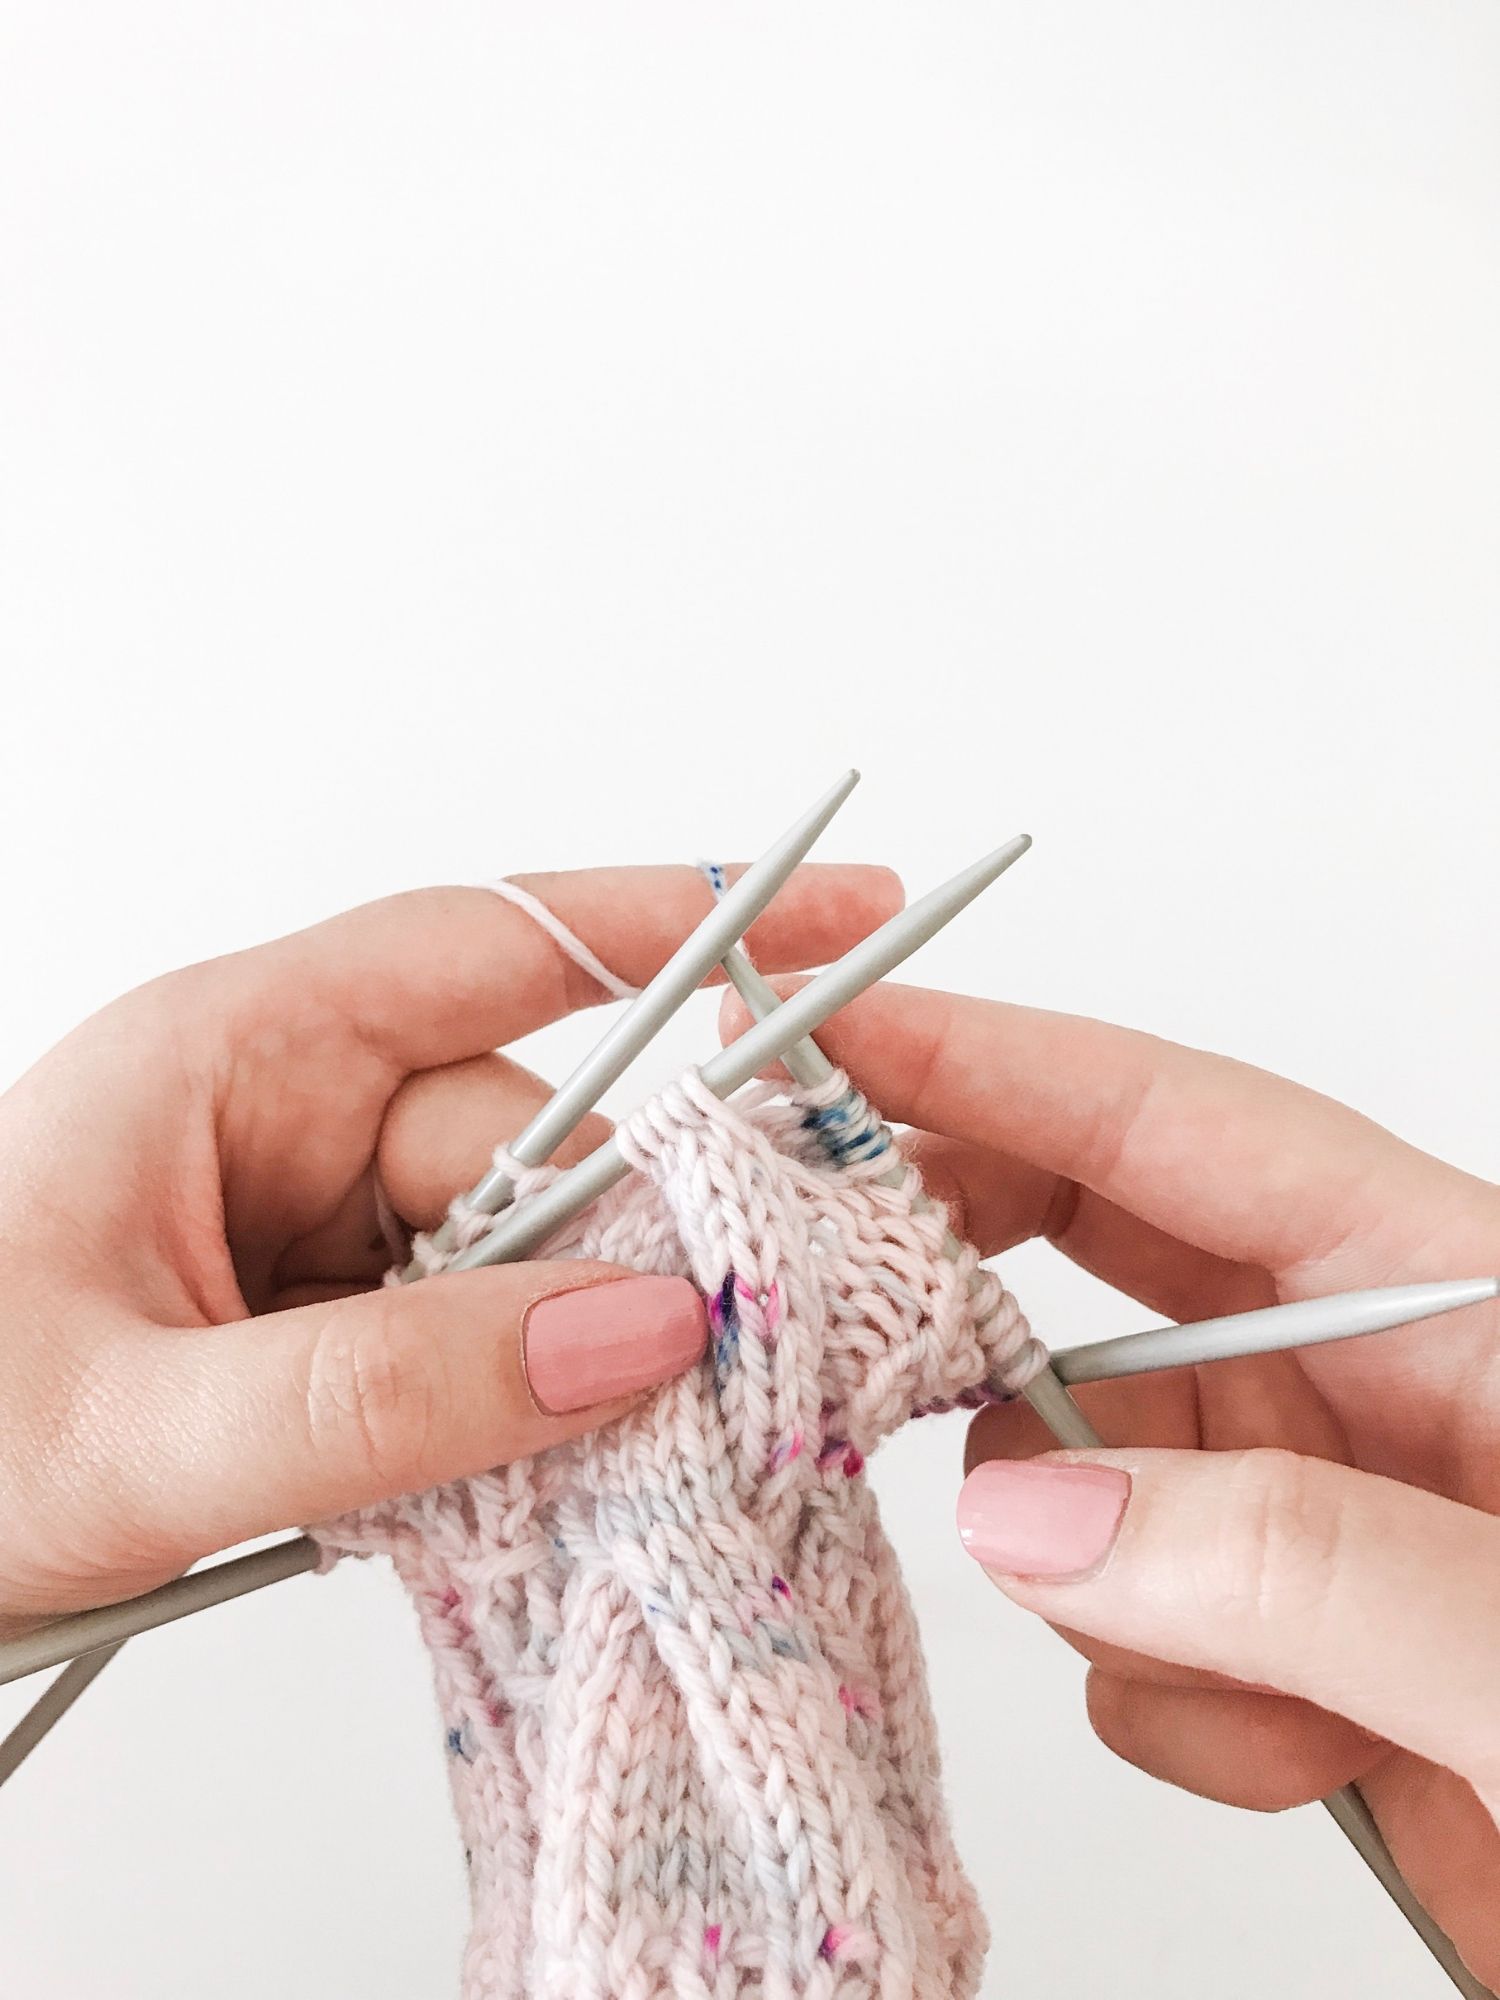
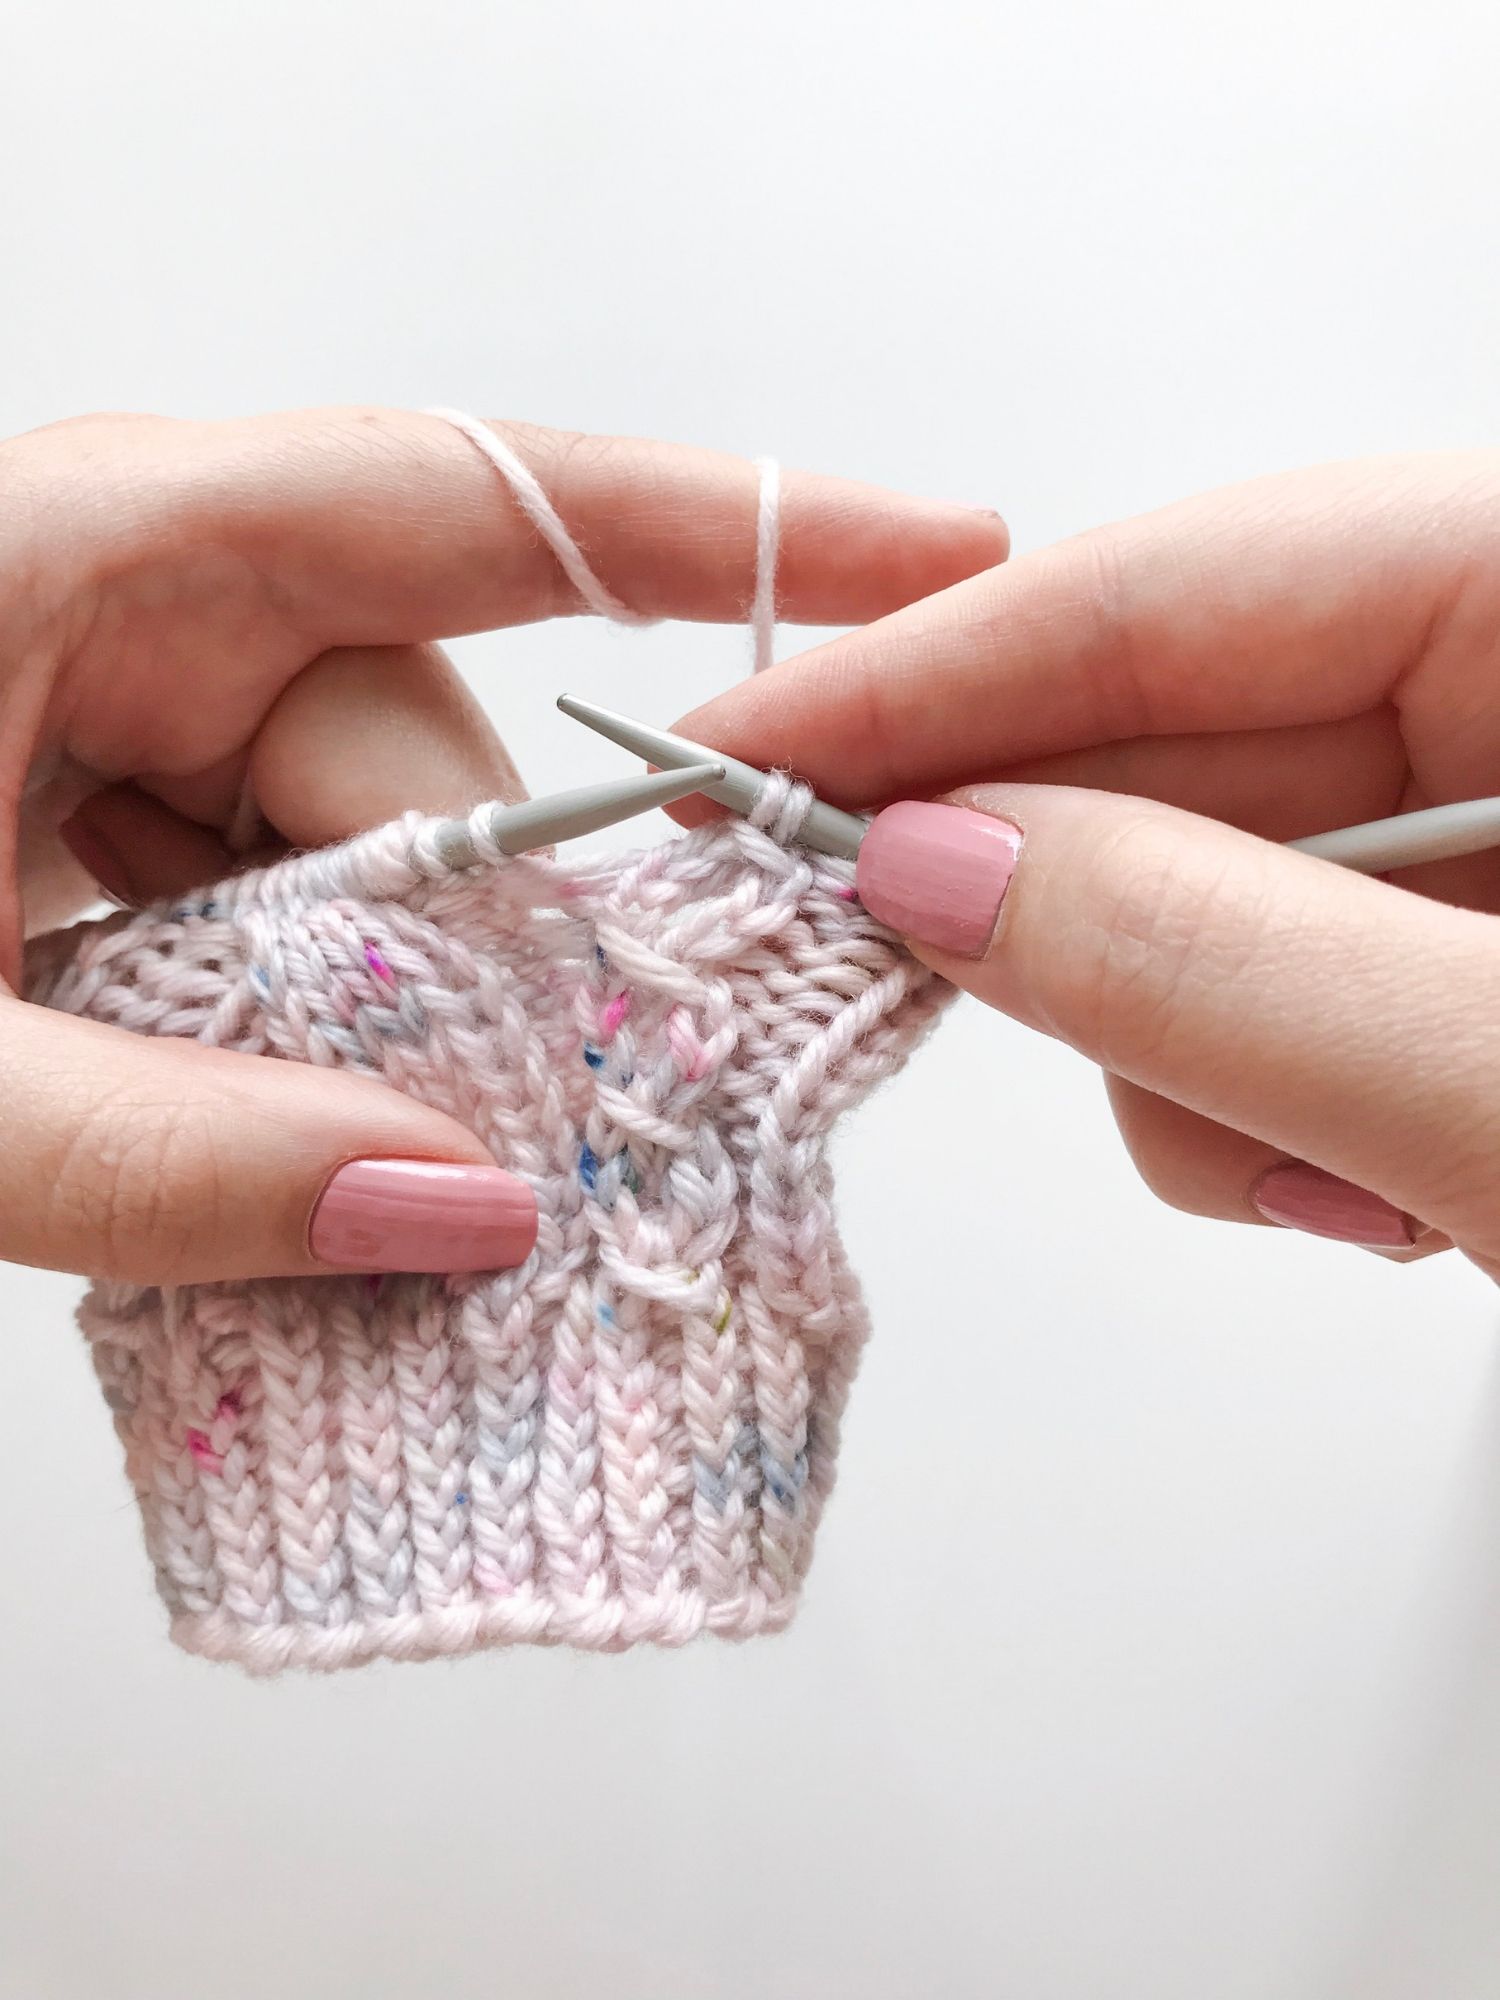
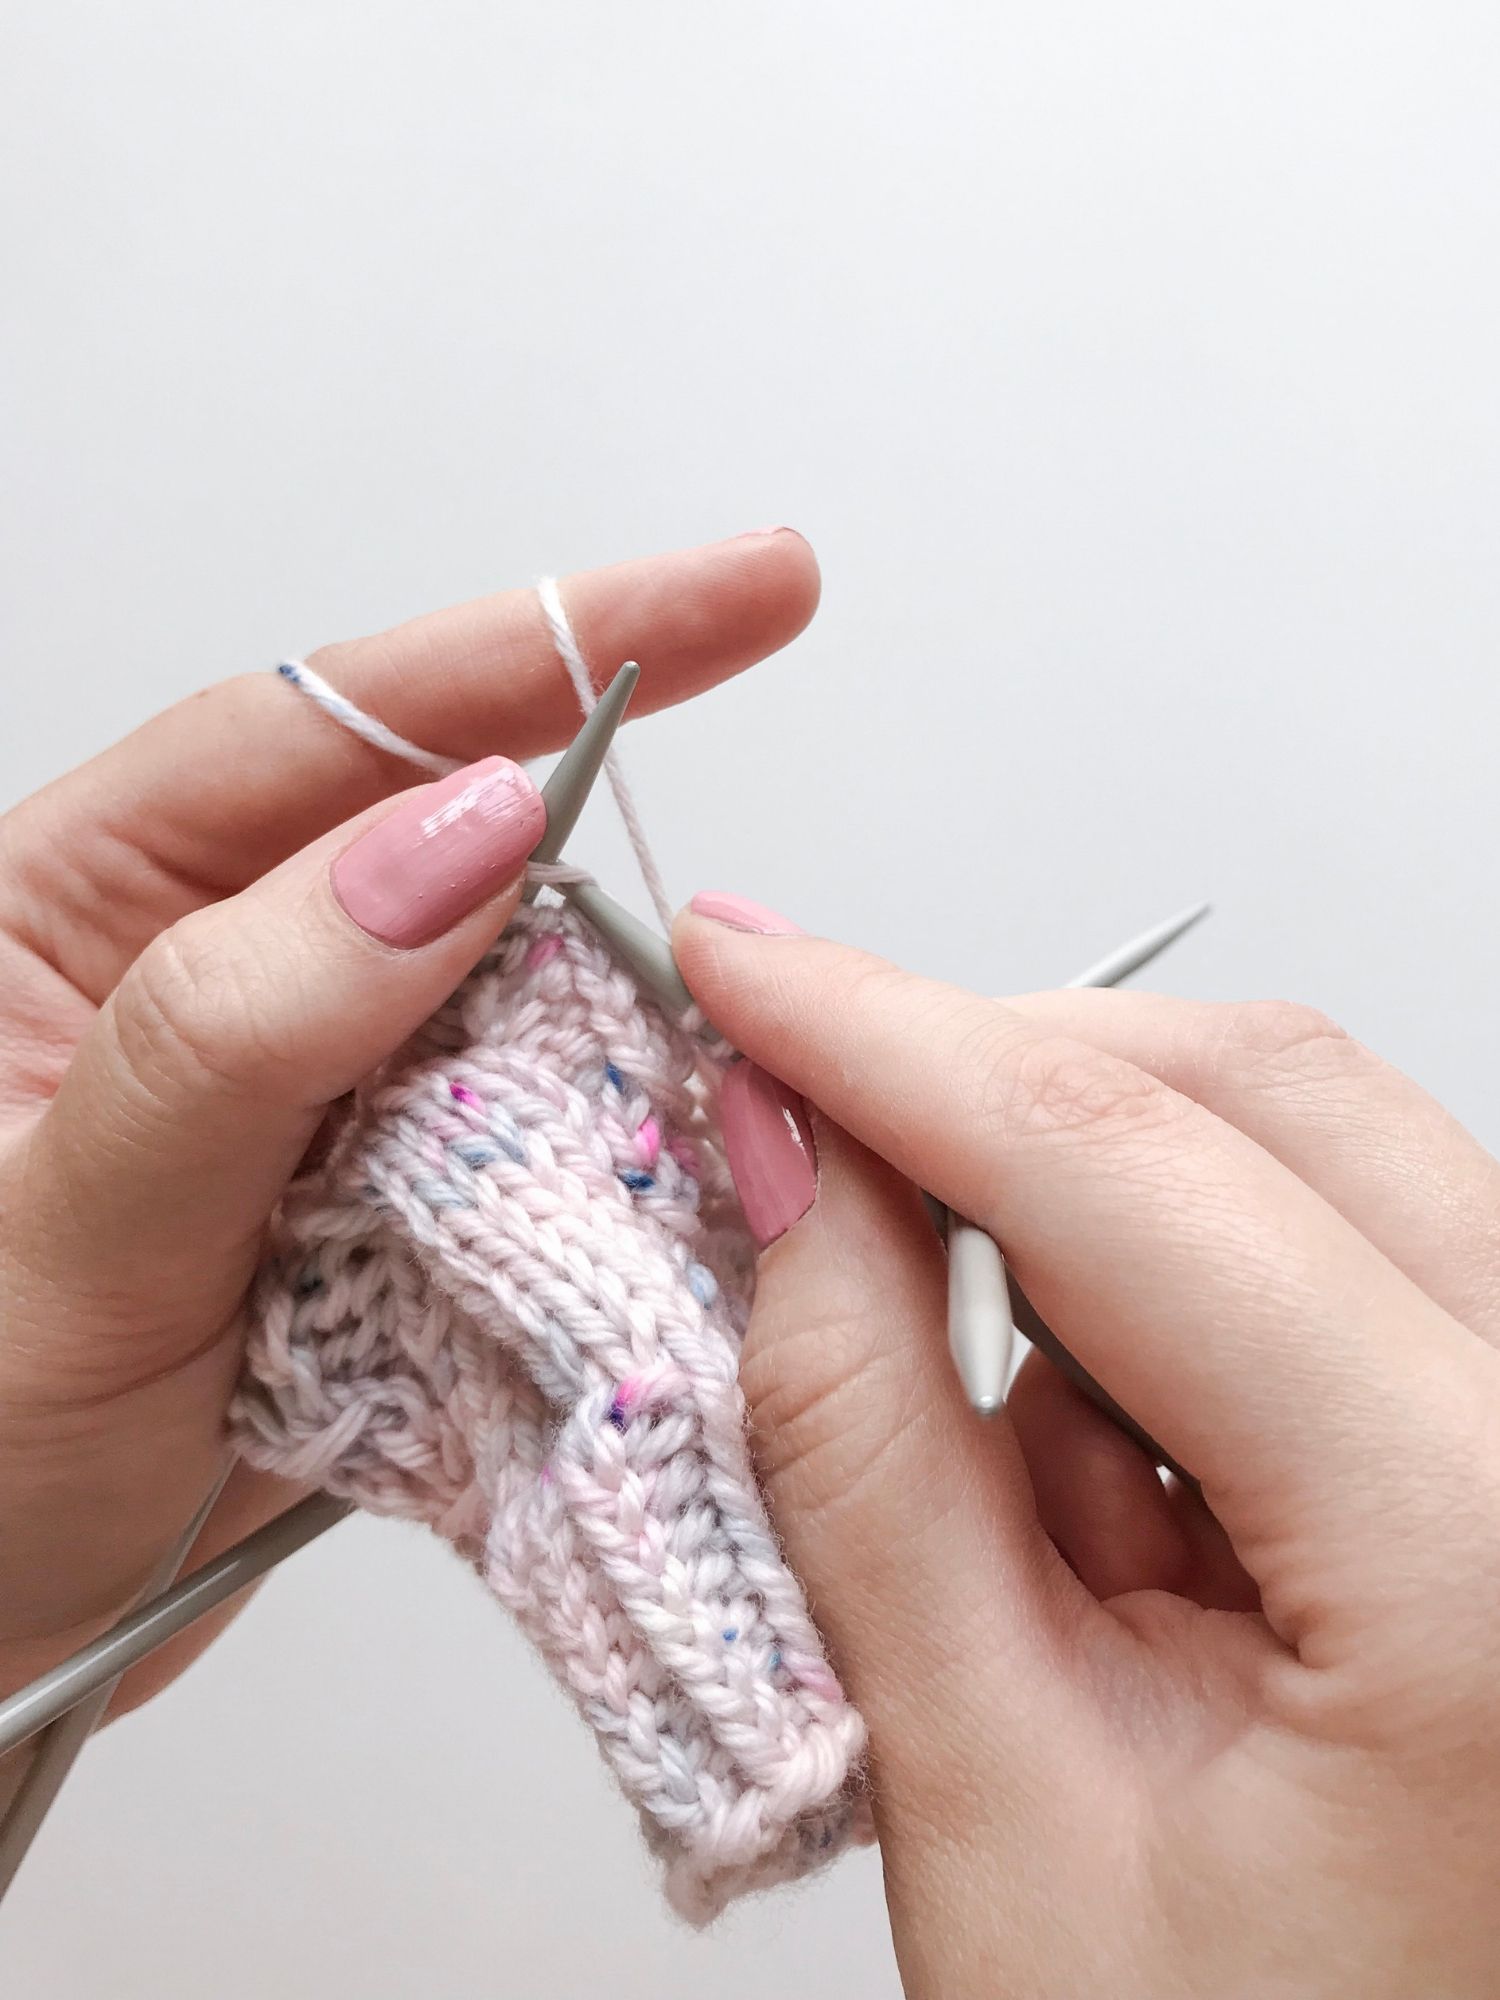
5 stitches done, now onto the stitches that are waiting on the cable needle!
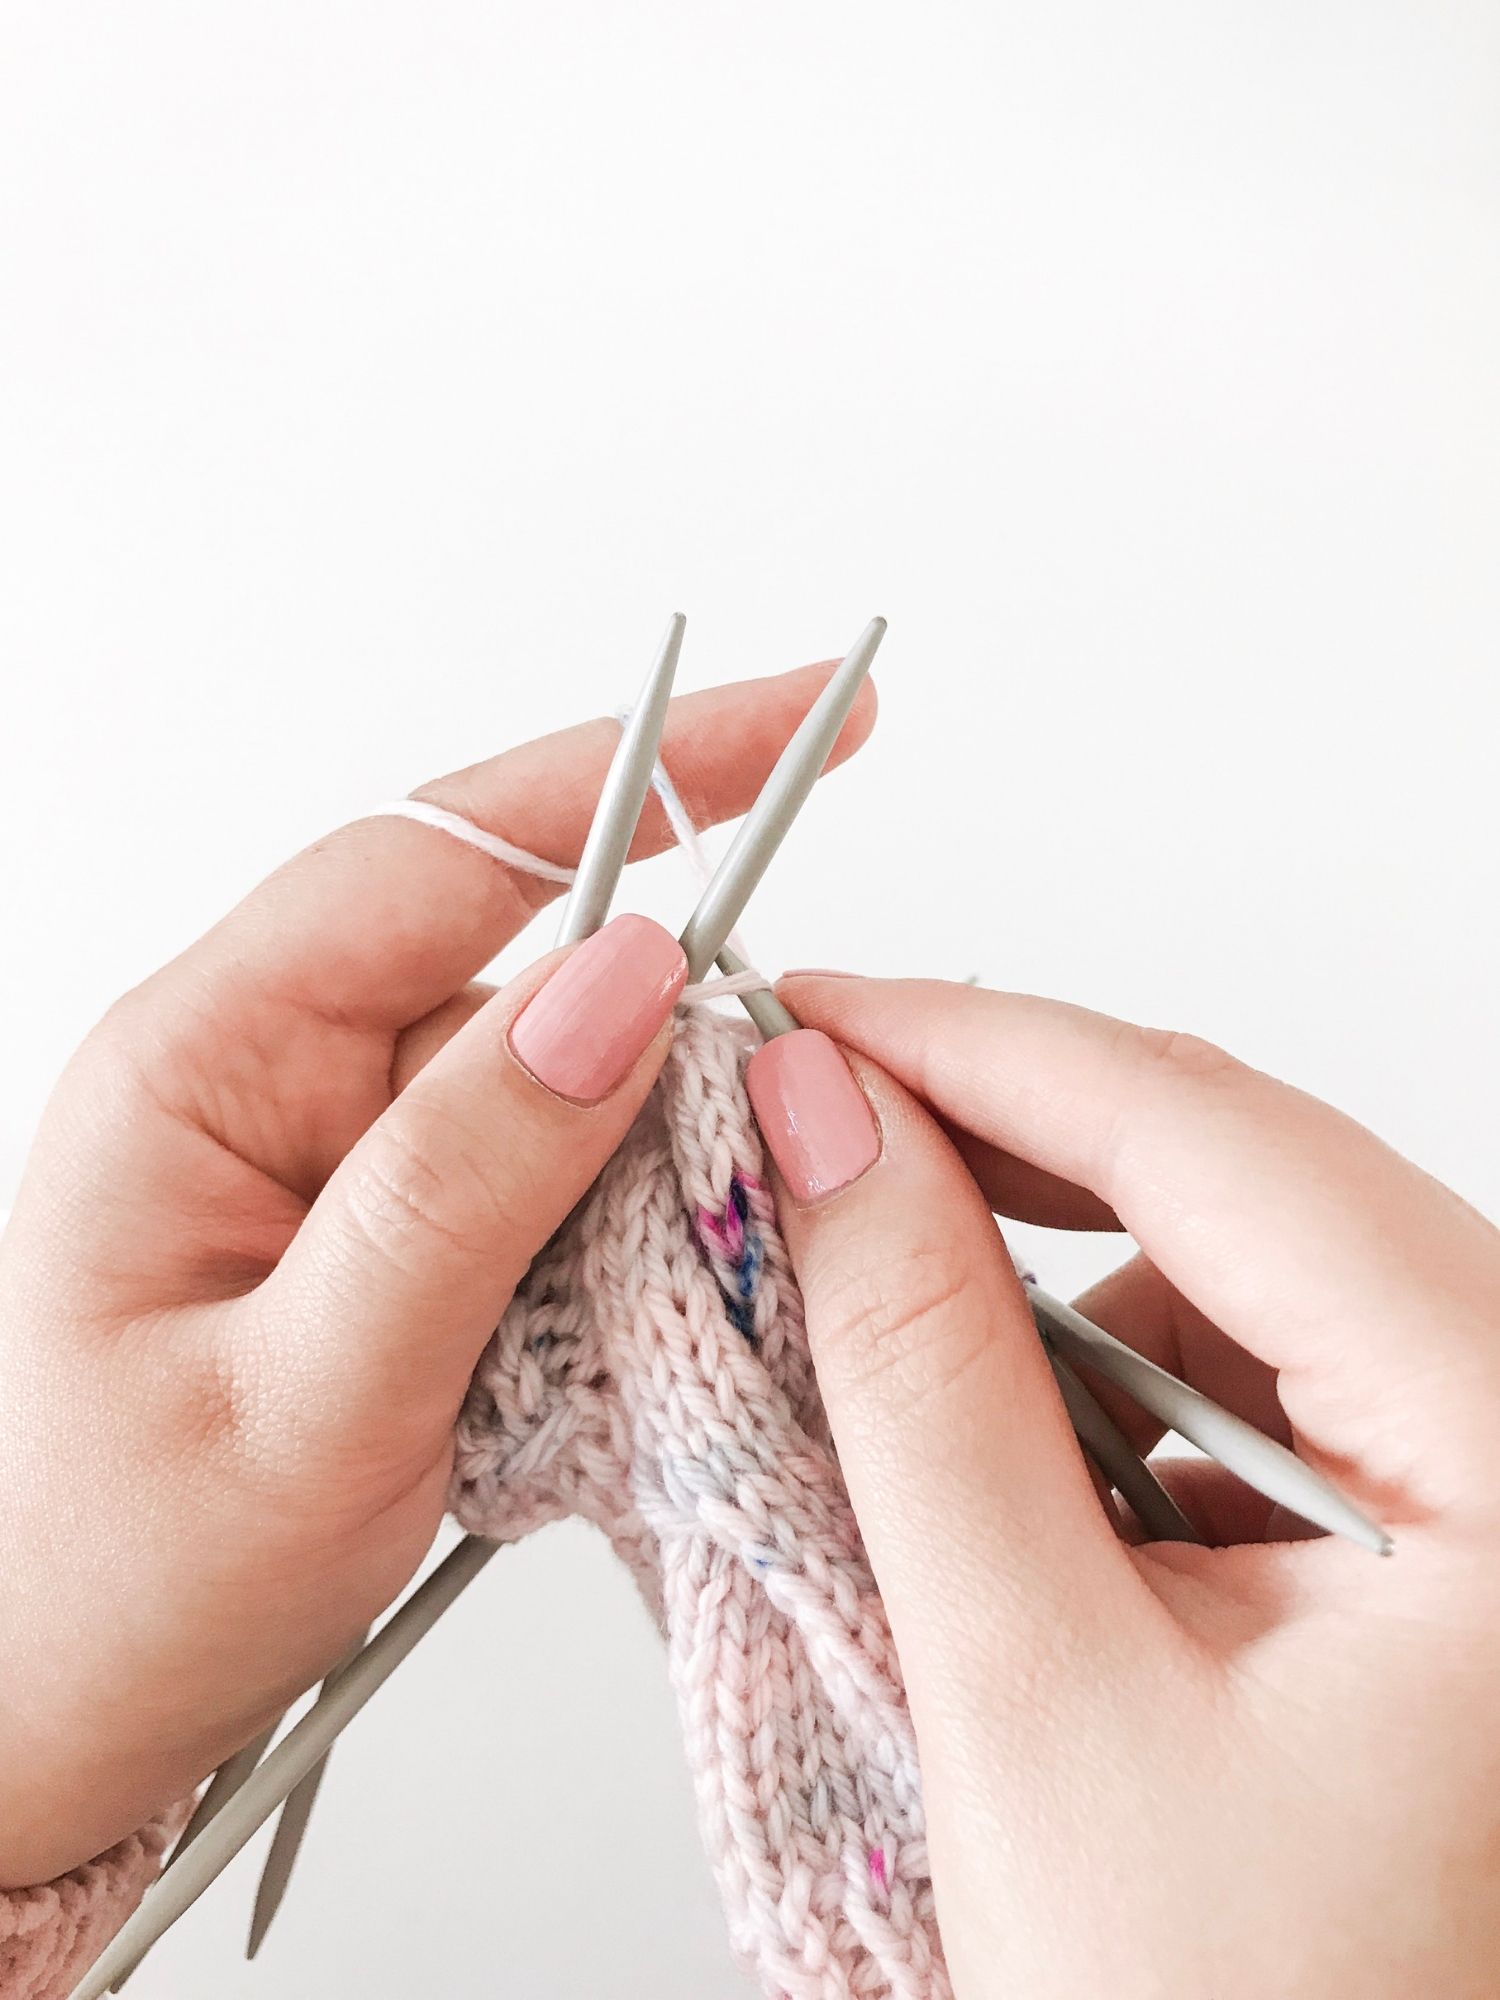
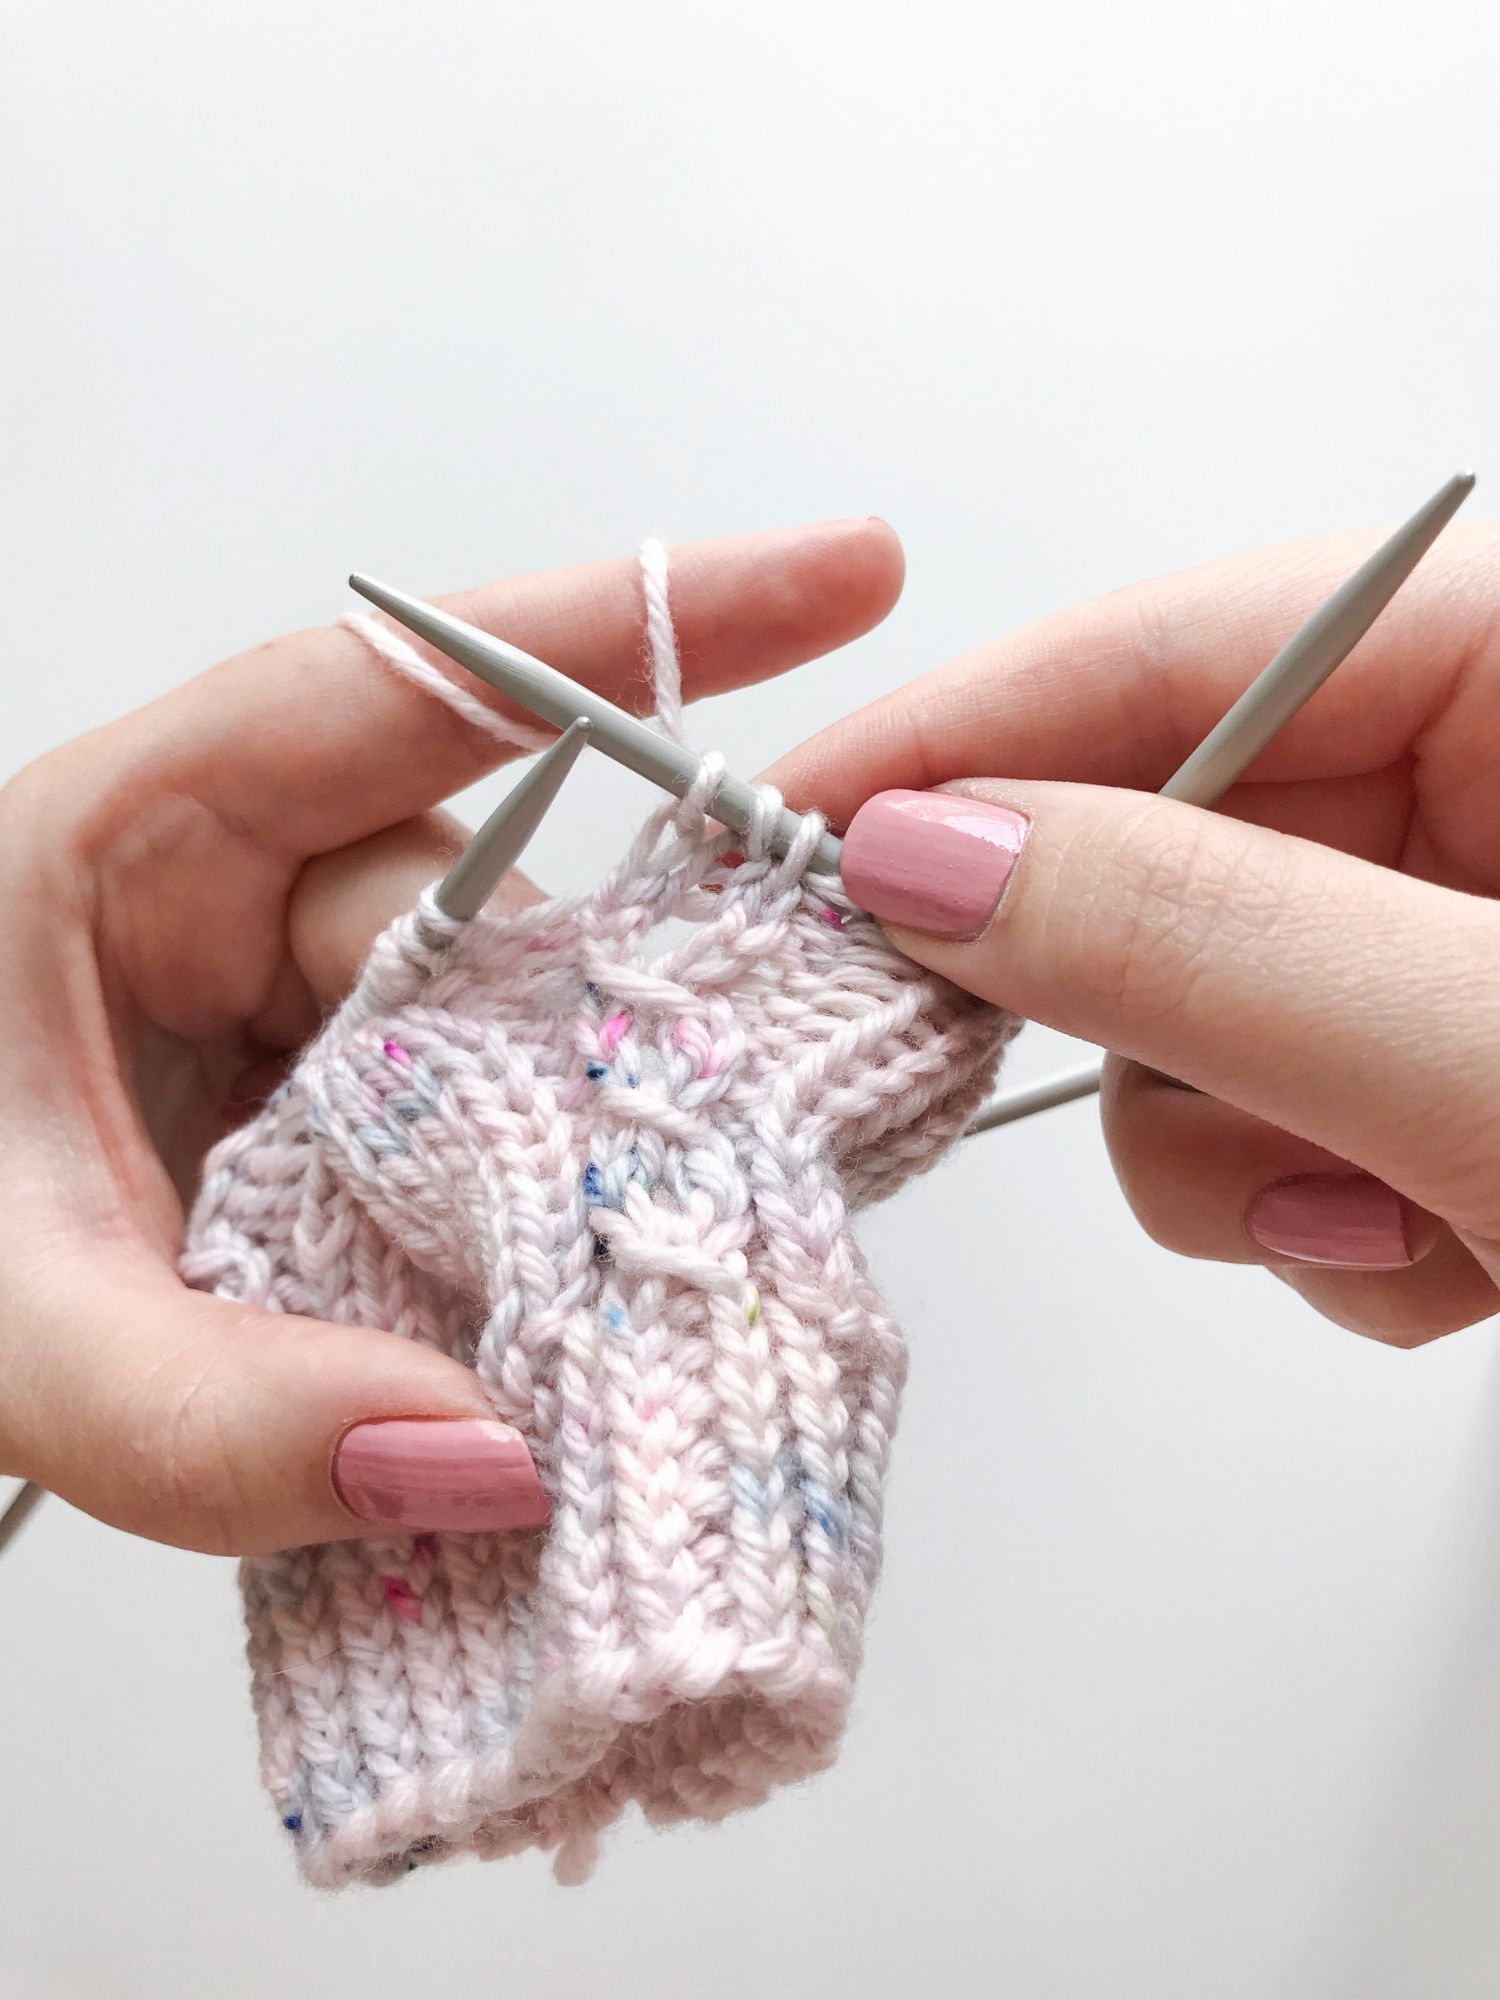
Step 3: knit 5 stitches from the cable needle.
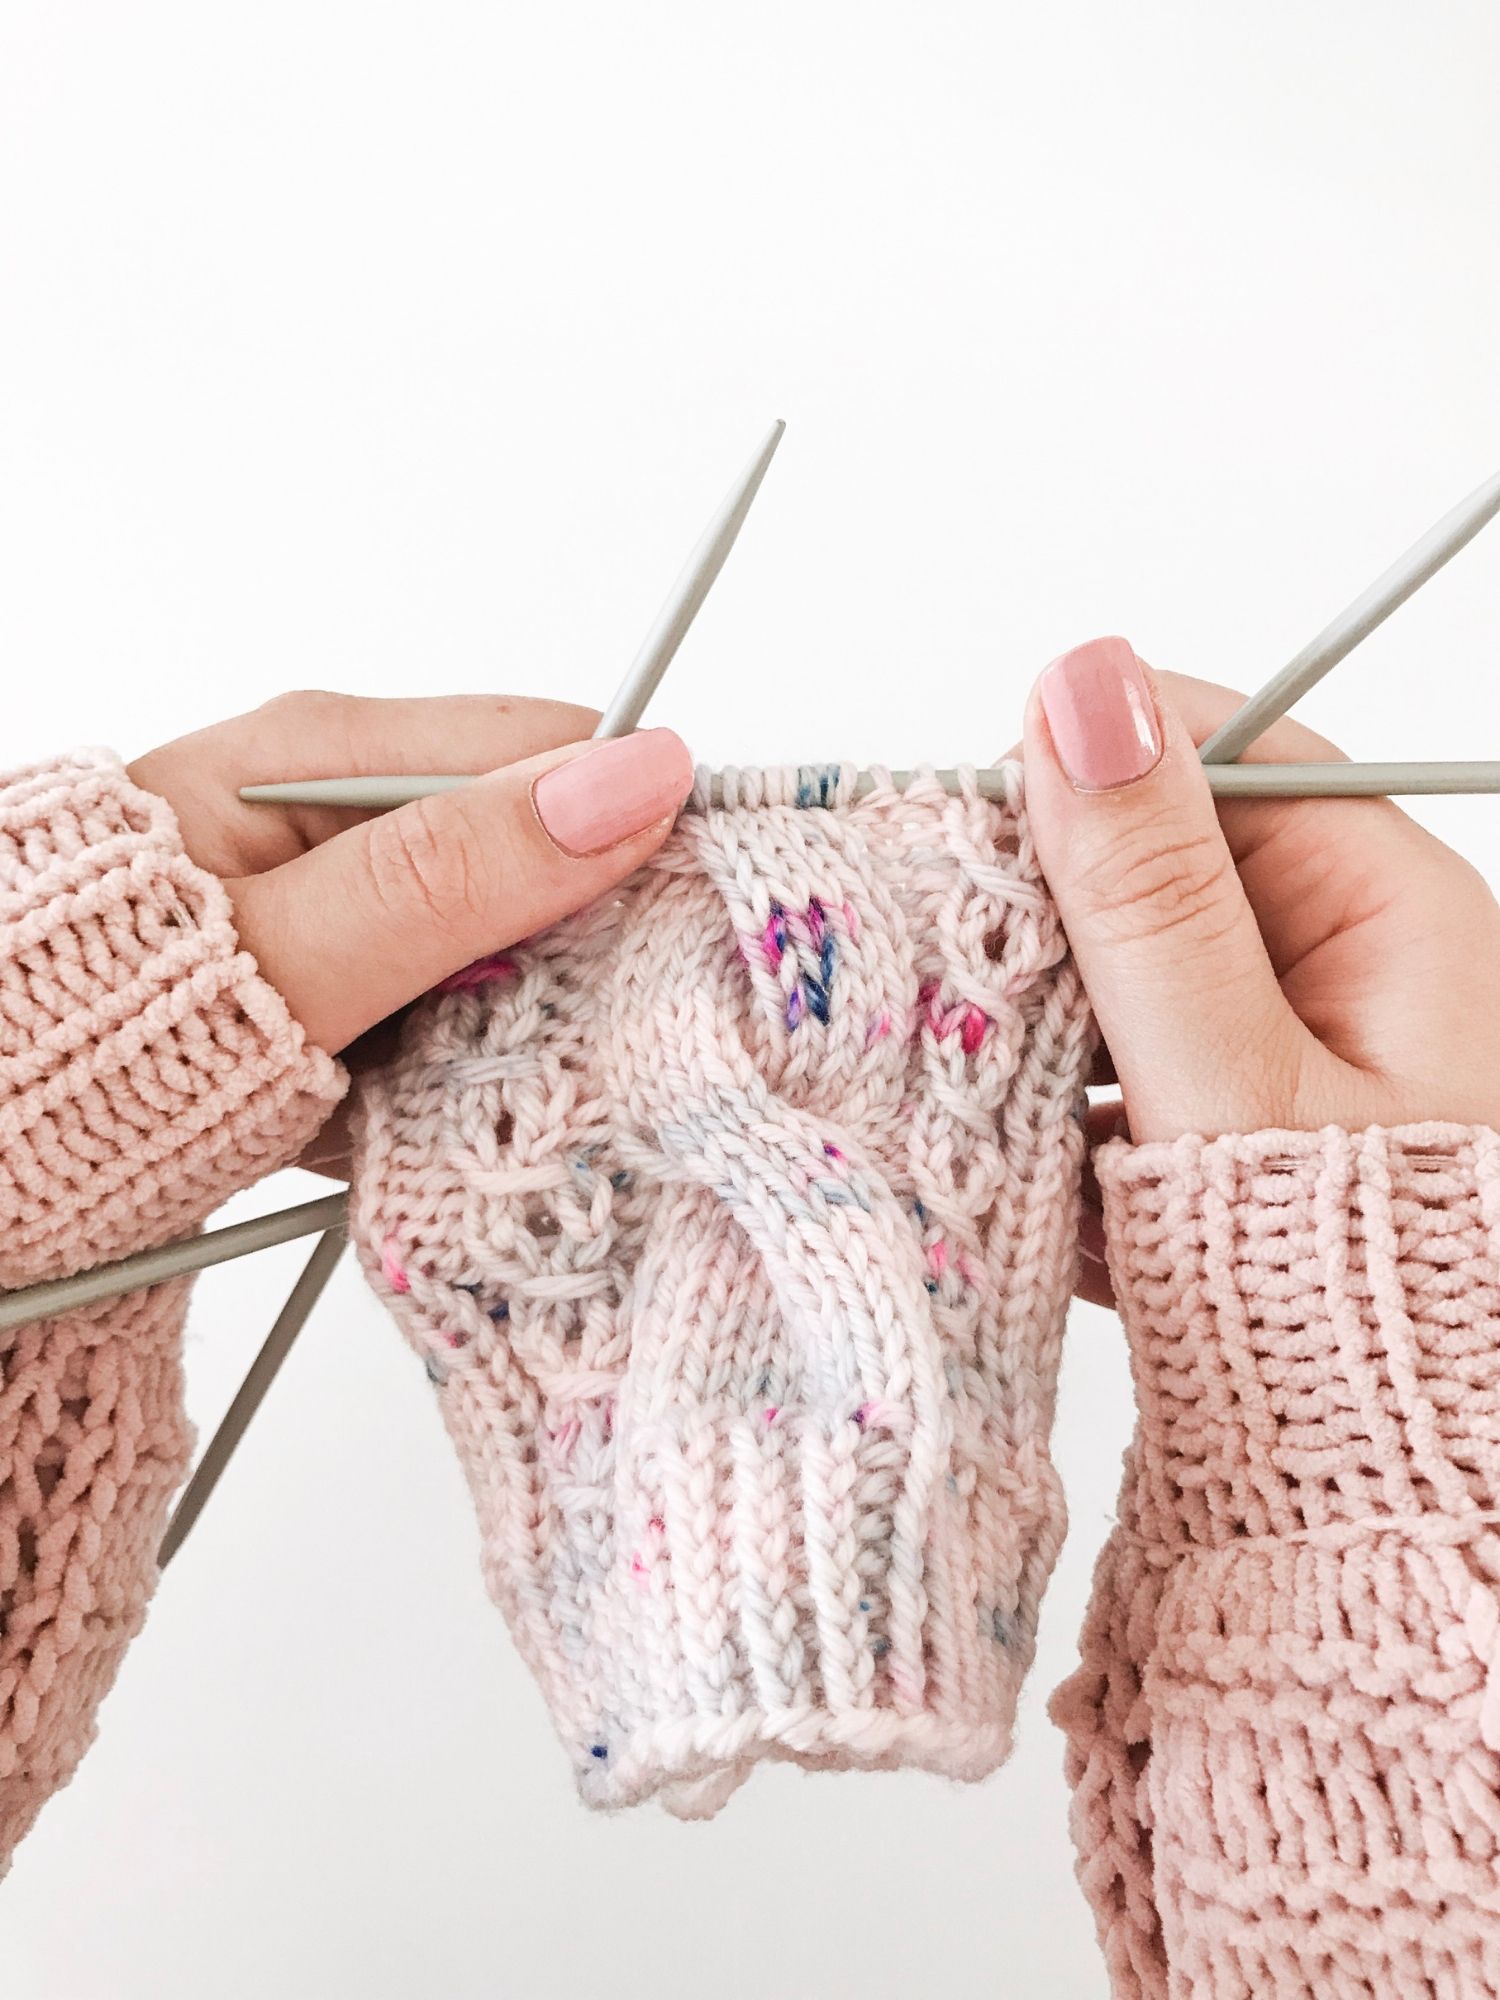
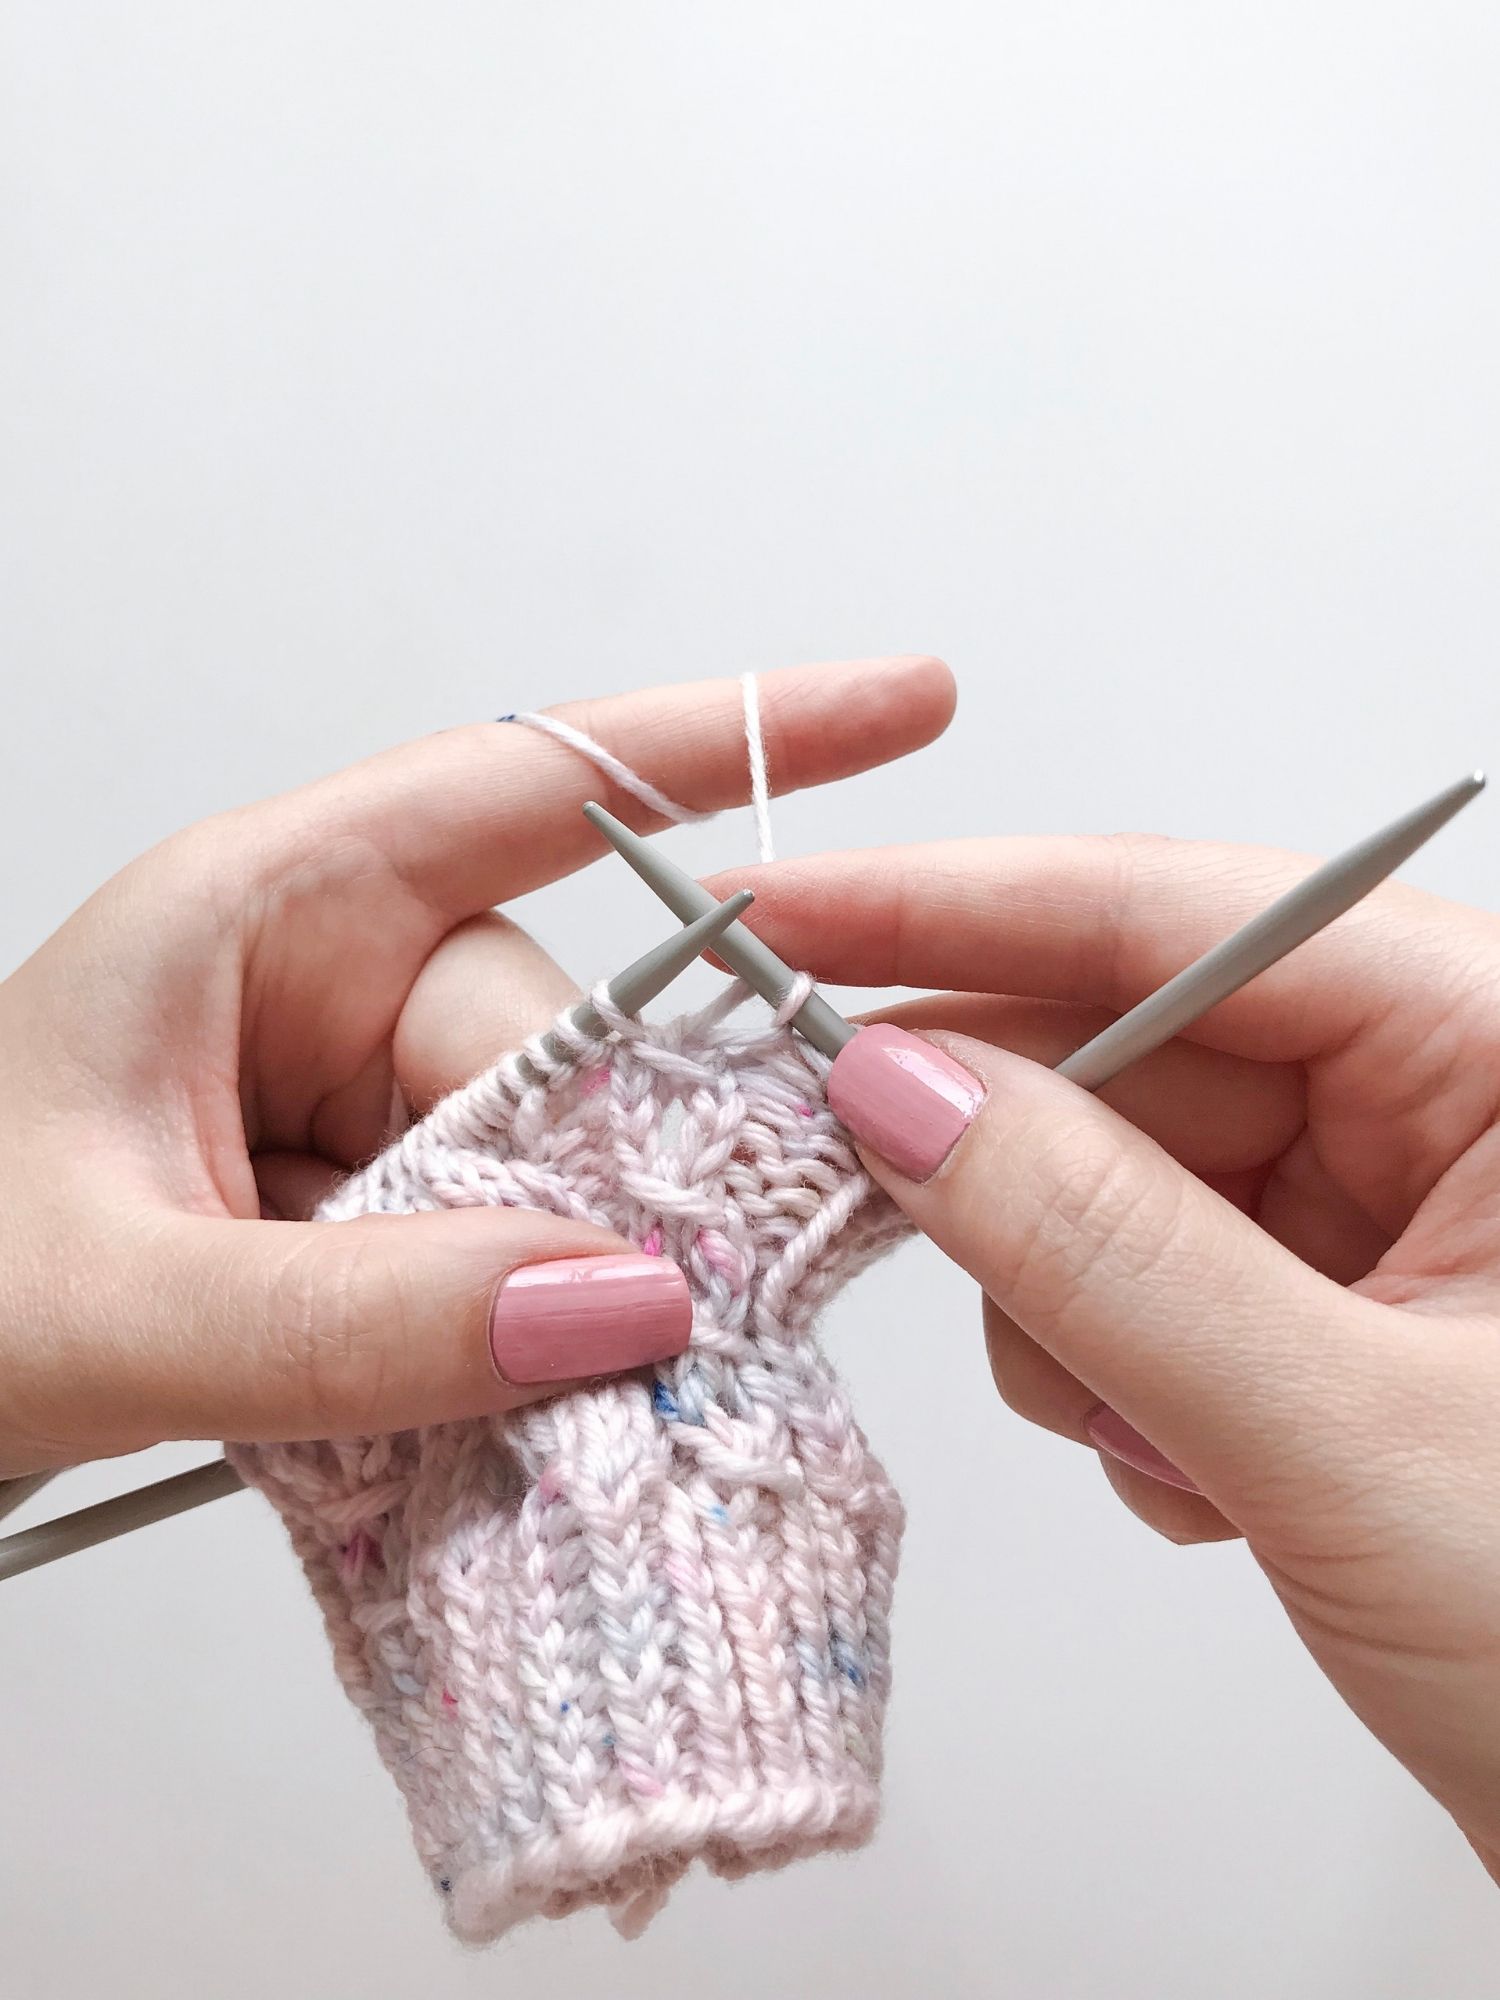
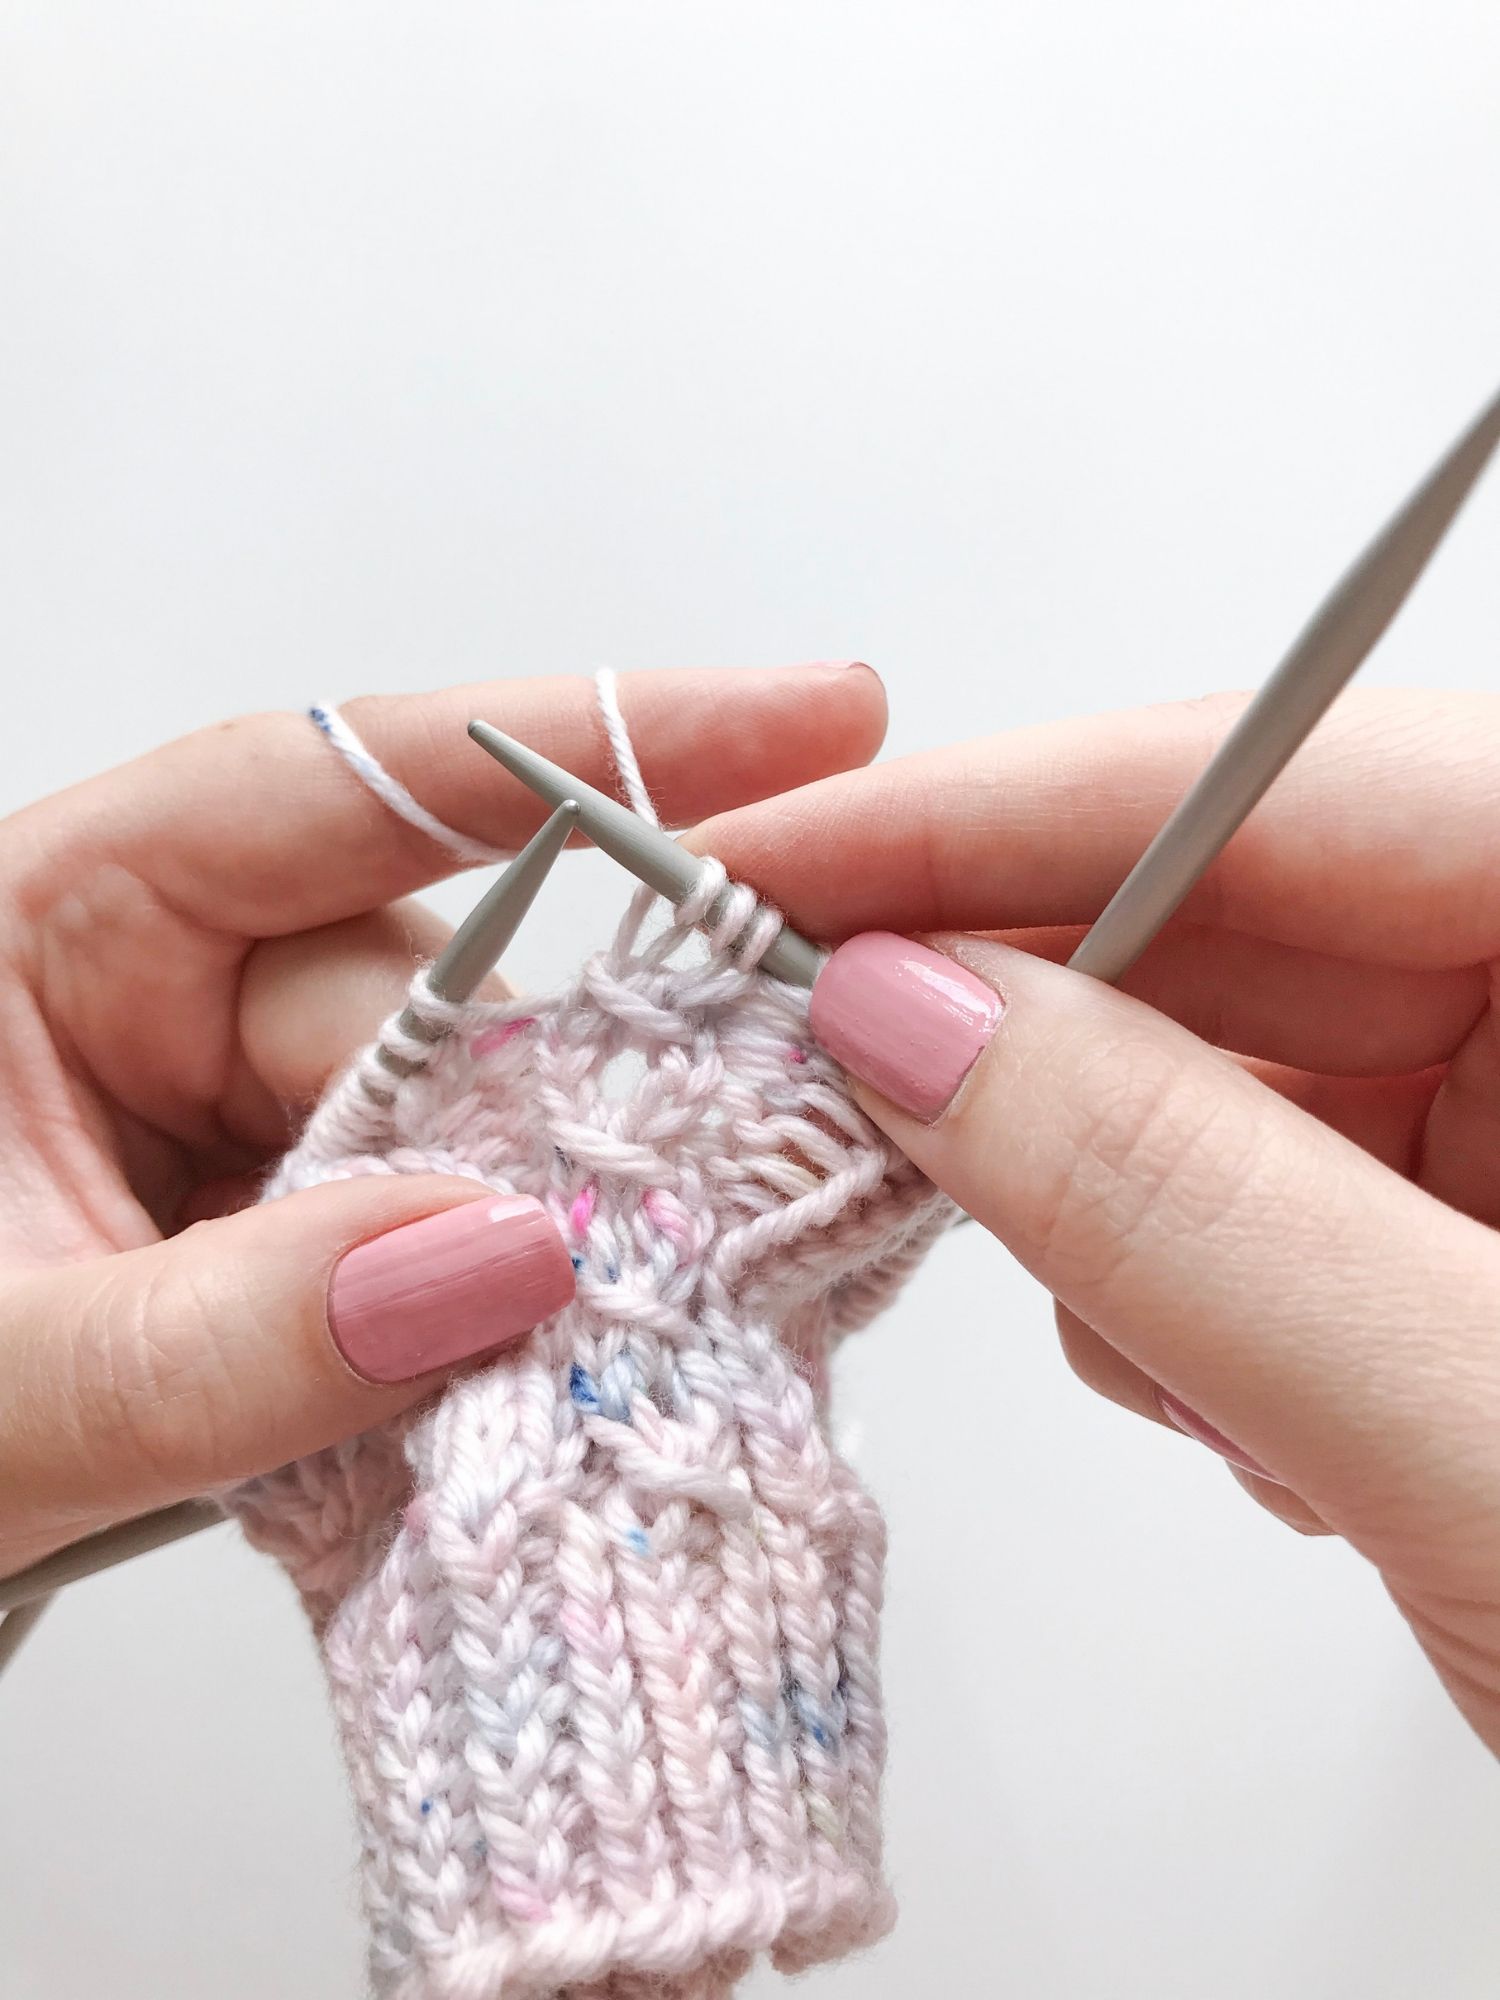
And voilà, your cable is ready – easy, fun and look at that texture!
I also have a tutorial for the little lace stitch on both sides of the big cable, find it here!
I’ll be off to knit some more cables now, I hope you enjoyed this tutorial!
xx, Kati

